How to Make Cutting Boards in 7 Simple Steps
To make a cutting board in seven simple steps, start by choosing dense, untreated hardwood like maple or walnut for durability and safety. Selecting the right wood is essential for creating a long-lasting and safe cutting surface. Ensure your materials are high-quality to avoid issues down the line.
Measure and cut your wood precisely, then glue and clamp the pieces tightly without overdoing it. Accurate measurements and strong bonds help maintain the board’s integrity during use. Take your time to align each piece carefully before clamping.
Sand the surface smooth, shape the edges for comfort, and apply a food-safe finish like mineral oil. This process not only enhances the board’s appearance but also protects it from moisture.
Clean and maintain it regularly to keep it in great condition.
Keep following to discover tips that’ll enhance your cutting board craftsmanship.
Key Takeaways
- Choose hardwoods like maple or walnut for durability and safety, avoiding softwoods that dent and absorb odors.
- Measure and mark wood accurately, then cut with a sharp saw using clamps for stability and straight edges.
- Assemble pieces with food-safe glue and clamps, wiping excess glue and allowing proper curing time.
- Sand progressively from coarse to fine grit along the grain, then apply and cure a food-safe finish like mineral oil.
- Clean with warm soapy water, dry thoroughly, avoid soaking, and regularly reapply mineral oil to maintain the board.
How to Choose the Best Wood for Your Cutting Board
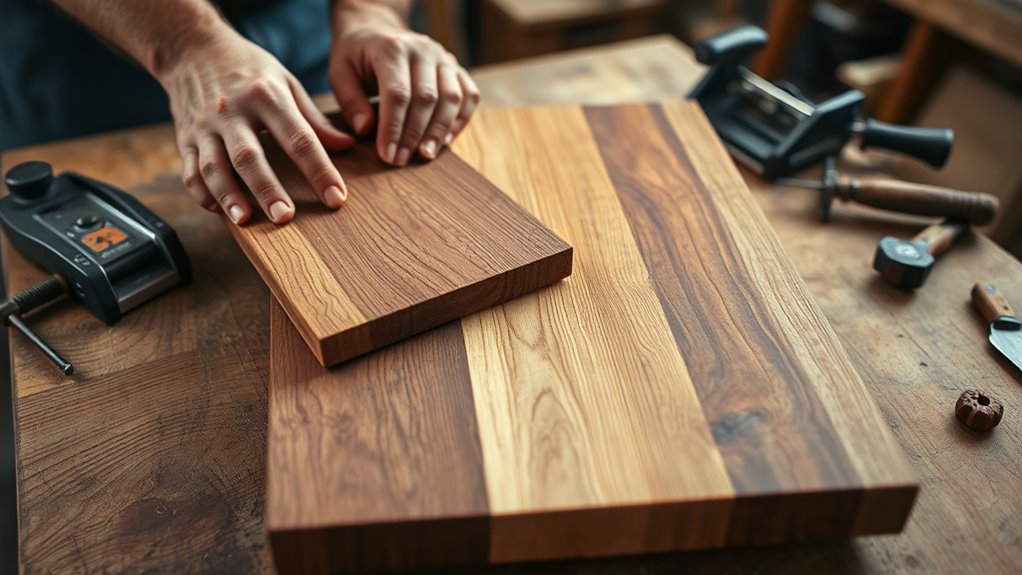
When choosing the best wood for your cutting board, you’ll want to prioritize hardwoods that resist knife marks and bacteria. Woods like maple, walnut, and cherry are excellent because they’re dense and have tight grain patterns, which keep your board sanitary and durable. Avoid softwoods such as pine; they dent easily and harbor bacteria.
You should also consider the wood’s porosity—lower porosity means less absorption of liquids and odors. Make certain the wood is untreated and free of toxins since it’ll come into contact with food. Finally, pick wood that’s readily available and suits your budget without compromising quality.
Choosing the right wood upfront ensures your cutting board lasts longer and stays safe for everyday use.
Cut and Prepare Your Cutting Board Wood Pieces
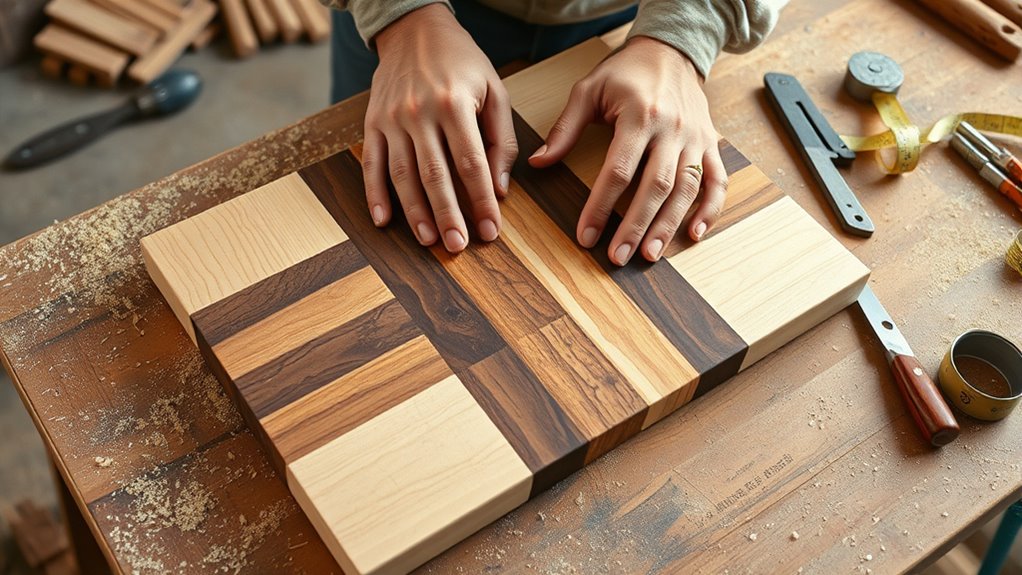
Now that you’ve chosen quality wood, it’s time to measure and mark your pieces accurately. You’ll want to use precise cutting techniques to guarantee clean, even edges.
Getting this step right sets the foundation for a sturdy and beautiful cutting board.
Selecting Quality Wood
Although selecting the right wood might seem straightforward, choosing quality pieces greatly impacts your cutting board’s durability and appearance. Start by looking for hardwoods like maple, walnut, or cherry—they resist knife marks and won’t dull your blades. Avoid softwoods or wood with knots, cracks, or sap, as these weaken the board and harbor bacteria.
Check for straight grain and consistent color; irregularities can lead to warping or splitting. Make sure the wood is properly dried to prevent future shrinking or twisting. You’ll want boards free from excessive knots and defects to ensure a smooth, safe cutting surface.
Measuring and Marking
Before cutting your wood pieces, carefully measure and mark each section according to your desired cutting board dimensions. Accurate measuring guarantees your pieces fit perfectly and your board looks professional.
To get it right, follow these steps:
- Use a reliable tape measure or ruler to determine the exact length and width of each piece.
- Mark the measurements clearly with a sharp pencil or marking knife for precise lines.
- Double-check all measurements before marking to avoid costly mistakes.
Take your time during this process, as precise measuring and marking lay the foundation for a smooth cutting and assembly experience. Proper preparation here will save you frustration and improve the overall quality of your cutting board.
Cutting Techniques Explained
How should you approach cutting your wood pieces to guarantee clean, accurate edges? Start by using a sharp, reliable saw—like a table saw or miter saw—to assure straight cuts. Always secure your wood firmly with clamps or a fence to prevent shifting.
Cut slowly and steadily, letting the blade do the work without forcing it. For angled cuts, set your saw’s bevel and miter gauges precisely according to your measurements. After each cut, check the edges with a square to confirm accuracy.
If needed, trim slightly to perfect the fit. Remember to wear safety gear and maintain a clean workspace to avoid mistakes. Following these techniques helps you prepare wood pieces that fit together seamlessly for a professional-quality cutting board.
Glue and Clamp Your Cutting Board Together
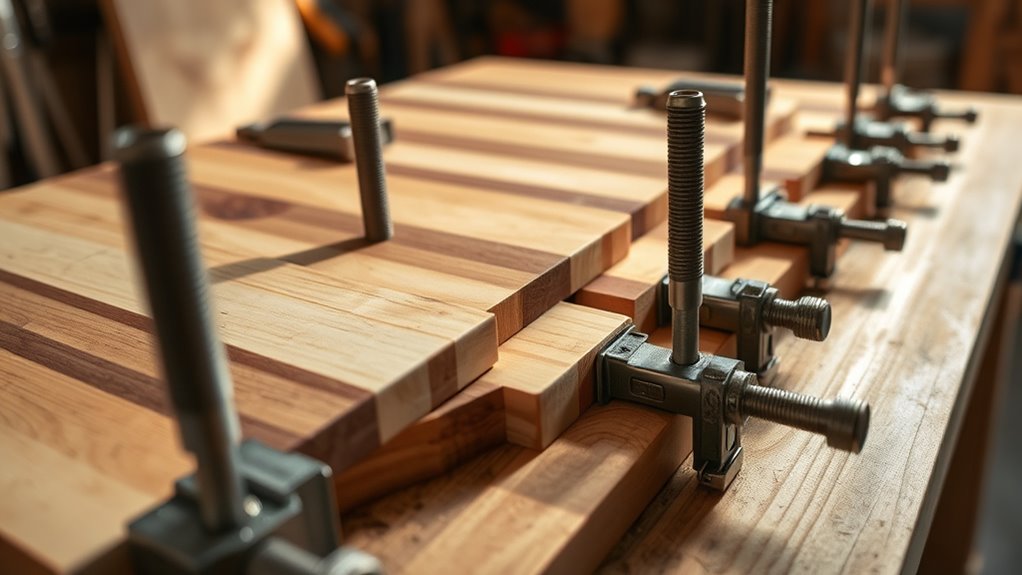
You’ll want to pick a strong, food-safe wood glue to guarantee your cutting board holds up over time. Applying the right clamping pressure is key to creating tight, even joints without damaging the wood.
Let’s look at how to choose the glue and clamp your board properly.
Choosing The Right Glue
Since the strength and durability of your cutting board depend heavily on the adhesive, choosing the right glue is essential. You want a glue that creates a strong, waterproof bond and is safe for food contact.
Here’s what to take into account when picking glue:
- Type – Use waterproof wood glue like Titebond III, designed for food-safe applications and water resistance. Avoid regular white glue or superglue.
- Drying Time – Choose a glue with a reasonable open time so you can align your boards properly without rushing.
- Cleanup – Select glue that’s easy to clean off while wet, preventing stains or uneven surfaces.
Effective Clamping Techniques
Once you’ve spread the glue evenly on your boards, the next step is to clamp them securely to guarantee a strong, even bond. Position your boards carefully, ensuring their edges align perfectly. Use parallel clamps or bar clamps placed evenly along the length of the boards to apply consistent pressure.
Avoid overtightening, which can squeeze out too much glue and weaken the joint. Add cauls—scrap wood pieces—across the boards to distribute pressure evenly and prevent bowing. Check that the boards remain flat and aligned throughout.
Wipe away any excess glue with a damp cloth before it dries. Leave the clamps on for the recommended drying time, usually at least an hour, to let the glue cure properly. Proper clamping ensures your cutting board stays sturdy and durable for years.
Sand Your Cutting Board Smooth and Even
Before applying any finish, make sure to sand your cutting board thoroughly to achieve a smooth, even surface. This step is crucial to remove any glue residue, rough spots, or uneven areas that could affect the board’s appearance and usability.
Follow these steps for the best results:
- Start with coarse-grit sandpaper (around 80 grit) to level the surface and remove any major imperfections.
- Progress to medium-grit sandpaper (120-150 grit) to smooth out scratches from the coarse sanding.
- Finish with fine-grit sandpaper (220 grit or higher) to create a silky, smooth texture that feels great to the touch.
Always sand along the grain to avoid scratches, and wipe away dust between grits to see your progress clearly.
Shape the Edges and Add Decorative Details
While sanding guarantees a smooth surface, shaping the edges and adding decorative details give your cutting board its unique character and functionality. Start by deciding on the edge profile you want—rounded, beveled, or chamfered edges are popular choices. Use a router or sandpaper to carefully shape the edges, ensuring consistency all around.
For decorative touches, consider adding juice grooves to catch liquids or simple inlays for visual interest. You can also carve shallow patterns or use a wood burner for subtle designs. Take your time with these steps to avoid mistakes and maintain clean lines.
These details not only enhance appearance but also improve usability, making your cutting board both beautiful and practical.
How to Apply a Food-Safe Finish to Your Cutting Board
Adding a protective finish brings out the beauty of your shaped edges and decorative details while safeguarding the wood from moisture and wear. To apply a food-safe finish, follow these steps:
- Choose the Right Finish: Use mineral oil or a beeswax-based product, both safe for food contact and easy to apply.
- Apply Generously: Use a clean cloth to rub the oil or wax onto every surface, including edges. Let it soak in for at least 20 minutes.
- Wipe Excess and Cure: Remove excess finish with a dry cloth, then let your board cure overnight to fully absorb the protection.
Repeat this process regularly to keep your cutting board looking great and functioning well.
Care for Your Cutting Board to Make It Last Longer
Even with the best finish, your cutting board needs regular care to stay durable and hygienic. Clean it immediately after use with warm, soapy water and dry it thoroughly. Avoid soaking or putting it in the dishwasher, as moisture can warp the wood.
Periodically, apply mineral oil to keep the board moisturized and prevent cracking. Use a mixture of lemon and salt to deodorize and remove stains naturally.
| Task | Frequency | Tips |
|---|---|---|
| Cleaning | After each use | Use mild soap, dry thoroughly |
| Oil Treatment | Monthly | Use food-safe mineral oil |
| Deodorizing | As needed | Lemon juice and salt scrub |
| Avoid | Always | Dishwasher and soaking water |
Proper care extends your board’s life and keeps it safe for food prep.
Frequently Asked Questions
Can I Use Reclaimed Wood for Making Cutting Boards?
Yes, you can use reclaimed wood for cutting boards, but make sure it’s free from chemicals, nails, or contaminants. Sand it thoroughly and seal with food-safe oil to keep it safe and durable for kitchen use.
What Tools Are Essential for Cutting Board Woodworking?
You’ll need a table saw or jigsaw for cutting, a planer or hand plane to smooth, clamps to hold pieces.
Sandpaper or a sander for finishing, and food-safe oil for sealing. Safety gear’s essential too!
How Long Does It Take to Make a Cutting Board?
You won’t be done before your coffee gets cold—it usually takes 3 to 6 hours to make a cutting board, depending on your skills and design. Don’t rush; perfection demands patience and a steady hand.
Are There Any Safety Tips for Woodworking Beginners?
Yes, always wear safety goggles and a dust mask to protect your eyes and lungs. Keep your workspace clean, use sharp tools, and never rush.
Stay focused, and don’t forget to unplug power tools when adjusting them.
Can I Customize Cutting Board Sizes for Different Uses?
Yes, you can customize cutting board sizes to fit your specific needs. Just measure the space and intended use, then cut and assemble your wood accordingly.
Tailoring sizes helps you work more efficiently and comfortably.
Conclusion
Just like a well-tended garden, your cutting board thrives with care and attention. When I first made mine, a simple oiling routine kept it smooth and strong for years, despite daily use. By choosing quality wood, sanding carefully, and finishing with food-safe oil, you’re not just crafting a tool—you’re creating a lasting kitchen companion.
Stick to these steps, and your cutting board will serve you well, season after season. Proper maintenance, including regular oiling and gentle cleaning, ensures durability and hygiene. Following this guide to make cutting boards will help you enjoy a reliable, beautiful, and functional kitchen essential for years to come.