How Do You Make Ice Cream in a Ninja Blender in 7 Easy Steps
To make ice cream in your Ninja blender, start by gathering cold heavy cream, milk, sugar, and vanilla. These ingredients form the perfect base for creamy homemade ice cream.
Using a Ninja blender makes the process quick and easy, allowing you to whip up delicious ice cream right at home.
Blend these base ingredients briefly until smooth. Add mix-ins like chocolate chips or fruit, then blend again until creamy.
Transfer the mixture to a freezer-safe container.
Freeze for 4-6 hours, then pulse in the blender before serving to refresh the texture.
Store extra in the freezer for up to two weeks.
Follow these steps, and you’ll soon whip up delicious homemade ice cream with ease.
Key Takeaways
- Combine heavy cream, milk, sugar, and vanilla in the Ninja blender, then blend briefly to mix without over-aerating.
- Add desired flavors or mix-ins such as fruit, cocoa, or nuts after the initial base blending.
- Blend the mixture until smooth and creamy, using pulsing to avoid lumps and maintain texture.
- Transfer the mixture to a freezer-safe container, cover with parchment paper, and freeze for 4-6 hours.
- Before serving, pulse frozen ice cream in the blender to refresh its creamy consistency.
Gather Your Ingredients and Tools

Before you start blending, gather all the ingredients and tools you’ll need. You’ll want heavy cream, whole milk, sugar, and vanilla extract for a classic base. If you prefer fruit-flavored or chocolate ice cream, grab fresh fruit or cocoa powder too.
Make sure your ingredients are cold; cold dairy helps the ice cream freeze better. For tools, you need your Ninja blender, a measuring cup, and a spatula for scraping down the sides. Have a freezer-safe container ready to store your ice cream afterward.
If you like, prepare toppings or mix-ins like chocolate chips or nuts beforehand. Organizing everything now saves time later and makes the blending process smooth and efficient, so you can enjoy homemade ice cream without any hassle.
Mix Your Ice Cream Base Ingredients in the Ninja Blender

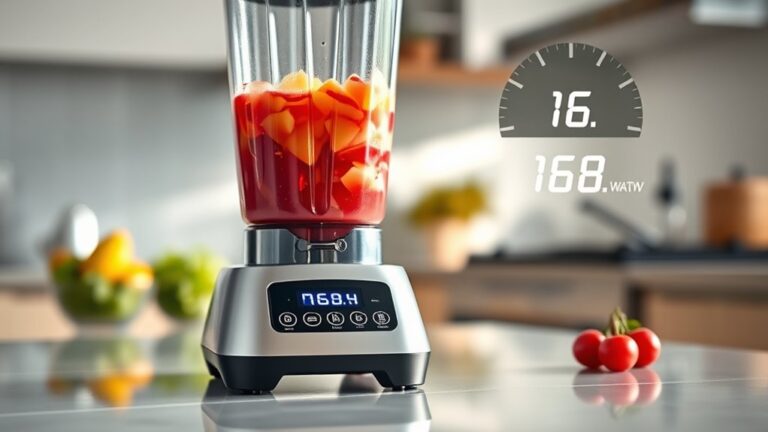
Once you have your ingredients ready, pour the heavy cream, whole milk, sugar, and vanilla extract into the Ninja blender. Secure the lid tightly to avoid any spills. Pulse the mixture a few times to combine, then blend on medium speed for about 30 seconds.
This guarantees the sugar dissolves completely, creating a smooth base. Stop and scrape down the sides with a spatula to incorporate any unmixed ingredients. Blend again for another 15 seconds until everything is fully combined.
Avoid over-blending, as it can introduce too much air, affecting the texture. Your ice cream base should be creamy and well-mixed, ready for the next step. Clean the lid and blender cup if any drips occur before continuing.
Add Mix-Ins and Flavors

As you prepare to customize your ice cream, now’s the perfect time to add your favorite mix-ins and flavors. Think about what you love—chocolate chips, crushed cookies, fresh berries, or nuts. You can also stir in extracts like vanilla, almond, or mint to boost the taste.
For a richer twist, try swirls of caramel, fudge, or peanut butter. Measure out your additions carefully; too many can affect texture. Add solid mix-ins after blending the base slightly, so they don’t break down too much.
If you prefer evenly distributed flavors, add liquid extracts before blending. Keep in mind, some ingredients release moisture, so adjust sweetness or thickness as needed. This step lets you personalize your ice cream exactly how you like it.
Blend Until Smooth and Creamy
While the mix-ins settle, grab your Ninja blender and start pulsing the ice cream base. Use short bursts to break up any chunks, then gradually increase to longer blends. This helps the ingredients combine evenly without overheating the mixture.
Keep blending until you achieve a smooth, creamy texture with no visible lumps. If your blender’s lid has a vent, open it slightly to release steam and prevent condensation. Don’t overblend—stop as soon as the mixture looks thick and smooth to maintain the ideal consistency.
You want your ice cream base to be velvety and well-incorporated, ready for freezing. This step guarantees every bite will be perfectly creamy and delicious, setting you up for the final freeze stage.
Freeze the Mixture Until Firm
After blending your ice cream base to the perfect smoothness, you’ll want to transfer it into a freezer-safe container to chill. Proper freezing is key to achieving that creamy texture you’re aiming for.
Here’s how to freeze it right:
- Use an airtight container to prevent ice crystals from forming.
- Spread the mixture evenly to promote uniform freezing.
- Place the container in the coldest part of your freezer.
- Let it freeze for at least 4 to 6 hours, or until firm.
Blend Again to Refresh Texture Before Serving
Before serving, you’ll want to give your ice cream a quick blend in the Ninja blender to restore its creamy texture and smooth out any ice crystals that formed during freezing. Scoop the frozen ice cream into the blender pitcher, but don’t overfill it—leave some space for the blades to move freely. Pulse the mixture in short bursts, checking the texture between blends to avoid over-processing and turning it into a liquid.
This step refreshes the ice cream, making it soft and scoopable again. Once you achieve a smooth, creamy consistency, stop blending immediately. This quick blend ensures your homemade ice cream tastes just as good as store-bought, with a perfect, silky texture ready for serving.
Store and Serve Your Homemade Ninja Blender Ice Cream
Once your ice cream reaches that perfect creamy texture, you’ll want to store it properly to maintain its freshness and flavor. Here’s how to do it right:
- Transfer the ice cream to an airtight container to prevent freezer burn.
- Press a piece of parchment paper directly onto the surface to minimize ice crystals.
- Store the container in the coldest part of your freezer for ideal texture.
- Before serving, let the ice cream sit at room temperature for a few minutes to soften slightly for easier scooping.
When serving, use a warm scoop to create neat, smooth servings. Enjoy your homemade Ninja blender ice cream fresh, or store it for up to two weeks without losing its delicious taste and creamy texture.
Frequently Asked Questions
Can I Use Frozen Fruit Instead of Ice Cubes?
Yes, you can use frozen fruit instead of ice cubes. It adds natural sweetness and flavor while keeping your ice cream creamy.
Just blend well, and you’ll get a delicious, smooth treat without watering it down.
How Do I Clean the Ninja Blender After Making Ice Cream?
You’ll want to rinse the blender immediately, then add warm water and a drop of dish soap. Blend for 30 seconds, rinse thoroughly, and dry.
This keeps your Ninja blender clean and ready for your next ice cream treat!
Is It Possible to Make Dairy-Free Ice Cream in a Ninja Blender?
Yes, you can make dairy-free ice cream in your Ninja blender by using frozen fruits, coconut milk, or other plant-based milks. Just blend until smooth and creamy, adjusting sweetness and texture to your liking.
Can I Add Alcohol to My Ice Cream Mixture?
You can absolutely add alcohol to your ice cream mixture, but remember, a little goes a long way.
It’ll keep your ice cream softer since alcohol lowers the freezing point, so don’t overdo it!
How Long Can Homemade Ice Cream Be Stored in the Freezer?
You can store homemade ice cream in the freezer for up to two weeks. After that, it might lose texture and flavor.
Make sure to keep it in an airtight container to prevent freezer burn and ice crystals.
Conclusion
Now you know how easy it is to make delicious ice cream with your Ninja blender in just seven steps! Did you know that 90% of Americans enjoy ice cream regularly? By whipping up your own, you control the flavors and ingredients, making it healthier and more personalized.
So, grab your blender and experiment with your favorite mix-ins. Enjoy creamy, homemade ice cream anytime you want—no fancy equipment needed! Making ice cream in a Ninja blender is the perfect way to create quick, tasty, and customizable frozen treats at home.