How to Make a Fruit Smoothie With a Blender in 10 Easy Steps
To make a delicious fruit smoothie with a blender in 10 easy steps, start by gathering fresh, ripe fruits and your choice of liquid such as juice, milk, or water. Using a blender is a simple and effective way to combine ingredients quickly while preserving nutrients.
This guide will help you create a refreshing and healthy fruit smoothie every time.
Wash, peel, and chop your fruit into small pieces to ensure smooth blending. Add protein or healthy fats like yogurt or nut butter for extra nutrition.
Layer ingredients properly—liquid first, soft items next—and blend from low to high speed.
Adjust the consistency by adding more liquid or frozen fruit as needed. Once blended to your liking, pour your smoothie into a glass and serve immediately.
Keep reading to discover tips on choosing and caring for your blender.
Key Takeaways
- Wash, peel, and chop fresh fruits into small pieces for smooth blending and better texture.
- Add the chosen liquid base first, followed by softer ingredients, then frozen fruits or ice, and powders last for even blending.
- Incorporate protein or healthy fats like yogurt, nut butter, or seeds to boost nutrition and creaminess.
- Blend progressively from low to high speed, adjusting consistency by adding liquid or frozen fruit as needed.
- Pour into a clean glass immediately after blending and clean the blender promptly for best results.
Gather Fresh Fruit and Ingredients for Your Smoothie
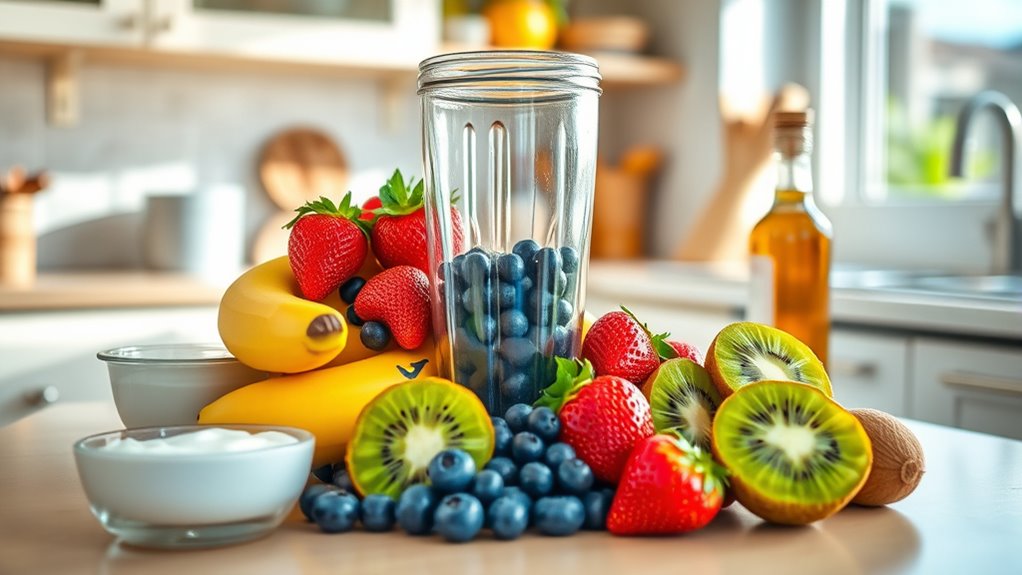
Before you start blending, gather fresh fruit and other key ingredients to guarantee your smoothie tastes vibrant and nutritious. Choose ripe, flavorful fruits like berries, bananas, mangoes, or peaches to create a natural sweetness and rich texture. Don’t forget to include liquids such as water, milk, or juice to help your blender work smoothly.
Adding yogurt or protein powder can boost the creaminess and nutritional value. You might also want to incorporate extras like honey for sweetness, chia seeds for fiber, or spinach for a vitamin kick. Make certain all your ingredients are fresh and free from bruises or spoilage.
Having everything ready ensures a quick, efficient blending process and a delicious smoothie you’ll want to enjoy every time.
Prep Your Fruit: Wash, Peel, and Chop
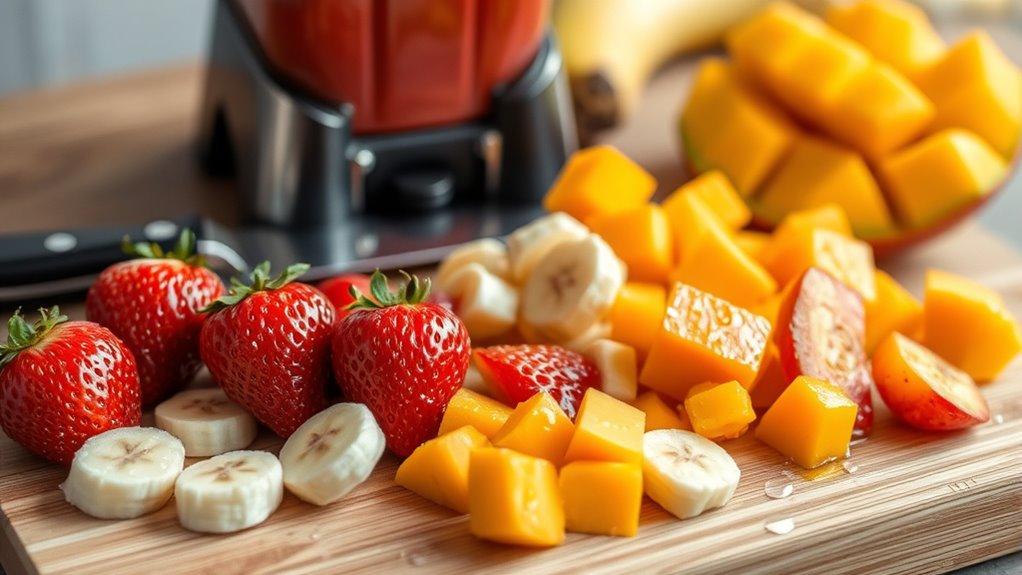
Once you’ve gathered your ingredients, start by washing your fruit thoroughly to remove any dirt or pesticides. Use cold water and gently rub each piece to guarantee cleanliness.
Begin by washing your fruit with cold water, gently rubbing each piece to ensure it’s clean and safe.
Next, peel fruits like bananas, oranges, or mangoes, removing skins that can affect your smoothie’s texture. For fruits with edible skins, such as apples or berries, you can leave the skin on to retain fiber and nutrients.
After peeling, chop your fruit into smaller, uniform pieces. This helps your blender work efficiently and creates a smoother texture. Aim for bite-sized chunks that’ll blend easily without leaving large chunks behind.
Proper prep ensures your smoothie mixes well and tastes fresh, setting the stage for a delicious, healthy drink.
Add Your Liquid Base: Juice, Milk, or Water
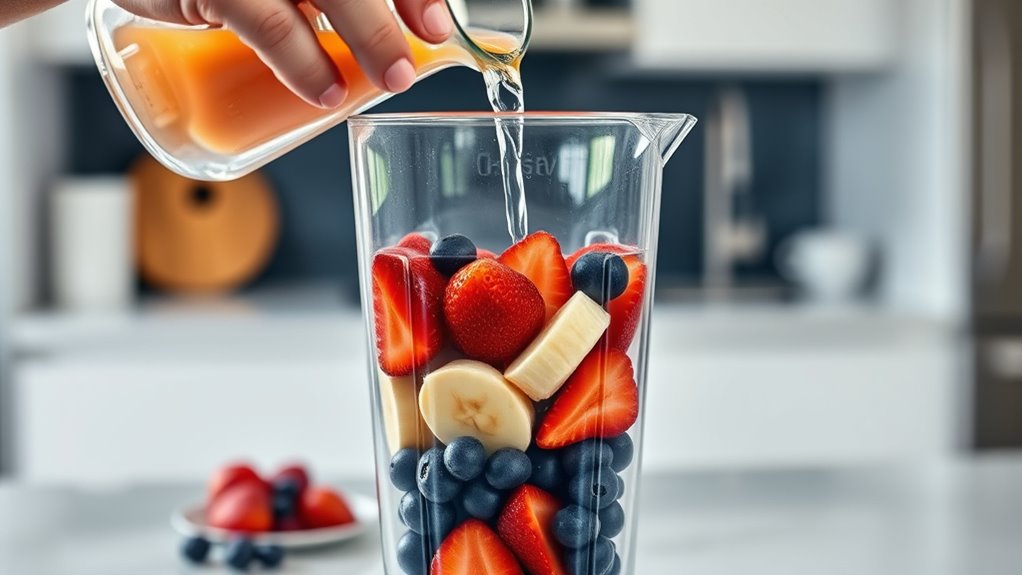
You’ll want to pick the right liquid base to get the texture and flavor you like. Juice adds sweetness and brightness, milk makes it creamy, and water keeps it light.
Experiment with each to find the perfect balance for your smoothie.
Choosing The Right Liquid
How do you pick the perfect liquid base for your fruit smoothie? It depends on the flavor and nutritional boost you want. Juice adds sweetness and fruit flavor, milk provides creaminess and protein, and water keeps it light and hydrating.
Consider what complements your fruits best and matches your dietary needs.
| Liquid Base | Flavor Impact | Nutritional Benefit |
|---|---|---|
| Juice | Sweet, fruity | Vitamins, natural sugars |
| Milk | Creamy, rich | Protein, calcium |
| Water | Neutral, refreshing | Hydration, zero calories |
| Plant Milk | Mild, nutty/flavor varies | Vegan-friendly, low-fat |
Choose the liquid that fits your taste and health goals for a smoothie you’ll enjoy every time.
Impact On Smoothie Texture
Selecting your liquid base doesn’t just influence flavor and nutrition—it also shapes your smoothie’s texture. The consistency can range from thick and creamy to light and revitalizing, depending on whether you use juice, milk, or water.
Here’s how each option impacts texture:
- Juice adds a thinner, more fluid texture, making your smoothie lighter and easier to sip.
- Milk creates a creamy, rich texture, perfect for a satisfying, dessert-like smoothie.
- Water keeps things light and clean, but may make the smoothie feel less smooth.
- Plant-based milks (like almond or oat) offer varying creaminess levels, letting you customize texture without dairy.
Choose your liquid base thoughtfully to get the exact smoothie texture you want every time.
Flavor Variations With Liquids
What flavor profile do you want to highlight in your smoothie? Choosing the right liquid base shapes the taste and texture.
If you want a sweeter, fruit-forward flavor, opt for fruit juice like orange or apple juice. It adds natural sweetness and boosts the fruitiness.
For a creamier, richer smoothie, use milk or plant-based alternatives like almond or oat milk. These lend a smooth texture and subtle flavors that complement berries or tropical fruits.
If you prefer a lighter, fresher option, water works perfectly to keep things simple and hydrate without altering the taste. You can even mix liquids to balance richness and brightness.
Experiment with these bases to create your ideal flavor and texture combination every time.
Add Protein and Healthy Fats to Boost Nutrition
Although fruit smoothies are naturally packed with vitamins and fiber, adding protein and healthy fats can turn your drink into a more balanced and satisfying meal. Including these nutrients helps keep you full longer and supports muscle repair and brain health.
Try these simple additions to boost nutrition:
- Greek yogurt – rich in protein and creamy texture
- Nut butters – like almond or peanut butter for healthy fats
- Chia seeds or flaxseeds – provide omega-3 fatty acids and fiber
- Protein powder – whey, plant-based, or collagen for an easy protein boost
Incorporating one or more of these ingredients will enhance your smoothie’s nutritional profile without sacrificing flavor.
How to Layer Ingredients for Smooth Blending
To get a perfectly smooth blend, start by adding your liquid base to the blender first. Then, layer softer ingredients like yogurt or protein powders before adding frozen fruits or ice on top.
This order helps everything blend evenly without getting stuck.
Order Of Ingredients
When you layer your ingredients correctly, your smoothie blends more smoothly and efficiently. The order you add them matters because it affects how well the blades move and mix everything together.
Here’s the best way to layer:
- Start with softer ingredients like yogurt or nut butter at the bottom to protect the blades.
- Add your fresh or frozen fruits next for even blending.
- Place tougher ingredients like leafy greens or ice cubes closer to the top.
- Finally, add any powders or seeds on top to avoid clumping.
This order helps prevent the blender from getting stuck and ensures a creamy, well-mixed smoothie every time. Follow these steps, and you’ll get perfect texture without any chunks or uneven blending.
Importance Of Liquid Base
A liquid base plays a crucial role in creating a smooth, blendable texture for your smoothie. It helps the blender blades move freely and prevents ingredients from sticking to the sides. Without enough liquid, your smoothie can become thick, lumpy, or even cause your blender to strain.
Choosing the right liquid—water, milk, juice, or plant-based alternatives—also influences the flavor and nutritional value. Start by adding about one cup of liquid to your blender before other ingredients. This guarantees the blades stay submerged and mix everything evenly.
Adjust the amount based on your desired consistency. Remember, the liquid base is the foundation that facilitates smooth blending, so don’t skip it or add it last, or you risk uneven blending and a frustrating smoothie-making experience.
Layering For Even Blending
The liquid base sets the stage, but how you add your ingredients next can make or break the blending process. To guarantee smooth, even blending, follow these steps when layering your smoothie ingredients:
- Start with softer fruits or leafy greens closest to the liquid base; this creates a smooth flow for blending.
- Add frozen fruits or ice next; their firmness helps break down the softer layers efficiently.
- Place heavier items like nuts, seeds, or protein powders on top to prevent them from settling at the bottom.
- Finally, add any powders or flavorings last to guarantee they mix evenly without clumping.
Blend Your Fruit Smoothie on the Right Speed
Although it might be tempting to start blending on high speed right away, you’ll get better results by adjusting the speed gradually. Begin on a low setting to break down the larger chunks of fruit and ice without straining your blender. After a few seconds, increase the speed to medium to blend the ingredients more thoroughly.
Finally, switch to high speed for a smooth, creamy texture. This approach prevents overheating and guarantees all pieces are evenly blended. If your blender has pulse settings, use them to help break up stubborn chunks before continuous blending.
Taking control of the speed means you’ll avoid uneven mixing and get a perfectly smooth fruit smoothie every time.
Check Consistency and Adjust Thickness as Needed
After blending, check your smoothie’s texture to see if it’s too thick or thin. If it needs adjusting, add a little liquid gradually to avoid making it too runny.
Blend again and recheck until you reach the perfect consistency.
Assess Smoothie Texture
When you blend your ingredients, pay close attention to the smoothie’s texture to guarantee it meets your preference. A perfect smoothie should be smooth and creamy but not too thick or watery. To assess the texture effectively:
- Check if the smoothie pours easily but holds its shape.
- Taste a small spoonful to feel the mouthfeel—gritty or smooth.
- Look for any chunks or unblended bits that need more blending.
- Observe if it clings to the sides of the glass or slides down quickly.
If the texture feels off, you can tweak it by blending a bit longer or adjusting the ingredients. This step ensures your smoothie is enjoyable and perfectly suited to your liking.
Add Liquid Gradually
If your smoothie feels too thick or isn’t blending smoothly, adding liquid bit by bit can help you reach the perfect consistency. Start by pouring a small amount of your chosen liquid—water, milk, or juice—into the blender. Blend briefly, then stop to check the texture.
If it’s still too thick, add a little more liquid and blend again. Keep an eye on the thickness as you go; adding too much liquid at once can make your smoothie too runny. By gradually introducing liquid, you maintain control over the texture and avoid over-thinning.
This step ensures your smoothie is creamy and easy to drink, tailored exactly to your preference before moving on to the final blend.
Blend and Recheck
Though you’ve already added liquid gradually, blending your smoothie again guarantees all ingredients combine smoothly and lets you check the consistency one more time.
After blending, take a moment to assess the texture. If it feels too thick or chunky, you can make quick adjustments.
Here’s what to do next:
- Blend for another 10-15 seconds to ensure even mixing.
- Check the thickness by dipping a spoon or tasting a small amount.
- If too thick, add a splash of liquid (water, juice, or milk) and blend again.
- If too thin, toss in some frozen fruit or ice cubes and pulse briefly.
Pour and Serve Your Fresh Fruit Smoothie
How do you know when your smoothie is ready to enjoy? Once the ingredients blend into a smooth, creamy texture without chunks, it’s time to pour. Grab a clean glass and carefully pour your smoothie, making sure not to spill.
If you want, add a garnish like a slice of fruit or a sprig of mint to make it look inviting. Serve immediately to enjoy the freshest flavors and the best texture. If you’re making smoothies for others, use separate glasses for each person.
Pick the Best Blender for Making Smoothies
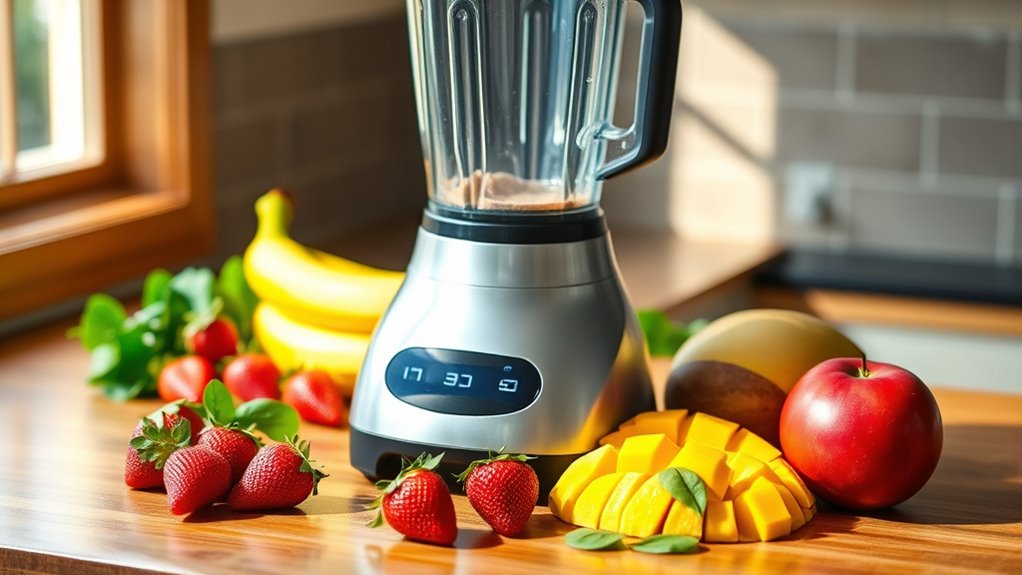
Enjoying your freshly poured fruit smoothie is made even better when you have the right blender to create that perfect texture. Picking the best blender ensures your smoothie is smooth, creamy, and well-mixed every time. Here’s what to consider:
The right blender transforms your smoothie into a smooth, creamy, perfectly blended treat every time.
- Power: Look for a blender with at least 500 watts to crush ice and frozen fruit effortlessly.
- Blade Quality: Sharp, durable stainless steel blades blend ingredients evenly without leaving chunks.
- Capacity: Choose a size that fits your usual smoothie servings—single-serve or family-size jars.
- Ease of Use: Controls should be straightforward with multiple speed settings or preset smoothie options.
Selecting a blender with these features guarantees your fruit smoothie comes out deliciously consistent every time.
Clean Your Blender Quickly After Use
Because fruit smoothies can leave sticky residue, you’ll want to clean your blender immediately after use to prevent buildup and make the process easier. Start by rinsing the blender jar with warm water to remove large chunks. Then, add a few drops of dish soap and fill the jar halfway with warm water.
Secure the lid and blend on high for 20 to 30 seconds—this loosens stuck-on residue without scrubbing. Pour out the soapy water and rinse thoroughly with clean water. Don’t forget to wipe down the base and buttons to remove any spills.
Dry all parts properly before reassembling. Cleaning your blender right away keeps it fresh and ready for your next smoothie, saving you time and effort.
Frequently Asked Questions
Can I Make a Fruit Smoothie Without a Blender?
Yes, you can make a fruit smoothie without a blender by mashing soft fruits with a fork, then mixing them with yogurt or juice. It won’t be as smooth, but it’ll still taste great and refresh you!
How Long Can I Store a Smoothie in the Fridge?
Like Rip Van Winkle’s long sleep, don’t let your smoothie linger too long; you can store it in the fridge for up to 24-48 hours.
After that, it loses freshness and flavor, so drink it quickly.
Are Frozen Fruits Better Than Fresh for Smoothies?
You’ll find frozen fruits often better for smoothies because they’re picked at peak ripeness and flash-frozen, preserving nutrients and flavor. They also chill your drink without watering it down like fresh fruits might.
This makes them a convenient and tasty option for smoothies any time of the year. Plus, frozen fruits have a longer shelf life, reducing waste.
Can Smoothies Help With Weight Loss?
You know what they say, “You are what you eat.” Yes, smoothies can help with weight loss if you keep them low in sugar and high in fiber, making you feel full and energized throughout the day.
What Are Some Common Smoothie Flavor Combinations?
You’ll love classic combos like strawberry-banana, mango-pineapple, or blueberry-peach.
Try mixing spinach with apple and kiwi for a green boost, or blend avocado with banana for a creamy, rich texture.
Conclusion
Congrats, smoothie master! You’ve just transformed a blender, fruit, and a splash of liquid into a delicious, nutritious masterpiece—like a mad scientist in a fruity lab. No more sad cereal mornings or sadder vending machine snacks.
Now, your taste buds throw a party, and your blender’s the DJ spinning fresh beats. Just remember to clean that thing before it starts growing its own smoothie jungle.
Cheers to your new superpower: blending like a boss! With these easy steps, making a fruit smoothie with a blender has never been simpler or more fun. Enjoy your healthy, homemade fruit smoothie anytime!