How You Whip Egg Whites in a Blender Step by Step
To whip egg whites in a blender effectively, start with fresh, room-temperature eggs and carefully separate the whites from the yolks. Using a clean, dry blender jar fitted with a standard blade is essential for achieving the perfect texture.
Fill the blender no more than halfway to allow enough space for the egg whites to expand.
Begin whipping on medium speed using pulses, then maintain a steady speed while checking the mixture every 15-20 seconds. Stop once stiff, glossy peaks form, indicating the egg whites are properly whipped.
Adding cream of tartar can help stabilize the foam and improve consistency.
With practice, you’ll master tips for achieving the ideal texture and avoid common mistakes. Keep going, and whipping egg whites in a blender will become a simple, reliable kitchen skill.
Key Takeaways
- Ensure eggs are fresh, at room temperature, and separated carefully to avoid any yolk contamination before whipping.
- Use a clean, dry blender jar with sharp blades and fill it no more than halfway with egg whites.
- Start whipping at medium speed with pulse mode, then continue steadily, checking every 15-20 seconds for peak formation.
- Add cream of tartar or lemon juice before whipping to stabilize foam, and avoid high speeds early to prevent splattering.
- Stop whipping when stiff, glossy peaks form that stand upright without drooping, then carefully fold into your recipe.
What You Need to Whip Egg Whites
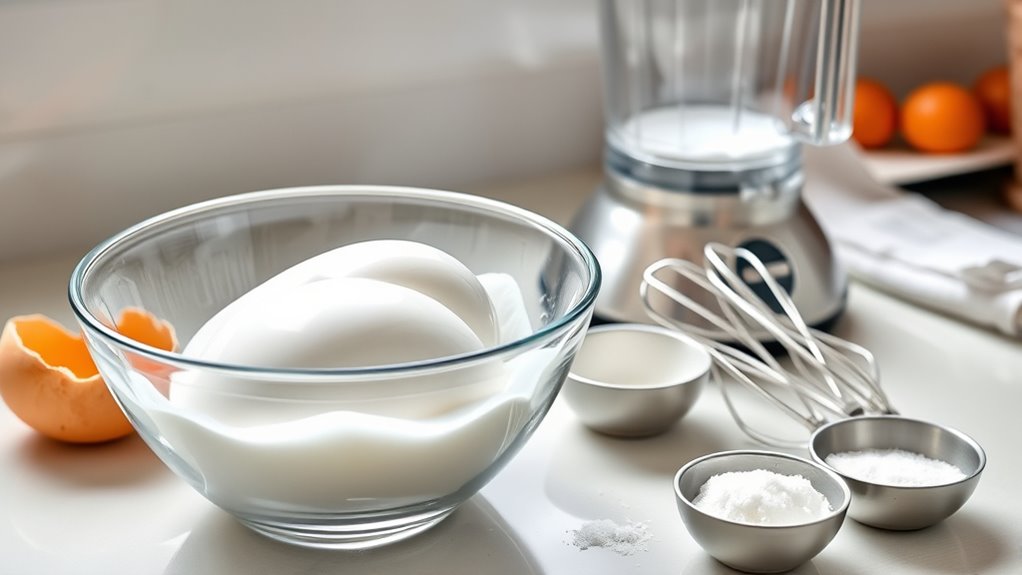
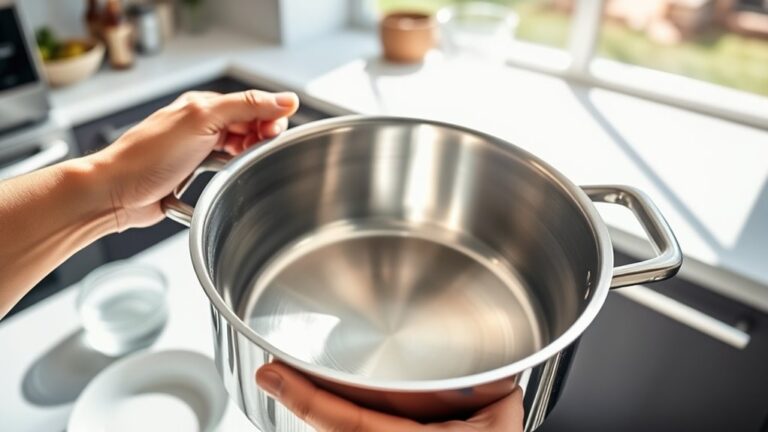
Before you start whipping egg whites in a blender, you need a few essential tools and ingredients to guarantee success. First, grab fresh eggs; freshness is key for stable, fluffy whites. You’ll also want a clean, dry blender—any grease or residue can prevent the whites from whipping properly.
A pinch of cream of tartar or a few drops of lemon juice helps stabilize the foam, so have those ready if you want firmer peaks. You’ll need a spatula to scrape down the sides during whipping. Finally, a clear measuring cup or bowl can be handy for separating eggs carefully before pouring them into the blender.
Having these essentials prepared sets you up for perfectly whipped egg whites every time.
Preparing Eggs for Whipping
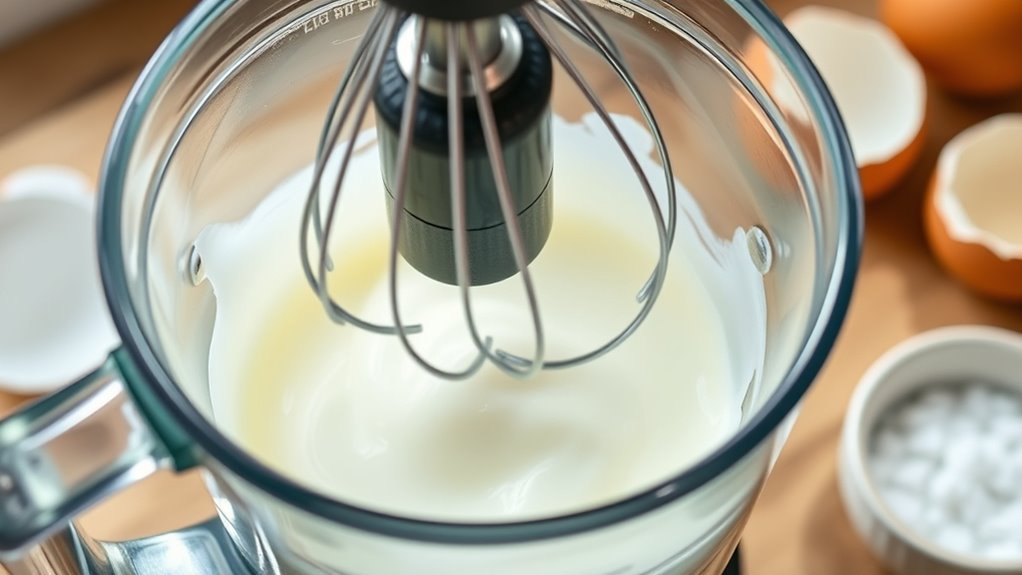
Once you have your tools and ingredients ready, focus on preparing the eggs properly to guarantee the best whipping results. Start by separating the egg whites from the yolks carefully—any trace of yolk can prevent the whites from whipping up fully. Use clean, dry bowls and utensils to avoid fat contamination, which also hinders whipping.
It’s best to use eggs at room temperature because they whip more easily and reach greater volume. If your eggs are cold, leave them out for about 30 minutes before you start. Finally, check that your eggs are fresh; fresher eggs tend to whip better, giving you stiffer peaks.
Proper preparation sets the foundation for perfectly whipped egg whites in your blender.
Setting Up Your Blender for Best Results
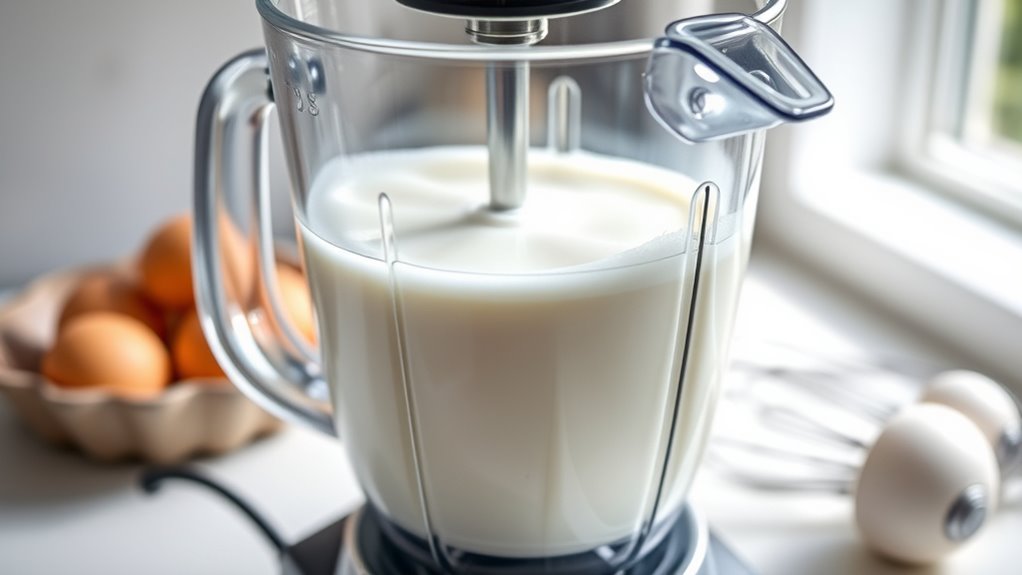
Although it might seem straightforward, setting up your blender correctly is essential to achieving perfectly whipped egg whites. Start by making sure your blender jar is clean and completely dry — any grease or moisture can prevent the egg whites from whipping properly. Choose a blender with variable speed settings; this gives you more control during whipping.
Attach the standard blending blade, as it’s best suited for incorporating air. Place the blender jar securely on the base to avoid spills and ensure safety. You don’t need to fill the jar more than halfway, so the egg whites have enough room to expand.
Finally, have a clean, dry bowl nearby for transferring the whipped whites once you’re done. Proper setup sets the stage for fluffy, stable egg whites.
Step-by-Step Guide to Whipping Egg Whites in a Blender
Now that your blender is ready, you’ll want to prepare your egg whites carefully for the best results. Next, you’ll learn the ideal blender settings and techniques to whip them efficiently.
Finally, we’ll cover how to know when you’ve reached those perfect stiff peaks.
Preparing Egg Whites Properly
Before you start whipping egg whites in your blender, you need to make sure they’re properly prepared to achieve the best volume and texture. First, separate the egg whites from the yolks carefully, ensuring no yolk contaminates the whites. Use room temperature eggs, as they whip better than cold ones.
Also, make sure your mixing bowl and blender blades are clean and free from grease.
Here’s a quick checklist for preparing egg whites:
| Preparation Step | Why It Matters |
|---|---|
| Separate carefully | Yolks prevent whipping |
| Use room temperature | Whites whip more voluminously |
| Clean equipment | Grease inhibits foam formation |
| Avoid plastic bowls | They retain grease residues |
| Handle gently | Prevents unnecessary breakage |
Following these tips sets you up for success before blending.
Blender Settings And Techniques
When you’re ready to whip your egg whites, set your blender to a medium speed to start. This helps incorporate air gently without splashing. Use the pulse function initially, pulsing a few times to break up the whites and start aeration.
After that, switch to a steady medium speed, allowing the blender to whip consistently. Avoid high speeds early on, as they can cause uneven whipping or overheat the whites. Keep the blender lid securely in place to prevent spills.
If your blender has a whisk attachment, use it for better aeration; otherwise, the standard blade will work fine with careful speed control. Gradually increase speed only if needed, but keep it moderate to ensure smooth, even whipping without overworking the whites.
Achieving Desired Stiff Peaks
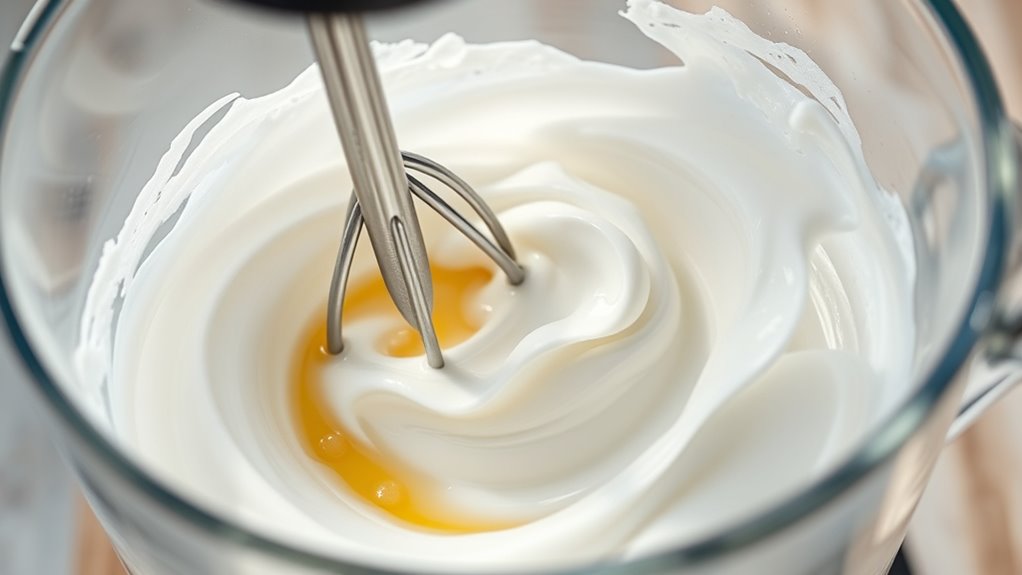
Once you’ve set the blender to a steady medium speed and started incorporating air into the egg whites, focus on monitoring their texture closely. You’ll notice the whites gradually thicken and turn glossy. Stop the blender every 15-20 seconds to check the peaks by lifting the blender lid or using a clean spoon.
Soft peaks will gently bend when you lift them, while stiff peaks stand straight without drooping. For most recipes, you want stiff peaks to provide structure and volume. Be careful not to overwhip, as the whites can become grainy and dry, losing their ability to hold air.
Once stiff peaks form, stop blending immediately to maintain the perfect texture for folding into your batter or making meringues.
How to Tell When Egg Whites Reach Stiff Peaks
You’ll know your egg whites have reached stiff peaks when they stand straight up without drooping when you lift the blender’s whisk attachment. The texture should be smooth and glossy, holding its shape firmly.
Pay close attention to how well the peaks hold their form to avoid over or under-whipping.
Visual Indicators
Although whipping egg whites in a blender might seem straightforward, recognizing the moment they reach stiff peaks requires careful observation. Watch for glossy, bright white egg whites that hold their shape firmly. When you lift the blender lid or stop the blender, the peaks should stand upright without drooping.
The mixture should cling tightly to the beaters or whisk attachment, forming sharp points. If the peaks flop over or look soft, keep whipping. Also, notice that the volume has increased markedly, and the whites look smooth and satiny rather than grainy or watery.
These visual indicators confirm you’ve reached stiff peaks, making your egg whites perfect for folding into recipes without losing air or structure.
Texture and Hold
When egg whites reach stiff peaks, their texture becomes firm and elastic, allowing them to hold their shape without collapsing. You’ll notice the peaks stand straight up when you lift the blender attachment or a whisk. The mixture feels dense and glossy, not runny or grainy.
This stage is essential for recipes like meringues or soufflés, where structure matters.
Here’s a quick guide to textures at different peak stages:
| Peak Stage | Texture | Hold Strength |
|---|---|---|
| Soft Peaks | Slightly foamy | Weak, folds back |
| Medium Peaks | Creamy, stable | Holds shape briefly |
| Stiff Peaks | Firm, glossy, elastic | Holds shape firmly |
Use this to know exactly when to stop whipping.
Tips to Avoid Overwhipping or Underwhipping Egg Whites
Because egg whites can quickly shift from perfectly whipped to ruined, you need to watch them closely as they whip. Overwhipping makes the whites grainy and dry, while underwhipping leaves them too runny to hold shape. To avoid these pitfalls, keep an eye on the texture and stop whipping at the right moment.
Here are some tips to help you get it just right:
- Stop whipping as soon as stiff peaks form and the whites hold their shape.
- Use short bursts of blending instead of continuous whipping to check progress.
- Avoid whipping beyond the point where the whites become dull or start to separate.
- If you accidentally overwhip, try adding a fresh egg white and gently fold it in to restore moisture.
How Ingredients Affect Egg White Whipping
You’ll notice that the freshness of your eggs plays a big role in how well they whip. Adding ingredients like sugar or cream of tartar can also change the texture and stability of your egg whites. Let’s explore how these factors affect the whipping process.
Impact of Egg Freshness
Although fresh eggs typically whip up more easily, the age of your eggs can considerably affect the volume and stability of the foam you create. As eggs age, their whites become thinner and less viscous, which might make whipping a bit trickier but can result in larger bubbles and a fluffier texture.
However, very fresh eggs have firmer whites that whip into a denser, more stable foam. When you’re choosing eggs, keep these points in mind:
- Fresh eggs yield firmer, more stable peaks.
- Older eggs create fluffier but less stable foam.
- Room temperature eggs whip better regardless of freshness.
- Always separate eggs carefully to avoid yolk contamination, which hinders whipping.
Understanding egg freshness helps you whip whites perfectly every time.
Effect of Added Ingredients
When you add ingredients like sugar, salt, or acid to egg whites, they can dramatically change how your foam forms and holds its shape. Sugar stabilizes the foam by slowing down the protein unfolding process, so add it gradually once soft peaks form.
Acidic ingredients like cream of tartar or lemon juice strengthen the foam by lowering pH, helping proteins bond tighter and creating a more stable structure. Salt, on the other hand, can weaken the foam if added too early by interfering with protein bonds, so it’s best to avoid adding salt until after whipping.
Understanding these effects lets you control texture and volume better, ensuring your whipped egg whites turn out fluffy, stable, and perfect for your recipe.
Blender Mistakes to Avoid When Whipping Egg Whites
If you rush into whipping egg whites without prepping your blender properly, you risk ending up with a mess instead of fluffy peaks. Avoid these common blender mistakes to get the best results every time.
- Don’t use a blender with a dull or damaged blade; it won’t whip the whites evenly.
- Avoid overfilling the blender jar—egg whites need room to expand and aerate.
- Never skip cleaning your blender thoroughly; any grease or residue will prevent whites from whipping properly.
- Don’t turn the blender on high immediately; start slow and gradually increase speed to avoid splattering and uneven whipping.
How to Use Whipped Egg Whites in Recipes
Now that you’ve mastered whipping egg whites in your blender without common mistakes, it’s time to put those fluffy peaks to good use. Gently fold the whipped egg whites into your batter or mixture to keep the airiness intact. Use a rubber spatula and fold carefully—don’t stir vigorously or you’ll deflate the volume.
Whipped egg whites add lightness and structure to recipes like soufflés, meringues, mousses, and chiffon cakes. When incorporating, add a small portion first to lighten the base, then fold in the rest gradually. Avoid overmixing to maintain those soft or stiff peaks you achieved.
Using whipped egg whites correctly guarantees your dishes turn out airy, tender, and perfectly textured every time you bake or cook.
Cleaning Your Blender After Whipping Egg Whites
Since egg whites can leave a sticky residue in your blender, cleaning it promptly guarantees your appliance stays in top condition and prevents any lingering odors. Start by rinsing the blender jar immediately after use to prevent the egg whites from drying and sticking.
Then, fill the jar halfway with warm water and add a few drops of dish soap. Secure the lid and blend on low speed for 30 seconds to loosen any remaining residue. Finally, rinse thoroughly with clean water and dry all parts completely before storing.
Here are quick cleaning tips:
- Avoid abrasive sponges to protect the blades.
- Clean the lid and gasket separately.
- Use a brush for hard-to-reach areas.
- Air-dry to prevent moisture buildup inside.
Frequently Asked Questions
Can I Use Cold Egg Whites for Whipping in a Blender?
You shouldn’t use cold egg whites for whipping in a blender because they won’t whip up properly. Let them come to room temperature first; this helps you achieve better volume and stiffer peaks more easily.
How Long Can Whipped Egg Whites Be Stored Before Using?
You can store whipped egg whites for up to 24 hours in the fridge, but don’t let them hang around forever—they’ll lose fluff and become sad.
Use them ASAP for the best airy results!
Is It Safe to Consume Raw Whipped Egg Whites?
You can eat raw whipped egg whites, but it’s risky because of potential salmonella. To stay safe, use pasteurized eggs or cook them.
Always handle eggs carefully to avoid foodborne illness.
Can I Substitute Egg Whites With Aquafaba in a Blender?
You can definitely substitute egg whites with aquafaba in a blender; it whips up to three times its volume, making it a great vegan alternative for meringues, mousses, and more.
Just blend and enjoy!
What Brands of Blenders Work Best for Whipping Egg Whites?
You’ll find brands like Vitamix, Ninja, and Blendtec work best for whipping egg whites because they offer powerful motors and variable speeds. These features let you achieve fluffy peaks quickly without overworking the whites.
Conclusion
Now that you know how to whip egg whites in a blender, you’re just steps away from fluffy, cloud-like peaks that could rival a mountain summit! With the right prep, setup, and technique, you’ll breeze through this process like a pro.
Avoid common blender blunders, and your whipped egg whites will be perfect every time. Immerse yourself in your recipes with confidence and don’t forget to clean your blender thoroughly afterward—it’s easier than you think!
By following these simple steps to whip egg whites in a blender, you’ll achieve consistently great results. Mastering this method opens up new possibilities for your cooking and baking adventures. Embrace the ease and efficiency of whipping egg whites in a blender for all your culinary creations.