How to Grate Cheese Without a Grater: 7 Easy Tips
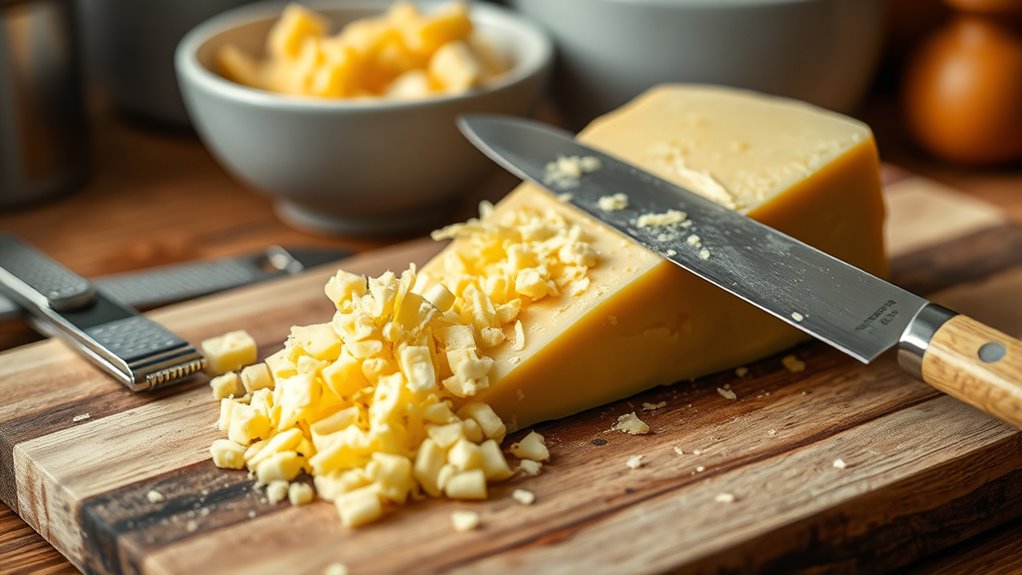
You can grate cheese without a grater by using simple kitchen tools and techniques that are easy and effective. Whether you need finely shredded cheese for cooking or decorative ribbons for garnishing, there are multiple ways to achieve this without a traditional grater.
From freezing cheese to firm it up to using a vegetable peeler, these methods offer convenience and control in the kitchen.
Start by freezing cheese briefly to make it firmer, then slice thin strips with a sharp knife for better control. A vegetable peeler works great to create ribbon-like shreds, while rubbing cheese on a clean, rough surface can produce fine shreds.
For soft cheese, crumble it by hand or snip strips with kitchen scissors. You can also use a food processor for quick shredding.
Keep going to uncover more handy techniques and safety tips.
Key Takeaways
- Freeze cheese for 30 minutes to firm it, making it easier to slice or rub without smearing or crumbling.
- Use a sharp knife to cut cheese into thin strips or small pieces for a shredded texture.
- Rub semi-hard cheese on a clean, rough surface like wood or ceramic to create fine shreds manually.
- Employ a vegetable peeler to create thin, ribbon-like slices from firm cheeses like cheddar or Parmesan.
- Crumble soft cheeses like feta by hand or snip semi-hard cheeses with kitchen scissors for quick preparation.
Freeze Cheese to Make Shredding Easier
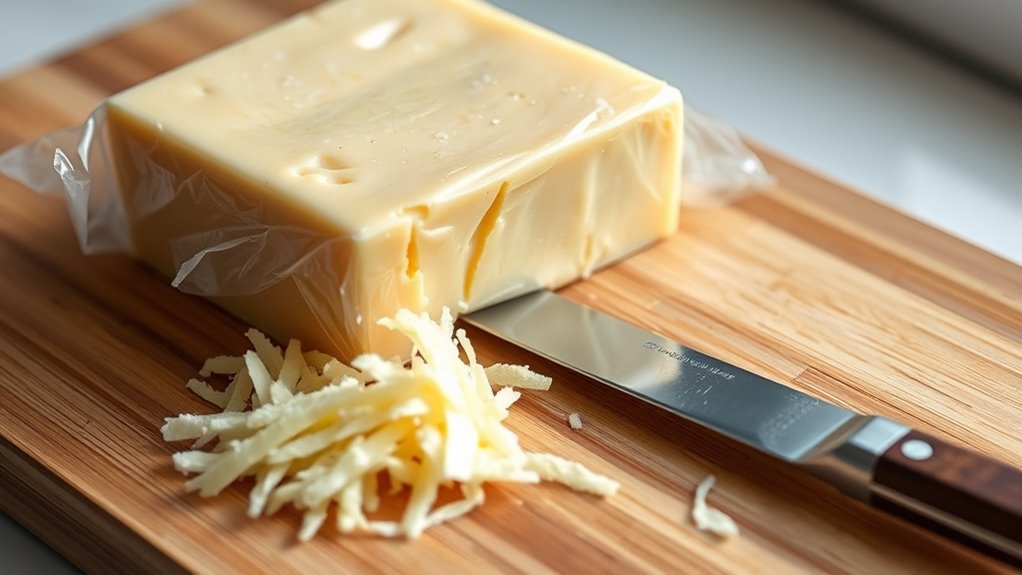
Although grating soft cheese can be tricky, freezing it first makes the process much easier. When you freeze cheese for about 30 minutes to an hour, it firms up, so it won’t smear or crumble when you shred it. Start by wrapping the cheese tightly in plastic wrap or placing it in a sealed bag to prevent freezer burn.
Once chilled, use a sturdy tool like a vegetable peeler or even a sharp knife to break it into smaller pieces. The cold, firm texture gives you better control and cleaner shreds. Just remember not to freeze cheese for too long, or it might become too hard to handle.
This simple step turns a frustrating task into a quick, manageable one.
Shred Cheese With a Knife by Slicing Thin Strips
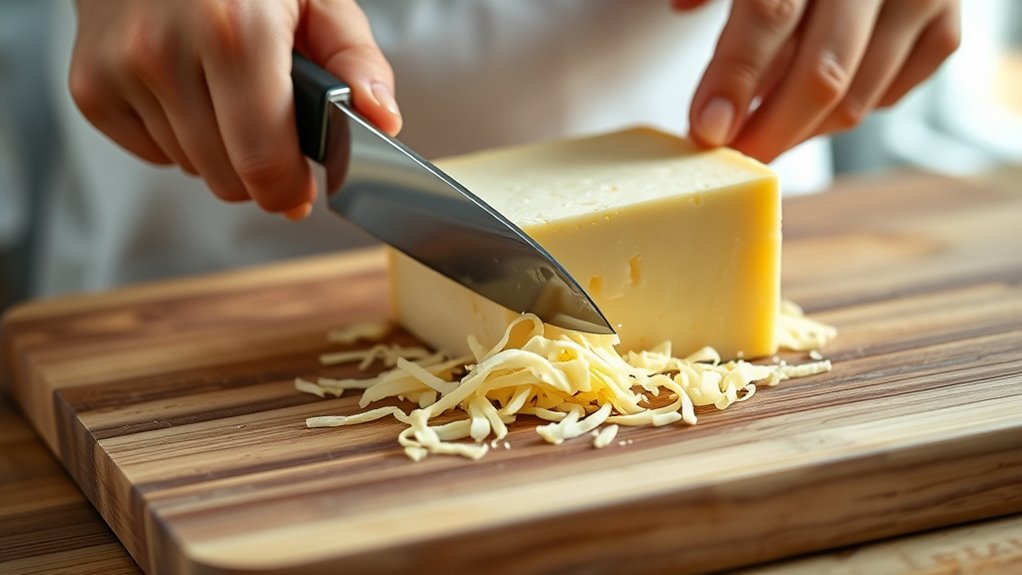
To shred cheese with a knife, start by choosing a sharp, sturdy blade for better control. Next, slice the cheese into thin, even strips to mimic shredded texture. Always keep your fingers safe by using proper cutting techniques and a stable surface.
Choosing the Right Knife
When you don’t have a grater on hand, selecting the right knife makes all the difference in slicing cheese into thin, manageable strips. Choose a sharp knife with a thin, sturdy blade—this gives you control and precision, preventing the cheese from crumbling. A paring knife or a small chef’s knife works well because they allow you to make clean, delicate cuts.
Avoid bulky or serrated knives, as they can tear the cheese unevenly. Make sure your knife is properly sharpened before you start; a dull blade will crush rather than slice. Holding the knife firmly and maintaining a steady hand will help you achieve consistently thin strips, making your cheese perfect for melting, topping, or snacking without needing a grater.
Slicing Thin Cheese Strips
Having the right knife ready, you can now focus on slicing thin cheese strips that mimic shredded cheese. Hold the cheese firmly on a flat surface, then angle your knife to cut thin, even strips. Use smooth, controlled motions, slicing away from your body to maintain stability.
Aim for uniform thickness to guarantee even melting or topping. If the cheese is cold and hard, let it sit at room temperature for a few minutes to soften slightly—this makes slicing easier and prevents crumbling. Work slowly and steady to get the best results.
These thin strips work well in salads, sandwiches, or as a substitute for grated cheese when you don’t have a grater handy. With practice, this method becomes quick and efficient.
Safety Tips While Cutting
Although slicing cheese without a grater can be simple, you’ll want to keep safety top of mind. Always use a sharp knife, as dull blades require more force and increase the risk of slipping. Hold the cheese firmly with your non-dominant hand, keeping your fingers curled inward to avoid accidental cuts.
Cut on a stable, non-slip surface like a cutting board to prevent movement. Slice slowly and deliberately, focusing on control rather than speed. If the cheese becomes too soft or slippery, chill it briefly to make slicing easier.
Never rush, and keep your workspace clear of distractions. Following these safety tips will help you shred cheese efficiently while minimizing the chance of injury.
Use a Vegetable Peeler to Grate Cheese
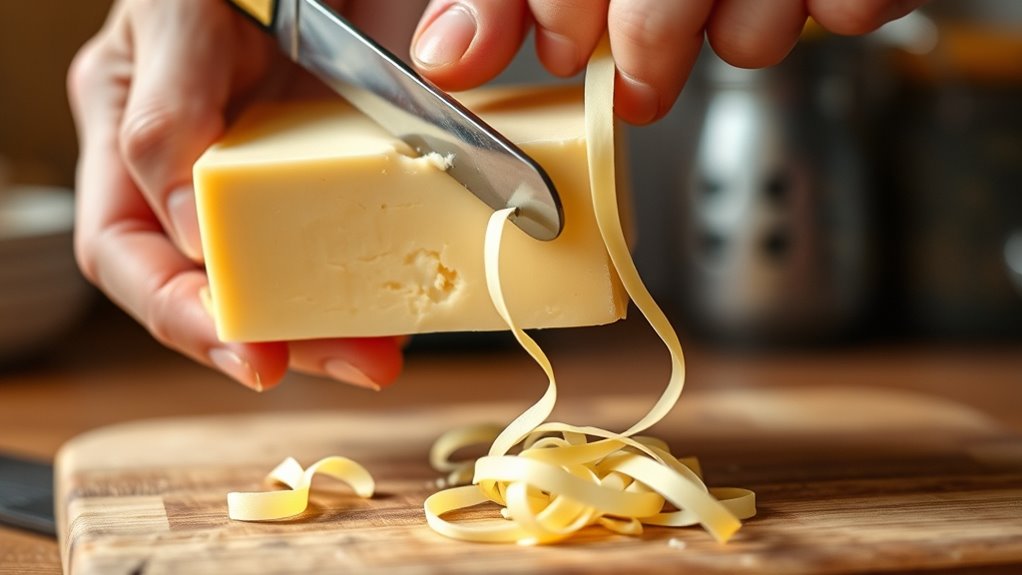
If you don’t have a grater on hand, a vegetable peeler can quickly create thin, delicate cheese slices perfect for salads, sandwiches, or melting. Hold the cheese firmly and run the peeler along its edge, applying gentle pressure to avoid breaking the slices. This method works best with semi-hard or hard cheeses like Parmesan, cheddar, or Gouda.
Be sure to peel away from your fingers to stay safe. The slices you get will be more like ribbons than shreds, adding an elegant touch to your dishes. If the cheese softens too much, pop it back in the fridge for a few minutes before continuing.
Using a vegetable peeler is simple, safe, and gives you nicely portioned cheese without needing a grater.
Rub Cheese on a Clean, Rough Surface to Create Shreds
To create shreds by rubbing cheese, start by picking a clean, rough surface like a textured cutting board or a clean piece of sandpaper. Make sure your cheese is firm and cold for easier handling while rubbing. Always move carefully to avoid slipping and keep your fingers safe during the process.
Choosing Suitable Rough Surfaces
Where can you find the best surfaces to grate cheese without a grater? Look for clean, rough textures that can shred cheese effectively. Common household items like a clean cheesecloth, a coarse wooden cutting board, or a textured ceramic plate work well.
Make sure the surface is dry to prevent cheese from sticking. Avoid anything too smooth or slippery, as it won’t create the shreds you want.
Here’s a quick guide to suitable rough surfaces:
| Surface Type | Texture | Cheese Suitability |
|---|---|---|
| Wooden Cutting Board | Coarse grain | Hard cheeses like Parmesan |
| Ceramic Plate | Slightly rough | Semi-hard cheeses |
| Cheesecloth | Fibrous texture | Soft to semi-soft cheeses |
Choose the right surface for your cheese to get perfect shreds every time.
Preparing Cheese for Rubbing
Although you don’t have a grater, you can still create perfect cheese shreds by preparing the cheese properly before rubbing it on a clean, rough surface. Start by chilling the cheese in the fridge for about 30 minutes; cold cheese is firmer and easier to rub without crumbling.
Cut the cheese into manageable pieces, roughly the size of your palm, so you have a solid grip while rubbing. Make sure the rough surface is clean and dry to avoid sticking or contamination. Hold the cheese firmly and rub it back and forth across the surface with consistent pressure.
This technique will help you generate fine, even shreds ideal for cooking or garnishing your dish.
Safety Tips While Rubbing
Once you’ve prepped your cheese and chosen a clean, rough surface, keep safety in mind while rubbing. Always hold the cheese firmly to avoid slips that could cause injury. Use slow, controlled motions rather than rushing to maintain steady pressure.
Protect your fingers by keeping them away from the rough edges of the surface. If the cheese becomes too small to hold safely, stop rubbing and use the remaining pieces in another way. Clean the rubbing surface thoroughly before and after use to prevent contamination.
Finally, work on a stable surface to avoid accidents caused by movement. Following these simple safety tips will help you grate cheese effectively without risking cuts or scrapes.
Break Cheese Into Small Crumbles by Hand for Texture
If you don’t have a grater on hand, you can still add texture to your dish by breaking the cheese into small crumbles with your fingers. This method works best with softer or crumbly cheeses like feta, goat cheese, or blue cheese. Simply pinch off small pieces and crumble them evenly over your salad, pasta, or pizza.
Keep in mind how cheese texture affects your dish:
| Cheese Type | Best Use for Crumbling |
|---|---|
| Feta | Salads, Mediterranean dishes |
| Goat Cheese | Spreads, garnishes |
| Blue Cheese | Dressings, bold flavor accents |
Breaking cheese by hand gives you control over size and distribution, enhancing both taste and presentation.
Shred Cheese Quickly Using Kitchen Scissors
When you need shredded cheese fast and don’t have a grater, kitchen scissors offer a simple solution. Just grab a block of cheese and hold it firmly. Use the scissors to snip thin strips right into a bowl or plate.
This method works best with semi-hard cheeses like cheddar or mozzarella. Make sure your scissors are clean and dry for easy cutting. You can control the size of the shreds by adjusting how close your snips are.
Plus, it’s safer than using a knife if you’re in a hurry. Shredding cheese this way takes only a few minutes and doesn’t require any special tools. It’s perfect for topping salads, pizzas, or pasta when a grater isn’t available.
Use a Food Processor to Shred Cheese Fast
Although you might not have a traditional grater on hand, a food processor can quickly shred cheese in seconds. Just cut your cheese into small cubes that fit easily into the processor’s feed tube. Attach the shredding or grating blade—usually the plastic disc with holes—and secure the lid tightly.
Pulse the processor in short bursts to avoid over-processing and ending up with cheese crumbs. Keep an eye on the texture and stop once the cheese reaches your desired shred size. This method works best with firm to semi-firm cheeses like cheddar, mozzarella, or gouda.
Plus, it’s a great way to save time when you need a large amount of shredded cheese for recipes like casseroles or pizzas. Cleanup is easy too—just rinse the parts right after use.
Frequently Asked Questions
Can I Grate Cheese Without Any Tools at All?
Yes, you can grate cheese without tools by finely chopping it with a knife or freezing the cheese and then breaking it into small pieces with your hands. It takes a bit more effort but works well.
How Do Different Cheese Types Affect Grating Methods?
Cheeses dance differently under your hand—hard cheeses crumble like autumn leaves, perfect for scraping, while soft cheeses melt like morning fog, needing gentle spreading or slicing.
You’ll adjust your method to match their unique textures.
Is It Safe to Use a Grater Alternative for Hard Cheeses?
Yes, you can safely use grater alternatives for hard cheeses if you’re careful. Just avoid applying too much force to prevent injury, and choose sturdy tools like a sharp knife or food processor for better control.
How Should I Store Cheese After Grating Without a Grater?
You should store grated cheese in an airtight container or resealable plastic bag. Keep it in the refrigerator to maintain freshness, and use it within a few days to prevent it from drying out or spoiling.
Can Grated Cheese Be Frozen for Later Use?
Absolutely, you can freeze grated cheese! Freezing freezes freshness, so pack it properly in airtight bags or containers.
When you’re ready, thaw it slowly to keep texture tasty and perfect for pizzas, pastas, or casseroles.
Conclusion
Now that you’ve got these seven easy tips, you’ll never be stuck without a grater again. Whether you freeze your cheese like a medieval ice merchant or shred it with scissors, you’ll have perfectly textured cheese in no time.
Just pick the method that suits your mood and kitchen tools, and enjoy your cheesy creations without hassle. Grating cheese has never been this simple—or this fun! Keep experimenting and savor every bite.
With these easy cheese grating hacks, you can effortlessly grate cheese without a grater. Embrace these creative ways to grate cheese and make your cooking experience more enjoyable and convenient.