How to Fry Chicken in a Pan With Oil
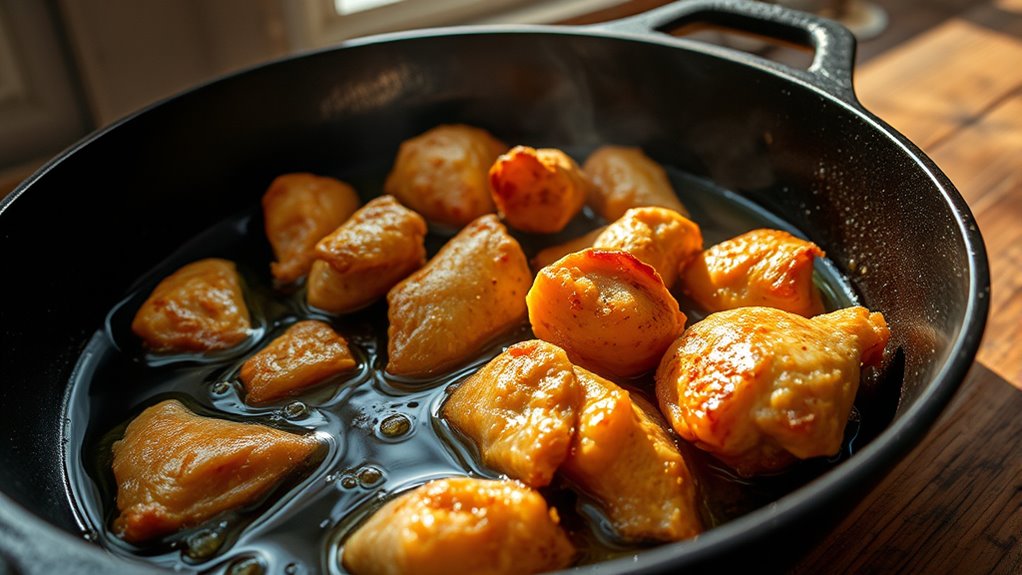
To fry chicken in a pan with oil, start by seasoning and breading your chicken to enhance flavor and texture. Using oil with a high smoke point is essential for achieving a crispy, golden crust.
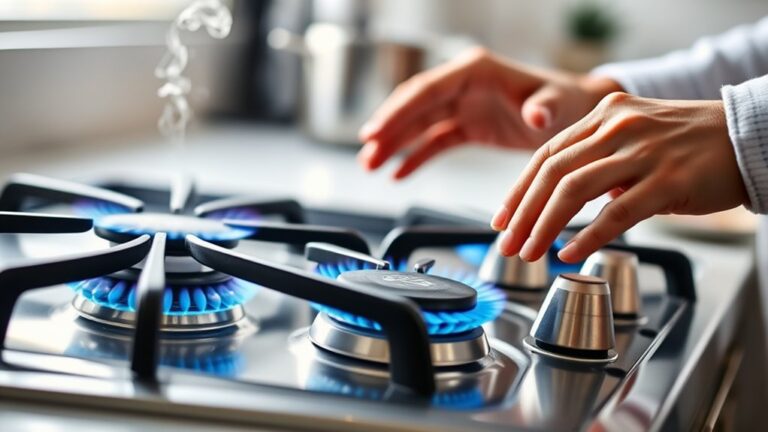
Heat the oil to about 350°F–375°F in a heavy skillet to ensure even cooking and prevent sogginess.
Carefully add the chicken without crowding the pan, which helps maintain the oil temperature.
Flip the chicken once after 6–8 minutes to cook both sides evenly.
Continue cooking until the internal temperature reaches 165°F for safe consumption.
Once cooked, drain the chicken on paper towels to keep it crispy and remove excess oil.
Master these basics, and you’ll be ready to explore tricks for perfect flavor, texture, and pan care.
Key Takeaways
- Use a heavy skillet and heat high smoke point oil to 350°F-375°F for even cooking and crispiness.
- Prepare chicken by seasoning, drying, and breading with flour, egg, and breadcrumbs for a crispy crust.
- Fry chicken without overcrowding, flipping once, and cook until internal temperature reaches 165°F for safety.
- Drain fried chicken on paper towels to maintain crispiness and let the pan cool before cleaning.
- Choose oils like peanut or canola with high smoke points, and monitor oil temperature throughout cooking.
Essential Tools and Ingredients for Pan-Frying Chicken
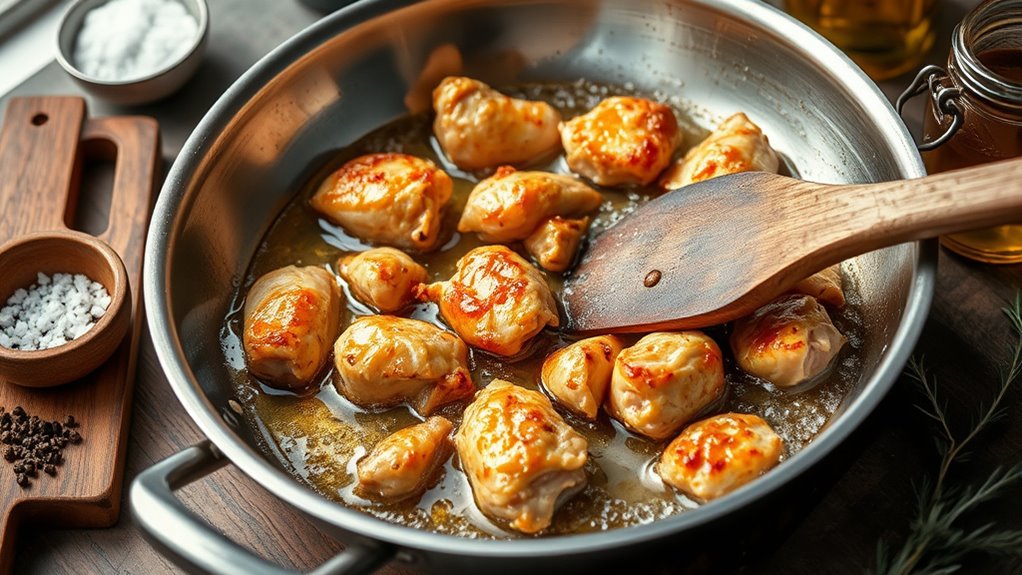
Before you start frying chicken, gather the essential tools and ingredients to guarantee a smooth cooking process. You’ll need a heavy skillet or frying pan, preferably cast iron, because it retains heat evenly. Grab a pair of tongs to flip the chicken safely, and a thermometer to monitor the oil temperature.
Use a slotted spoon or spatula to remove the chicken without excess oil. For ingredients, choose cooking oil with a high smoke point, like vegetable, canola, or peanut oil. Have your chicken pieces ready, along with any seasoning or breading components you plan to use later.
Finally, keep paper towels handy to drain fried chicken and maintain crispiness. Having these tools and ingredients at arm’s reach keeps frying efficient and safe.
How to Prepare Chicken for Pan Frying: Cleaning, Seasoning, and Breading
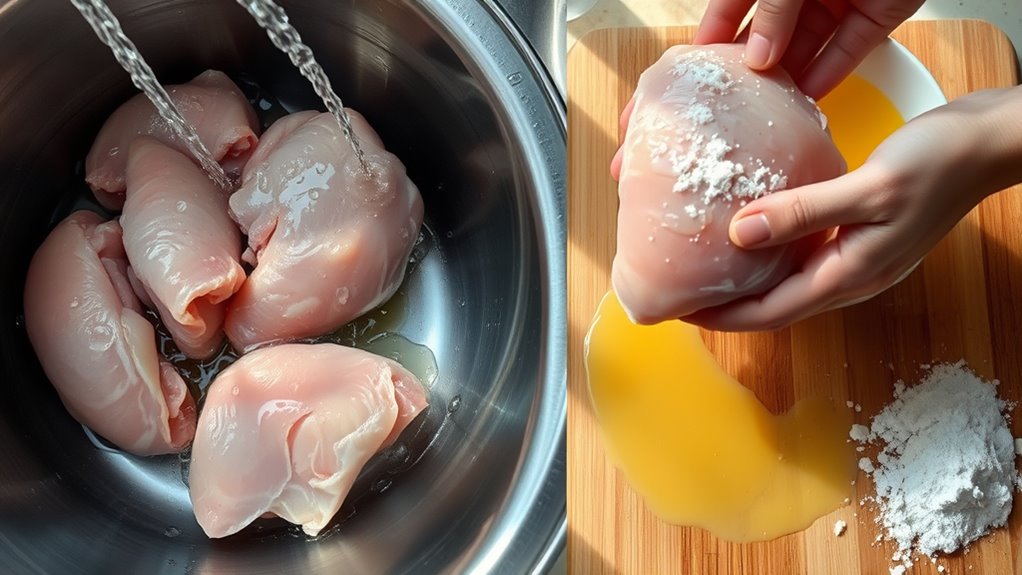
Once you’ve gathered your tools and ingredients, start by cleaning the chicken thoroughly to remove any residue or impurities. Rinse each piece under cold water and pat dry with paper towels to make certain the coating sticks properly.
Begin by rinsing and drying the chicken to ensure a clean surface for perfect coating adherence.
Next, season your chicken generously with salt, pepper, and any other preferred spices like paprika or garlic powder. This step is essential for flavor.
After seasoning, prepare your breading station: one bowl with flour, another with beaten eggs, and a third with breadcrumbs or a flour-spice mix. Dip each chicken piece first into the flour, shaking off excess, then into the egg, and finally coat it evenly with breadcrumbs.
This triple-layer ensures a crispy, golden crust when fried. Now, your chicken is perfectly prepped and ready for frying.
How to Fry Chicken in a Pan: Step-by-Step
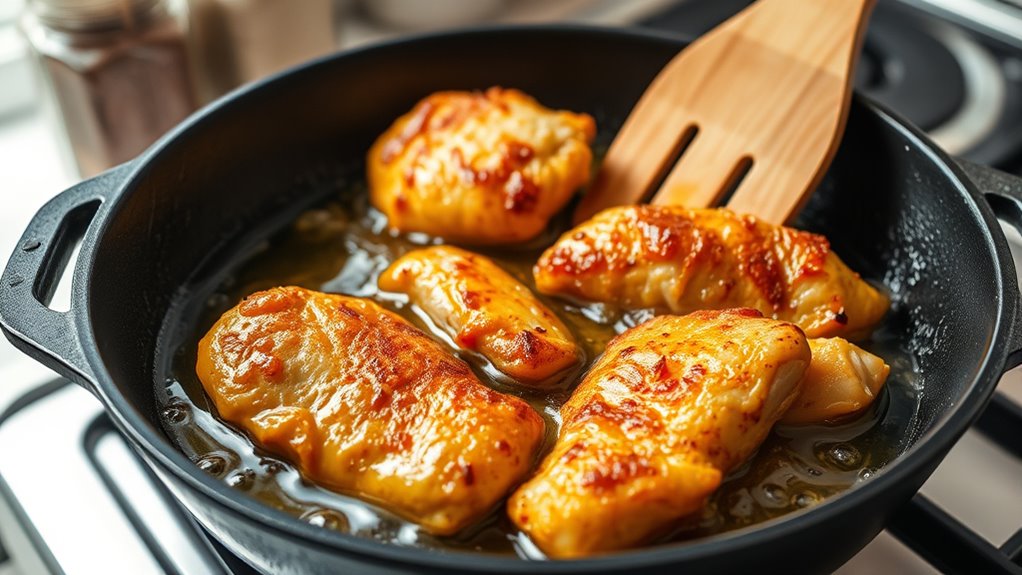
Although frying chicken in a pan might seem intimidating, you can achieve a crispy, golden crust with the right technique. Start by heating your pan over medium heat and adding enough oil to cover the bottom. Once the oil shimmers, carefully place the chicken pieces in the pan, skin-side down if applicable.
Avoid overcrowding to guarantee even cooking. Fry each side for about 6-8 minutes, flipping only once, until the crust turns golden brown and the internal temperature reaches 165°F (74°C). Use tongs to handle the chicken gently, preventing the breading from falling off.
After frying, transfer the chicken to a paper towel-lined plate to drain excess oil. Let it rest briefly before serving to lock in juices and maintain crispiness.
How to Choose the Right Oil for Pan-Frying Chicken
You’ll want to pick an oil with a high smoke point to avoid burning your chicken. Consider how the oil’s flavor will blend with your seasoning and recipe. Also, think about the health benefits to keep your meal both tasty and nutritious.
Smoke Point Importance
Because the smoke point determines how hot an oil can get before it starts to burn and break down, choosing the right oil is essential when pan-frying chicken. When oil reaches its smoke point, it not only smokes and smells unpleasant but can also impart a bitter taste to your chicken and create harmful compounds.
Oils with a high smoke point, like peanut, canola, or avocado oil, handle the high heat needed to crisp your chicken without breaking down. Avoid oils with low smoke points, such as unrefined olive oil or butter, since they can burn quickly and ruin your dish.
Flavor Compatibility
When selecting oil for pan-frying chicken, consider how its flavor will interact with your dish. Neutral oils like canola, vegetable, or peanut oil won’t overpower your chicken’s natural taste or any seasonings you use.
If you want to add a subtle flavor, try oils with distinct profiles such as olive oil for a fruity note or sesame oil for a nutty twist. Avoid strongly flavored oils like coconut or walnut unless you’re aiming for a specific taste, as they might clash with your spices or marinade.
Health Considerations
How do you pick an oil that’s both tasty and good for your health? Focus on oils with high smoke points to avoid harmful compounds and those rich in healthy fats. You want to balance flavor, nutrition, and cooking performance.
| Oil Type | Smoke Point (°F) | Health Benefit |
|---|---|---|
| Olive Oil | 375-410 | High in monounsaturated fats |
| Avocado Oil | 520 | Rich in antioxidants |
| Canola Oil | 400 | Low in saturated fat |
| Peanut Oil | 450 | Good for heart health |
| Coconut Oil | 350 | Contains medium-chain fats |
Choose oils that suit your taste but prioritize those that support heart health and stand up to frying temperatures.
How to Set the Perfect Pan Temperature for Frying Chicken
To get crispy, golden chicken, you need the oil at the right temperature—around 350°F to 375°F. You can test the heat by dropping a small piece of batter into the oil; it should sizzle immediately.
Keep an eye on the heat and adjust the burner as needed to maintain this temperature throughout cooking.
Ideal Oil Temperature
Although frying chicken might seem straightforward, setting the right oil temperature is essential to achieve a crispy, golden crust without undercooking or burning. Aim for an oil temperature between 325°F and 350°F (163°C to 177°C). This range cooks the chicken evenly, sealing in juices and creating that perfect crunch.
Here’s a quick guide to ideal oil temperatures:
| Chicken Type | Oil Temperature (°F) | Crispiness Level |
|---|---|---|
| Wings | 325-335 | Lightly crispy |
| Drumsticks | 330-345 | Medium crisp |
| Breast Pieces | 340-350 | Extra crispy |
| Thighs | 335-345 | Balanced crisp |
Stick within these temperatures, and you’ll fry chicken that’s tender inside and crunchy outside every time.
Testing Heat Levels
Once your oil reaches the ideal temperature range, you need a reliable way to test if the pan is ready for frying chicken. One simple method is to drop a small piece of bread or batter into the oil. If it sizzles and bubbles vigorously but doesn’t burn immediately, your oil is just right.
Another option is to use a kitchen thermometer to confirm the oil stays between 325°F and 350°F (163°C to 177°C). You can also carefully flick a few drops of water onto the surface; if they dance and evaporate quickly, the heat is sufficient. Avoid adding chicken if the oil is too cool—it absorbs more oil and becomes greasy.
Testing heat levels this way guarantees crispy, perfectly fried chicken every time.
Adjusting Heat During Cooking
After confirming your oil is at the right temperature, you’ll need to keep a close eye on the heat while cooking. If the oil starts to smoke or the chicken browns too quickly, reduce the heat immediately to prevent burning.
On the other hand, if you notice the chicken soaking up oil and looking pale, raise the heat slightly to crisp the coating and seal in moisture. Adjusting the heat guarantees even cooking and a perfect golden crust. Use a thermometer or test with a small piece of chicken to gauge the temperature.
Tips for Crispy, Golden-Brown Pan-Fried Chicken Skin
To achieve crispy, golden-brown skin when pan-frying chicken, you’ll want to start with dry skin and a hot pan. Pat the chicken skin thoroughly with paper towels to remove excess moisture, which prevents steaming and sogginess. Use a heavy-bottomed skillet and heat the oil until shimmering but not smoking.
Place the chicken skin-side down without crowding the pan, allowing even heat distribution. Resist moving the pieces too soon; let the skin crisp and release naturally before flipping. Adjust the heat as needed to maintain a steady sizzle without burning.
Adding a small amount of butter towards the end can enhance browning and flavor. These tips help you get that perfect crispy, golden crust every time.
How to Tell When Chicken Is Fully Cooked
Although frying chicken can be straightforward, knowing when it’s fully cooked is essential for both safety and taste. First, use a meat thermometer to check the internal temperature—it should reach 165°F (74°C). Insert it into the thickest part of the chicken without touching bone.
If you don’t have a thermometer, cut into the thickest section; the meat should be white or slightly pink with clear juices, not red or bloody. Also, the texture should be firm, not rubbery. Avoid relying solely on cooking time since stovetop heat varies.
Cleaning and Maintaining Your Frying Pan After Cooking
Ensuring your chicken is perfectly cooked is just one part of the process; caring for your frying pan afterward keeps it in top shape for future meals. Start by letting the pan cool slightly, then wipe out excess oil with a paper towel. Avoid soaking pans with wooden or non-stick surfaces; instead, wash gently with warm water and mild detergent.
Use a soft sponge to prevent scratches. Dry the pan thoroughly to avoid rust, especially if it’s cast iron.
| Step | Tip |
|---|---|
| Cool Down | Let pan cool before cleaning |
| Oil Removal | Wipe excess oil with paper towel |
| Cleaning Method | Use mild detergent & soft sponge |
| Drying | Dry completely to prevent rust |
Maintaining your pan this way prolongs its life and ensures consistent cooking results.
Frequently Asked Questions
Can I Use Leftover Fried Chicken for Pan Frying Again?
You can pan-fry leftover fried chicken again, but it’s best to do it gently to avoid drying it out. Use medium heat and a little oil, turning carefully to reheat and crisp the coating evenly.
This method helps maintain the juiciness inside while restoring the crispy texture outside. Avoid high heat, which can burn the coating before the chicken is warmed through.
Be patient and flip the pieces slowly for the best results. Pan-frying leftover fried chicken is a great way to enjoy it almost as good as freshly made.
How Long Can Pan-Fried Chicken Be Stored Safely in the Fridge?
You can safely store pan-fried chicken in the fridge for 3 to 4 days. Make sure to cool it quickly, keep it in an airtight container, and reheat it thoroughly before eating to avoid any risk.
Is Pan-Fried Chicken Healthier Than Deep-Fried Chicken?
You’ll find pan-fried chicken generally healthier than deep-fried because it uses less oil, reducing fat and calories.
Just make sure not to overuse oil and keep your chicken lean for the best results.
What Side Dishes Pair Best With Pan-Fried Chicken?
You’ll want to pair pan-fried chicken with mashed potatoes, coleslaw, or steamed veggies. Fresh salads, cornbread, or roasted carrots also work great. These sides balance flavors and add texture, making your meal complete and delicious.
Can I Pan-Fry Chicken Without Breading or Seasoning?
Yes, you can pan-fry chicken without breading or seasoning. It’ll still cook through and taste natural, but adding salt, pepper, or herbs really brings out flavor and creates a more enjoyable, juicy result you’ll love.
Conclusion
Now that you’ve mastered frying chicken in a pan, you’re ready to enjoy crispy, golden-brown perfection every time. With the right tools, seasoning, and oil, your chicken will sizzle like a symphony in your kitchen. Remember to keep the pan temperature just right and check for doneness to avoid undercooked bites.
Clean your pan promptly, and it’ll stay as reliable as your favorite recipe. Happy cooking! By following these simple steps, you can confidently fry chicken in a pan with oil and achieve delicious, crispy results every time.