How to Make Coffee Milkshake in a Small Blender in 7 Easy Steps
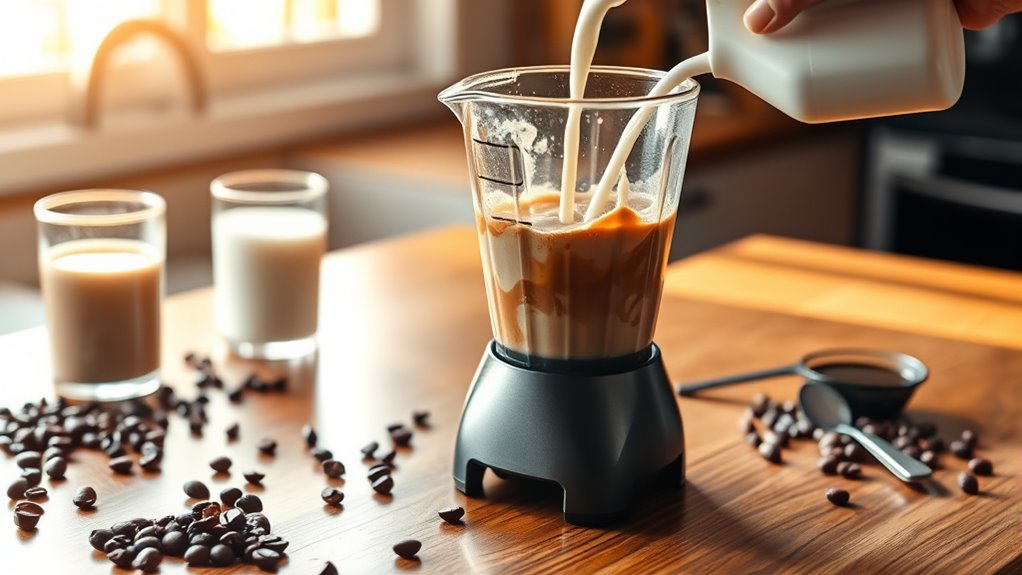
To make a coffee milkshake in a small blender, start by gathering strong, cooled coffee, milk, ice cream, and your favorite sweeteners. Using a small blender to create a delicious coffee milkshake is simple and convenient.
Brew concentrated coffee and let it cool to avoid melting the ice cream.
Add milk and sweeten to taste, then blend with creamy ice cream or frozen alternatives. Blend carefully without overloading your blender.
Adjust the texture and flavor by adding more milk or ice cream as needed.
Finally, serve chilled with your preferred garnishes. You’ll discover tips to perfect it even further.
Enjoy your refreshing and creamy coffee milkshake made effortlessly in a small blender!
Key Takeaways
- Brew strong, cooled coffee and gather high-quality ice cream, milk, sweeteners, and optional extras before blending.
- Add half a cup of milk and sweetener to coffee, blending and adjusting for desired sweetness and consistency.
- Use a small blender, blend ingredients in batches if needed, and add ice cream or frozen alternatives for creaminess.
- Adjust texture by adding more ice cream for thickness or milk for looseness, blending until smooth and well combined.
- Serve immediately in a chilled glass, garnished with whipped cream, chocolate syrup, or cinnamon for enhanced flavor and presentation.
Gather Ingredients and Tools for Your Coffee Milkshake
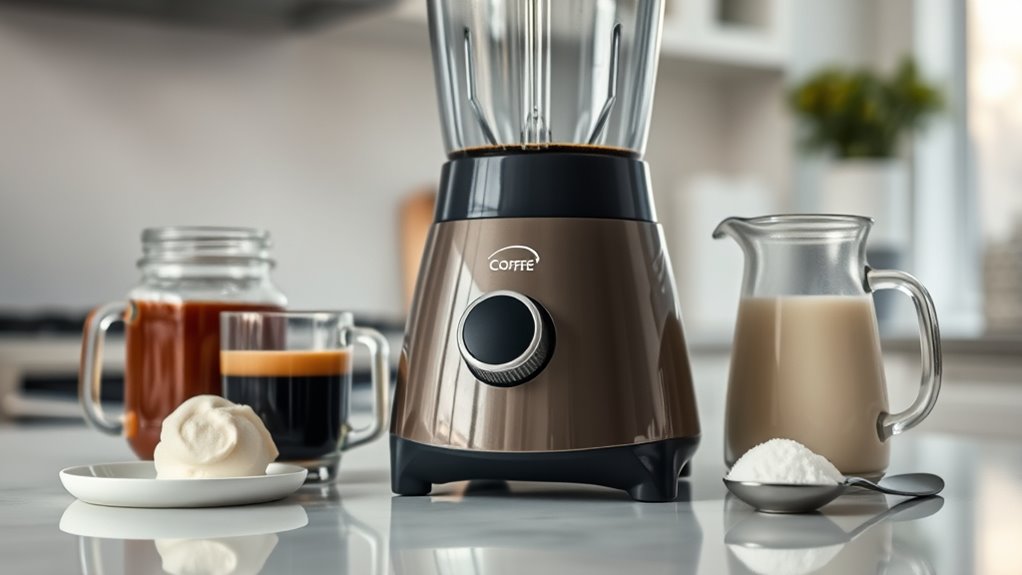
Before you start blending, make sure you have all the ingredients and tools ready for your coffee milkshake. You’ll need brewed coffee, preferably cooled, along with vanilla ice cream for that creamy texture. Grab some milk to help with blending and a bit of sugar or sweetener if you like your milkshake sweeter.
For tools, your small blender is essential, along with a sturdy glass to serve it in. You might want a spoon or straw for stirring and sipping. If you like, add extras like chocolate syrup or whipped cream for garnish.
Having everything prepped and within reach will make the process smooth and enjoyable. This way, you can focus on blending your perfect coffee milkshake without interruptions.
Brew the Coffee Base for Your Milkshake

Once you’ve gathered your ingredients, brew a strong cup of coffee to serve as the base for your milkshake. Use freshly ground coffee beans if possible, as they provide the richest flavor. Opt for a French press, espresso machine, or drip coffee maker—whatever you have on hand.
Make certain the coffee is concentrated and slightly cooled before blending, so it doesn’t melt the ice cream too quickly. Aim for about half a cup of brewed coffee per milkshake. Avoid adding any milk or sweeteners at this stage since you’ll customize those later.
Let the coffee cool to room temperature or chill it briefly in the fridge to maintain the milkshake’s thick texture when blended. This step ensures your coffee milkshake will have a bold and smooth foundation.
Add Milk and Sweeten to Taste
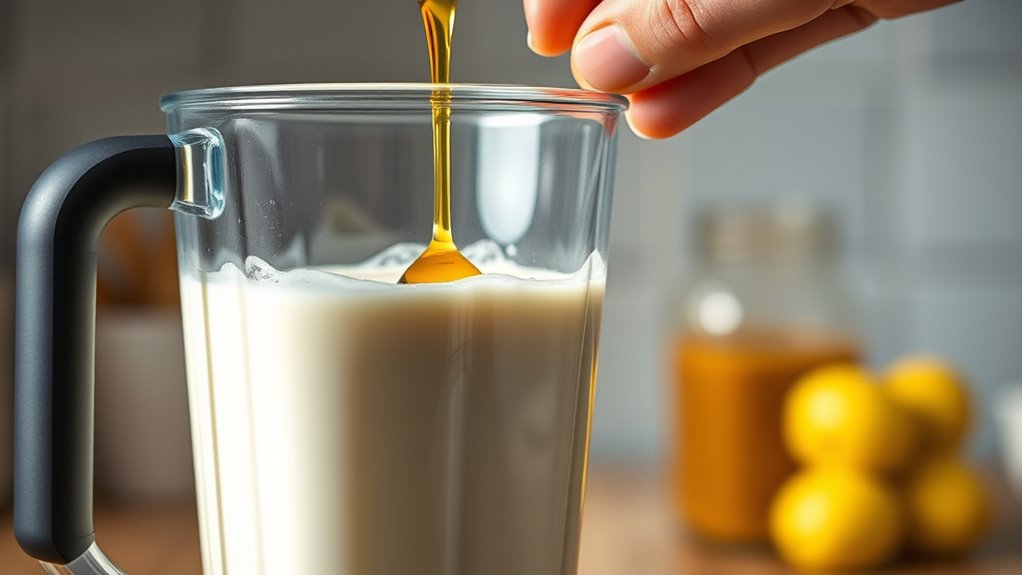
How much milk and sweetness you add depends on your taste and the texture you want. Start by pouring in a small amount of milk—around half a cup—and blend to check the consistency. If you prefer a thinner milkshake, gradually add more milk until it reaches your desired smoothness.
For sweetness, add sugar, honey, or flavored syrups a little at a time, blending between additions to avoid over-sweetening. Taste as you go to find the perfect balance. Remember, the coffee’s bitterness pairs well with moderate sweetness, so don’t rush to add too much.
Adjusting milk and sweetener carefully guarantees your milkshake is creamy and flavorful without being watery or overly sugary. This step sets the foundation before adding ice cream or frozen ingredients.
Use Ice Cream or Frozen Alternatives
You’ll want to pick the right ice cream flavor to complement your coffee, like classic vanilla or chocolate. Frozen alternatives, such as frozen yogurt or dairy-free options, can add unique benefits like lower fat or different textures.
The type you choose will directly affect the creaminess and thickness of your milkshake.
Choosing Ice Cream Flavors
Why settle for plain vanilla when choosing your ice cream flavor for a coffee milkshake? You can amp up the taste by picking flavors that complement coffee’s rich, bold profile. Try chocolate or mocha ice cream for a double dose of coffee goodness.
Caramel or toffee flavors add a sweet, buttery twist that pairs perfectly with espresso. If you want something lighter, coffee-flavored ice cream itself is an obvious winner. For a nutty touch, go for pistachio or hazelnut.
Just remember to pick high-quality ice cream with a creamy texture, so your milkshake blends smoothly in your small blender. Experiment with different flavors to find your favorite combo, and don’t hesitate to mix two or more for a personalized coffee milkshake experience.
Benefits of Frozen Alternatives
Although traditional ice cream is a popular choice for coffee milkshakes, frozen alternatives offer unique benefits that you might appreciate. Using frozen yogurt, sorbet, or dairy-free options lets you customize your shake’s flavor while reducing fat and calories. These alternatives often contain less sugar, helping you enjoy a guilt-free treat.
Plus, they can cater to dietary restrictions like lactose intolerance or vegan preferences, making your shake accessible to more people. Frozen alternatives also tend to blend smoothly in a small blender, saving you time and effort. By choosing these options, you keep your coffee milkshake invigorating and light without sacrificing taste.
Texture Impact on Shake
When you choose between ice cream and frozen alternatives, the texture of your coffee milkshake changes considerably. Ice cream creates a rich, creamy shake with a smooth, velvety mouthfeel. It blends easily, giving your drink a thick and indulgent texture.
On the other hand, frozen alternatives like frozen yogurt or banana chunks produce a lighter, airier shake. These options might add slight graininess or a fruitier texture, which can make your shake feel fresher but less dense. If you want a classic milkshake, go for ice cream.
If you prefer something a bit healthier or lower in fat, frozen alternatives work well but expect a different mouthfeel. Adjusting your choice helps you control the shake’s consistency to match your personal taste perfectly.
Blend Your Coffee Milkshake Without Overloading
Make verify your blender isn’t overloaded by checking its capacity before adding ingredients. Measure your portions carefully to avoid overfilling and ensure smooth blending.
This helps prevent spills and keeps your coffee milkshake perfectly mixed.
Optimal Blender Capacity
How much can your blender handle without causing a mess or damaging the motor? Knowing your blender’s ideal capacity guarantees smooth blending and protects your appliance. Overfilling can strain the motor, while underfilling might lead to uneven mixing.
To get the best results, consider these factors:
- Maximum fill line: Always check the blender jar’s marked limit and stay below it.
- Ingredient volume: Account for expansion when ice or frozen elements melt.
- Motor power: Smaller blenders with lower wattage usually handle less volume.
Ingredient Portion Control
Although it’s tempting to toss all your ingredients in at once, controlling portion sizes prevents your coffee milkshake from overloading the blender. Start by measuring each ingredient carefully, sticking to recommended amounts. For example, use just one cup of milk and about a half cup of coffee ice cubes.
Overfilling can strain the motor and lead to uneven blending. Add your ice cream or frozen coffee concentrate in moderate amounts, ensuring there’s enough space for ingredients to move freely. If your blender jar is small, consider blending in batches.
This approach helps you achieve a smooth, consistent texture without risking spills or damage. By controlling portions, you’ll blend efficiently and enjoy a perfectly creamy coffee milkshake every time.
Avoid Overfilling Tips
When you want a perfectly blended coffee milkshake, don’t overfill your blender jar. Overloading can strain the motor and cause uneven blending, leaving chunks of ice or coffee grounds.
To avoid this, keep your portions manageable and follow these tips:
- Start with smaller ingredient amounts, then add more if needed.
- Leave enough space for the ingredients to move freely and blend smoothly.
- Blend in batches if you’re making a larger quantity to maintain texture and flavor.
Adjust Texture and Flavor for Perfection
Since the right texture and flavor can make or break your coffee milkshake, you’ll want to fine-tune both carefully. Start by checking the thickness; if it’s too runny, add a bit more ice cream or frozen coffee cubes. If it’s too thick, splash in some milk or brewed coffee to loosen it up.
Next, taste your shake—if the coffee flavor is too weak, add a shot of espresso or a teaspoon of instant coffee. For sweeter results, mix in a bit of sugar, honey, or flavored syrup, but add gradually to avoid overpowering. Blend again briefly after adjustments to mix everything smoothly.
Keep tasting and tweaking until your milkshake strikes the perfect balance between creamy texture and robust coffee flavor.
Serve and Garnish Your Coffee Milkshake
Once you’ve perfected the taste and texture of your coffee milkshake, it’s time to focus on serving and garnishing. Presentation elevates your creation and makes it even more enjoyable.
Start by pouring your milkshake into a chilled glass to keep it cold longer. Then, choose a garnish that complements the rich coffee flavor. Consider these elegant options:
- A dollop of whipped cream for creaminess and visual appeal
- Chocolate shavings or a drizzle of chocolate syrup to add sweetness and contrast
- A sprinkle of finely ground coffee or cinnamon to enhance the aroma and flavor
Finish with a sturdy straw or a stylish spoon, and serve immediately. These simple touches will make your coffee milkshake look as good as it tastes.
Frequently Asked Questions
Can I Use Instant Coffee Instead of Brewed Coffee?
Yes, you can use instant coffee instead of brewed coffee. Just dissolve the instant coffee in a small amount of hot water before blending. This keeps the flavor strong without adding extra liquid to your milkshake.
How Do I Clean My Small Blender After Making a Milkshake?
Don’t put off until tomorrow what you can do today—rinse your blender immediately after use.
Add warm water and soap, blend for a few seconds, then rinse thoroughly.
This keeps it fresh and ready for next time.
What Are Some Dairy-Free Milk Alternatives for This Recipe?
You can use almond milk, oat milk, coconut milk, or soy milk as dairy-free alternatives. Each adds a unique flavor and creamy texture, letting you enjoy your coffee milkshake without any dairy.
Can I Prepare the Milkshake in Advance and Store It?
Yes, you can prepare the milkshake in advance and store it in the fridge for up to 24 hours.
Just give it a good stir or shake before drinking to restore the texture and flavor.
How Do I Prevent My Milkshake From Separating?
You can prevent your milkshake from separating by blending it well and serving it immediately. If storing, keep it chilled and give it a quick re-blend before serving to restore its smooth, creamy texture.
Conclusion
Now that you’ve mastered these simple steps, making a coffee milkshake in your small blender is a breeze. Remember, “Rome wasn’t built in a day,” so don’t stress if your first shake isn’t perfect—practice makes perfect.
With the right balance of coffee, milk, and ice cream, plus a bit of blending finesse, you’ll enjoy a creamy, delicious treat anytime. Making a coffee milkshake in a small blender allows you to create this refreshing beverage quickly and easily.
So go ahead, blend away and savor every sip of your homemade coffee milkshake!