How to Make Apple Juice With a Blender in 10 Easy Steps
To make apple juice with a blender in 10 easy steps, start by choosing fresh, sweet apples. Washing the apples thoroughly is essential to remove any dirt or residues. Using a blender to make apple juice is a quick and efficient method to enjoy fresh juice at home.
Core and chop the apples into small pieces to ensure smooth blending. Add a bit of water to the blender and blend until the mixture is smooth. You can sweeten the juice naturally if desired, using ingredients like honey or agave syrup.
Next, strain the juice through a fine mesh sieve or cheesecloth to remove pulp and achieve a clear consistency. Chill the juice in the refrigerator before serving for a refreshing taste.
Store the juice in airtight containers to keep it fresh longer. Customize your apple juice flavors by adding cinnamon or lemon for a unique twist.
Follow these simple steps and discover easy ways to enhance and preserve your homemade apple juice.
Key Takeaways
- Select fresh, firm apples, wash thoroughly, core, and cut into small chunks for easy blending.
- Blend apple pieces with about 1/4 cup water until smooth, adjusting water quantity to desired consistency.
- Strain the blended mixture through a fine mesh strainer or cheesecloth to remove pulp for clear juice.
- Add natural sweeteners or flavor enhancers like cinnamon or lemon juice before blending for customized taste.
- Store juice in airtight containers, refrigerate promptly, and consume within 3 to 5 days for freshness.
Choose the Best Apples for Apple Juice
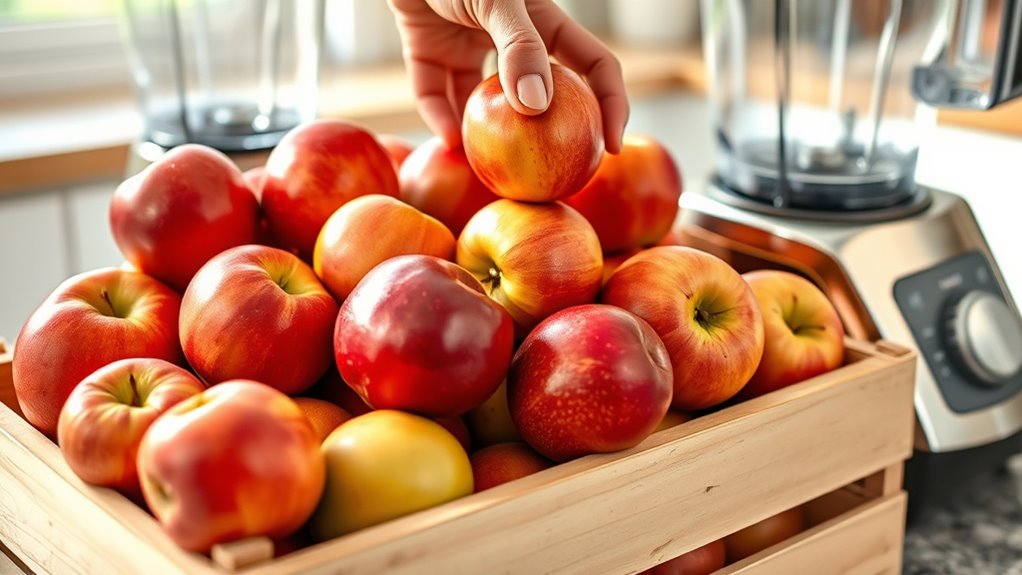
To make delicious apple juice, start by choosing the right apples. You want apples that are juicy, sweet, and flavorful. Varieties like Fuji, Gala, Honeycrisp, or Pink Lady work great because they offer a nice balance of sweetness and tartness.
Avoid apples that are mealy or bruised, as they can negatively affect the taste and texture of your juice. If you prefer a sharper flavor, Granny Smith apples are an excellent choice, but you might want to blend them with sweeter apples to avoid overly tart juice. Buying fresh, firm apples guarantees your juice tastes vibrant and invigorating.
Selecting the best apples sets the foundation for your juice, so take a moment to pick those that will give your drink the perfect flavor profile.
Wash and Prepare Apples for Juice
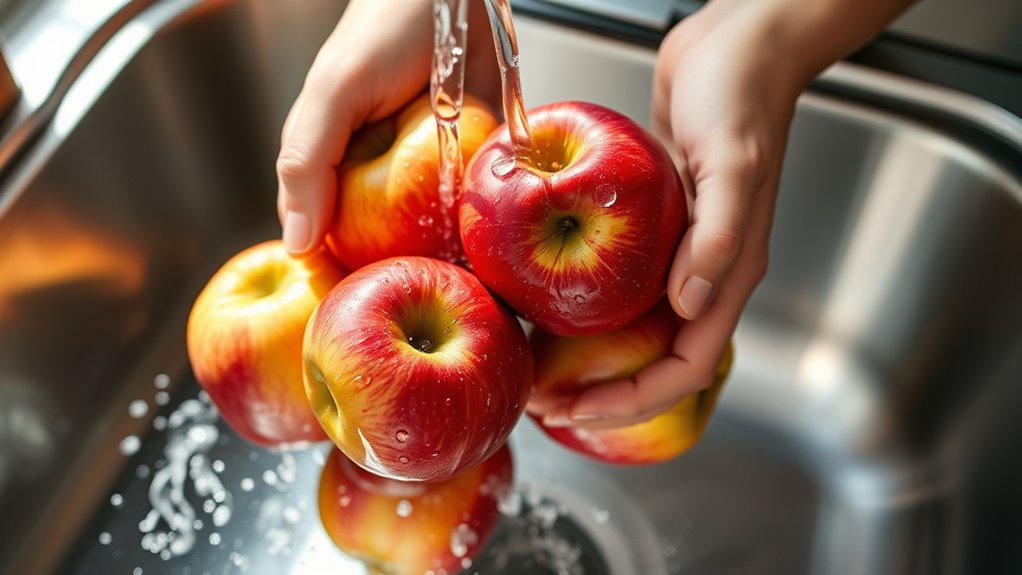
How do you get your apples ready for juicing? Start by rinsing them thoroughly under cool running water. This removes dirt, pesticides, and any residues that could affect the taste or safety of your juice.
Use your hands or a soft brush to scrub the skin gently, especially if you’re using organic apples with more surface debris. After washing, pat the apples dry with a clean towel. Inspect each apple and remove any stickers or labels.
You don’t need to peel or core the apples just yet—that comes next. For now, focus on cleanliness and ensuring your apples are fresh and firm. Proper washing and preparation set the foundation for delicious, fresh apple juice made right in your blender.
Cut Apples for Apple Juice
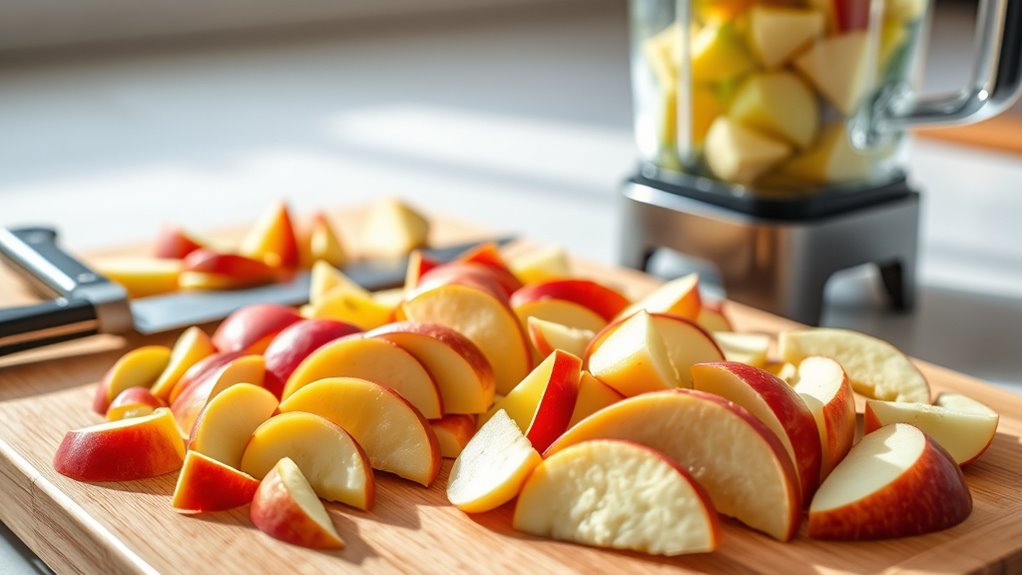
Now that your apples are clean and ready, it’s time to choose the best ones for juicing—sweet or tart, it’s up to your taste. Make sure you cut them into small, manageable pieces to help your blender work efficiently.
Using the right cutting technique will make your juice smoother and easier to blend.
Choosing The Right Apples
Which apples make the best juice? You’ll want to pick apples that balance sweetness and tartness for a fresh, flavorful drink. Varieties like Fuji, Honeycrisp, Gala, and Pink Lady work great because they’re juicy and naturally sweet.
If you prefer a tangier juice, Granny Smith apples add a nice zing. Avoid apples that are bruised or overly soft, as they can affect the taste and texture of your juice. Using a mix of sweet and tart apples can give your juice a more complex flavor.
Once you’ve chosen your apples, cut them into smaller pieces to help your blender break them down efficiently. This step guarantees you get the most juice with a smooth consistency.
Washing And Preparing Apples
Before you start blending, you’ll want to thoroughly wash your apples to remove any dirt, pesticides, or wax coatings. Rinse each apple under cold running water, scrubbing gently with your hands or a soft brush to guarantee they’re clean. Once washed, dry them with a clean towel.
Next, inspect your apples for any bruises or blemishes and remove those spots, as they can affect the flavor of your juice. You don’t need to peel your apples unless you prefer a smoother juice, as the skin contains nutrients and adds flavor. After cleaning, you’re ready to cut the apples into pieces suitable for your blender, making sure to core them and remove any seeds to avoid bitterness.
This preps your fruit perfectly for blending.
Cutting Techniques For Blending
Although you’ve already washed and prepared your apples, cutting them correctly is essential for smooth blending and delicious juice. Start by removing the core with a sharp knife or an apple corer, as seeds can add bitterness.
Next, slice the apples into small, even chunks—about 1 to 2 inches in size. This size helps your blender work efficiently without straining the motor. Avoid cutting pieces too large, which can lead to uneven blending and lumps.
If your blender isn’t very powerful, peel the apples to reduce texture, though leaving the skin adds nutrients and fiber. Arrange the pieces evenly in the blender jar, packing them loosely to allow proper circulation. Proper cutting guarantees your apple juice will be smooth, flavorful, and easy to blend every time.
Add Water or Juice to Adjust Consistency
When your blended apples feel too thick or pulpy, you can easily thin the mixture by adding a bit of water or juice. Start with just a few tablespoons, then blend again to check the consistency. If it’s still too dense, gradually add more liquid until you reach your preferred smoothness.
Using water keeps the flavor pure, while apple juice or another fruit juice can add a subtle twist without overpowering the taste. Avoid pouring in too much liquid at once; it’s easier to add more than to fix an overly watery blend. Adjusting consistency this way guarantees your apple juice is easy to drink and enjoyable, making the blending process flexible and tailored to your taste.
Sweeten Your Juice Naturally or Keep It Pure
Once you’ve adjusted the consistency of your apple juice to your liking, you can decide whether to sweeten it naturally or enjoy it as is. If you want a touch of extra sweetness, try adding natural ingredients like honey, maple syrup, or a few dates. These options enhance flavor without overpowering the fresh apple taste.
Alternatively, keeping your juice pure highlights the crisp, invigorating quality of the apples alone — perfect if you prefer a clean, tart drink.
Blend Apples Until Smooth
Before you start blending, make sure your apples are chopped into small pieces to help your blender work efficiently. Place the chopped apples into the blender jar, but avoid overfilling it to prevent spills. Add a little water to the blender—about a quarter cup—to help the blades move smoothly and create a consistent texture.
Secure the lid tightly, then start blending on a low speed, gradually increasing to high. Blend for about 1 to 2 minutes until the mixture is completely smooth. If you notice any chunks, pause and stir the mixture, then blend again.
Keep an eye on the consistency; it should look like a thick puree. Once smooth, your apples are ready for the next step in the juicing process.
Strain Apple Juice to Remove Pulp
After blending your apples into a smooth puree, you’ll want to strain the juice to separate the pulp and achieve a clearer liquid. Place a fine mesh strainer or cheesecloth over a large bowl or pitcher. Pour the apple mixture slowly into the strainer, allowing the juice to drip through.
Use a spoon or spatula to gently press the pulp against the strainer, extracting as much juice as possible without forcing solids through. If you prefer a pulp-free drink, double strain the juice through a clean cloth or finer sieve. Discard or save the leftover pulp for recipes like apple sauce or baking.
Straining guarantees your juice has a smooth texture and a more refined taste, making it enjoyable straight from the glass.
Chill Your Apple Juice for Best Flavor
Why does chilling your apple juice make such a difference? Cooling it enhances the crisp, invigorating taste and helps mellow out any tartness. When you chill your juice, the flavors blend better, creating a smoother, more enjoyable sip.
Plus, cold juice feels more thirst-quenching, especially on a warm day.
Here’s a quick look at how chilling transforms your apple juice experience:
| Before Chilling | After Chilling |
|---|---|
| Warm flavor | Crisp and invigorating |
| Slightly sharp taste | Balanced sweetness |
| Mild aroma | Enhanced aroma |
| Thin texture | Smooth texture |
| Less thirst-quenching | Very thirst-quenching |
Store Apple Juice Safely: Refrigeration and Containers
How should you store your freshly made apple juice to keep it tasting fresh and safe? First, always refrigerate your juice promptly. Leaving it at room temperature can cause bacteria growth and spoilage.
Use clean, airtight containers like glass bottles or BPA-free plastic jars to prevent contamination and oxidation. Fill containers close to the top to minimize air exposure, which degrades flavor and color. Label your containers with the date you made the juice so you can track freshness.
Homemade apple juice usually stays good for about 3 to 5 days in the fridge. If you notice any off smells, cloudiness, or mold, discard the juice immediately. Proper refrigeration and storage are key to enjoying your fresh apple juice safely for several days.
Customize Your Apple Juice With Flavor Add-Ins
Although freshly made apple juice tastes great on its own, you can easily enhance its flavor by adding natural ingredients. These add-ins not only boost taste but also add a unique twist to your juice, making it more enjoyable. Try experimenting with a few of these options to find your perfect blend:
Fresh apple juice is delicious alone, but natural add-ins can elevate its flavor and create exciting new blends.
- A pinch of cinnamon for warmth and spice
- Fresh ginger for a zesty kick and digestive benefits
- A squeeze of lemon or lime juice to brighten the flavor
- A handful of fresh mint leaves for a invigorating touch
Simply blend your chosen add-ins with the apples, then strain if desired. This way, you create a personalized apple juice that’s both delicious and exciting every time you make it.
Frequently Asked Questions
Can I Use Frozen Apples to Make Apple Juice?
Yes, you can use frozen apples to make apple juice. Just thaw them slightly to make blending easier, then blend as usual.
Frozen apples can actually give your juice a thicker, colder texture you’ll enjoy.
How Long Does Homemade Apple Juice Last in the Fridge?
Your homemade apple juice lasts about 3 to 5 days in the fridge. Make sure you store it in an airtight container to keep it fresh and prevent it from absorbing other fridge odors.
Is It Necessary to Peel Apples Before Juicing?
Peeling apples before juicing isn’t necessary; their skin holds nutrients and adds flavor. Don’t let the peel scare you—it’s like the cherry on top, enriching your juice with extra vitamins and a lovely color burst.
Can I Use a Regular Blender or Do I Need a Special One?
You can definitely use a regular blender to make apple juice. Just blend the apples well, then strain the pulp for smoother juice.
No special blender is needed, but a powerful one helps with easier blending.
How Do I Prevent Apple Juice From Browning Quickly?
To keep your apple juice from browning faster than a sunset, add a splash of lemon juice or a pinch of vitamin C powder right after blending. This locks in freshness and keeps the color bright and inviting.
Conclusion
Making apple juice with your blender is like planting a seed and watching it grow into a vibrant tree. Each step—from choosing crisp apples to chilling your juice—is a branch nourishing the final drink. As you strain and sweeten, you’re pruning the flavors to perfection.
When you sip that fresh, golden liquid, you’re tasting the harvest of your care and creativity. Enjoy your homemade juice, a simple creation filled with nature’s essence and your personal touch. This easy apple juice recipe made with a blender brings out the best flavors, making it a refreshing and healthy drink to enjoy anytime.