How to Use a Hand Blender in 7 Easy Steps
To use a hand blender effectively, start by choosing one with sufficient power and multiple speed settings to handle various tasks. This versatile kitchen tool is perfect for blending soups, sauces, and smoothies quickly and efficiently.
Proper preparation of your ingredients, including washing and cutting them into even pieces, ensures smooth blending results.
Next, attach the blending arm securely to the motor unit and plug in the device. Position the blade just below the surface of the food to avoid splattering and blend at a low speed initially.
Gradually increase the speed as needed for a consistent texture.
Move the blender slowly throughout the mixture to achieve an even blend. After use, clean the blending arm immediately to prevent residue buildup.
Keep following these steps to discover useful tips on maintenance and troubleshooting for your hand blender.
Key Takeaways
- Assemble the hand blender by securely attaching the blending shaft to the motor unit.
- Prepare and cut ingredients into evenly sized pieces for consistent blending.
- Submerge the blade just below the surface of ingredients before starting the blender.
- Start blending at low speed, then increase as needed while moving the blender slowly for even texture.
- Unplug and immediately rinse detachable parts with warm water after use for easy cleaning.
Choose the Right Hand Blender
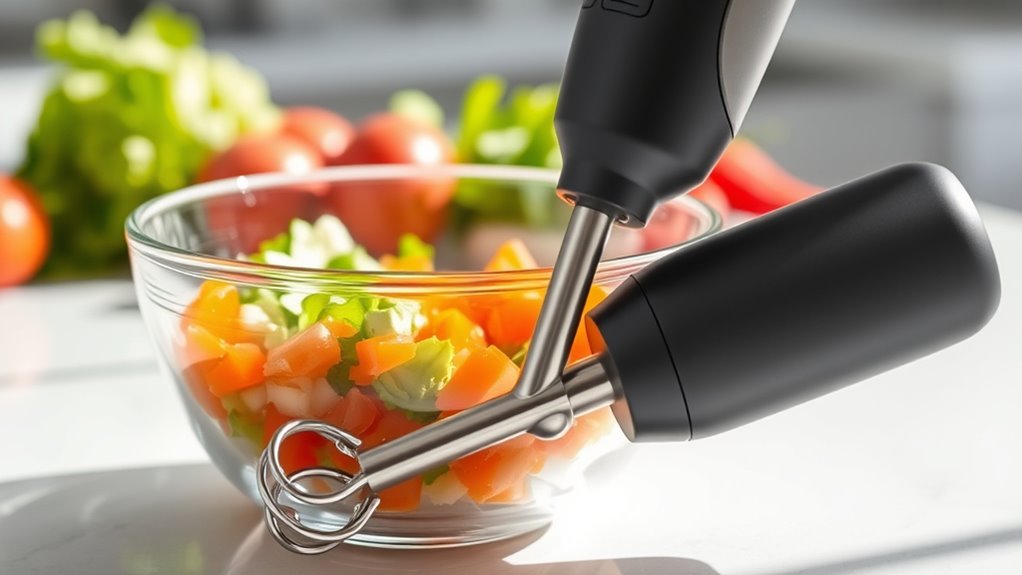
How do you pick the best hand blender for your needs? Start by considering the motor power—stronger motors handle tougher ingredients with ease. If you plan to blend smoothies or soups often, aim for at least 200 watts.
Look for variable speed settings; they give you more control over texture. Check the design: ergonomic handles reduce hand fatigue during longer blending sessions. Detachable blending arms make cleaning simple.
Think about included accessories too—whisks, choppers, or measuring beakers can expand your blender’s versatility. Finally, weigh the blender’s size and storage options, especially if your kitchen space is limited. By focusing on these features, you’ll find a hand blender that fits your cooking style and makes meal prep quicker and more enjoyable.
Prepare Ingredients Safely
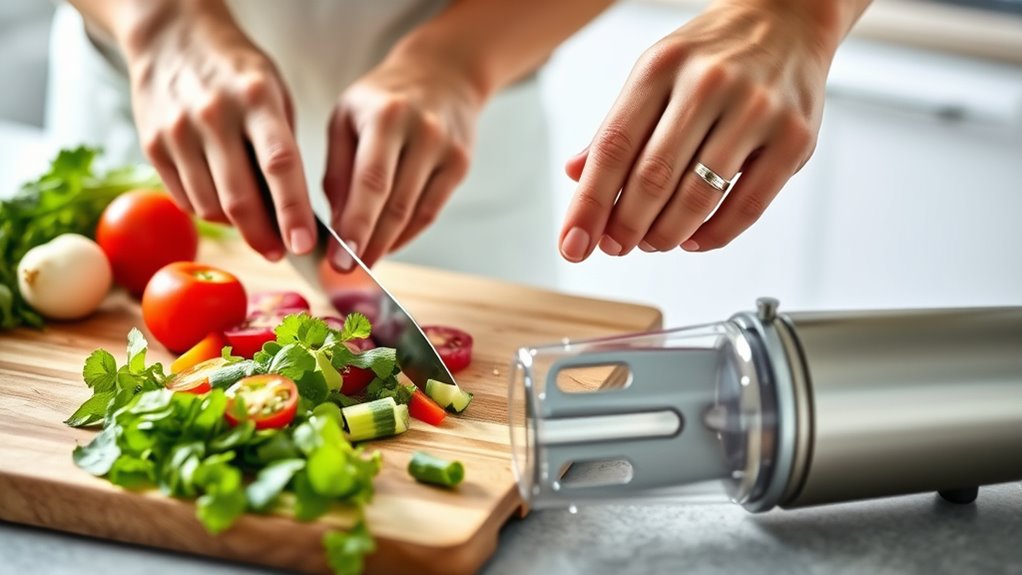
Before you start blending, make sure to wash your ingredients thoroughly to remove any dirt or bacteria. Always use proper cutting techniques to avoid accidents and keep your workspace clean to prevent cross-contamination.
These steps will help you prepare your ingredients safely and efficiently.
Wash Ingredients Thoroughly
Why should you wash ingredients thoroughly before blending? Washing removes dirt, bacteria, and pesticides that might be on fruits, vegetables, or herbs. If you skip this step, those contaminants can get into your blend, affecting taste and safety.
Always rinse produce under cold running water. Use a brush for firm items like potatoes or carrots to scrub away stubborn residue. For leafy greens, separate the leaves and swish them in a bowl of water to dislodge dirt.
Avoid using soap or bleach, as these can leave harmful residues. Cleansing also helps prevent clogging your hand blender with grit or soil. Taking this simple step ensures your blended dishes are clean, safe, and taste their best every time.
Use Proper Cutting Techniques
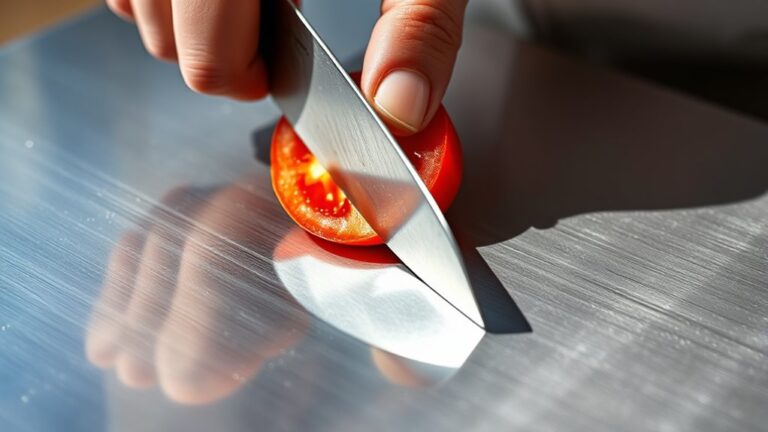
Although it might seem simple, using proper cutting techniques is essential for preparing ingredients safely and efficiently. Always start by using a sharp knife—dull blades require more force, increasing the risk of slips. Hold your knife firmly with one hand while curling your fingers of the other hand inward to grip the ingredient securely, keeping fingertips safe.
Slice ingredients into evenly sized pieces to guarantee consistent blending results with your hand blender. Cut larger items into smaller chunks first to avoid overworking your blender and to achieve smoother textures. Take your time and focus on steady, controlled cuts rather than rushing.
Keep Workspace Clean
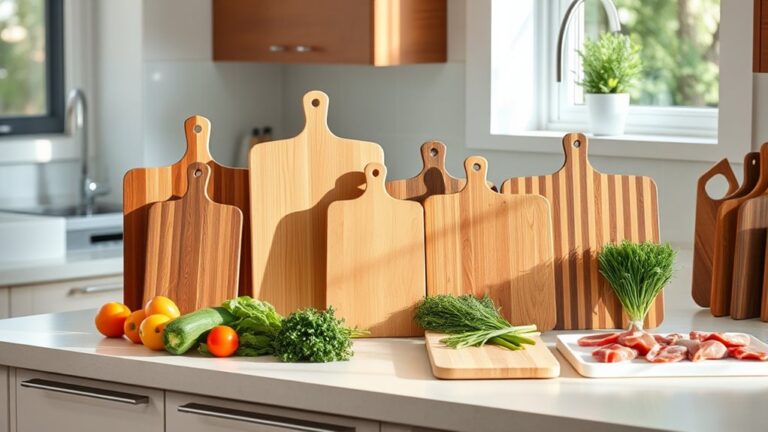
Having properly cut your ingredients, you’ll want to keep your workspace clean to avoid cross-contamination and accidents. Wipe down surfaces regularly with a damp cloth or kitchen spray to remove spills and food bits. Use separate chopping boards for raw meats and vegetables to prevent bacteria transfer.
Dispose of scraps promptly in a bin or compost to maintain order and reduce clutter. Keep your hand blender and its attachments clean before and after use; rinse them immediately to prevent food from drying and sticking. Organize your utensils and ingredients so you can reach everything easily without knocking items over.
Staying tidy not only promotes safety but also makes the blending process smoother and more efficient, letting you focus on preparing your dish with confidence.
Attach and Set Up Your Hand Blender
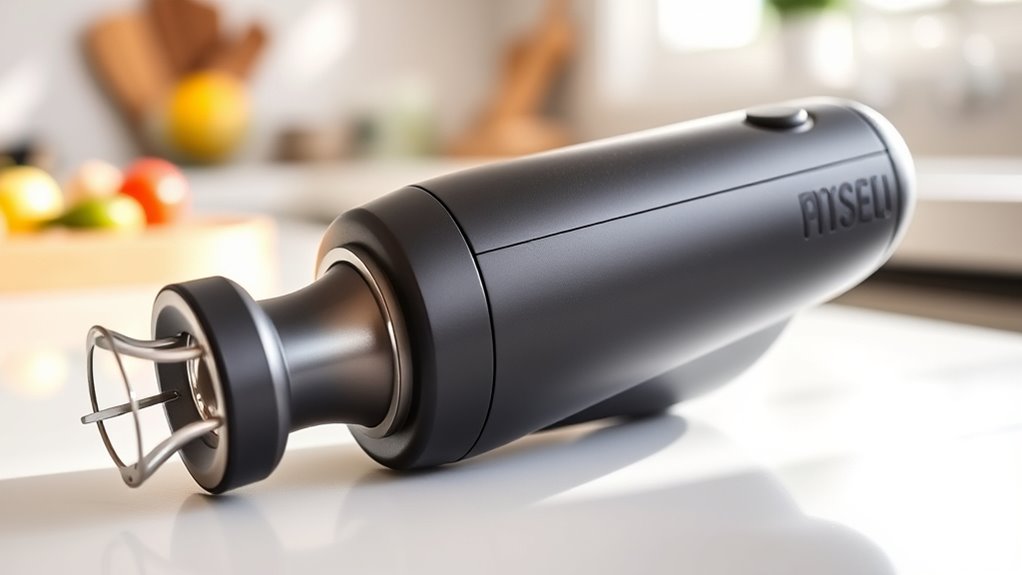
Start by unboxing your hand blender carefully and checking all the parts.
Next, assemble the components according to the instructions to guarantee everything fits securely.
Finally, connect the blender to a power source, making sure the cord is safely positioned.
Unboxing Your Hand Blender
Before you can blend your favorite ingredients, you’ll need to unbox and set up your hand blender properly. Start by carefully opening the packaging to avoid damaging any components. Lay out all parts on a clean surface and check the contents against the included manual.
This guarantees you have everything needed before starting.
| Item | Purpose |
|---|---|
| Motor Unit | Powers the blender |
| Blending Shaft | Attaches to motor for blending |
| Beaker | Container for mixing |
| Instruction Manual | Guides setup and usage |
Once confirmed, plug in your hand blender to test the power connection. Make sure the cord isn’t tangled or near water.
Now, you’re set to move on to assembling the components safely.
Assembling The Components
Once you’ve confirmed all parts are present, attach the blending shaft securely to the motor unit by aligning the connectors and twisting until it clicks into place.
Next, verify the blade guard is properly fitted at the end of the blending shaft to protect both the blades and your hands during use. If your hand blender comes with additional attachments like a whisk or chopper, connect them following the same twist-and-lock method.
Double-check that each component is firmly attached to prevent any accidents or malfunctions while blending. Avoid forcing parts together; they should fit smoothly if aligned correctly.
Now, your hand blender is assembled and ready for the next step—connecting to a power source before you start blending.
Power Source Connection
How do you safely power up your hand blender for use? First, make sure your hands are dry to prevent any electrical hazards. Next, locate a nearby power outlet that’s free from water or spills.
Before plugging in, check the blender’s cord for any damage or frays. Once confirmed safe, insert the plug fully into the socket. Avoid using extension cords to reduce the risk of power loss or accidents.
Keep these tips in mind when connecting your hand blender:
- Dry your hands thoroughly
- Choose a dry, accessible power outlet
- Inspect the power cord for damage
- Plug in securely without forcing
- Avoid extension cords or overloaded sockets
These steps ensure your blender powers on safely and efficiently.
Start Blending Correctly
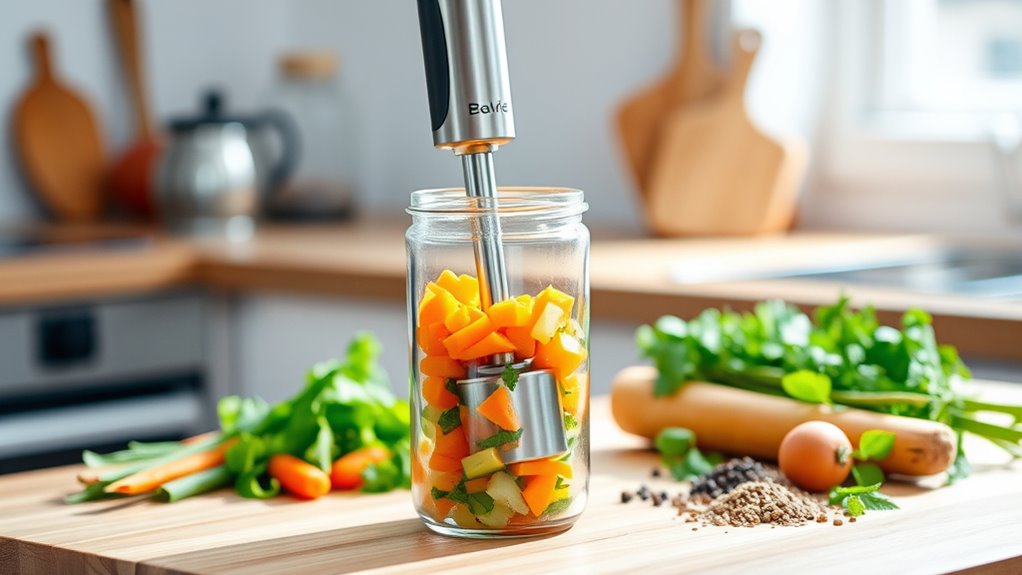
Where should you position the hand blender to get the best results? Place the blade just below the surface of the ingredients, ensuring it’s fully submerged to prevent splattering. Hold the blender steadily and upright to keep the blade centered.
Start blending with a slow, steady motion to avoid creating a mess. Keep the blender in one spot for a few seconds before moving it around gently to blend evenly. Avoid lifting the blender too quickly, as this can cause ingredients to splash.
Once the mixture begins to combine, you can gradually move the blender in small circles or up and down motions. By positioning the blender correctly from the start, you’ll achieve smoother, more consistent results every time.
Adjust Speed and Position for Even Blending
As you blend, adjust the speed to match the texture you’re aiming for—start slow for chunky mixtures and increase it for smoother results. Moving the blender at different angles and positions helps avoid uneven blending or lumps.
Keep the blender’s blade fully submerged to prevent splatters and maximize efficiency. Here’s how to get even blending:
- Tilt the blender slightly to reach all parts of the bowl.
- Move it in slow, circular motions.
- Pause occasionally to check consistency.
- Raise and lower the blender gently for better mixing.
- Avoid pressing too hard to prevent splashing.
Clean Your Hand Blender Properly
Although it might be tempting to skip this step, cleaning your hand blender properly after each use guarantees it stays in good condition and prevents food buildup that could affect its performance. First, unplug the blender and detach the blending shaft from the motor unit. Rinse the shaft under warm water immediately to remove fresh food residues.
For stubborn spots, use a soft brush or sponge with mild dish soap, avoiding abrasive materials that might scratch the surface. Never immerse the motor unit in water; instead, wipe it clean with a damp cloth. Dry all parts thoroughly before reassembling or storing.
Regular cleaning not only extends your blender’s lifespan but also ensures hygienic blending every time you use it. Make this a habit to keep your hand blender working smoothly.
Troubleshoot Common Hand Blender Problems
Why isn’t your hand blender working as it should? Don’t worry; you can fix common issues quickly. First, check if it’s plugged in properly—loose connections often cause problems.
Next, ensure the power button is fully pressed. If the blender won’t start or stops intermittently, the motor might be overheating; give it a break to cool down. Also, inspect the blades for jams or food buildup that can block movement.
Finally, if it vibrates excessively, the blade attachment may be loose or damaged.
Here’s a quick checklist to troubleshoot:
- Confirm power source and plug connection
- Press and hold the power button firmly
- Allow motor to cool if overheated
- Clear any food stuck around the blades
- Tighten or replace blade attachment if wobbly
You’ll have your hand blender running smoothly again in no time.
Frequently Asked Questions
Can a Hand Blender Replace a Food Processor?
A hand blender can’t fully replace a food processor since it’s less powerful and lacks versatility. You can blend smoothies and soups, but tougher tasks like dough mixing or chopping large quantities need a food processor.
A food processor is designed for more heavy-duty kitchen tasks, making it essential for those who cook frequently or in large batches.
While a hand blender is convenient and easy to use, it doesn’t offer the range of functions that a food processor does.
Are Hand Blenders Safe for Hot Liquids?
Yes, you can safely use a hand blender with hot liquids, but be careful to avoid splashes. Keep the blender submerged and blend gently to prevent burns or spills.
Always follow the manufacturer’s safety instructions.
How Long Can I Use a Hand Blender Continuously?
You can continuously use your hand blender for about 1 to 2 minutes before it needs a break. Overheating risks arise, so rest it, then resume mixing smoothly without stressing the motor or spoiling your soup.
What Are the Best Recipes for Hand Blenders?
You’ll love making smoothies, soups, sauces, and baby food with your hand blender. It’s perfect for blending, pureeing, and whipping quickly.
Try creamy soups or homemade salad dressings for easy, delicious results every time.
Can I Use a Hand Blender to Make Whipped Cream?
Yes, you can use a hand blender to make whipped cream. Just chill your bowl and cream, then blend on medium speed until soft peaks form.
Be careful not to overwhip, or you’ll get butter instead!
Conclusion
Now that you’ve mastered your hand blender, you’re ready to whip up delicious creations faster than a knight charging into battle. Just remember to choose the right blender, prep your ingredients safely, and blend with care.
Adjust speeds as needed and always clean your blender properly to keep it in top shape. With these simple steps, you’ll enjoy smooth, tasty results every time—no medieval magic required!
By following these hand blender tips and techniques, you can create perfect blends quickly and easily. Keep your hand blender in great condition to ensure long-lasting performance. Enjoy the convenience and versatility that a hand blender brings to your kitchen!