How to Turn on Blackstone Griddle
To turn on your Blackstone griddle, start by securely connecting the propane tank. Open the valve fully to ensure a steady gas flow. Proper connection is essential for safe and efficient operation.
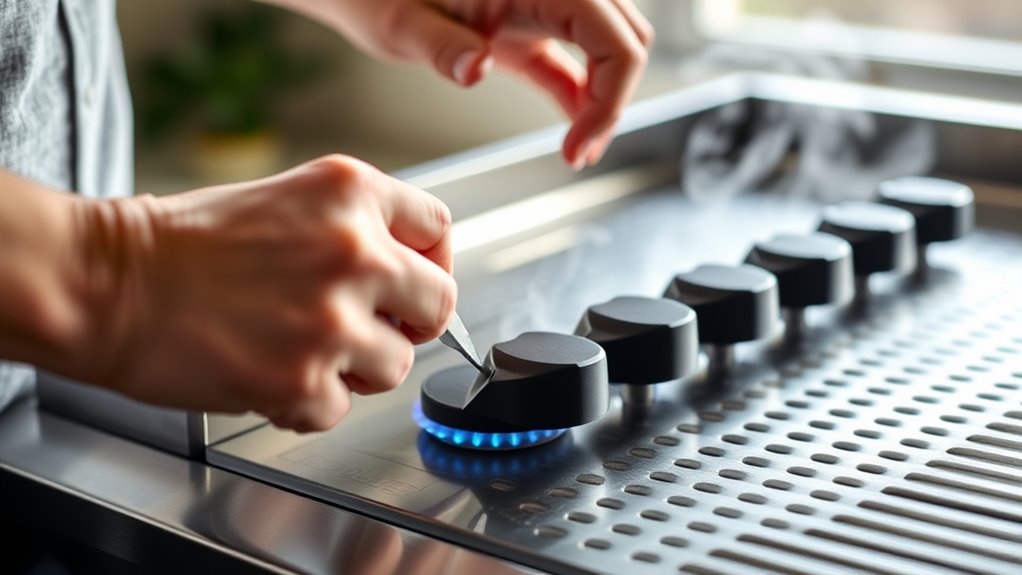
Next, set the burner knobs to the “Ignite” or “High” position. Use the built-in igniter or a long lighter to spark the flame near the burners promptly.
Make sure the flames are steady and blue, which indicates efficient cooking. Adjust the heat as needed for your recipe.
Keep following to discover tips on safety, troubleshooting, and proper use for the best results.
Key Takeaways
- Ensure the propane valve is fully closed before securely connecting the regulator hose to the griddle’s propane tank.
- Open the propane tank valve completely before attempting to ignite burners.
- Turn gas control knobs to “Ignite” or “High” and use the built-in igniter or a long lighter near the burner to light.
- Ignite burners promptly after turning knobs to prevent gas buildup and ensure safe ignition.
- Adjust flame levels for even heating, ensuring steady blue flames for efficient combustion.
Preparing Your Blackstone Griddle for First Use
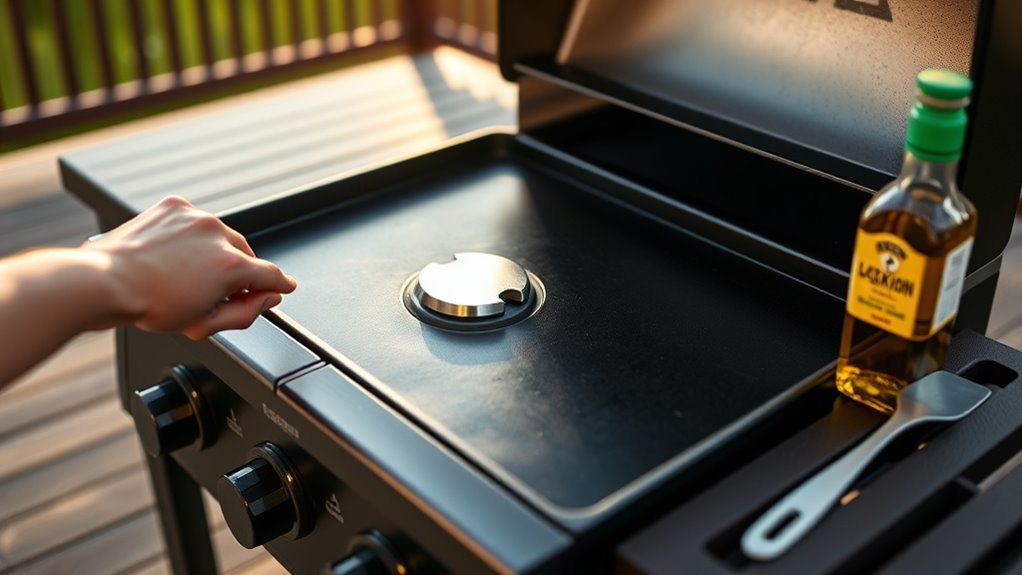
Before you turn on your Blackstone griddle for the first time, you need to prepare it properly to guarantee peak performance and safety. Start by unpacking your griddle carefully, removing all packaging materials. Then, clean the cooking surface with warm, soapy water and a soft cloth to eliminate any factory residues.
Rinse thoroughly and dry completely. Next, season your griddle by applying a thin layer of cooking oil evenly across the surface. This step prevents rust and creates a non-stick surface.
Preheat the griddle on medium heat for about 10-15 minutes until it smokes slightly, then wipe off excess oil. Finally, inspect all parts to ensure they’re secure and undamaged before proceeding. This preparation sets you up for a smooth cooking experience.
Connecting and Securing Your Propane Tank Safely
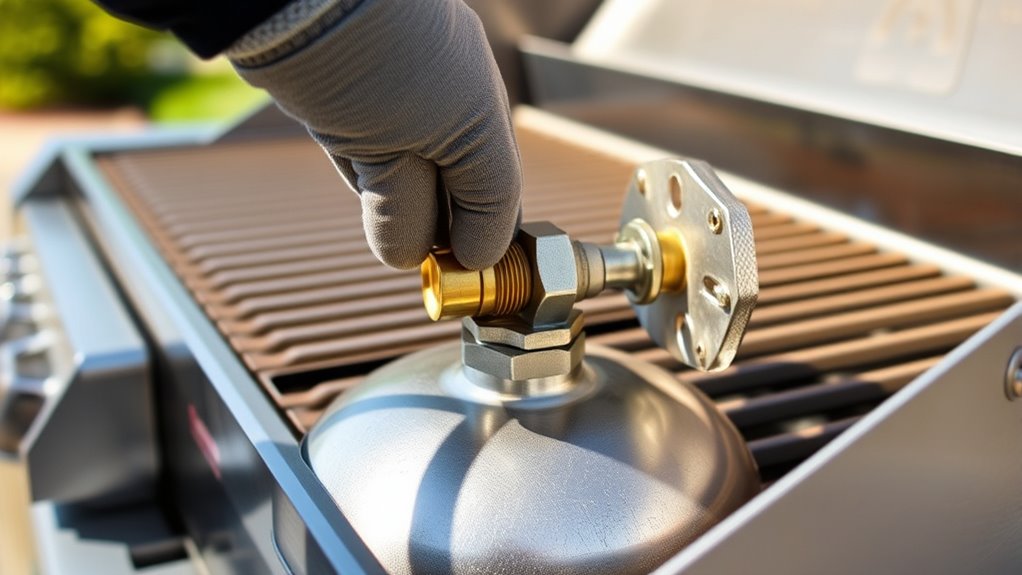
When you connect your propane tank to the Blackstone griddle, make sure the valve is completely closed to prevent leaks. Attach the regulator hose to the tank by turning the coupling nut clockwise until it’s snug—don’t overtighten. Check that the hose is free of cracks or damage before connecting.
Secure the tank in the designated holder or compartment on your griddle to keep it stable while cooking. Position the tank upright on a flat surface, away from heat sources or open flames. Always handle the tank gently to avoid damaging the valve or hose.
How to Check for Propane Leaks Before Lighting
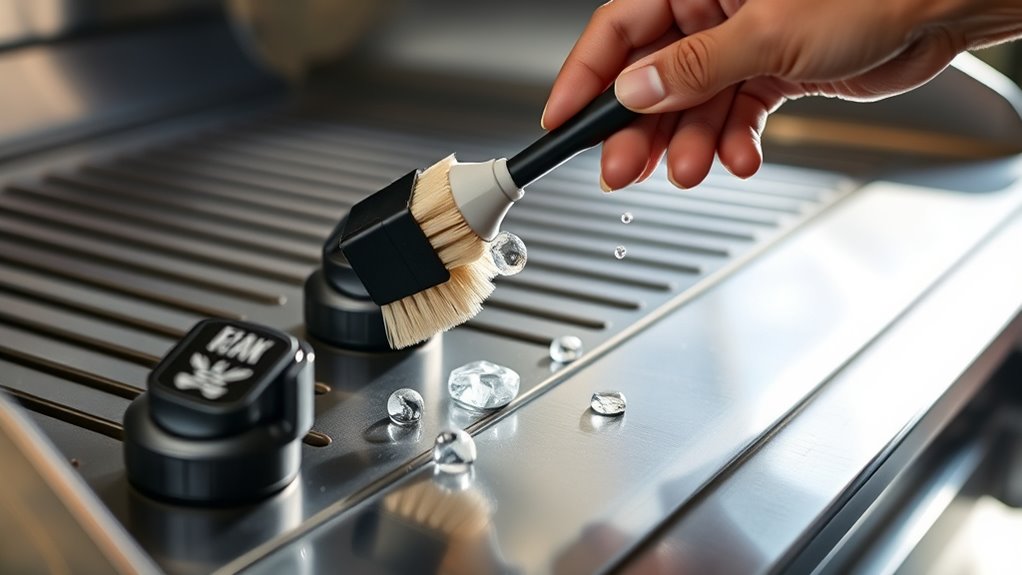
Before you light your Blackstone griddle, you need to check for propane leaks to stay safe. Start with a careful visual inspection, then use a soap solution to spot any bubbles indicating leaks.
Also, trust your nose—if you smell a rotten egg odor, that’s a clear sign of a leak.
Visual Inspection Tips
Although it might seem like a small step, checking for propane leaks is crucial to guarantee your safety and the proper functioning of your Blackstone griddle. Start by visually inspecting the hose and regulator for cracks, wear, or damage. Look closely at connections where the hose meets the tank and griddle; they should be tight and secure.
Make sure the propane tank valve is fully closed before you begin. Check for any signs of rust or corrosion on metal parts, as these can cause leaks. Avoid sharp bends or kinks in the hose that might restrict gas flow.
If you spot any damage or loose fittings, don’t use the griddle until you replace or repair the parts. This careful inspection helps prevent dangerous gas leaks before lighting.
Soap Solution Test
After completing your visual inspection, you’ll want to verify there are no propane leaks using a simple soap solution test. Mix a small amount of dish soap with water in a spray bottle or bowl. Next, apply the soapy water generously to all connections, including the regulator, hose, and fittings.
Turn on the propane tank slowly without lighting the griddle. Watch closely for any bubbles forming at the connections—these bubbles indicate a leak. If you spot bubbles, turn off the propane immediately and tighten or replace the faulty parts before proceeding.
This test confirms your safety by detecting leaks you might not see or smell. Only after passing this soap solution test should you move on to lighting your Blackstone griddle.
Detecting Smell Signs
How can you tell if your Blackstone griddle has a propane leak without relying solely on a soap solution test? One key indicator is the distinct smell of propane, which has a strong, unpleasant odor similar to rotten eggs or a skunk.
Before lighting your griddle, take a moment to sniff around the propane tank, hose connections, and regulator. If you detect that sulfur-like smell, it’s a clear sign of a leak. Additionally, listen for any hissing sounds near the connections.
If you notice either the smell or sound, don’t light the griddle. Turn off the gas immediately, tighten connections, or replace faulty parts. Detecting leaks by smell helps prevent dangerous situations, ensuring your cooking experience stays safe and enjoyable.
Setting the Gas Control Knobs on Your Blackstone Griddle
Start by locating the gas control knobs on your Blackstone griddle and familiarize yourself with their positions. You’ll want to adjust the flame settings carefully to match your cooking needs while ensuring safety during ignition.
Following these steps will help you get a consistent flame and a safe cooking experience.
Locate Control Knob Positions
Before you ignite your Blackstone griddle, you’ll need to locate and understand the positions of the gas control knobs. These knobs are usually found on the front panel, each corresponding to a separate burner below the griddle surface. Each knob typically has three main positions: Off, Ignite, and High Heat.
The Off position shuts the gas flow completely, ensuring safety when the griddle isn’t in use. The Ignite position allows you to light the burner, while the High Heat setting lets the burner operate at maximum flame. Some models also include a Low or Medium setting, but you won’t adjust those just yet.
Knowing these positions helps you control the gas flow safely before moving on to flame adjustments.
Adjust Flame Settings Properly
Once you’ve located the control knobs, you’ll want to adjust the flame settings to match your cooking needs. Turn each knob slowly to ignite the burner and then fine-tune the flame to your desired level. For searing or high-heat cooking, set the knob closer to the high setting.
For gentle cooking or keeping food warm, lower the flame accordingly. Make sure the flames are steady and blue, indicating efficient combustion. Avoid turning the knobs too high immediately; gradual adjustments help prevent flare-ups and uneven heating.
If your Blackstone griddle has multiple burners, adjust each knob based on the zone you’re using. This control lets you cook different foods simultaneously at varying temperatures, giving you full versatility.
Safety Tips for Ignition
Although adjusting the knobs may seem straightforward, you need to handle the ignition process carefully to guarantee safety. Here are essential tips to follow when setting the gas control knobs on your Blackstone griddle:
- Check for Gas Leaks: Before turning on the knobs, inspect connections and hoses for leaks using soapy water.
- Turn Knobs Slowly: Gradually turn the gas control knobs to the “ignite” position to prevent sudden gas release.
- Ignite Immediately: Light the burner promptly after opening the gas valve to avoid gas buildup.
- Keep the Lid Open: Always keep the griddle’s lid open during ignition to prevent gas accumulation and possible flare-ups.
Following these steps ensures a safe, efficient ignition every time you use your Blackstone griddle.
Igniting Your Blackstone Griddle Burners
When you’re ready to ignite your Blackstone griddle burners, make sure the propane tank valve is fully open and the control knobs are set to the “off” position. Next, turn the control knob for the burner you want to light to the “ignite” or “high” setting. You’ll usually hear a clicking sound as the built-in igniter sparks.
If your model doesn’t have an igniter, use a long match or lighter near the burner while turning the knob. Once the burner lights, adjust the knob slightly to maintain a steady flame. Repeat this process for each burner you intend to use.
If a burner doesn’t ignite after a few attempts, turn the knob off and wait a moment before trying again to avoid gas buildup.
Adjusting Flame and Heat Settings for Perfect Cooking
Since proper heat control is key to cooking your food evenly and to your liking, you’ll want to adjust the flame settings carefully after lighting your Blackstone griddle. Here’s how to get it right:
- Turn the control knobs slowly to increase or decrease the flame, giving you precise heat control.
- Use low heat for delicate foods like eggs or vegetables to prevent burning. Medium heat is perfect for pancakes, sandwiches, or cooking proteins evenly.
- High heat works best for searing steaks or stir-frying when you want a quick, intense cook.
Troubleshooting: What to Do If Your Burner Won’t Light
If your burner won’t light, don’t worry—you can often fix the issue quickly by checking a few common problem areas. First, confirm your propane tank isn’t empty and the valve is fully open. Next, inspect the connection between the tank and regulator for leaks or damage.
Sometimes, dirt or debris can clog the burner ports, so clean them gently with a brush. Also, verify the igniter is clicking properly; if it isn’t, try replacing the battery or using a lighter to ignite the burner manually. Make sure the control knob is turned to the correct start position.
How to Turn Off Your Blackstone Griddle Safely
Although you’ve enjoyed cooking on your Blackstone griddle, it’s important to turn it off safely to prevent accidents and extend its lifespan. Follow these steps to shut it down properly:
- Turn the burner knobs to the “off” position to stop the gas flow immediately.
- Close the propane tank valve to ensure no gas leaks occur.
- Allow the griddle to cool down completely before touching or cleaning it.
- Disconnect the propane tank if you won’t be using the griddle for an extended period.
Maintaining Your Blackstone Griddle After Cooking
Taking care of your Blackstone griddle after cooking guarantees it stays in great condition and performs well every time you use it. Once you finish cooking, turn off the griddle and let it cool slightly. Use a scraper or spatula to remove any food debris and grease while the surface is still warm but safe to touch.
Next, wipe the surface with a paper towel or cloth dipped in warm, soapy water to clean off any remaining residue. Rinse with a damp cloth and dry thoroughly to prevent rust. Finally, apply a thin coat of cooking oil to the surface to season it and protect against moisture.
Regular maintenance like this keeps your griddle ready for your next cooking session.
Common Mistakes to Avoid When Turning On Your Griddle
When turning on your Blackstone griddle, don’t overlook proper ventilation to keep things safe. Make certain you never skip the preheat time, as it ensures even cooking.
Also, always use the correct fuel type to avoid damage and performance issues.
Ignoring Proper Ventilation
Why does proper ventilation matter when you turn on your Blackstone griddle? Without it, harmful fumes can build up quickly, posing health risks and affecting cooking quality. When you ignore ventilation, you risk:
- Breathing in dangerous carbon monoxide and other gases.
- Creating an uncomfortable, smoky cooking environment.
- Triggering fire hazards due to trapped heat and fumes.
- Damaging your griddle’s components from excessive smoke and grease buildup.
Make sure you always use your griddle in an open space or under a well-functioning exhaust system. Adequate airflow not only keeps you safe but also ensures your food tastes great without unwanted smoke flavors.
Don’t overlook ventilation—it’s essential for both your health and the longevity of your Blackstone griddle.
Skipping Preheat Time
How long should you wait before cooking on your Blackstone griddle? Skipping the preheat time is a common mistake that can lead to uneven cooking and sticking food.
You want to give your griddle enough time to reach the ideal temperature—usually around 10-15 minutes. This assures a consistent, hot surface for perfect searing and prevents food from absorbing excess grease.
| Preheat Time | Result |
|---|---|
| 5 minutes | Underheated, uneven |
| 10-15 minutes | Perfect temperature |
| 20+ minutes | Excessive heat, risk of burning |
Don’t rush this step. Waiting the full preheat time guarantees better cooking results and prolongs your griddle’s life.
Using Incorrect Fuel Type
Allowing your Blackstone griddle to reach the right temperature sets the stage for great cooking, but using the wrong fuel can quickly undo all that preparation. Using an incorrect fuel type can cause inefficient heating, damage your griddle, or even create safety hazards.
To avoid these issues, keep these tips in mind:
- Always use propane tanks recommended by Blackstone to ensure proper pressure and flow.
- Avoid filling your tank with fuels like butane or natural gas, which may not be compatible.
- Check for leaks or damage before connecting your fuel source to prevent dangerous situations.
- Never substitute fuel types or mix fuels, as this can void warranties and impair performance.
Sticking to the right fuel guarantees your griddle works safely and efficiently every time.
Frequently Asked Questions
What Accessories Are Recommended for Blackstone Griddles?
You’ll want a griddle cover, spatulas, scraper, and a griddle cleaning kit to maintain your Blackstone. Adding a grease management system, griddle mats, and a warmers’ rack will also boost your cooking experience and convenience.
Can I Use My Blackstone Griddle Indoors?
You shouldn’t use your Blackstone griddle indoors—it’s like inviting a smoky storm inside. It needs open air for safe ventilation, or you risk dangerous carbon monoxide buildup and fire hazards in your home.
Stay safe outside!
How Long Does It Take to Preheat the Griddle?
It usually takes you about 10 to 15 minutes to preheat your Blackstone griddle to the desired temperature.
You’ll know it’s ready when the surface starts to shimmer and a drop of water sizzles instantly.
What Types of Foods Cook Best on a Blackstone Griddle?
You’ll think you’ve revealed a gourmet secret—steaks, pancakes, veggies, and even seafood sizzle perfectly on your Blackstone griddle. You can cook anything that needs even heat and a crispy, delicious finish with ease.
Is Seasoning Necessary Before Every Use?
You don’t need to season your Blackstone griddle before every use. Just season it thoroughly when new or after deep cleaning to maintain its non-stick surface and prevent rust.
Then clean and oil lightly after each cook.
Conclusion
Turning on your Blackstone griddle is like striking the first spark of a campfire—simple, yet essential for great moments ahead. By prepping your griddle, securing the propane, and checking for leaks, you set the stage for a flawless cook. Remember, patience and safety go hand in hand.
Keep your griddle maintained, and avoid common pitfalls, so every meal feels like a backyard feast worth savoring. Fire it up, and enjoy the adventure! Mastering how to turn on Blackstone griddle ensures you get the most out of your cooking experience every time.