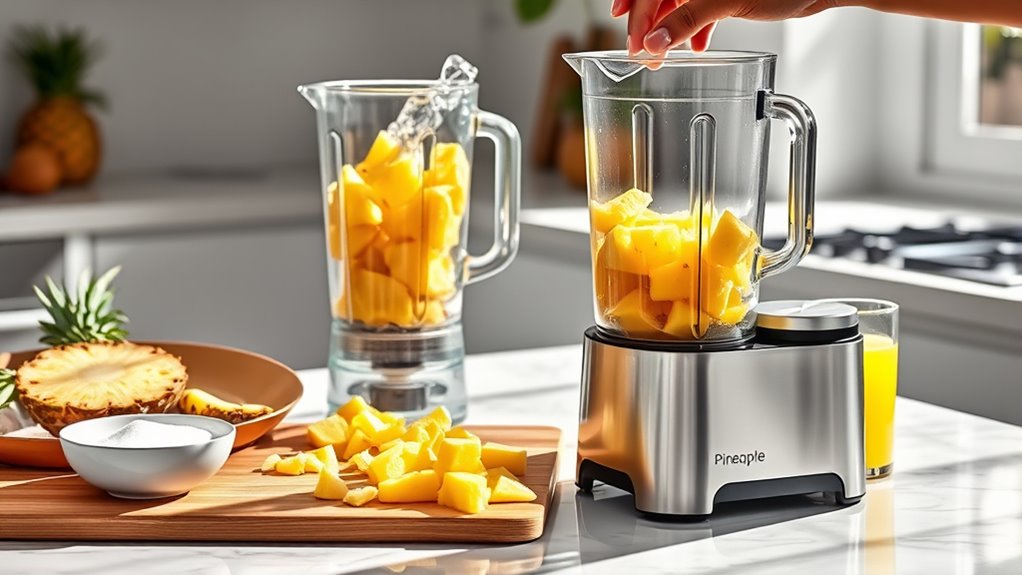
How to Make Pineapple Juice With a Blender in 7 Easy Steps
Choose a ripe pineapple with golden skin and a sweet aroma for the best pineapple juice. Making pineapple juice with a blender is simple and quick, perfect for a refreshing homemade drink. This method ensures you get fresh juice packed with natural flavor and nutrients.
Cut off the top and bottom of the pineapple, peel off the skin, and remove the core. Chop the fruit into chunks and place them in your blender with a little water. Blend until smooth, then strain if you want a clearer juice.
Taste your juice and add sweeteners or flavor boosts like lime or mint as you like. Keep the juice refrigerated and enjoy it fresh.
For a full guide on perfecting your juice, keep exploring.
Key Takeaways
- Select a ripe pineapple with a golden-yellow base, firm texture, and fresh leaves, then cut off the top and bottom.
- Peel the pineapple, remove eyes and core, and chop into even bite-sized chunks for easy blending.
- Blend pineapple chunks with ¼ to ½ cup of water or juice on high for 30–60 seconds until smooth.
- Strain the blended mixture using a fine mesh strainer or cheesecloth for a smooth juice texture.
- Chill the juice, add sweeteners or flavor enhancers if desired, and serve fresh over ice.
Choose a Ripe Pineapple for the Best Juice
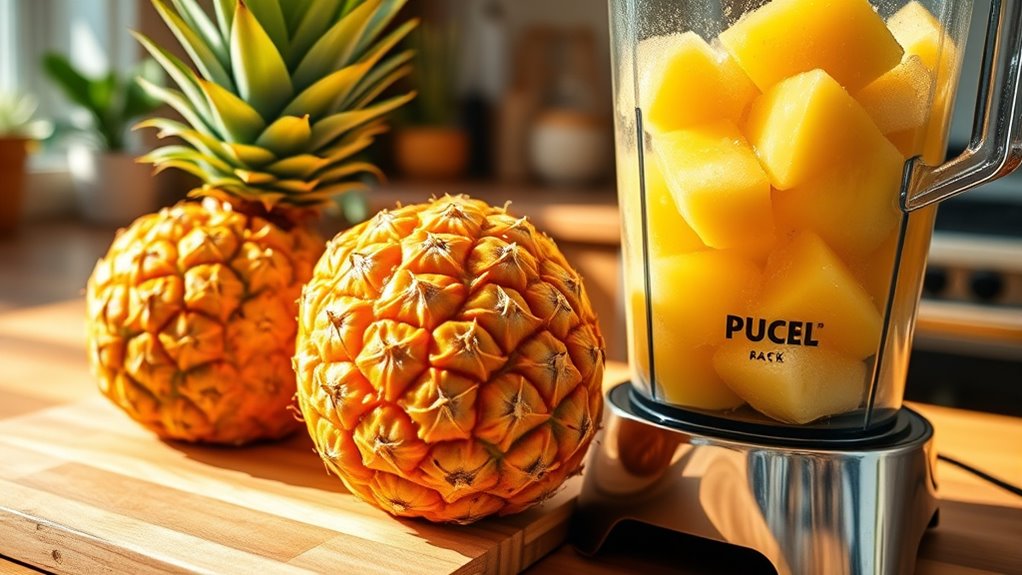
To get the best flavor from your pineapple juice, you’ll want to pick a ripe pineapple. Start by checking its color; a ripe pineapple usually has a golden-yellow hue at the base. Avoid ones that are too green or overly brown.
Give the fruit a gentle squeeze—it should feel firm but yield slightly to pressure, indicating juiciness. Smell the base of the pineapple; a sweet, tropical aroma signals ripeness, while a lack of scent means it’s underripe. Also, look at the leaves on top; they should be green and vibrant, not brown or wilted.
Choosing a ripe pineapple ensures your juice will be naturally sweet, flavorful, and invigorating, setting you up perfectly for the next step.
Prepare the Pineapple by Peeling and Chopping It
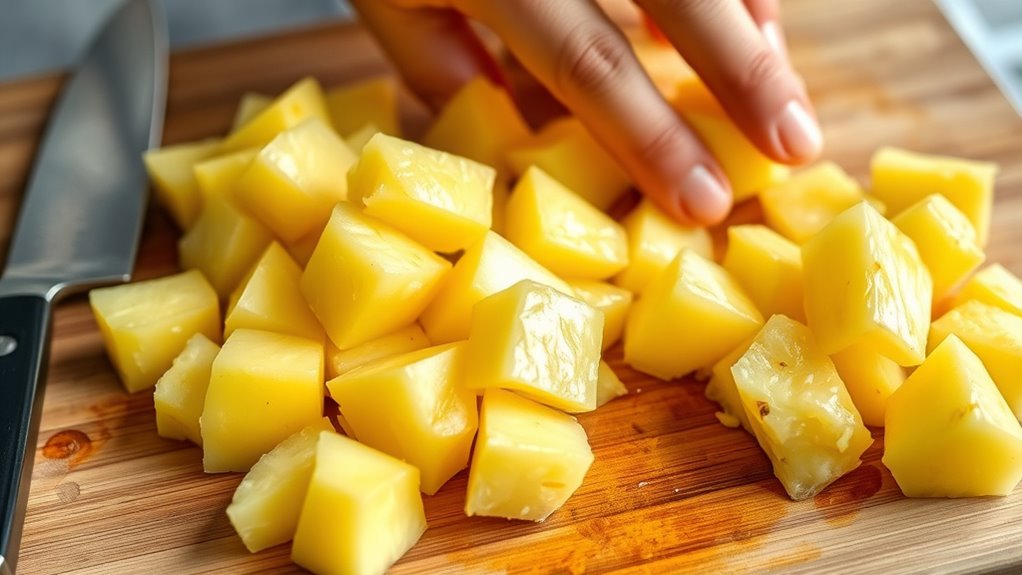
How do you get from a whole pineapple to juicy chunks ready for juicing? Start by laying the pineapple on its side and slicing off the top and bottom with a sharp knife.
Stand it upright, then carefully cut downward, following the curve to remove the tough skin. Don’t forget to slice off the brown “eyes” left behind. Once peeled, cut the pineapple into quarters lengthwise and slice out the hard core from each piece.
Finally, chop the quarters into bite-sized chunks. These pieces will blend smoothly, making your juice fresh and flavorful. Taking the time to prep your pineapple well ensures you get the most juice and avoid any bitter or tough bits in your final drink.
Put Pineapple Pieces Into the Blender
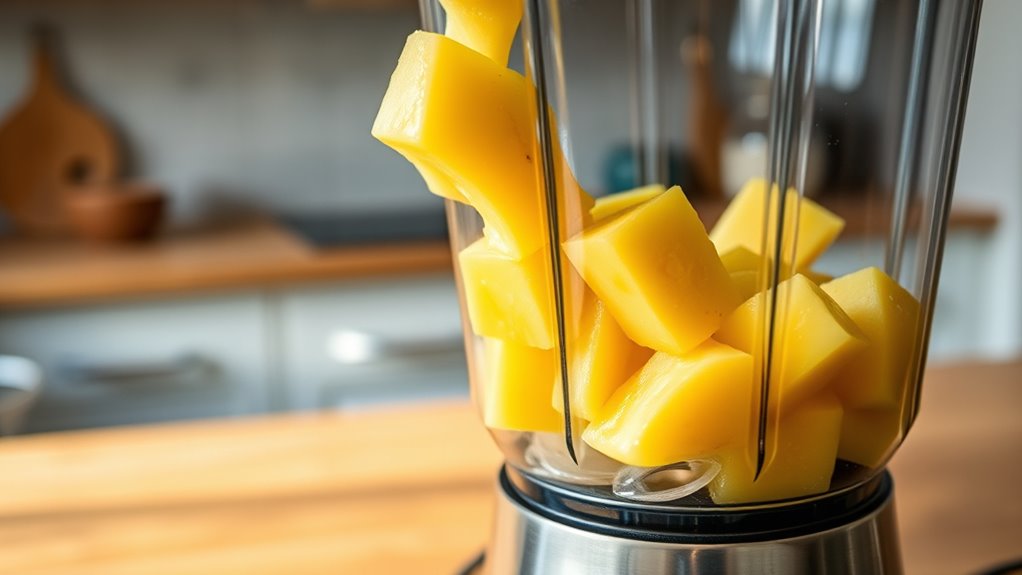
Now that you’ve peeled and chopped your pineapple, it’s time to add the pieces to the blender. Make certain the pineapple is ripe and cut into manageable chunks for smooth blending.
Proper preparation here ensures your juice will be fresh and flavorful.
Choosing Ripe Pineapples
Where do you start when making fresh pineapple juice? It all begins with choosing ripe pineapples. Picking the right fruit ensures your juice is naturally sweet and flavorful.
Here’s how to spot a perfect pineapple:
- Look for a bright, golden color rather than green.
- Smell the base; it should have a sweet, tropical aroma.
- Check the leaves; they should be green and fresh, not brown or dry.
- Gently squeeze the pineapple; it should be firm but slightly soft.
- Avoid pineapples with bruises or soft spots.
Selecting a ripe pineapple makes blending easier and guarantees delicious juice. Remember, the better the pineapple, the tastier your juice will be!
Cutting Pineapple Properly
Wondering how to cut your pineapple quickly and efficiently? Start by laying the pineapple on its side and cutting off the top and bottom with a sharp knife. Stand it upright, then slice off the thick outer skin in strips, removing all the eyes.
Next, cut the pineapple into quarters lengthwise. You’ll see the core running down the center of each quarter—cut this out by slicing it off at an angle. Once the tough core is removed, cut the quarters into bite-sized pieces that fit easily into your blender.
Make sure the pieces are neither too large nor too small; this helps the blender work effectively without straining. Now, your pineapple is ready to go straight into the blender for juicing.
Preparing Pieces For Blending
Once you’ve cut the pineapple into manageable pieces, place them directly into your blender jar. Make sure the pieces aren’t too big, so your blender can handle them easily and blend everything smoothly.
Here are some tips for preparing pineapple pieces for blending:
- Remove any remaining tough core pieces for a smoother texture
- Cut chunks roughly the same size for even blending
- Avoid overfilling the blender to prevent spills
- Add a little water or juice to help the blades move freely
- Keep pieces fresh and cold for a revitalizing juice
Blend the Pineapple to Make Fresh Juice
Before you start blending, cut the pineapple into small chunks to make sure your blender can handle it smoothly. Place the pineapple pieces into the blender jar, filling it about halfway to avoid overloading. Add a little water, around ¼ to ½ cup, to help the blades move and create a smoother consistency.
Secure the lid tightly, then blend on high speed for about 30 to 60 seconds. Stop occasionally to check the texture and scrape down the sides if needed. Keep blending until the pineapple breaks down into a thick, pulpy juice.
If your blender struggles, pulse a few times before blending continuously. This process extracts fresh juice quickly, preserving the pineapple’s natural sweetness and vibrant flavor.
Strain the Juice for a Smoother Texture (Optional)
If you want a smoother pineapple juice, you can strain it to remove pulp and fibers. Using a fine mesh strainer or cheesecloth works best for this step.
Just press gently to keep the juice clear without losing too much liquid.
Benefits of Straining Juice
Although straining pineapple juice is optional, doing so can greatly improve its texture by removing pulp and fibrous bits. When you strain your juice, you’re left with a smoother, more enjoyable drink that’s easy to sip and digest. Plus, it can enhance the overall appearance, making your juice look clearer and more appealing.
Here are some benefits you’ll notice when you strain your pineapple juice:
- Smoother texture without any gritty or stringy bits
- Better mouthfeel, especially if you prefer light juices
- Clearer juice that looks fresh and vibrant
- Easier to mix with other beverages or cocktails
- Reduced fiber content for a gentler taste on your stomach
Straining is a simple step that can elevate your homemade pineapple juice experience.
Types of Strainers Used
To achieve that smooth, pulp-free pineapple juice, you’ll want to choose the right strainer. A fine mesh strainer is a popular choice—it catches tiny pulp pieces and seeds while letting the juice flow through easily. If you prefer an even smoother texture, a nut milk bag or cheesecloth can work wonders by filtering out almost all solids.
For quicker straining, a colander lined with a thin kitchen towel can do the job, though it may not catch the smallest bits. Some people use a chinois or conical strainer for a more professional finish, but these aren’t essential. Consider the texture you want and the tools you have.
Straining is optional, but picking the right strainer will help you get the perfect pineapple juice consistency.
Tips for Smooth Texture
Wondering how to get that perfectly smooth pineapple juice? Straining your juice is a simple step that can make a big difference, especially if you want to avoid pulp or fibrous bits. Here are some tips to guarantee a silky texture:
- Use a fine mesh strainer or cheesecloth for the best results.
- Pour the blended juice slowly to prevent overflow and mess.
- Press the pulp gently with a spoon to extract more juice.
- Chill the juice before straining if you want it fresher and less foamy.
- Skip straining if you prefer a thicker, fiber-rich drink.
Straining is optional but recommended if you want a clean, smooth finish that feels invigorating with every sip.
Adjust Sweetness and Add Flavors (Optional)
Since pineapple juice can vary in natural sweetness, you might want to adjust it to suit your taste. Start by tasting your juice after blending. If it’s too tart, add a small amount of sweetener like honey, agave syrup, or sugar.
Blend again briefly to mix. Add sweeteners gradually to avoid overpowering the fresh pineapple flavor.
You can also enhance your juice by adding complementary flavors. A squeeze of lime or lemon juice brightens the taste, while a few fresh mint leaves add a refreshing twist. For a tropical touch, try blending in a bit of coconut water or ginger.
Store Fresh Pineapple Juice and Serve When Ready
Although fresh pineapple juice tastes best immediately, you can store it properly to enjoy later without losing its vibrant flavor. To keep your juice crisp, transfer it into an airtight container or glass bottle. Refrigerate it promptly to slow down oxidation and maintain its natural sweetness.
Fresh pineapple juice tastes best right away, but storing it airtight and refrigerated preserves its vibrant flavor.
For best results, consume the juice within 24 to 48 hours. Before serving, give it a quick stir or shake to mix any separated pulp.
Here are some tips to store and serve your pineapple juice:
- Use a clean, airtight container to prevent contamination
- Keep the juice chilled at all times
- Avoid prolonged exposure to air and sunlight
- Shake or stir before pouring to mix settled pulp
- Serve over ice for a revitalizing taste
Following these steps ensures your juice stays delicious until you’re ready to enjoy it.
Frequently Asked Questions
Can I Use Frozen Pineapple for Juice?
Yes, you can use frozen pineapple for juice. It’s convenient and keeps the flavor vibrant.
Just blend it with a bit of water or juice to get a smooth, revitalizing drink without thawing beforehand.
How Long Does Pineapple Juice Last in the Fridge?
You won’t believe it, but pineapple juice lasts about 3 to 5 days in the fridge.
Is It Necessary to Add Water When Blending Pineapple?
You don’t have to add water when blending pineapple, but doing so helps the blender run smoothly and makes the juice less thick.
If you prefer a thicker juice, skip the water and blend pineapple alone.
Can Pineapple Juice Be Used in Cocktails?
You’ll delight, you’ll refresh, you’ll surprise—yes, pineapple juice shines in cocktails. You can mix it with rum, vodka, or tequila, adding tropical sweetness and tang that elevates every sip you take.
What Are the Health Benefits of Fresh Pineapple Juice?
You’ll boost your immune system and aid digestion with fresh pineapple juice. It’s packed with vitamin C, antioxidants, and bromelain, which reduces inflammation and supports overall health.
Drinking it regularly keeps you energized and refreshed.
Conclusion
Now, imagine the vibrant golden juice swirling in your glass, bursting with sweet, tropical vitality. With just a blender and a ripe pineapple, you’ve created an invigorating drink that brightens any moment. Whether you strain it smooth or add a splash of lime, your homemade pineapple juice is ready to refresh and delight.
Store your fresh pineapple juice chilled to maintain its bright flavor and natural sweetness. This easy pineapple juice recipe is perfect for a quick escape to paradise anytime you need a refreshing boost. Enjoy the tropical goodness of homemade pineapple juice made with a blender, and savor every sunny sip.