How to Julienne Carrots With a Grater
To julienne carrots with a grater, start by washing, peeling, and trimming the carrots to ensure safety and uniformity.
Using a sharp julienne grater or a mandoline equipped with julienne blades is essential for achieving thin, even strips.
Stabilize your grater on a non-slip surface to prevent accidents during the process.
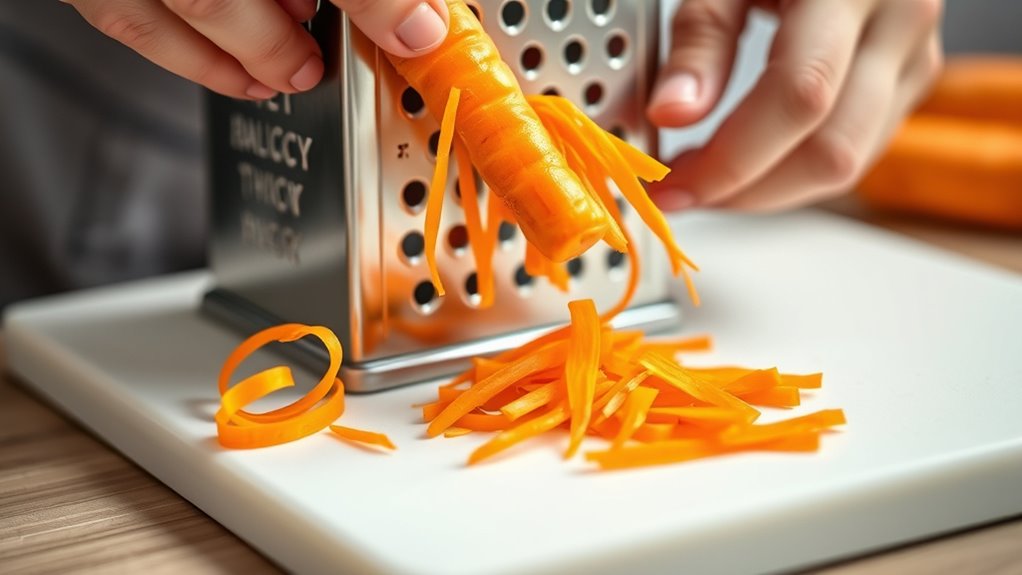
Grate the carrot downward with steady, consistent pressure, rotating it as needed to maintain uniformity.
This quick and efficient method not only saves prep time but also enhances your dish’s texture and appearance.
Remember to clean your tools promptly to keep them sharp and ready for future use.
This technique is perfect for adding a professional touch to salads, stir-fries, and garnishes.
Keep exploring for additional tips on perfect cuts and creative ways to use julienned carrots in your cooking.
Key Takeaways
- Peel and trim carrots, cutting thick ones lengthwise for better grip and uniform strips before grating.
- Use a handheld grater or mandoline slicer with julienne blades for consistent thin carrot strips.
- Stabilize the grater on a non-slip surface to ensure safety and control while grating.
- Grate carrots downward with steady pressure, rotating them gradually for even, uniform julienne strips.
- Clean the grater immediately after use and store julienned carrots in an airtight container to maintain freshness.
Why Julienne Carrots for Cooking and Presentation
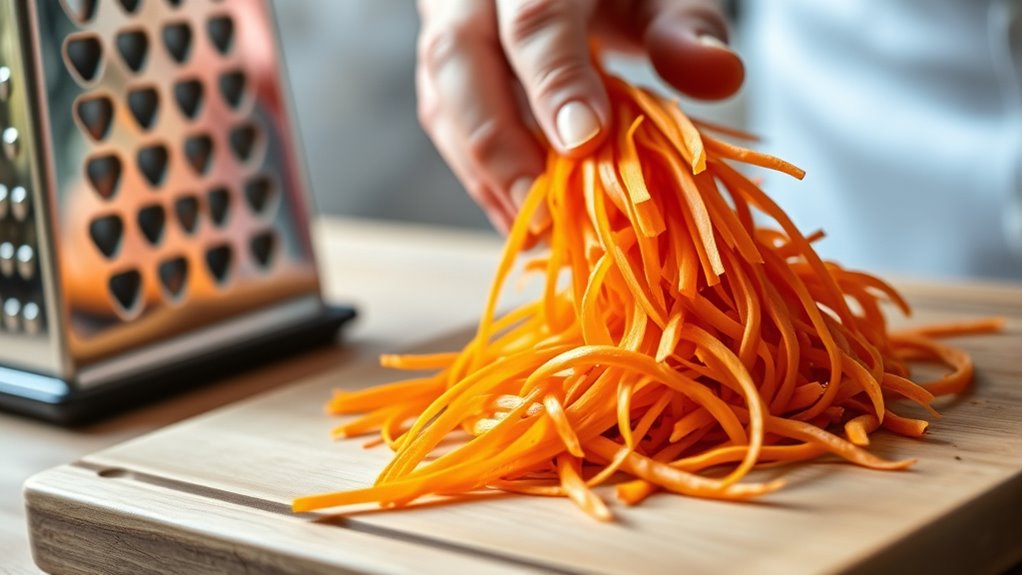
Although julienning carrots might seem like an extra step, it actually speeds up cooking and enhances your dish’s appearance. When you cut carrots into thin, uniform strips, they cook more evenly and quickly, saving you time in the kitchen. You won’t have to guess if they’re done or risk uneven textures.
Plus, julienned carrots add a professional, polished look to your meals, making salads, stir-fries, and garnishes more visually appealing. This technique also helps the carrots blend better with other ingredients, improving flavor distribution.
Essential Tools for Julienne Carrots (Besides a Grater)
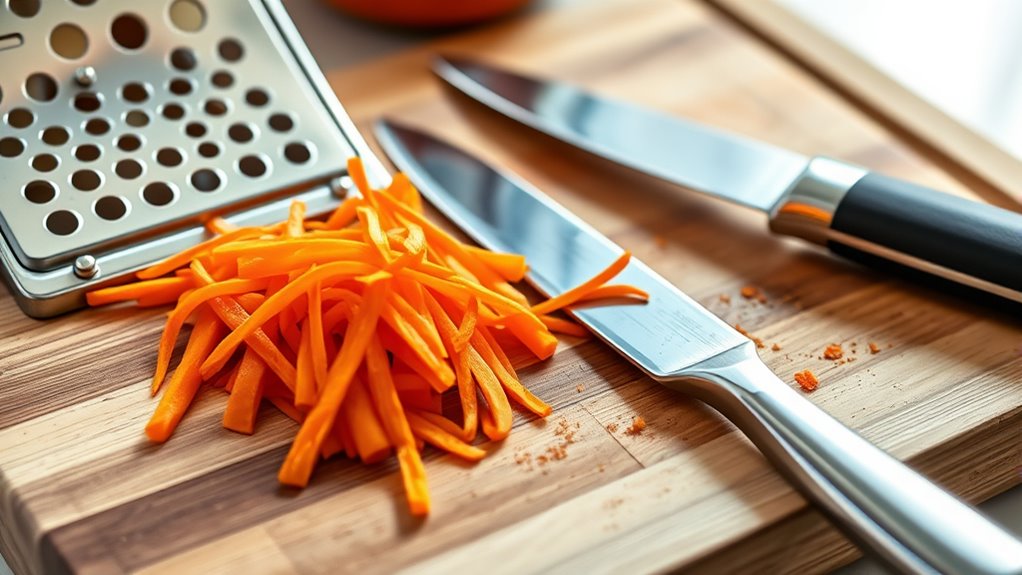
When you’re ready to julienne carrots without a grater, having the right tools makes all the difference. A sharp chef’s knife is your best bet—it lets you slice carrots into thin, even strips with control and precision. A sturdy cutting board provides a safe surface to work on, preventing slips.
You might also find a mandoline slicer helpful; it can create uniform slices quickly, which you can then stack and cut into julienne strips. A vegetable peeler helps remove tough skin for smooth cutting, while kitchen shears can tidy up uneven edges.
These tools streamline your prep, making julienne carrots neat and consistent. With them on hand, you’ll julienne carrots efficiently and with confidence, even without a grater.
Picking the Best Grater for Julienne Carrots
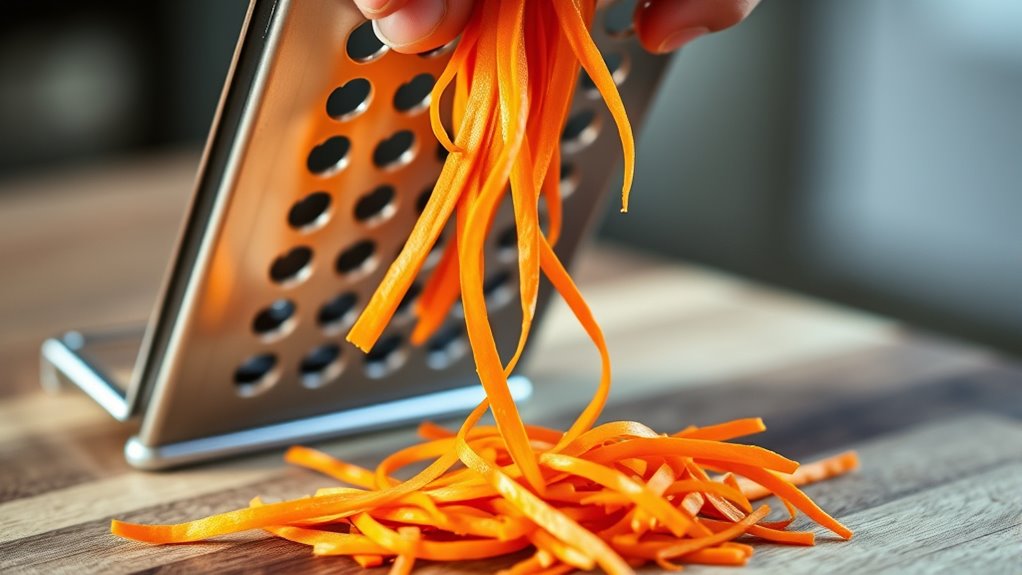
When choosing a grater for julienne carrots, consider the type that matches your cutting style. Pay attention to the material and durability to guarantee it lasts through many uses.
Also, pick one that’s easy to clean to save time after prep.
Types of Julienne Graters
Since julienning carrots requires uniform, thin strips, choosing the right grater makes all the difference in achieving consistent results quickly. You’ll find several types of julienne graters designed specifically for this task. Mandoline slicers often come with julienne blades, offering adjustable thickness and fast slicing, perfect if you want versatility.
Handheld julienne graters resemble traditional box graters but feature sharp, narrow blades that cut carrots into thin matchsticks as you slide them across. Some julienne peelers look like standard vegetable peelers but create thin strips in one motion, ideal for smaller quantities. Each type has its strengths, so consider how often you’ll julienne carrots and the volume you need.
Picking the right style helps you work efficiently and get uniform results every time.
Material and Durability
Although choosing the right type of julienne grater matters, the material and durability are just as essential for long-term use. You’ll want a grater made with sturdy materials that won’t rust or bend easily. Stainless steel graters are excellent for strength and corrosion resistance.
Plastic options might be lighter but less durable. Wood, though less common, offers a traditional feel but requires more care. Consider how often you’ll use it and what maintenance you’re willing to do.
| Material | Durability | Pros |
|---|---|---|
| Stainless Steel | High – rust and bend resistant | Long-lasting, sharp blades |
| Plastic | Medium – prone to wear | Lightweight, budget-friendly |
| Wood | Low-Medium – needs care | Natural look, gentle on hands |
Ease of Cleaning
Choosing a grater made from durable materials is just one part of the equation; you’ll also want to think about how easy it is to clean. Since julienning carrots creates small, sticky pieces, a grater that’s simple to rinse and scrub will save you time and frustration.
Look for graters with wide, open designs or removable parts that let you reach every crevice. Avoid models with complicated shapes or tiny holes where carrot bits can get stuck, making cleanup a chore. Dishwasher-safe graters offer extra convenience, but if you wash by hand, a stiff brush can help dislodge residual fibers.
Prioritizing ease of cleaning guarantees your grater stays hygienic and ready for your next batch of perfectly julienned carrots.
Preparing Carrots for Julienne Grating
Before you start julienne grating, make sure to wash and peel the carrots thoroughly. This removes dirt and any bitter skin, ensuring clean, crisp strips. After peeling, trim off both ends of each carrot for uniformity and safety while grating.
If your carrots are thick, consider cutting them in half lengthwise to create manageable pieces that fit your grater comfortably. This also helps you achieve evenly sized julienne strips. Inspect the carrots for any bruises or soft spots and remove those parts to maintain texture.
Dry the carrots with a clean towel before grating to prevent slipping. Taking these simple preparation steps will make the julienne process smoother and produce consistent, attractive carrot strips ready for your recipe.
Step-by-Step: Julienne Carrots Using a Grater
To julienne carrots with a grater, you’ll want to start by choosing the right type—usually one with thin, sharp blades. Make sure your carrots are peeled and trimmed properly for smooth grating.
Then, use steady, controlled motions to create even, matchstick-sized pieces.
Choosing The Right Grater
What makes a grater ideal for julienning carrots? You’ll want one with sharp, narrow blades designed specifically for creating thin, matchstick-like strips. Look for a julienne grater or a multi-sided box grater that includes a julienne blade option.
Avoid graters with wide or coarse holes, as they won’t produce the fine, uniform cuts you need. A sturdy handle and non-slip base will help you maintain control and safety while grating. Stainless steel blades stay sharp longer and resist rust, ensuring consistent results.
If you plan to julienne often, investing in a dedicated julienne tool or an adjustable grater can speed up your prep. Choosing the right grater sets you up for easy, precise carrot julienning every time.
Preparing Carrots Properly
How exactly do you prepare carrots for julienning with a grater? Start by selecting fresh, firm carrots to guarantee clean, even strips. Wash them thoroughly under cold water to remove dirt and pesticides.
Peel the carrots completely using a vegetable peeler to get smooth surfaces that grate easily. Finally, trim off both ends so you have straight edges for better control while grating.
Here’s a quick checklist to prepare your carrots properly:
- Choose firm, fresh carrots without blemishes
- Rinse thoroughly to remove dirt and residues
- Peel all the skin off for a smooth surface
- Cut off the tops and tips for neat edges
These steps help you get consistent, easy-to-handle carrots ready for julienning with your grater.
Grating Techniques For Julienne
Once your carrots are prepped with smooth surfaces and neat edges, you can start grating them into thin, uniform strips. Hold the carrot firmly and position it against the side of the grater with the julienne blade. Use steady, even pressure as you slide the carrot down the grater.
Keep your fingers clear of the blades to avoid injury. Rotate the carrot as needed to maintain a consistent shape and size. If your grater has multiple sides, choose the one with the smallest slits for the finest julienne strips.
Work slowly at first to control the thickness. Collect the grated carrot strips gently so they don’t break. With practice, you’ll achieve perfect, crisp julienne carrots every time.
Grating Carrots Safely and Quickly
Although julienning carrots by hand can be time-consuming, using a grater allows you to prepare them quickly and safely. To get started, hold the carrot firmly and grate it against the blade with steady pressure. Keep your fingers away from the sharp edges to avoid injury.
Use a protective glove or a food holder if you have one to improve grip and safety. Work over a clean surface to catch the grated carrot easily.
Here are some tips for grating carrots safely and quickly:
- Stabilize the grater on a non-slip mat or towel.
- Grate in a downward motion, maintaining control.
- Take breaks if your hand feels tired to prevent slips.
- Clean the grater immediately after use to avoid residue buildup.
Tips for Getting Uniform Julienne Carrot Strips
Grating carrots is a quick way to prepare them, but if you want neat, uniform julienne strips, a bit more attention to technique is needed. First, choose a grater with thin, evenly spaced blades to create consistent strips. Before grating, peel the carrot and trim the ends to get a flat surface; this helps maintain stability while you work.
Hold the carrot firmly and apply steady pressure as you grate, moving it evenly across the blade. Rotate the carrot gradually to ensure all sides are grated uniformly. If your grater has a julienne attachment, use it for more precise strips.
Finally, keep your motions controlled and avoid rushing—this guarantees each strip is similar in thickness and length, making your julienne carrots look professional and cook evenly.
Common Mistakes When Julienning Carrots
If you don’t take care with your technique, you’ll end up with uneven, broken, or unsafe julienne carrot strips. Common mistakes often stem from rushing or neglecting safety. Avoid these pitfalls to get clean, uniform results every time.
- Using a dull grater blade can shred rather than slice, causing ragged strips.
- Not peeling the carrot first leads to tough, uneven textures.
- Applying inconsistent pressure creates strips of varying thickness.
- Neglecting to stabilize the carrot while grating increases the risk of slips and cuts.
How to Store Julienned Carrots for Freshness
To keep your julienned carrots fresh, choose the right storage container that seals tightly to lock in moisture. Store them in the refrigerator at a cool temperature, ideally around 32-40°F.
You’ll also want to control moisture by using a damp paper towel inside the container to prevent drying out or sogginess.
Optimal Storage Containers
Several types of containers can keep your julienned carrots fresh and crisp. Choosing the right one helps maintain texture and flavor longer. You want containers that seal well to prevent moisture loss and exposure to air.
Here are some ideal storage container options:
- Airtight glass containers: Durable and won’t retain odors or stains.
- Plastic containers with tight-fitting lids: Lightweight and convenient for daily use.
- Resealable plastic bags: Space-saving and easy to squeeze out excess air.
- Vacuum-sealed bags: Best for extended storage by removing all air.
Make sure your carrots are dry before storing to avoid sogginess. These choices help preserve the crispness and freshness of your julienned carrots effectively.
Temperature Guidelines
Where should you store julienned carrots to keep them fresh and crisp? The best place is your refrigerator’s crisper drawer, which maintains a cool temperature around 32°F to 40°F (0°C to 4°C). This range slows down enzymatic activity and bacterial growth, preserving the carrots’ texture and flavor.
Avoid storing them near the freezer compartment, as freezing temperatures can cause the carrots to become mushy once thawed. Also, keep julienned carrots away from ethylene-producing fruits like apples and bananas, which can accelerate spoilage.
Moisture Control Techniques
How can you prevent julienned carrots from losing their crispness and becoming soggy? The key is moisture control during storage. Excess moisture promotes sogginess, while too little causes drying out.
Here’s how you can keep your carrots fresh and crisp:
- Pat dry julienned carrots with paper towels before storing.
- Store them in an airtight container lined with a dry paper towel to absorb excess moisture.
- Keep the container in the refrigerator’s crisper drawer, maintaining a cool, consistent temperature.
- Avoid washing carrots until just before use to minimize moisture exposure.
Creative Ways to Use Julienned Carrots
Once you’ve mastered julienning carrots, you’ll find they add a crisp crunch and vibrant color to many dishes. Toss them into salads for an instant texture boost or sprinkle them over grain bowls to brighten flavors. You can also stir-fry julienned carrots with garlic and ginger for a quick side dish.
Wrap them in rice paper with herbs and protein for invigorating spring rolls. Mix them into coleslaw or use as a topping for tacos to add a crisp contrast. For a fun snack, try pickling your julienned carrots with vinegar and spices.
These creative uses not only enhance your meals visually but also bring a delightful crunch and natural sweetness that complements a variety of cuisines.
How Julienning Carrots With a Grater Saves Time
Adding julienned carrots to your dishes is a great way to enhance flavor and texture, but preparing them by hand can be time-consuming. Using a grater to julienne carrots speeds up the process, letting you get perfectly thin, uniform strips in moments. You won’t need to sharpen knives or worry about uneven cuts, making your prep safer and more efficient.
Plus, the grater handles multiple carrots quickly, ideal for busy kitchens or meal prepping.
Here’s how julienning with a grater saves you time:
- Cuts down prep time considerably
- Ensures consistent, even strips every time
- Reduces cleanup compared to multiple knives and boards
- Minimizes hand fatigue during repetitive cutting
This simple tool streamlines your cooking, so you can focus on flavor.
Frequently Asked Questions
Can I Julienne Other Vegetables Using the Same Grater?
Yes, you can julienne other firm vegetables like zucchini, cucumbers, and radishes using the same grater. Just make sure to clean it thoroughly between uses to avoid mixing flavors and maintain sharpness for the best results.
Is Julienned Carrot Nutrition Different From Whole Carrots?
No, julienned carrots have the same nutrition as whole carrots. Cutting them differently won’t change their vitamins or minerals, but smaller pieces might make it easier for your body to digest and absorb those nutrients faster.
How Long Do Julienned Carrots Last in the Refrigerator?
Freshly sliced, julienned carrots stay crisp and colorful for about one week in your refrigerator.
To maintain maximum moisture and minimize mold, store them sealed in an airtight container or tightly wrapped in plastic.
Can Julienned Carrots Be Frozen for Later Use?
Yes, you can freeze julienned carrots for later use. Just blanch them briefly, cool in ice water, drain well, then freeze in airtight bags.
This keeps their texture and flavor intact for future meals.
What Dishes Pair Best With Julienned Carrots?
You’ll find julienned carrots stealing the spotlight in stir-fries, salads, and spring rolls. Toss them in slaws or on sandwiches—they add crunch and color like the superstar garnish you never knew you needed.
Conclusion
Julienning carrots with a grater is a quick, efficient way to elevate your cooking and presentation. Did you know that finely cut veggies like julienned carrots can enhance flavor absorption by up to 30%? By mastering this simple technique, you’ll save time and add a professional touch to your dishes.
So grab your grater, prep those carrots, and enjoy the fresh, vibrant texture that julienning brings to your meals! Incorporating this method into your routine will not only improve your cooking skills but also make julienned carrots a staple in your kitchen. Embrace the ease and precision of how to julienne carrots with a grater for delicious, visually appealing results.