How to Use Butter to Grease a Cake Pan
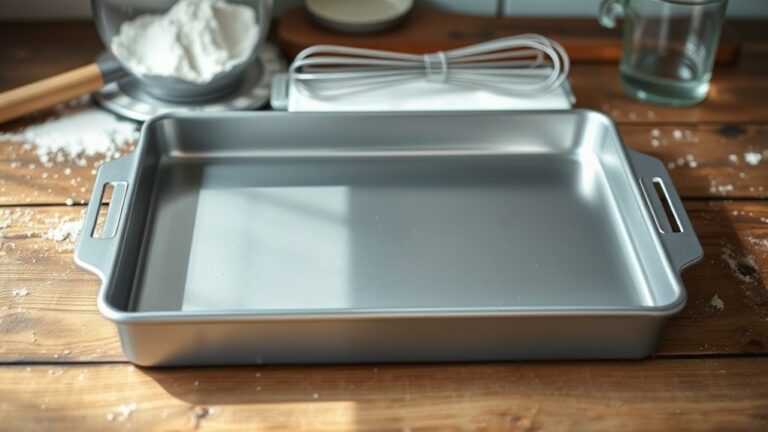
To grease your cake pan with butter, start by softening some unsalted butter until it is spreadable but not melted. Using butter to grease a cake pan is a classic method that provides a rich, non-stick layer, ensuring your cake releases cleanly and bakes evenly.
This simple step is essential for successful baking and helps prevent sticking and uneven cooking.
Use a small amount of softened butter and gently spread it evenly over the entire surface, including corners and edges. You can apply the butter with a pastry brush, paper towel, or your fingers for best results.
For an extra smooth finish, try dusting the greased pan with a light coating of flour afterward.
Keep going to discover tips for greasing different types of pans and troubleshooting common issues to perfect your baking process every time.
Key Takeaways
- Soften unsalted butter to room temperature for smooth, even application without melting or excess greasiness.
- Use a pastry brush, parchment paper, or fingers to spread a thin, uniform butter layer covering all pan surfaces and corners.
- Apply gentle, circular motions to ensure even butter distribution and avoid thick patches that cause uneven baking.
- Lightly dust the greased pan with fine flour, tapping out excess to enhance non-stick properties and prevent sticking.
- Use fresh, high-quality butter to contribute flavor, promote browning, and ensure easy cake release without tearing.
Why Butter Works Best for Greasing Cake Pans
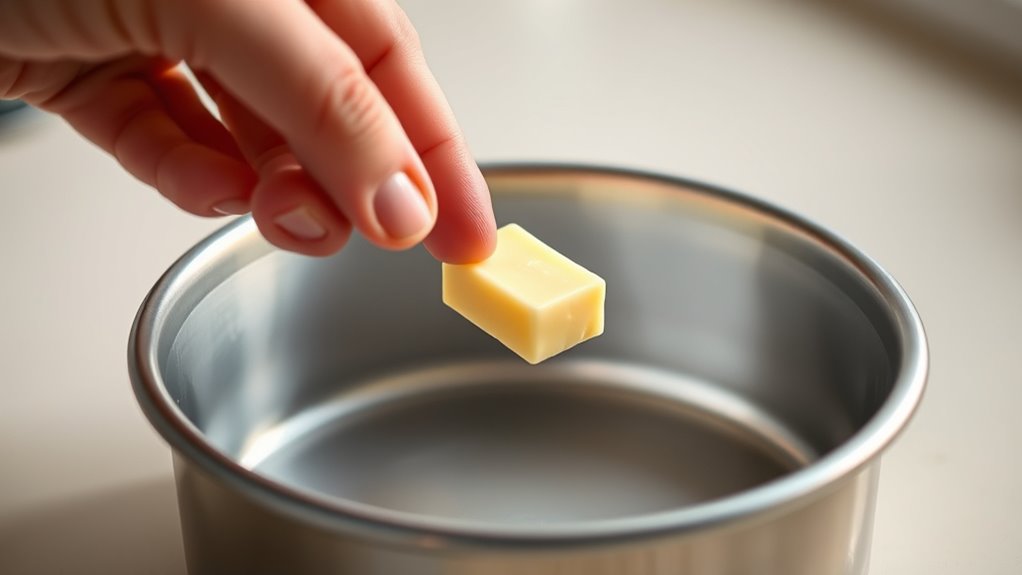
Although there are several options for greasing a cake pan, butter works best because it creates a non-stick surface while adding a subtle, rich flavor to your baked goods. When you use butter, it melts evenly, coating every corner and edge, so your cake won’t stick or tear when you remove it. Butter’s natural fats help brown the cake’s exterior slightly, giving it an appealing color and texture.
Unlike oils or sprays, butter also contributes a hint of dairy richness that enhances your cake’s taste. Plus, it’s easy to control how much you use, preventing greasy spots. Choosing butter means you’re not just preventing sticking—you’re improving your cake’s overall quality in a simple, effective way.
Getting Butter Ready for Your Cake Pan

Before you start greasing, pick a butter with a good fat content for the best results. Make certain to soften it just enough so it spreads easily without melting.
Preparing your butter this way ensures a smooth, even coat on your cake pan.
Choosing The Right Butter
When you choose butter to grease your cake pan, opt for unsalted and fresh butter to control the flavor and avoid any unwanted saltiness in your cake. Fresh butter guarantees a smooth spread that sticks well to the pan’s surface, creating an even barrier to prevent sticking. Avoid margarine or whipped butter, as they contain additives or extra air, which can affect how well the butter coats the pan.
Also, steer clear of salted butter since the salt might alter your cake’s taste. If possible, pick a high-quality butter with a natural creamy texture—this helps create a non-stick layer that’s easy to work with. Choosing the right butter sets the foundation for a flawless cake release every time.
Softening Butter Properly
Since cold butter is hard to spread evenly, you’ll need to soften it properly to create a smooth, consistent coating for your cake pan. Softened butter spreads easily without tearing the pan’s surface or leaving clumps.
Here’s how to soften butter quickly and safely:
| Method | Time Needed | Tips |
|---|---|---|
| Room Temperature | 30-60 minutes | Keep covered to avoid dust |
| Microwave | 5-10 seconds | Use low power, check frequently |
| Warm Water Bath | 5-10 minutes | Keep butter in a sealed bag |
| Grating | Immediate | Use fresh, cold butter |
| Cubing | 10-15 minutes | Spread cubes evenly to speed softening |
Choose the method that fits your schedule, ensuring the butter is soft but not melted before greasing your cake pan.
Preparing Butter For Application
Once your butter has softened to the right consistency, it’s time to prepare it for greasing your cake pan. Start by cutting a small piece of butter—about a tablespoon is enough. Use your fingers or a pastry brush to scoop up the butter, making it easier to spread evenly.
If you prefer, wrap the butter in parchment paper or wax paper to avoid direct contact. This helps prevent your hands from warming the butter too much. Next, apply the butter in gentle, circular motions, ensuring every corner and edge of the pan is coated.
Don’t forget the sides! A well-prepared pan prevents sticking and promotes even baking. Finally, if you want extra insurance, dust the buttered pan lightly with flour or cocoa powder.
How to Apply Butter Evenly When Greasing Cake Pans

To get an even coat, you’ll want to choose a butter that’s soft but not melted. Using a pastry brush or a piece of parchment paper can help spread the butter smoothly across every corner.
This way, your cake won’t stick and will bake evenly.
Choosing The Right Butter
How do you pick the best butter for greasing your cake pan? Choose unsalted butter to control the salt level in your recipe and avoid altering the cake’s flavor. Use butter that’s fresh and not close to its expiration date to guarantee smooth application and prevent off tastes.
Stick with real butter rather than margarine or spreads, as they have different melting points and may not provide the same non-stick effect. Opt for a butter that’s firm but slightly softened at room temperature; this makes it easier to spread evenly without tearing the pan’s surface or leaving clumps.
Techniques For Even Coverage
Although greasing a cake pan might seem simple, applying butter evenly requires a few careful steps to guarantee your cake releases perfectly. Start by softening the butter to room temperature so it spreads smoothly without tearing the pan’s surface. Use a piece of parchment paper, a silicone brush, or your fingers to apply a thin, even layer.
Focus on covering every corner, edge, and the bottom to prevent sticking. Avoid clumps by smoothing out any thick spots. If you’re using your fingers, dip them in flour after buttering to add a light dusting, further ensuring your cake slips out easily.
Taking these steps helps you achieve a consistent grease layer, which is essential for flawless baking and easy cake removal.
How Much Butter to Use for Easy Cake Release
A thin, even layer of butter is all you need to guarantee your cake releases easily from the pan. You don’t need to slather it on thickly—just enough to coat the surface without pooling. About a teaspoon to a tablespoon, depending on your pan size, usually does the trick.
Use a paper towel or pastry brush to spread the butter evenly, reaching every corner and edge. This prevents sticking and helps your cake come out cleanly. Too much butter can cause uneven browning or greasy spots, so less is more.
Greasing Different Cake Pans: Butter Tips That Work
Getting the right amount of butter on your pan sets you up for success, but different cake pans call for slightly different greasing techniques. Knowing how to adjust your approach keeps your cake intact and makes cleanup easier.
- For round or square pans, spread butter thinly but evenly with a pastry brush or paper towel, covering every corner.
- Bundt pans need extra attention: use a brush to reach the intricate designs, ensuring butter coats all crevices to prevent sticking.
- Springform pans require careful greasing of both the base and the removable sides; apply butter generously to avoid leaks and sticking.
Tailoring your butter application to the pan’s shape ensures your cake releases smoothly, preserving its perfect form every time.
Using Butter and Flour Together for a Flawless Cake
When you combine butter with flour to grease your cake pan, you create a nonstick barrier that helps your cake release effortlessly. Start by softening room-temperature butter and spreading a thin, even layer over every surface of the pan, including corners and sides.
Then, sprinkle a tablespoon of flour over the buttered surface. Tilt and tap the pan gently, allowing the flour to coat it evenly and stick to the butter. Shake out any excess flour to prevent clumps.
This method not only prevents sticking but also adds a subtle texture to the cake’s edges. Using butter and flour together is especially helpful for delicate or moist cakes, ensuring they come out clean and maintain their shape beautifully.
Fixing Common Butter Greasing Problems
Although butter greasing seems straightforward, you might run into issues like uneven coating, clumps, or sticking. To fix these common problems, start by ensuring your butter is soft but not melted. This helps you spread it smoothly without leaving thick patches.
Use a pastry brush or a piece of parchment paper to apply the butter evenly across the pan’s surface. If you notice clumps, warm your butter slightly and spread it in thin layers. For sticking, dust the greased pan lightly with flour or cocoa powder (for chocolate cakes) to create a barrier.
Here’s a quick checklist to troubleshoot:
- Soften butter to room temperature for smooth application
- Spread butter thinly and evenly using a brush or paper
- Dust greased pan with flour to prevent sticking
These tips will help your cakes release perfectly every time.
Cleaning Up After Greasing Your Pan
Since butter can leave a greasy residue on your hands and utensils, it’s important to clean up promptly to keep your workspace tidy. Start by wiping your hands with a paper towel, then wash them with warm, soapy water to remove any lingering grease.
Use a sponge or cloth to clean your utensils and the countertop, ensuring no slippery spots remain.
Here’s a quick emotional reminder to keep you motivated during cleanup:
| Feeling | Action |
|---|---|
| Satisfaction | A clean area feels great! |
| Relief | No sticky mess to worry about! |
| Pride | You handled it like a pro! |
| Calm | Organized space, calm mind. |
| Confidence | Ready for your next bake! |
Cleaning up is just part of the baking joy!
Frequently Asked Questions
Can I Use Margarine Instead of Butter for Greasing?
Yes, you can use margarine instead of butter for greasing. It’ll work similarly by preventing sticking, but margarine might contain more water, so apply a slightly thicker layer to guarantee your cake releases easily from the pan.
Does Salted Butter Affect the Cake’s Flavor?
When it comes to salted butter, it can add a subtle savory twist to your cake’s flavor. If you’re aiming for sweetness, it’s best to stick with unsalted butter to keep things on the safe side.
How Long Can a Butter-Greased Pan Sit Before Baking?
You can let a butter-greased pan sit for up to a few hours before baking without issues. Just cover it lightly to prevent dust or debris from sticking, and your cake will bake perfectly.
Can I Refrigerate a Butter-Greased Pan Before Use?
You can refrigerate a butter-greased pan before use, like tucking a blanket in for later. Just cover it well so the butter stays fresh, and bring the pan back to room temperature before pouring in your batter.
Is It Necessary to Butter the Outside of the Pan?
No, you don’t need to butter the outside of the pan. Focus on greasing the inside where the batter touches to prevent sticking. Buttering outside won’t affect the cake or baking process.
Conclusion
Greasing your cake pan with butter is like laying down a soft, golden blanket—it creates a smooth path for your cake to rise and shine without sticking. Just as a gardener tends soil before planting, you prepare your pan carefully, ensuring every corner is covered.
This simple ritual not only protects your cake but nurtures it, making your baking journey smoother and sweeter, one buttery brushstroke at a time.
Using butter to grease a cake pan ensures even baking and easy release, essential steps for perfect cakes every time. Embrace this easy technique to enhance your baking success with well-greased pans.