How Do You Cook Bacon in a Frying Pan
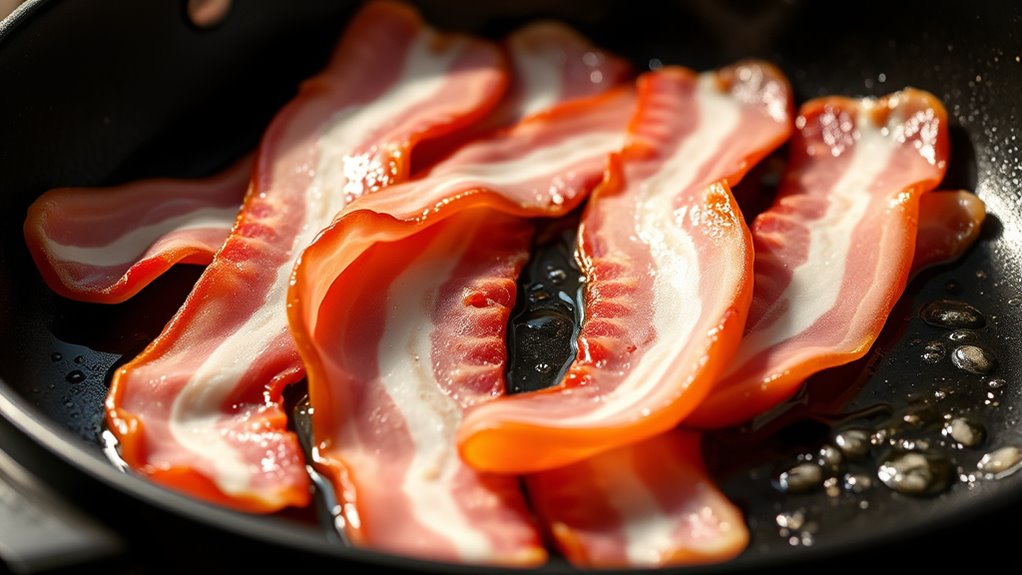
Start with a cold, heavy-bottomed frying pan when cooking bacon in a frying pan. Arrange your bacon slices flat without overlapping to ensure even cooking.
Cooking bacon in a frying pan on medium-low heat helps slowly render the fat for the best texture.
Flip the bacon once the edges curl and the bottom turns golden, usually after 4–5 minutes. Flip occasionally to crisp evenly without burning.
Thin slices crisp faster; thick ones stay chewy.
Save the rendered fat for cooking and cool the bacon before storing. If you want to master perfect bacon and its uses, keep exploring these tips.
Key Takeaways
- Start with a cold, heavy-bottomed skillet and arrange bacon strips flat without overlapping.
- Cook on medium-low heat to render fat slowly and prevent burning or uneven crisping.
- Flip bacon after edges curl and bottom is golden, typically after 4-5 minutes, then flip every 2-3 minutes.
- Cook until desired crispness, balancing crispy edges with tender centers for best texture.
- Drain cooked bacon on paper towels to absorb grease before serving or storing.
Choosing the Best Bacon for Frying
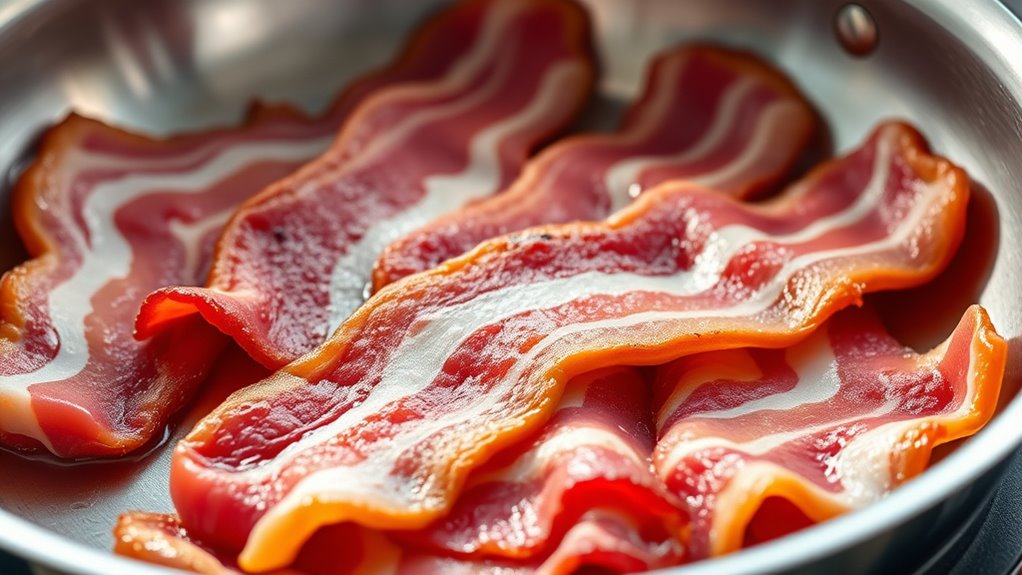
Although there are many types of bacon available, you’ll want to choose one that suits your taste and cooking style. If you prefer crispy bacon, go for thinner slices—they cook faster and get crunchier. Thicker cuts offer a meatier bite and hold up well if you like your bacon chewy.
You might also consider the curing style: traditional smoked bacon delivers a classic smoky flavor, while applewood or maple-smoked versions add a subtle sweetness. If you’re watching fat content, leaner cuts reduce grease in the pan. Don’t forget to check for quality—look for bacon with a good balance of meat and fat, and avoid overly processed options with additives.
Picking the right bacon upfront makes frying easier and tastier.
Getting Your Pan Ready for Bacon
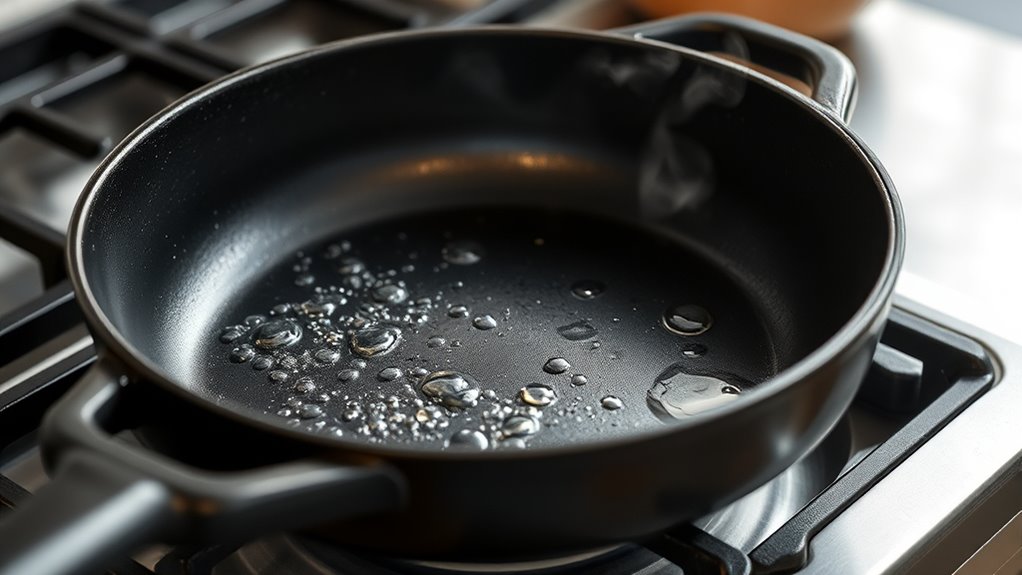
Before you start cooking, pick a pan that heats evenly and has enough space for your bacon strips. Make sure to preheat your frying pan on medium heat to get the perfect sizzle.
Finally, check that the cooking surface is clean and dry to prevent sticking.
Choosing The Right Pan
When you’re ready to cook bacon, picking the right pan makes all the difference in achieving crispy, evenly cooked strips. Opt for a heavy-bottomed skillet or frying pan—cast iron is ideal because it retains heat evenly, preventing hot spots that can burn your bacon. Non-stick pans work well too, especially if you want easy cleanup, but avoid overly thin pans as they heat unevenly.
Make certain your pan is large enough to lay the bacon strips flat without overlapping; this ensures even cooking and crispiness. Avoid crowded pans, which cause the bacon to steam rather than fry. By choosing the right pan, you set the stage for perfect bacon every time, making your cooking process smooth and your results delicious.
Preheating The Frying Pan
How hot should your pan be before adding bacon? You want to preheat your frying pan over medium heat. It’s important not to rush—getting the pan to the right temperature guarantees the bacon cooks evenly without burning.
If the pan’s too hot, the bacon will crisp on the outside but remain undercooked inside. Too cool, and it’ll cook slowly, becoming tough and greasy.
Give your pan a few minutes to heat up. You’ll know it’s ready when a drop of water sizzles and evaporates quickly upon contact. Avoid adding bacon to a cold pan; the fat won’t render properly.
Preheating helps the bacon release its fat gradually, creating that perfect balance of crispy texture and savory flavor.
Preparing The Cooking Surface
Although preheating is essential, you also need to prepare the cooking surface properly to guarantee your bacon cooks evenly and doesn’t stick. Start by choosing a good-quality, heavy-bottomed frying pan; it distributes heat evenly, preventing hot spots.
Next, lightly grease the pan only if your bacon is very lean. Most bacon releases enough fat to cook itself, so adding extra oil isn’t usually necessary. If you do add oil, use a small amount of neutral oil like vegetable or canola.
Once your pan is preheated, place the bacon strips carefully, making sure they don’t overlap. This allows each strip to cook evenly and crisp up nicely. Preparing your pan this way sets the stage for perfectly cooked bacon every time.
Ideal Temperature for Frying Bacon
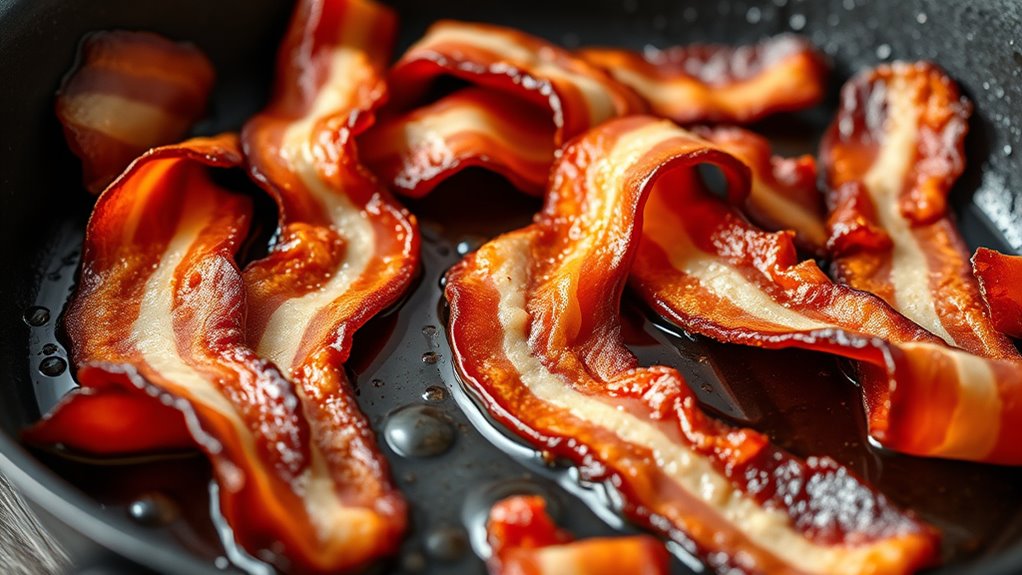
Getting the temperature just right is key to cooking bacon that’s crispy on the edges and tender in the middle. You want to start with medium-low heat, which allows the fat to render slowly without burning the meat. If the pan’s too hot, the bacon will crisp unevenly or burn before the fat has a chance to melt properly.
On the other hand, too low a temperature will make it take forever and result in rubbery texture. Aim for about 325°F (163°C) if you’re using a thermometer, or heat the pan until you see gentle sizzling when the bacon hits the surface. This temperature balance helps you get that perfect, golden-brown finish every time.
Arranging Bacon Strips for Even Cooking
Once your pan reaches the right temperature, the next step is to arrange the bacon strips properly. Lay each strip flat in the pan without overlapping. If the strips overlap, they won’t cook evenly, and some parts may stay undercooked or get soggy.
Give the bacon room to sizzle and shrink as it cooks—this means you might need to cook in batches if your pan isn’t big enough. Also, place the strips parallel to each other for consistent heat exposure. Avoid crowding the pan, which traps steam and prevents crispiness.
How and When to Flip Bacon for Crispiness
You’ll want to wait until the edges of the bacon start to curl and the bottom is golden before flipping.
Flip the strips carefully to cook the other side evenly and lock in that crispy texture.
Timing your flips right is key to getting perfectly crispy bacon every time.
Timing Your First Flip
Although it’s tempting to flip bacon frequently, letting it cook undisturbed for a few minutes allows the fat to render properly and the edges to crisp up. Start by laying your bacon strips in a cold pan, then turn the heat to medium. Wait about 4 to 5 minutes before your first flip.
You’ll know it’s ready when the edges begin to curl and the bottom has turned a golden brown. Flipping too early can cause the bacon to stick or tear, while waiting too long might burn it. Use tongs to gently lift a strip and check the color underneath.
Once you see that perfect golden crisp, flip each slice carefully to cook the other side evenly. Timing this first flip right is key to crispy, delicious bacon.
Achieving Even Crispiness
After flipping your bacon for the first time, it’s important to keep a close eye on how it cooks to achieve even crispiness. You want each strip to cook uniformly without burning or staying soggy. Here’s how you can master it:
- Flip the bacon every 2-3 minutes to guarantee both sides crisp evenly.
- Use tongs to gently lift and turn each strip without curling.
- Adjust the heat if some pieces cook faster—medium-low works best.
- Look for a consistent golden-brown color and listen for the sizzling to slow down as a sign it’s almost done.
Cooking Times for Different Bacon Crispiness
When cooking bacon in a frying pan, the crispiness you prefer will determine how long you need to cook it. For chewy bacon, cook it for about 6 to 8 minutes over medium heat, flipping occasionally to guarantee even cooking.
If you like it crispy but still a bit tender, aim for 8 to 10 minutes, keeping an eye on the color and texture. For fully crispy bacon, cook it for 10 to 12 minutes, flipping frequently to prevent burning.
Draining and Cooling Bacon the Right Way
Once your bacon reaches the desired crispiness, you’ll want to remove it from the pan and drain the excess grease to keep it from becoming soggy. Proper draining and cooling maintain that perfect texture and flavor.
Remove bacon promptly and drain excess grease to preserve crispiness and enhance flavor.
Here’s how to do it right:
- Use tongs to transfer bacon onto a plate lined with paper towels.
- Gently press another layer of paper towels on top to absorb extra grease.
- Let the bacon rest for a minute or two; this helps it crisp up further.
- Avoid stacking slices immediately to prevent steam buildup and sogginess.
Following these steps ensures your bacon stays crispy and delicious, ready to enjoy without any greasy mess.
Cooking Thick vs. Thin-Cut Bacon
Although both thick and thin-cut bacon share the same smoky flavor, they cook quite differently, requiring you to adapt your technique to get the perfect crispiness. Thin-cut bacon cooks faster, usually in about 5 to 7 minutes over medium heat. You’ll want to watch it closely, as it can quickly go from perfectly crisp to burnt.
Thick-cut bacon takes longer, around 10 to 15 minutes, and benefits from a slightly lower heat to render the fat without burning the edges. You’ll also find thick slices hold their chewiness better, so cook them a bit longer if you prefer crispier bacon. Either way, flip the slices occasionally to ensure even cooking and achieve that ideal balance of crispy and tender.
Tips to Avoid Common Mistakes When Frying Bacon
To get perfectly cooked bacon every time, you need to avoid a few common pitfalls that can ruin the texture and flavor. Here are some tips to help you fry bacon flawlessly:
- Don’t overcrowd the pan – Give each slice enough space to cook evenly and get crispy.
- Start with a cold pan – This helps the fat render slowly, preventing burnt edges and undercooked centers.
- Keep the heat medium-low – High heat cooks bacon too fast, causing it to burn or cook unevenly.
- Flip only when necessary – Let one side crisp up before turning to avoid breaking slices and sticking.
How to Use Bacon Fat Left After Frying
After you’ve fried your bacon to crispy perfection, don’t toss out the flavorful fat left in the pan. You can use it to add a rich, smoky taste to many dishes. Pour a little into scrambled eggs or omelets for extra depth.
It’s perfect for sautéing vegetables like greens or mushrooms, giving them a savory boost. You can also use bacon fat instead of oil or butter when frying potatoes or making grilled cheese sandwiches.
If you want to save it for later, strain the fat through a fine mesh sieve into a clean jar and store it in the fridge. Just remember to use it within a few weeks for the best flavor and to avoid spoilage.
Storing and Reheating Fried Bacon Safely
Once you’ve cooked your bacon, it’s important to store it properly to keep it fresh and safe. You’ll want to follow safe reheating methods to avoid drying it out or risking foodborne illness.
Knowing how long bacon lasts in the fridge or freezer helps you enjoy it safely every time.
Proper Bacon Storage
Although bacon tastes best fresh from the pan, you can store and reheat it safely to enjoy later. Proper storage keeps your bacon flavorful and safe to eat.
Follow these steps to store your fried bacon correctly:
- Let the bacon cool completely to avoid condensation in storage.
- Place bacon strips between paper towels to absorb excess grease.
- Store the wrapped bacon in an airtight container or resealable plastic bag.
- Refrigerate promptly and use within 4 to 5 days for best quality.
If you want to keep bacon longer, freeze it for up to a month. Always label your storage containers with the date so you can track freshness easily.
Proper storage prevents spoilage and keeps your bacon delicious for your next meal.
Safe Reheating Methods
When you’re ready to enjoy your stored bacon, reheating it safely guarantees it stays crispy and tasty without risking foodborne illness. The best way is to use a skillet over medium heat. Place the bacon in a single layer and heat it for a few minutes on each side until hot and crisp.
You can also reheat bacon in the oven by laying it on a baking sheet at 350°F (175°C) for about 5–10 minutes. If you’re short on time, microwave bacon between paper towels on a microwave-safe plate for 20–30 seconds, but watch closely to avoid burning. Always make sure bacon reaches an internal temperature of 165°F (74°C) to kill any harmful bacteria before eating.
Shelf Life Guidelines
To keep your fried bacon fresh and safe to eat, you need to store it properly and be mindful of how long it lasts. Once cooked, let the bacon cool to room temperature, then place it in an airtight container or wrap it tightly in foil or plastic wrap. Proper storage helps prevent spoilage and maintains flavor.
Here are some key shelf life guidelines:
- Store fried bacon in the refrigerator and consume within 4 to 5 days.
- Freeze bacon if you want to keep it longer—up to 1 month for best quality.
- Reheat only the portion you plan to eat to avoid repeated temperature changes.
- Always check for signs of spoilage like off smells or slimy texture before reheating.
Frequently Asked Questions
Can I Cook Bacon in a Microwave Instead of a Frying Pan?
Yes, you can cook bacon in a microwave. Just place bacon between paper towels on a microwave-safe plate, cook on high for 3-5 minutes, and watch closely to avoid burning.
It’s quick and less messy!
Is It Safe to Eat Bacon That’s Slightly Undercooked?
You shouldn’t eat bacon that’s slightly undercooked because it may contain harmful bacteria. Always cook it until it’s crispy or fully browned to guarantee it’s safe and enjoyable.
Don’t take risks with undercooked pork.
How Do I Reduce the Smell of Bacon While Cooking Indoors?
Don’t let the smell sneak up on you like a shadow—open windows, turn on your exhaust fan, and simmer a pot of vinegar or lemon water nearby.
These tricks will keep bacon’s aroma from taking over your space.
Can I Freeze Raw Bacon Before Frying It Later?
Yes, you can freeze raw bacon before frying it later. Just separate the slices with wax paper, store them in an airtight bag, and freeze.
When ready, thaw in the fridge for best results before cooking.
What Are Some Creative Recipes Using Cooked Bacon?
You can toss cooked bacon into salads, wrap it around jalapeño poppers, mix it into mac and cheese,
sprinkle it on baked potatoes, or add it to breakfast sandwiches.
You’ll love how it boosts flavor in any dish!
Conclusion
Cooking bacon in a frying pan is simple, even if you worry about the mess or uneven cooking. By choosing the right bacon, heating your pan properly, and flipping at the right time, you’ll get perfectly crispy strips every time.
Plus, you can use the leftover bacon fat for extra flavor in other dishes. Give it a try—you’ll find frying bacon is easy, delicious, and worth the little cleanup afterward! Cooking bacon in a frying pan is a straightforward method that delivers great taste and texture.