How to Use a Cheese Grater in 7 Easy Steps
Choose the right grater for your cheese type to ensure smooth and efficient shredding. Prepare a stable workspace with a bowl ready to catch the shreds, making the process cleaner and easier. Holding the grater firmly on a flat surface is essential for safety and control.
Grip the cheese with curled fingers to protect your hands while grating. Use even pressure and consistent strokes, always selecting the correct side of the grater for your desired shred size. Keep your handle dry or add grip tape to prevent slips during use.
After grating, clean and dry your grater thoroughly to maintain its condition and hygiene. Follow these steps, and you’ll grate like a pro with ease.
There are more handy tips ahead to help you perfect your skills.
Key Takeaways
- Choose the right grater type and ensure it’s clean, dry, and stable before use.
- Secure the grater on a flat surface or bowl, holding it firmly to prevent slipping.
- Hold the cheese with fingers curled inward and grate using even downward pressure.
- Use consistent strokes, angling the cheese slightly, and gather shreds with a spatula or knife.
- Clean the grater immediately after use, dry thoroughly, and store safely to maintain sharpness and safety.
Choose the Right Cheese Grater for Your Needs
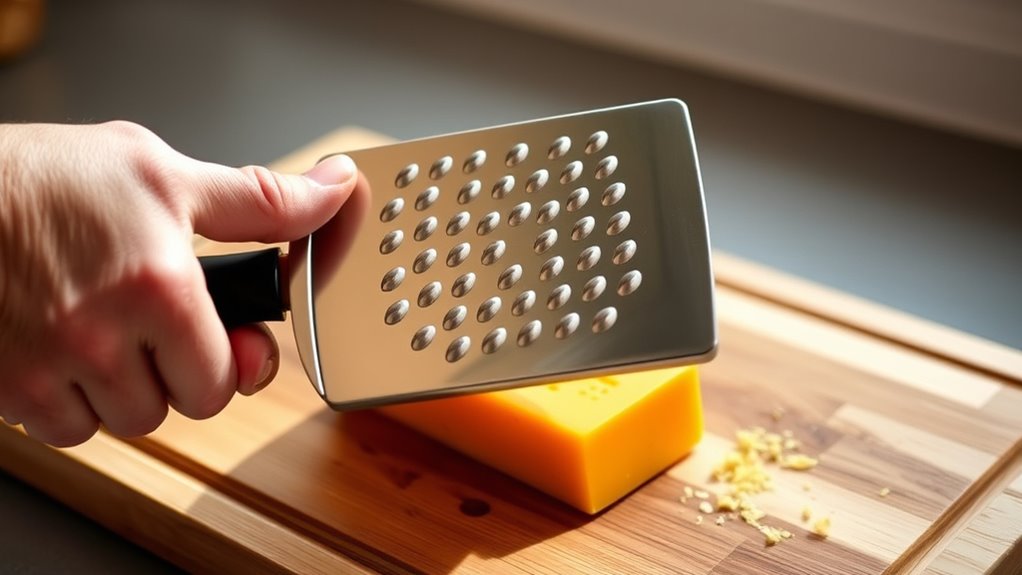
When selecting a cheese grater, consider the types of cheese you’ll be working with and how you plan to use them. If you mostly handle hard cheeses like Parmesan, a fine grater with small holes will give you the best results. For softer cheeses such as mozzarella, choose a grater with larger holes or a shredding blade to avoid clumping.
You might also want a box grater, which offers multiple grating options in one tool. If you prefer convenience, a rotary grater can speed up the process, especially for larger quantities. Keep in mind the size and grip of the grater; it should feel comfortable and secure in your hand to prevent accidents.
Choosing the right grater upfront saves you time and effort later.
Get Your Cheese and Workspace Ready
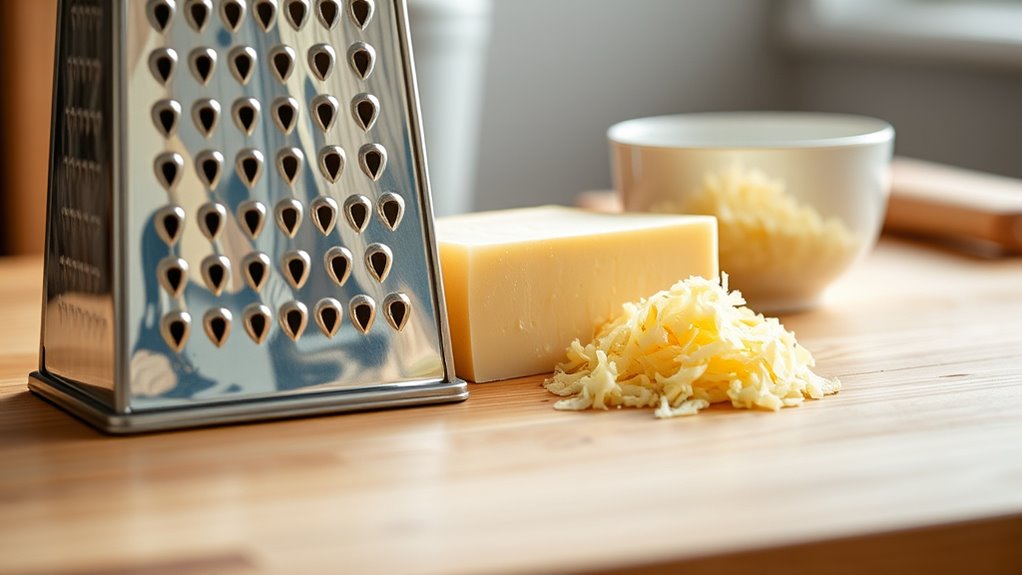
Before you start grating, gather your cheese and clear a clean, stable workspace. This setup will make the task easier and safer. Choose the cheese you want to grate—hard or semi-hard varieties work best.
Start by gathering your cheese and setting up a clean, stable workspace for easier, safer grating.
Make sure your cheese is cold but not rock solid to prevent crumbling. Next, prepare your tools and area to keep everything organized.
Here’s what you need to do:
- Place a cutting board or towel on your workspace to keep it steady.
- Set out your cheese grater within easy reach.
- Have a bowl or plate ready to catch the grated cheese.
- Keep a clean cloth nearby to wipe your hands or any spills.
With everything ready, you’re set for smooth grating!
Master the Cheese Grater Technique Without Mess
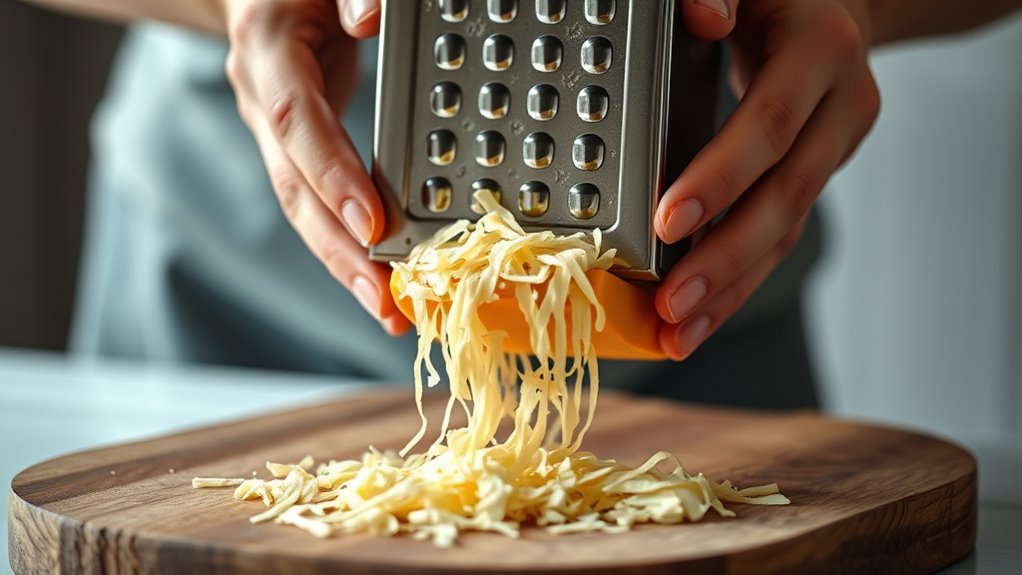
To master grating without mess, start by picking the right grater for your cheese type. Hold the cheese firmly and position your hand to keep control while avoiding slips. This approach helps you grate efficiently and reduces waste.
Choosing The Right Grater
Why settle for a grater that doesn’t suit your needs? Choosing the right cheese grater sets you up for effortless, mess-free grating. You want a tool that matches the cheese type and your intended dish.
Consider these key points:
- Grate Size: Use fine holes for hard cheeses like Parmesan, and larger holes for softer cheeses like cheddar.
- Grater Type: Box graters offer versatility, while flat or rotary graters work well for small tasks.
- Material: Stainless steel blades resist rust and maintain sharpness, ensuring smooth grating.
- Handle Comfort: A grater with a sturdy, non-slip handle gives you better control and less fatigue.
Pick a grater that feels right in your hand and matches your cooking style to make grating a breeze.
Proper Hand Positioning
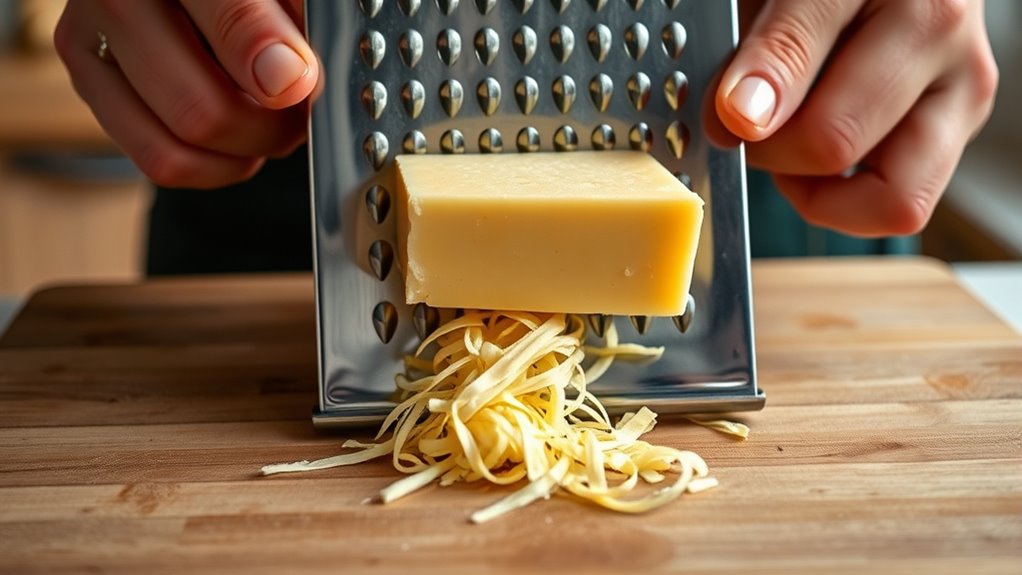
Although choosing the right grater is essential, your hand positioning makes all the difference in achieving clean, efficient results. Hold the grater firmly with one hand, placing it on a stable surface or over a bowl to catch the cheese. Use your dominant hand to grip the cheese block securely, keeping your fingers curled inward to avoid accidental scrapes.
Position the cheese at a slight angle against the grater, applying even pressure as you move it up and down. Keep your wrist relaxed to maintain control and reduce fatigue. As you grate, adjust your grip to keep the cheese steady, ensuring smooth strokes.
Proper hand positioning helps you grate quickly without slipping, making the process safer and more effective.
Minimizing Cheese Waste
How can you make sure every bit of cheese counts when grating? Minimizing cheese waste starts with control and technique. Keep your cheese firm but not frozen, so it grates smoothly without crumbling.
Use a small piece near the end to avoid scraps left behind. Here’s how to master it:
- Hold the grater steady on a flat surface to prevent slips.
- Press the cheese gently but firmly against the grater.
- Grate in consistent, downward strokes to avoid uneven chunks.
- Use a spatula or the flat of your knife to gather leftover shreds.
Position the Grater and Cheese Correctly
You’ll want to place the grater securely on a stable surface to prevent slipping. Hold the cheese firmly but comfortably, keeping your fingers clear of the grating surface.
This setup helps you grate smoothly and safely every time.
Proper Grater Placement
Where you place your grater can make all the difference in ease and safety. To get started, set your grater on a stable surface where it won’t slip or wobble. You want to avoid any accidents while applying pressure.
Here’s how to place it properly:
- Position the grater on a flat cutting board or plate for stability.
- Angle the grater slightly away from you to prevent cheese pieces from flying toward your face.
- Hold the grater firmly at the top with one hand to keep it steady.
- Make sure the grater’s base has good contact with the surface to avoid slipping.
With these steps, you’ll grate efficiently without risking slips or uneven pressure.
Cheese Holding Techniques
Although placing the grater correctly is essential, holding the cheese properly plays an equally important role in achieving clean, consistent shreds. Grip the cheese firmly but comfortably in your non-dominant hand, keeping your fingers tucked away from the grater’s surface. Position the cheese at a slight angle against the grater to maximize contact without forcing it.
Avoid pressing too hard to prevent uneven shredding or slipping. As you grate, move the cheese steadily downward, maintaining control and rhythm. When the piece becomes small, consider using a fork or safety glove to protect your fingers.
Proper cheese holding techniques not only guarantee better results but also reduce the risk of injury, making your grating process smoother and more efficient.
Grate Different Cheeses and Other Ingredients
When working with a cheese grater, choosing the right cheese or ingredient can make a big difference in your dish’s texture and flavor. Softer cheeses like mozzarella work well on the finer grater side, melting smoothly over pasta or pizza. Hard cheeses such as Parmesan need the coarse side to create fluffy, flavorful piles.
You can also grate other ingredients to add zest and crunch.
- Sharp cheddar grated coarsely for tacos or sandwiches.
- Nutmeg finely grated to spice up sauces and desserts.
- Zest of lemon or orange for a fresh, citrusy aroma.
- Fresh ginger grated finely to add warmth to stir-fries and dressings.
Experiment with different textures to elevate your cooking.
Clean and Store Your Cheese Grater Properly
Since cheese graters have many small holes and sharp edges, cleaning them promptly and thoroughly prevents residue buildup and keeps them safe to use. Rinse the grater immediately after use to remove stuck cheese. Use a brush or sponge to scrub gently, avoiding cuts.
Dry it completely to prevent rust. Store your grater in a dry place, preferably hanging or inside a protective cover to keep the blades sharp and avoid accidents.
| Step | Action | Tip |
|---|---|---|
| Rinse | Hold under warm water | Do this right after grating |
| Scrub | Use a brush or sponge | Move along the grating side |
| Dry & Store | Wipe and hang or cover | Keep it dry and safe |
Fix Common Cheese Grater Issues
Proper cleaning and storage keep your cheese grater in good shape, but even with careful care, issues can still pop up. Here’s how to fix common problems quickly:
- Clogged holes – Use a toothpick or small brush to clear stuck bits from grating holes.
- Dull blades – Sharpen blades gently with a fine file or replace the grater if it’s too worn.
- Rust spots – Remove rust by scrubbing with a mixture of baking soda and water, then dry thoroughly.
- Slippery handle – Add grip tape or a rubber sleeve to prevent slipping while grating.
Frequently Asked Questions
Can I Use a Cheese Grater for Non-Cheese Foods?
Yes, you can use a cheese grater for non-cheese foods. You’ll find it great for grating vegetables, fruits, chocolate, and even zesting citrus.
Just be careful with softer or slippery items to avoid accidents.
What Are the Best Cheeses for Melting After Grating?
You’ll want to grate cheeses like mozzarella, cheddar, Gruyère, and fontina for melting. They melt smoothly, creating creamy, gooey textures perfect for pizzas, casseroles, or sauces.
Avoid crumbly cheeses, as they won’t melt well.
How Do I Prevent Cheese From Sticking to the Grater?
You can prevent cheese from sticking by chilling the cheese, lightly oiling the grater, and using quick, steady motions. These simple steps help you grate smoothly, avoid clumps, and keep your grater clean and efficient.
Are There Any Safety Tips for Children Using a Cheese Grater?
You should always supervise children while they use a cheese grater. Teach them to hold it steady and grate slowly, keeping fingers away from sharp edges. Using a safety glove can also help prevent cuts.
How Long Can Grated Cheese Be Stored Safely?
Wondering how long your grated cheese lasts? You can safely store it in an airtight container in the fridge for about 5 to 7 days.
Don’t forget to check for mold or off smells before using it!
Conclusion
Just like a painter chooses the perfect brush, picking the right cheese grater sets you up for success. With your workspace ready and technique mastered, you’ll glide through grating with ease, turning simple tasks into culinary art.
Whether it’s cheese, veggies, or zest, you’re now equipped to handle it all. Keep your grater clean and tackle any hiccups confidently—soon, grating will feel as effortless as a master chef’s signature move.
By following these cheese grater steps, you can enjoy perfectly grated ingredients every time. Remember, the right tool and proper technique make all the difference in your kitchen. Happy grating!