How to Make Ice Cream in a Blender in 7 Easy Steps
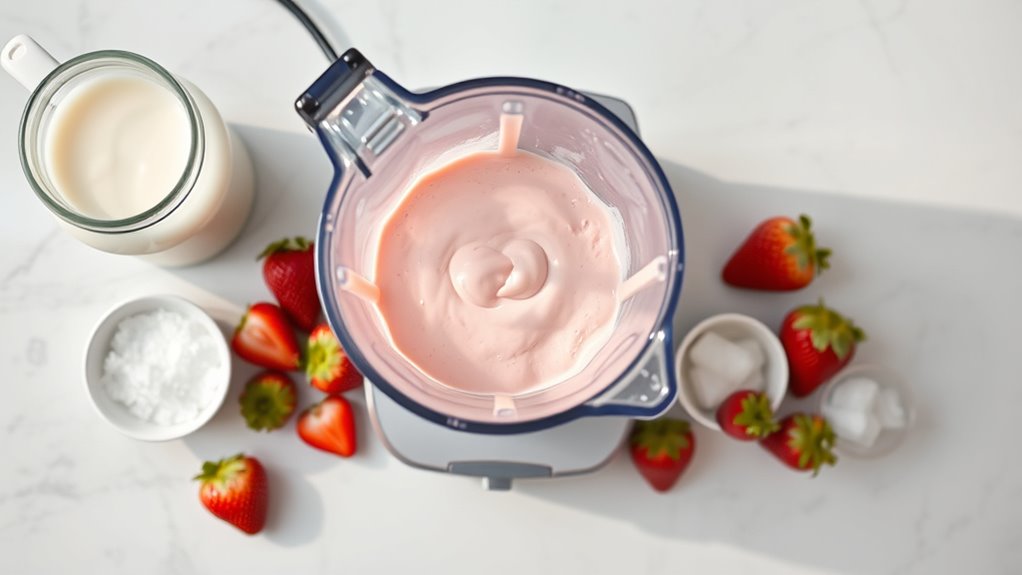
To make ice cream in a blender, start by gathering your ingredients: full-fat dairy, frozen fruit, sweetener, and flavorings. Using a blender to make ice cream is a quick and easy way to enjoy a creamy, homemade treat without an ice cream maker.
This method combines convenience with delicious results, perfect for any ice cream lover.
Use a clean blender and add liquids first, then sugar, salt, and frozen fruit. Blend in short bursts, scraping sides to achieve a smooth, creamy texture without overheating.
Fold in any mix-ins you like, then freeze in an airtight container. Stir occasionally until firm.
With just these simple steps, you’ll be enjoying homemade, creamy ice cream in no time—and there’s plenty more to explore!
Key Takeaways
- Use high-quality frozen fruits and full-fat dairy for a creamy ice cream base.
- Blend frozen fruit, cream, sweeteners, and flavorings in short bursts to avoid heat buildup.
- Start blending with liquids, then add sugar, salt, and optional egg yolks for smooth texture.
- Scrape blender sides frequently and blend until mixture is thick, creamy, and uniform.
- Fold in mix-ins gently, freeze in an airtight container, stirring periodically until firm.
Gather Your Blender Ingredients and Tools
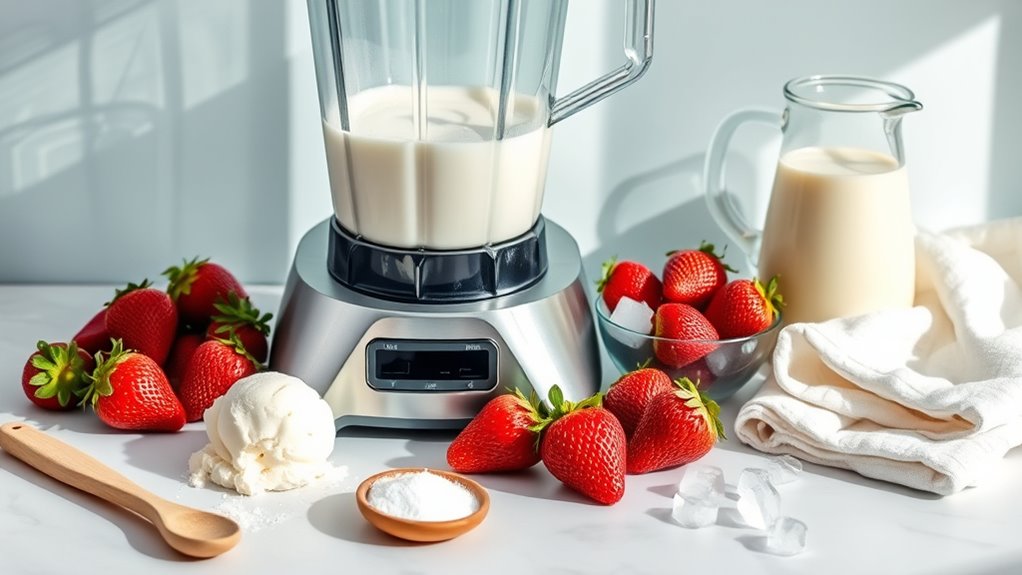
Before you start blending, gather all the ingredients and tools you’ll need. You’ll want a high-powered blender, a spatula, and a mixing bowl ready. For ingredients, grab your choice of milk or cream, sweeteners like sugar or honey, and any flavorings—vanilla extract works great.
Having a pinch of salt on hand helps enhance flavors. If you prefer, prepare add-ins like chocolate chips or fruit chunks, but keep them separate for now. Measuring cups and spoons will help keep your recipe accurate.
Make sure your blender is clean and dry to avoid any unwanted flavors or textures. With everything set, you’ll streamline the process and avoid interruptions while blending your homemade ice cream.
Select the Best Frozen Ingredients for Creaminess
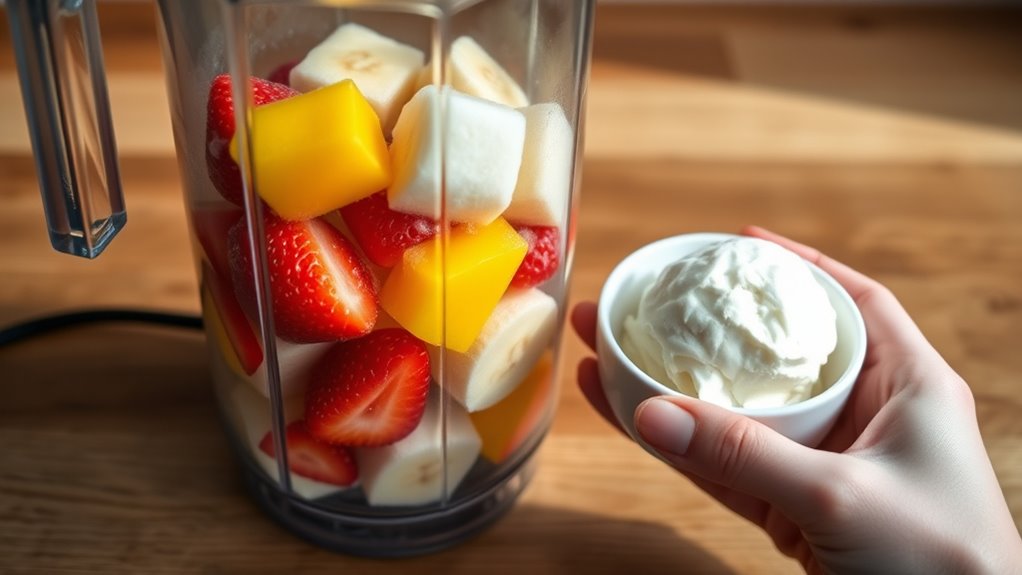
To get that perfect creamy texture, start by picking high-quality frozen fruits with no added sugars or preservatives. You’ll also want to use full-fat dairy like heavy cream or whole milk to keep your ice cream rich and smooth.
These choices make a big difference in the final taste and texture.
Choosing Quality Frozen Fruits
Why settle for anything less than the best when picking frozen fruits for your ice cream? Choose fruits that are flash-frozen soon after harvesting to lock in peak freshness and flavor. Look for vibrant colors and avoid those with frost or ice crystals, which indicate freezer burn and can ruin texture.
Opt for whole or large pieces rather than pre-sliced or mushy packs; they blend better and maintain a richer taste. Organic fruits often have fewer additives, so they’re a great choice if you want pure, natural sweetness. Remember, quality frozen fruits contribute markedly to your ice cream’s creaminess and flavor, so selecting the right ones sets you up for a smooth, delicious result every time.
Using Full-Fat Dairy
When you use full-fat dairy in your blender ice cream, you lock in the rich creaminess that defines classic ice cream texture. Full-fat dairy like heavy cream and whole milk contains higher fat content, which helps create a smooth, velvety consistency while preventing ice crystals from forming. Avoid low-fat or skim options, as they tend to produce icy, less satisfying results.
Here’s a quick guide to choosing the best full-fat dairy for your blender ice cream:
| Dairy Type | Fat Content | Best Use |
|---|---|---|
| Heavy Cream | 36-40% | Maximum creaminess |
| Whole Milk | 3.5-4% | Lighter, still creamy |
| Half-and-Half | 10-18% | Balanced creaminess & lightness |
Select dairy based on your desired richness to guarantee the perfect blend every time.
Mix Your Ice Cream Base Ingredients in the Blender
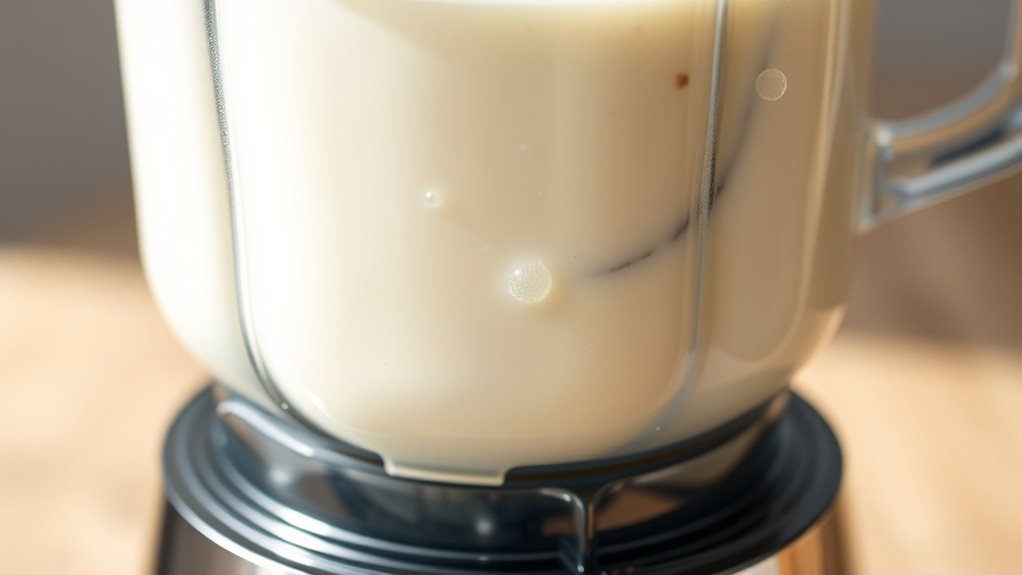
You’ll want to pick the right base ingredients to get the perfect texture and flavor. Start by adding your frozen fruit, cream, and sweeteners into the blender.
Blend in short bursts, checking the consistency as you go to avoid overmixing.
Choosing Base Ingredients
How do you create a smooth and creamy ice cream base right in your blender? Start by choosing the right ingredients. Use heavy cream and whole milk for that rich texture and flavor.
You can adjust the ratio—more cream for creamier ice cream, more milk for a lighter result. Sugar is essential to sweeten and improve the texture, so add it carefully, dissolving it well. Don’t forget a pinch of salt; it enhances flavor and balances sweetness.
For extra richness, consider adding egg yolks if you want a custard-style base. Vanilla extract or other flavorings like cocoa powder or fruit purees can be blended in now. Select fresh, high-quality ingredients since they directly affect your ice cream’s taste and texture.
Blending Techniques and Tips
Although blending ice cream base ingredients seems straightforward, mastering the right techniques guarantees a smooth, well-incorporated mixture without overworking your blender. Start by adding your liquids first—milk, cream, or any flavorings—then follow with sugar and thickeners. This order helps prevent clumping and uneven blending.
Use the pulse function initially to break down solids gently, then blend continuously for about 30 seconds to fully combine. Avoid running the blender too long, as it can heat the mixture, affecting texture. If your blender struggles, pause and scrape down the sides to ensure even mixing.
Finally, check consistency; it should be smooth and slightly thickened. Following these tips ensures a creamy, well-mixed base ready for freezing.
Blend Everything to the Perfect Texture
Once all your ingredients are in the blender, start blending on a medium speed to combine them smoothly. Keep an eye on the texture; you want it creamy and thick but not too runny. Blending too long can overheat your mixture, so pulse as needed.
Follow these steps for perfect texture:
- Blend for 30-45 seconds, then stop and scrape down the sides.
- Check the consistency—aim for a smooth, slightly thick liquid that will freeze well.
- If the mixture is too thin, blend in short bursts to avoid warming it up too much.
Once it looks uniform and creamy, you’re ready to move on to the next step in your ice cream-making adventure!
Add Mix-Ins and Flavor Boosters
After achieving the perfect creamy texture, you can boost your ice cream’s flavor by adding mix-ins and flavor enhancers. Think chopped nuts, chocolate chips, cookie crumbles, or fresh fruit for texture and variety. Add these gently to avoid over-blending and losing their distinctiveness.
For an extra flavor punch, stir in extracts like vanilla, almond, or peppermint, or swirl in sauces such as caramel, fudge, or fruit preserves. You can also sprinkle in spices like cinnamon or nutmeg for warmth. Make sure to mix these ingredients evenly to get a balanced taste in every bite.
Adding your favorite mix-ins and boosters customizes your ice cream, making it uniquely yours while keeping that smooth, creamy base intact.
Freeze for the Ideal Ice Cream Consistency
To lock in the creamy texture and flavors you’ve crafted, you’ll need to freeze your ice cream properly. This step is crucial for achieving that perfect scoopable consistency.
- Transfer to a container: Pour your blended mixture into a shallow, airtight container to speed up freezing and maintain texture.
- Initial freeze time: Freeze for about 2-3 hours. Check every 30 minutes and stir vigorously to prevent ice crystals and keep it smooth.
- Final freeze: After stirring a few times, let it freeze undisturbed for another 2-4 hours until firm. Avoid freezing too long or it’ll become rock hard.
Following these steps ensures your blender-made ice cream stays creamy, not icy, ready for serving.
Serve and Store Your Blender Ice Cream
When your ice cream reaches the perfect firmness, you can scoop it into bowls or cones for serving. Enjoy it immediately for a soft-serve texture or let it firm up in the freezer for a classic scoop.
To store leftovers, transfer the ice cream to an airtight container and press plastic wrap directly on the surface to prevent ice crystals. Keep it frozen until ready to serve again.
| Feeling | Moment | Tip |
|---|---|---|
| Joy | First scoop | Use a warm scoop for ease |
| Satisfaction | Sharing with friends | Customize toppings |
| Nostalgia | Childhood flavors | Experiment with mix-ins |
| Comfort | Late night treat | Store in small portions |
Serve with love, and your blender ice cream will always delight!
Frequently Asked Questions
Can I Use Plant-Based Milk for Blender Ice Cream?
Yes, you can use plant-based milk for blender ice cream. Just pick a creamy variety like coconut or cashew milk to get a rich texture.
You’ll still need to freeze it properly for the best results.
How Long Does Homemade Ice Cream Last in the Freezer?
Your homemade ice cream lasts about 1-2 weeks in the freezer—long enough to forget you made it, then rediscover it as a mysterious frozen treasure.
After that, it turns into a sad, icy relic you won’t want.
What Blender Speed Is Best for Making Ice Cream?
You’ll want to use a medium to high blender speed to make ice cream. It blends ingredients smoothly without overheating.
Start slow, then gradually increase speed to achieve a creamy, well-mixed texture without melting the mixture.
Can I Make Sugar-Free Ice Cream in a Blender?
You can absolutely make sugar-free ice cream in a blender—like catching a cool breeze on a hot day. Just swap sugar for sweeteners like stevia or erythritol, blend well, and enjoy your guilt-free treat!
How Do I Prevent Ice Crystals in Blender Ice Cream?
You can prevent ice crystals by blending the mixture until smooth, adding a bit of alcohol or corn syrup, and freezing it quickly.
Stirring it every 30 minutes breaks up crystals, giving you creamier ice cream.
Conclusion
Don’t worry if you think making ice cream at home is too tricky or time-consuming. With just a blender and a few simple ingredients, you can whip up creamy, delicious ice cream in no time. Plus, you control the flavors and mix-ins, so every batch is exactly how you like it.
Give it a try—you’ll be surprised how easy and rewarding homemade ice cream can be! Making ice cream in a blender is a quick and fun way to enjoy your favorite frozen treat. Follow the simple steps, and you’ll have perfect homemade ice cream ready to enjoy anytime.