10 Easy Steps to Make Frozen Yogurt at Home With a Blender
Start by gathering plain yogurt, sweeteners like honey, and your favorite flavorings to make delicious frozen yogurt at home with a blender. Prep your blender and measure ingredients beforehand to ensure a smooth process.
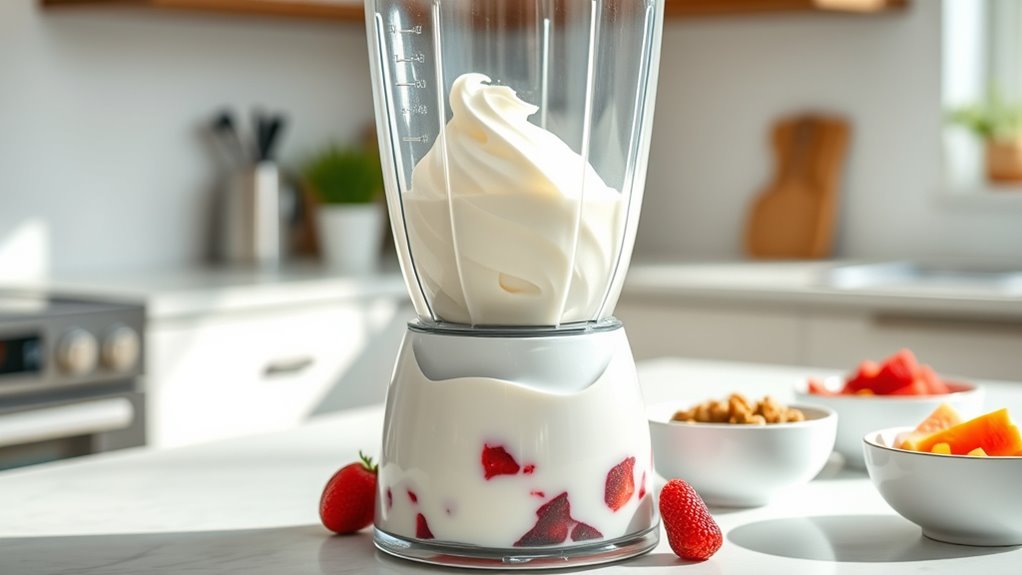
Using a blender is an easy and quick way to create creamy, homemade frozen yogurt without any special equipment.
Blend on low, then medium-high until smooth and creamy, adding mix-ins if you want. Chill the mixture, then freeze it for a few hours, softening slightly before serving.
Store it properly to keep texture and flavor fresh.
Follow these steps, and you’ll have delicious frozen yogurt ready to customize and enjoy in no time. Learn how to perfect texture and troubleshoot common issues next.
Key Takeaways
- Use plain unsweetened yogurt and add sweeteners and flavorings, adjusting taste before blending.
- Ensure the blender is clean, with sharp blades, and pre-measure cold ingredients for smooth blending.
- Blend on low speed initially, then medium/high for 1-2 minutes, scraping sides to achieve a creamy texture.
- Chill the mixture in the refrigerator for at least 1 hour before freezing for 2-3 hours in an airtight container.
- Serve immediately or soften frozen yogurt at room temperature, adding toppings as desired for extra flavor and texture.
Gather Ingredients for Homemade Frozen Yogurt
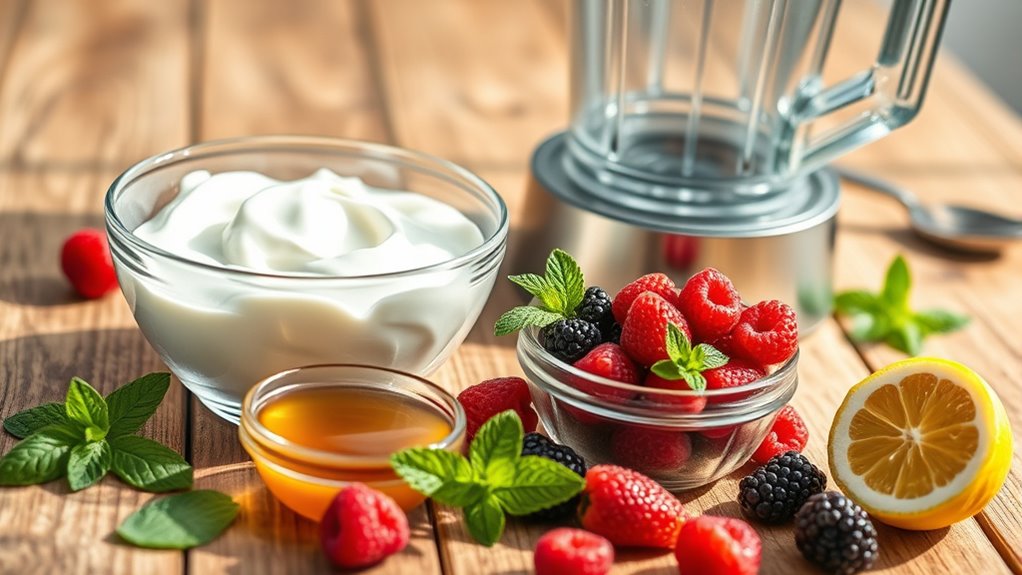
Before you start making frozen yogurt at home, you’ll need to gather a few simple ingredients. Start with plain yogurt, as it forms the base of your frozen treat. You’ll also want a sweetener like honey, maple syrup, or sugar to add just enough sweetness without overpowering the yogurt’s natural tang.
Next, grab some vanilla extract to enhance the flavor and give your frozen yogurt a rich, aromatic touch. If you like, you can include a pinch of salt to balance the sweetness and boost overall taste. Finally, consider fresh fruit or flavorings if you want to customize your batch.
Having these ingredients ready guarantees a smooth, quick process once you start blending. Simple, fresh components make all the difference in homemade frozen yogurt.
Choose the Right Yogurt for Frozen Yogurt
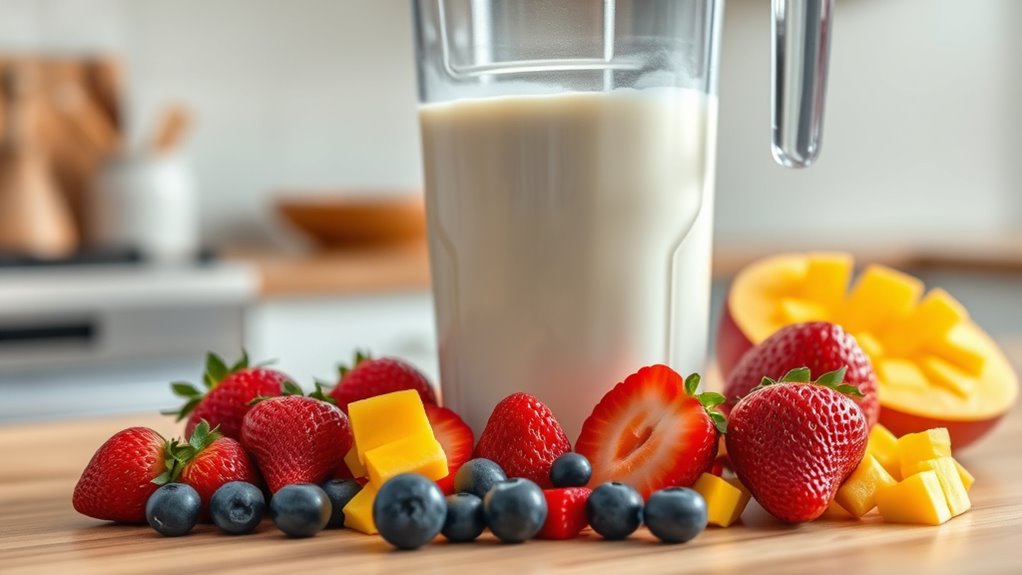
With your ingredients gathered, the next step is picking the right yogurt to create the perfect frozen treat. Opt for plain, unsweetened yogurt to control sweetness and flavor. Greek yogurt works great if you want a thicker, creamier texture, while regular yogurt gives a lighter result.
Choose full-fat yogurt for richness, or go low-fat if you prefer a lighter option. Avoid flavored yogurts with added sugars or fruit chunks, as they can affect texture and sweetness balance. Check the ingredients list to ensure it contains live active cultures, which add a pleasant tang and aid digestion.
Get Your Blender and Tools Ready
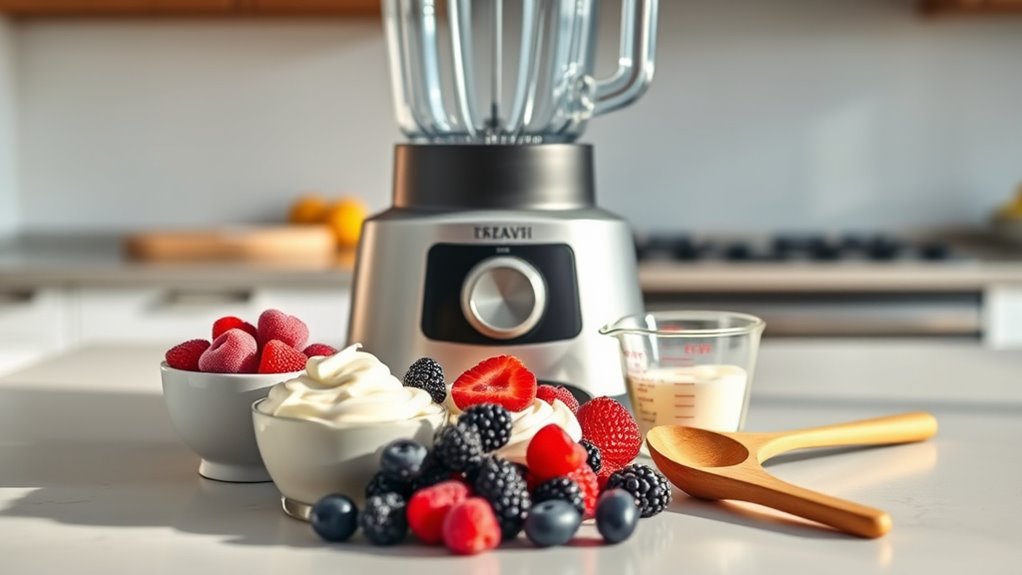
As you prepare to blend your ingredients, make certain your blender is clean and functioning well to achieve a smooth, creamy frozen yogurt. Check that the blades are sharp and the jar is free from cracks to prevent leaks. Gather essential tools like a spatula for scraping down the sides, measuring cups for accuracy, and a bowl to hold your ingredients before blending.
If your blender has multiple speed settings, familiarize yourself with them to control the texture later. Having a sturdy surface to place your blender on helps keep things steady while you work. Finally, guarantee your ingredients are prepped and ready nearby to streamline the process.
With your blender and tools set, you’re all set to move forward smoothly.
Blend Frozen Yogurt Mixture Until Smooth
Once you add all your ingredients into the blender, start blending on a low speed to combine everything thoroughly. This gentle start helps prevent splashing and guarantees your mixture blends evenly. Gradually increase the speed to medium or high, allowing the blades to fully break down any lumps and create a smooth, creamy texture.
Blend for about 1 to 2 minutes, stopping occasionally to scrape down the sides with a spatula. This keeps everything well incorporated and avoids uneven chunks. You’ll know it’s ready when the mixture is silky and thick, without any visible ice crystals or clumps.
Taking the time to blend thoroughly now sets the foundation for a delicious frozen yogurt, so don’t rush this step.
Add Flavors and Mix-Ins to Customize Your Yogurt
Before freezing your yogurt, you’ll want to personalize it by adding flavors and mix-ins that suit your taste. Start by choosing natural flavorings like vanilla extract, cocoa powder, or fresh fruit puree. These add vibrant taste without overpowering the yogurt’s creamy base.
Next, fold in mix-ins such as chocolate chips, chopped nuts, or dried fruit for texture and bursts of flavor. You can also experiment with spices like cinnamon or nutmeg for a warm twist. Be mindful not to add too much liquid, as it can affect the texture.
Stir everything gently but thoroughly to assure even distribution. This step lets you get creative and tailor your frozen yogurt exactly how you like it, making every bite deliciously unique.
Chill the Mixture to Improve Texture
To get a creamier frozen yogurt, chill your mixture thoroughly in the refrigerator for at least an hour before blending or freezing. This step helps the flavors meld and improves the texture by allowing fats and sugars to distribute evenly. Cold mixtures blend more smoothly, preventing icy chunks and creating a velvety finish.
Here’s a quick guide to chilling times and their effects:
| Chill Time | Texture Outcome | Flavor Development |
|---|---|---|
| 30 minutes | Slightly smoother | Mild flavor melding |
| 1 hour | Creamier, smoother | Balanced flavors |
| 2+ hours | Best texture | Fully developed |
Chilling is essential for a luscious, creamy frozen yogurt that tastes as good as it looks.
Freeze or Soften Your Frozen Yogurt
Although chilling the mixture prepares it well, you still need to decide whether to freeze your frozen yogurt fully or soften it before serving. If you prefer a firmer texture, place the mixture in an airtight container and freeze it for at least 2-3 hours. Check it occasionally to prevent ice crystals from forming.
For a softer, creamier consistency, let the frozen yogurt sit at room temperature for 10-15 minutes before scooping. This step makes it easier to serve and enhances the flavor. Remember, the texture you choose depends on your taste and how soon you plan to enjoy it.
Either way, taking this step guarantees your homemade frozen yogurt is just right for your craving.
Store Homemade Frozen Yogurt Properly
When you’ve made your frozen yogurt, storing it properly guarantees it stays fresh and delicious. Use an airtight container to prevent freezer burn and maintain texture. Label your container with the date so you know when to consume it.
Keep your homemade frozen yogurt in the coldest part of the freezer to avoid thawing and refreezing cycles.
| Storage Tip | Why It Matters | How to Do It |
|---|---|---|
| Airtight Container | Prevents freezer burn | Use plastic or glass containers |
| Label with Date | Tracks freshness | Write date with a permanent marker |
| Coldest Freezer Spot | Maintains consistent freezing | Store away from door |
| Avoid Refreezing | Keeps texture smooth | Scoop only what you need |
Follow these tips to enjoy your frozen yogurt at its best!
Serve and Enjoy Your Frozen Yogurt
Once your frozen yogurt is perfectly set, you can start serving it right away or let it soften slightly for a creamier texture. Scoop out portions using an ice cream scoop or spoon, and place them into bowls or cones.
Feel free to add your favorite toppings like fresh fruit, nuts, granola, or a drizzle of honey or chocolate syrup. These extras enhance both flavor and presentation. Remember to serve your frozen yogurt promptly for the best taste and texture.
If you want to share, invite family or friends to enjoy this invigorating treat together. Enjoy the satisfying, homemade flavor you created in just a few easy steps. Don’t forget to savor each bite!
Fix Common Frozen Yogurt Problems
If your frozen yogurt turns out icy or too sweet, don’t worry—you can fix it. Focus on preventing ice crystals, getting a creamy texture, and balancing the sweetness just right.
With a few simple tweaks, you’ll have perfect homemade frozen yogurt every time.
Prevent Ice Crystals
Although frozen yogurt is delicious, ice crystals can ruin its smooth texture and make it less enjoyable. To prevent ice crystals, make sure you freeze your yogurt mixture quickly. After blending, pour it into a shallow, airtight container to help it freeze evenly.
Stir the mixture every 30 minutes during the first couple of hours to break up any forming crystals. Using full-fat yogurt or adding a small amount of sweetener like honey or sugar can also reduce ice crystal formation. Avoid refreezing partially thawed frozen yogurt, as this encourages crystal growth.
In the end, store your frozen yogurt at a consistent temperature in the coldest part of your freezer. Following these steps will help you enjoy a smoother, ice-crystal-free frozen yogurt every time.
Achieve Creamy Texture
Achieving a creamy texture in your frozen yogurt is key to making it truly enjoyable and satisfying. To get that smooth, luscious consistency, focus on these four tips:
- Use full-fat yogurt – It provides richness and prevents your frozen yogurt from becoming icy or grainy.
- Blend thoroughly but don’t overdo it – Blend just enough to incorporate air, making it light and creamy without melting it.
- Add a small amount of fat – A splash of cream or coconut milk helps create a silkier texture.
- Chill your mixture before blending – Cold ingredients freeze faster and more evenly, reducing ice crystal formation and improving texture.
Following these steps guarantees your homemade frozen yogurt stays creamy and delicious every time.
Balance Sweetness Levels
Once you’ve mastered getting that creamy texture just right, the next step is to balance the sweetness levels in your frozen yogurt. Too little sweetness can make it bland, while too much masks the tangy flavor. Start by adding sweeteners little by little and tasting as you go.
Consider natural options like honey or agave syrup for a healthier touch. Here’s a quick guide to adjust sweetness based on your preference:
| Sweetness Level | Adjustment Tip |
|---|---|
| Too Tart | Add 1-2 tbsp sweetener |
| Slightly Sweet | Maintain current amount |
| Perfectly Sweet | Stick to your recipe |
| Too Sweet | Add more plain yogurt |
| Bland | Increase sweetener gradually |
Balancing sweetness lets your frozen yogurt shine with the perfect blend of creamy and tangy flavors.
Frequently Asked Questions
Can I Use Non-Dairy Yogurt to Make Frozen Yogurt?
Yes, you can use non-dairy yogurt to make frozen yogurt. Just blend it with your favorite sweeteners and flavors, then freeze.
It’s a great dairy-free alternative that still tastes creamy and delicious.
How Long Does Homemade Frozen Yogurt Last in the Freezer?
Homemade frozen yogurt lasts about 1 to 2 weeks in the freezer. To keep its best texture and flavor, store it in an airtight container, and try to enjoy it sooner rather than later.
What Are the Health Benefits of Frozen Yogurt Versus Ice Cream?
You’ll find frozen yogurt has fewer calories and less fat than ice cream, plus it contains probiotics that support your digestion.
Can I Add Probiotics to Homemade Frozen Yogurt?
Yes, you can add probiotics to homemade frozen yogurt. Just mix probiotic powder or capsules into the yogurt before freezing. This boosts its health benefits by promoting good gut bacteria and improving digestion.
Is It Possible to Make Frozen Yogurt Without Any Sugar?
Yes, you can make frozen yogurt without any sugar. You might worry it tastes bland, but using naturally sweet fruits or vanilla extract helps keep it delicious.
You’ll enjoy a healthier, guilt-free treat every time!
Conclusion
Now that you’ve mastered these 10 easy steps, making frozen yogurt at home is a breeze! With your blender as your trusty sidekick, you can whip up delicious, creamy treats anytime you want. Don’t be afraid to get creative with flavors and mix-ins—your kitchen is your playground.
So go ahead, dive spoon-first into your homemade frozen yogurt, and enjoy the sweet rewards of your efforts. Using a blender to make frozen yogurt not only saves time but also guarantees freshness and quality. Happy blending and enjoy your homemade frozen yogurt!