How to Make a Shake in a Blender
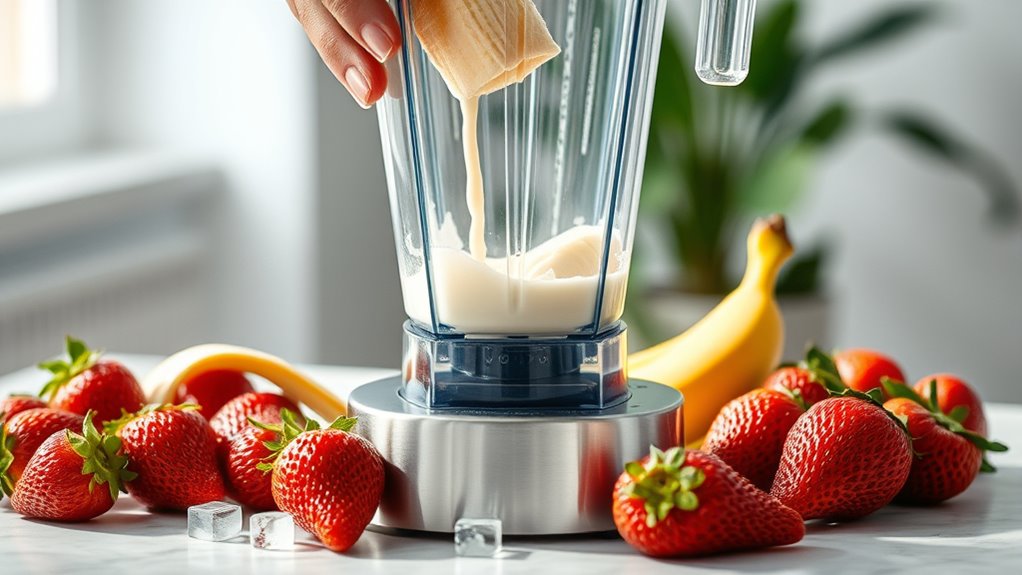
To make a shake in a blender, start with a liquid base like milk or juice to ensure smooth blending. Add softer ingredients such as fruit or yogurt next, followed by ice or frozen items for a chilled texture. This method helps create a creamy and delicious shake every time.
Secure the lid tightly before blending. Begin on a low speed and gradually increase until the mixture is smooth. Customize your shake with sweeteners, spices, or protein and nutrition boosters as desired.
Cleaning your blender immediately after use helps maintain its performance. Keep reading to explore tips for perfecting texture, troubleshooting common issues, and caring for a quieter, long-lasting blender.
Key Takeaways
- Add ingredients to the blender in order: liquids first, then soft items, followed by ice or frozen fruit.
- Secure the lid tightly and start blending on low speed, gradually increasing to high for about 30 seconds.
- Adjust thickness by adding more liquid if the shake is too thick, then blend again for smooth consistency.
- Use ingredients like milk, yogurt, protein powder, and flavorings to customize taste and texture.
- Clean the blender promptly after use by blending warm soapy water, rinsing, and drying all parts thoroughly.
Essential Ingredients for Classic and Healthy Shakes
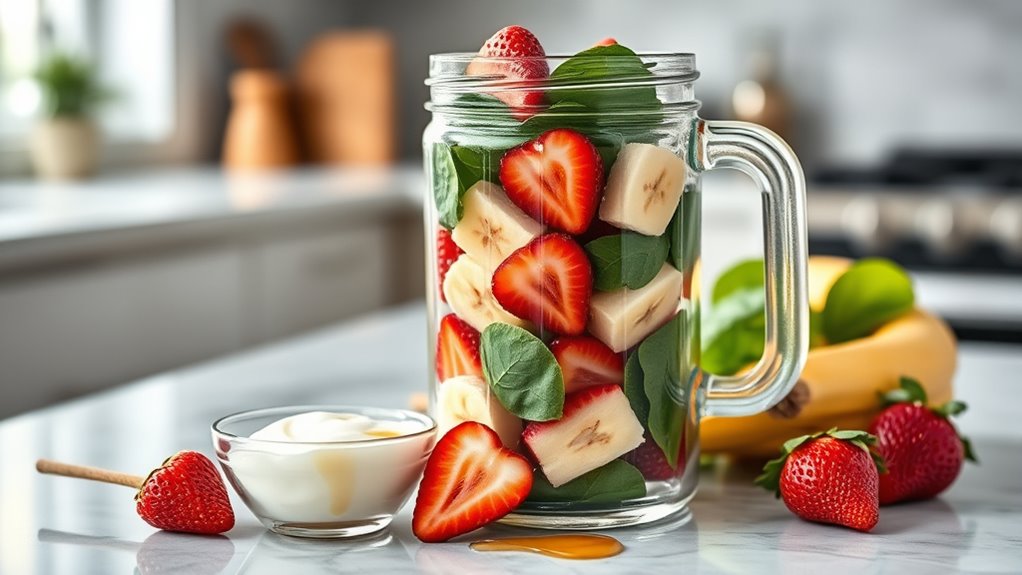
Although shakes come in many varieties, certain ingredients form the foundation of both classic and healthy versions. You’ll always need a liquid base—milk, almond milk, or even juice—to help blend everything smoothly. Next, add a sweetener like honey, maple syrup, or a ripe banana to give your shake natural sweetness.
For the creamy texture, you can use ice cream, yogurt, or frozen fruit. Protein is key if you want a more filling shake; protein powder, nut butter, or Greek yogurt works well. Don’t forget to toss in some ice or frozen ingredients to chill it.
Finally, you can boost nutrition with extras like spinach, chia seeds, or flaxseeds. These essential ingredients let you customize shakes to your taste and health goals.
Getting Your Blender Ready for the Perfect Shake
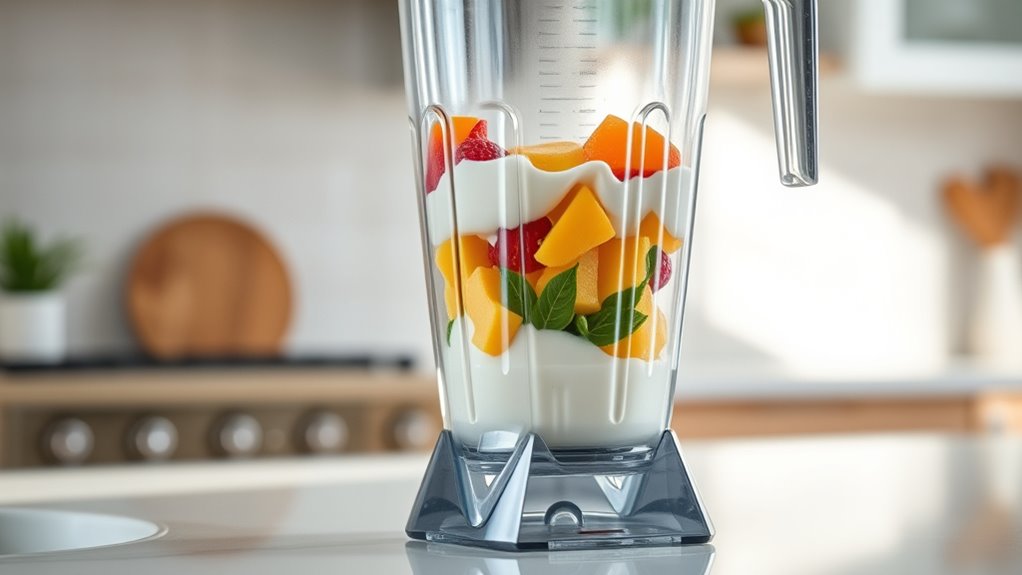
Before you start adding ingredients, make sure your blender is clean and properly assembled to guarantee smooth blending. Check that the pitcher or jar is securely attached to the base and the lid fits tightly to prevent spills. Inspect the blades for any signs of dullness or damage; sharp blades ensure efficient blending.
If your blender has multiple speed settings, familiarize yourself with them so you can adjust as needed. Plug in your blender and test it briefly to confirm it runs smoothly without unusual noises. Position the blender on a stable, flat surface to avoid vibrations during blending.
Taking these steps assures your blender is ready to create the perfect shake without interruptions or mess.
Making a Shake: A Simple Step-by-Step Guide
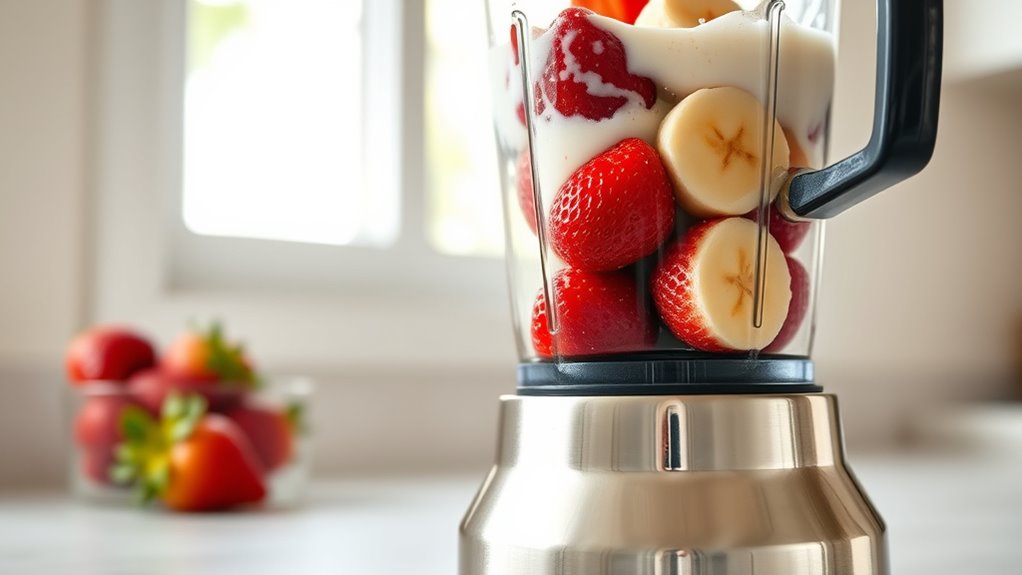
Once you’ve prepared your blender, gather all your ingredients and add them in the right order—usually liquids first, then softer items like yogurt or fruit, and finally ice or frozen ingredients to help with blending. Secure the lid tightly before turning on the blender.
Start blending on a low speed to combine everything smoothly, then increase to high speed for about 30 seconds or until the mixture is creamy and no chunks remain. If the shake seems too thick, pause and add a little more liquid, then blend again.
Once your shake reaches a smooth consistency, turn off the blender and carefully remove the lid. Pour your shake into a glass, and it’s ready to enjoy. Cleaning the blender promptly will keep it in great shape.
Customizing Your Shake’s Flavor and Texture
When you want to make your shake truly your own, experimenting with flavors and textures is key. Start by adding small amounts of ingredients like cocoa powder, cinnamon, or vanilla extract to create unique flavor profiles. Adjust sweetness with honey, maple syrup, or a few dates.
For texture, try blending in nuts, seeds, or oats for thickness and a bit of crunch. If you prefer a creamier shake, add avocado or Greek yogurt. To keep it light and invigorating, toss in ice cubes or frozen fruit.
Don’t hesitate to blend briefly for chunkier texture or longer for a smoother result. Taste as you go, so your shake matches your preference every time. Customizing lets you enjoy a shake that’s perfectly tailored to your mood and cravings.
Choosing the Best Ingredients for Protein and Post-Workout Shakes
How do you pick the best ingredients to fuel your body after a workout? Focus on protein sources, healthy carbs, and hydration to optimize recovery. Protein helps repair muscles, carbs restore energy, and fluids keep you hydrated.
Choose ingredients that match your taste and dietary needs.
| Ingredient Type | Examples | Benefits |
|---|---|---|
| Protein | Whey, pea, Greek yogurt | Muscle repair, satiety |
| Carbs | Banana, oats, honey | Energy replenishment |
| Hydration | Water, coconut water | Rehydrates, electrolytes |
| Extras | Spinach, chia seeds | Vitamins, antioxidants |
Mix these thoughtfully, and you’ll have a shake that supports your post-workout goals effectively.
Tips for Making Healthy and Nutrient-Packed Shakes
To make your shake both healthy and nutrient-packed, focus on choosing ingredients rich in vitamins and minerals. You’ll want to balance carbs, proteins, and fats to fuel your body properly.
Don’t forget to use natural sweeteners like honey or fruit to keep things tasty without added sugars.
Choosing Nutrient-Dense Ingredients
Although blending a shake is quick and simple, choosing the right nutrient-dense ingredients takes a bit more thought. You want to pick foods that pack a punch with vitamins, minerals, and antioxidants without adding empty calories.
Focus on whole fruits, leafy greens, nuts, and seeds to boost your shake’s nutritional value. Including superfoods like chia seeds or spirulina can elevate your shake’s health benefits even more.
Here’s a quick guide to nutrient-dense ingredients:
| Ingredient | Benefits |
|---|---|
| Spinach | Rich in iron and fiber |
| Berries | High in antioxidants |
| Almonds | Good source of healthy fats |
| Greek yogurt | Protein and probiotics |
Choosing these helps you create shakes that fuel your body effectively.
Balancing Macronutrients Effectively
When you balance macronutrients effectively, your shake not only tastes great but also fuels your body properly. Start by including a good source of protein—like Greek yogurt, protein powder, or nut butter—to support muscle repair and keep you full longer. Add healthy fats from avocado, chia seeds, or flaxseeds, which provide sustained energy and help absorb vitamins.
Don’t forget carbohydrates; fruits and oats are excellent for quick energy and fiber. Aim for a balanced ratio, such as 40% carbs, 30% protein, and 30% fats, but adjust based on your needs. Measure portions to avoid overloading any macronutrient.
Incorporating Natural Sweeteners
Balancing macronutrients gives your shake a solid nutritional foundation, but the flavor still matters. Incorporating natural sweeteners lets you enhance taste without sacrificing health. Instead of refined sugars, try adding honey, maple syrup, or dates for a gentle sweetness packed with nutrients.
These options provide antioxidants, vitamins, and minerals that boost your shake’s benefits. You can also blend in ripe fruits like bananas or berries—they naturally sweeten while adding fiber and antioxidants. Remember to start with small amounts, tasting as you go, to avoid overpowering your shake.
Fix Common Blender Shake Problems
If your blender shake overflows or makes too much noise, you’re not alone. You can easily prevent spills by adjusting the fill level and lid placement.
Plus, using a noise-reducing mat or blending at lower speeds helps keep things quieter.
Preventing Overflows
Although it’s tempting to fill the blender to the brim, doing so often causes messy overflows. To keep your shake-making experience clean and hassle-free, you need to control the amount and blending process carefully.
Here’s how you can prevent those frustrating spills:
- Fill the blender no more than two-thirds full to allow room for expansion.
- Start blending at a low speed and gradually increase it to avoid sudden splashes.
- Use the tamper tool (if your blender has one) to gently push ingredients down without opening the lid.
- Leave a small gap by not adding too many air-filled ingredients like ice or frozen fruit at once.
Reducing Noise Levels
Controlling the amount and blending speed helps keep spills at bay, but the loud noise from your blender can still be a major distraction. To diminish noise levels, start by placing a thick towel or a silicone mat under the blender to absorb vibrations. You can also blend on a lower speed setting whenever possible—this cuts down noise without sacrificing texture.
Make sure the blender jar is tightly secured to the base; loose parts tend to rattle and amplify sound. If your blender is inherently noisy, consider investing in a noise-reducing blender cover or enclosure. Regularly cleaning and maintaining your blender ensures the motor runs smoothly, which helps keep noise to a minimum.
These simple steps will make your shake-making experience quieter and more enjoyable.
Cleaning Your Blender After Making Shakes
Once you finish making your shake, you should clean your blender right away to prevent residue from hardening and odors from developing. Start by rinsing the jar with warm water to remove loose particles. Then add a few drops of dish soap and fill the jar halfway with warm water.
Secure the lid and blend on a low setting for 30 seconds. This helps clean hard-to-reach areas without scrubbing. After blending, rinse thoroughly and dry the blender parts before reassembling.
Remember to:
- Clean the blades carefully to avoid cuts
- Wipe down the base with a damp cloth (never submerge it)
- Remove and wash the lid and gasket separately
- Air dry all parts completely to prevent mold
Following these steps keeps your blender fresh and ready for your next shake.
Frequently Asked Questions
Can I Make a Shake Without a Blender?
Yes, you can make a shake without a blender. Just whisk milk, ice cream, and flavorings vigorously in a bowl or jar until smooth.
It’ll take more effort, but you’ll still get a tasty shake!
How Long Do Homemade Shakes Stay Fresh?
Your homemade shake stays fresh for about 24 hours—unless you’re a time traveler, then who knows?
Are Shakes Suitable for Weight Loss Diets?
Yes, shakes can fit into weight loss diets if you control portions and choose low-calorie, nutrient-rich ingredients.
You’ll want to avoid added sugars and use protein, fiber, and healthy fats to keep you full longer.
Can I Freeze Shakes for Later Use?
You absolutely can freeze shakes for later, turning your blender concoction into an icy treasure you’ll thank yourself for on busy days.
Just thaw it a bit and give it a quick blend to revive that creamy goodness!
What Are the Best Shake Recipes for Kids?
You’ll love fruity blends like banana-strawberry or mango-peach with yogurt. Add a bit of honey or peanut butter for extra flavor and nutrition.
Kids enjoy creamy chocolate-banana or vanilla-berry shakes too!
Conclusion
Now that you’ve mastered the art of blending, picture your shake swirling like a creamy river of energy and flavor, ready to fuel your day. With the right ingredients, a well-prepped blender, and a splash of creativity, you can craft shakes that nourish and delight.
Keep experimenting, fix any hiccups, and clean up quickly—soon, making shakes will be as effortless as a breeze on a summer morning. Enjoy every invigorating sip!
By following these simple steps to make a shake in a blender, you’ll consistently create delicious, nutritious shakes that energize your day. Embrace the process, and let your blender be the key to endless shake possibilities!