How Do You Flour a Cake Pan in 7 Simple Steps?
To flour a cake pan in seven simple steps, start by gathering your tools and all-purpose flour. Properly flouring a cake pan is essential for preventing sticking and ensuring your cake comes out perfectly every time.
This simple technique, combined with greasing, creates a non-stick surface that makes baking easier and more enjoyable.
Next, grease the pan evenly using butter or oil, then sprinkle a small handful of flour inside. Use your hands or a sifter to spread it around, especially in corners.
Tap and rotate the pan to shake off excess flour, and reapply flour to any bare spots.
Knowing flour alternatives and tips will help you get perfect cakes every time.
With these easy steps, your cakes will release cleanly from the pan and have a beautiful texture. Follow this guide to master the art of flouring cake pans effortlessly.
Key Takeaways
- Grease the cake pan evenly with butter, oil, or non-stick spray, covering all corners and edges without excess.
- Sprinkle a small amount of flour over the greased surface, focusing on corners and edges for full coverage.
- Use a sifter or your hands to distribute the flour evenly across the entire pan interior.
- Tap and rotate the pan gently to spread the flour and loosen any excess flour inside.
- Dispose of excess flour by tapping over a sink or trash, then reapply flour to any bare or shiny spots.
Gather Tools and Flour for Cake Pan
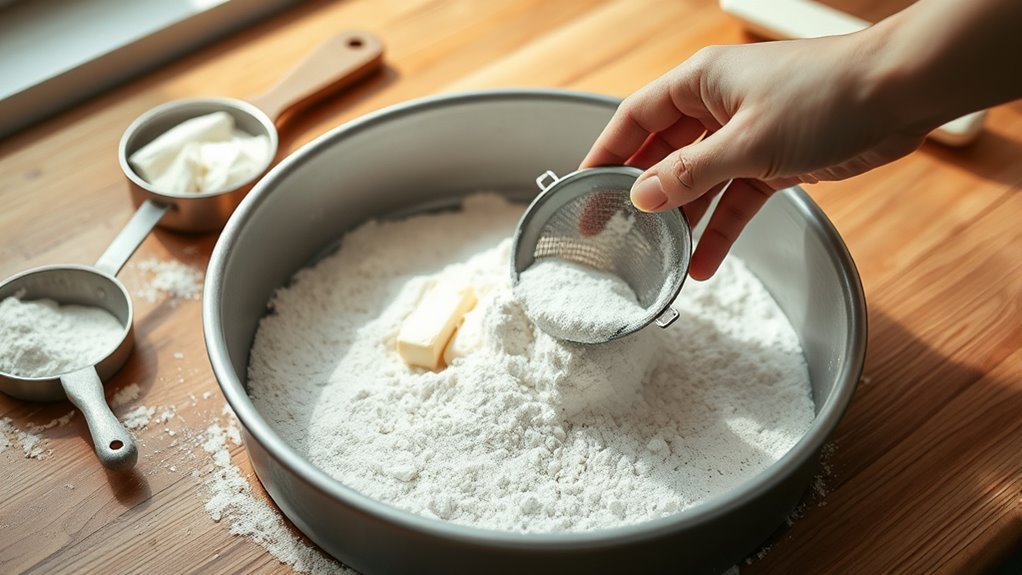
Before you begin, gather all the necessary tools and flour for your cake pan. You’ll need a cake pan, a small sifter or fine mesh strainer, and a spoon or your hand for spreading the flour. Grab a clean, dry paper towel or a piece of parchment paper to help coat the pan evenly.
Most importantly, make sure you have a good-quality, all-purpose flour on hand—this will help prevent your cake from sticking. Having everything ready before you start saves time and avoids mess. You don’t want to scramble looking for tools mid-process.
Once your tools and flour are set, you’re ready to move on to preparing the pan properly, ensuring your cake comes out perfectly shaped and easy to remove.
Choose the Right Flour for Coating Your Pan

Now that you’ve gathered your tools and flour, it’s important to pick the right type of flour for coating your cake pan. The flour you choose influences how easily the cake releases and its texture around the edges.
All-purpose flour is the most common choice, but alternatives like cake flour or even cocoa powder for chocolate cakes can work better in specific cases.
| Flour Type | Best For | Notes |
|---|---|---|
| All-purpose | Most cakes | Versatile and widely available |
| Cake flour | Light, delicate cakes | Creates a finer crumb |
| Whole wheat | Healthier options | Heavier texture |
| Cornstarch | Gluten-free coating | Use mixed with other flours |
| Cocoa powder | Chocolate cakes | Adds flavor and color |
Choose wisely to guarantee a smooth release and perfect cake edges every time.
Prepare the Pan by Greasing It Properly
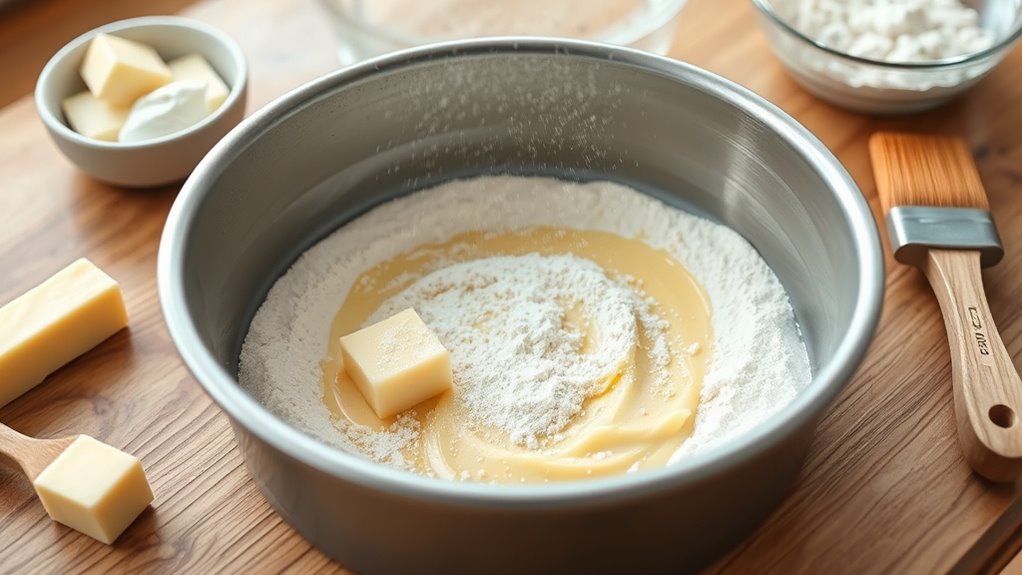
To get your cake out cleanly, you’ll need to choose the right grease, like butter or shortening. Make sure you apply it evenly to cover every corner of the pan.
This step sets the foundation for a smooth release once your cake is baked.
Choosing The Right Grease
How do you pick the best grease for preparing your cake pan? Choosing the right grease ensures your cake releases easily and bakes evenly. Here’s what you should consider:
- Butter: Adds flavor, but can burn at high temperatures.
- Shortening: Neutral taste, great for high-heat baking.
- Oil: Easy to spread, but may make edges softer.
- Non-stick spray: Convenient, but sometimes contains flour or silicone.
- Melted coconut oil: Offers a subtle flavor and works well for vegan recipes.
Each option has its perks, so think about your recipe and preferences. Avoid greasy spots or thick layers, as these can cause uneven baking.
Once you’ve chosen the grease, you’re ready for the next step: applying it evenly to your pan.
Applying Grease Evenly
After selecting the right grease for your cake pan, the next step is spreading it evenly. Use a paper towel, pastry brush, or your fingers to coat the entire inner surface with a thin, uniform layer. Focus on corners and edges, where batter tends to stick the most.
Avoid using too much grease, as excess can cause the flour to clump and create an uneven coating. Take your time to make certain every spot is covered without leaving thick pools. This even greasing helps the flour adhere properly, creating a non-stick barrier that ensures your cake releases smoothly after baking.
Once you’ve applied the grease, proceed immediately to flouring the pan to prevent the grease from drying out or becoming sticky.
Sprinkle and Spread Flour Evenly Inside the Pan
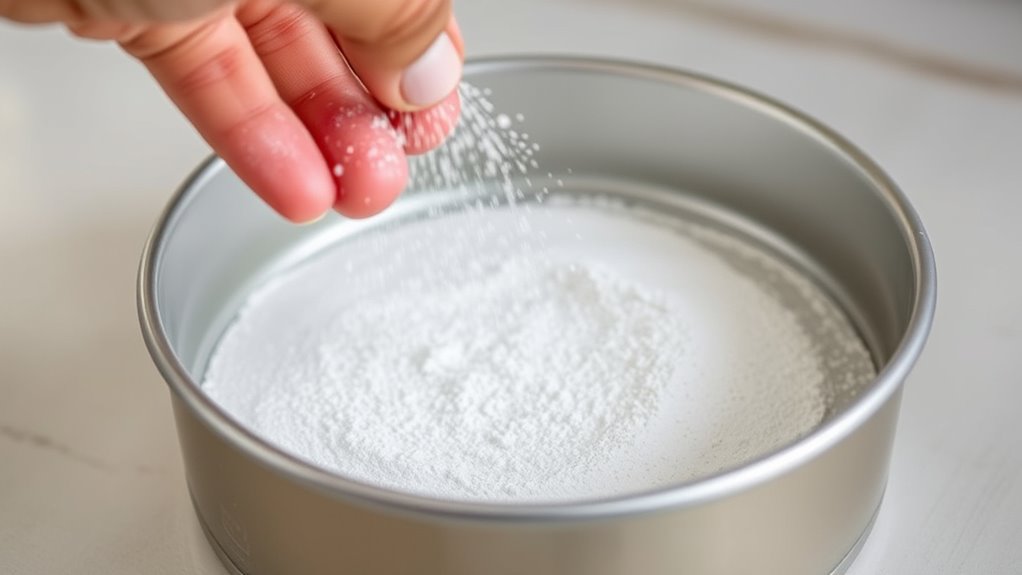
While the pan still holds a thin layer of butter or oil, sprinkle a small handful of flour evenly across the bottom and sides. This helps the flour stick well and prevents your cake from sticking. Use your hands or a small sifter to distribute the flour gently and thoroughly.
To do this effectively:
- Hold the pan at an angle to reach all sides
- Use your fingertips to spread flour into corners
- Shake lightly to cover any bare spots
- Avoid dumping too much flour at once
- Check for thin or missed areas and add more if needed
Taking these steps guarantees an even coating, giving your cake a smooth release after baking.
Tap and Rotate the Pan to Remove Excess Flour
Once you’ve sprinkled the flour evenly, gently tap the sides and bottom of the pan to loosen any excess. Hold the pan over the sink or trash can and give it a few light taps. Then, rotate the pan slowly, allowing the flour to shift and fall off the edges.
This step guarantees you remove clumps that could create uneven spots on your cake’s surface. Be thorough but gentle; you want to keep a thin, even coating while avoiding thick patches. If you notice flour still clinging in spots, a few more taps and rotations usually do the trick.
This method also prevents flour from burning during baking and helps your cake release smoothly once it’s done. Now your pan’s ready for batter!
Check for Bare Spots and Reapply Flour
If you spot any bare spots on your cake pan, don’t hesitate to add a little more flour. Those uncoated areas can cause your cake to stick, ruining your hard work. Here’s how to quickly check and fix bare spots:
- Look closely under bright light for any shiny or oily patches.
- Run your fingers gently over the surface to feel for smooth, flour-free areas.
- Add a pinch of flour to those spots.
- Use a paper towel or your hand to spread the flour evenly.
- Tap and rotate the pan again to remove any excess flour.
Use Flour Alternatives and Prevent Cake Sticking
Although flour is the most common choice for coating cake pans, you can use alternatives like cocoa powder or finely ground nuts to prevent sticking and add subtle flavor. Cocoa powder works great for chocolate cakes, while ground nuts add a nutty taste and texture. Make sure to grease the pan well before dusting with these alternatives to guarantee even coverage.
Here’s a quick comparison:
| Alternative | Best For | Flavor Impact |
|---|---|---|
| Cocoa Powder | Chocolate cakes | Enhances cocoa |
| Ground Nuts | Nut-flavored cakes | Adds nuttiness |
| Cornstarch | Light cakes | Neutral |
| Powdered Sugar | Sweet cakes | Slight sweetness |
| Bread Crumbs | Dense cakes | Slight crunch |
Choosing the right alternative can elevate your cake’s texture and taste while preventing sticking effectively.
Frequently Asked Questions
Can I Use Non-Stick Spray Instead of Greasing and Flouring?
Yes, you can use non-stick spray instead of greasing and flouring. Just spray the pan evenly, and it’ll help prevent sticking.
Make sure to cover all areas for the best results when baking your cake.
How Long Should I Wait After Flouring Before Pouring Batter?
Like a painter ready to create, you don’t need to wait long—once you’ve floured the pan, go ahead and pour the batter right away.
The flour will cling, ensuring your cake releases perfectly after baking.
Does Flouring Affect the Cake’s Texture or Taste?
Flouring doesn’t affect your cake’s taste but can improve texture by preventing sticking, ensuring even baking, and creating a nice crust.
You’ll get a smoother release and a better-formed cake without any flavor change.
Can I Flour a Glass or Silicone Cake Pan the Same Way?
You can flour a glass pan just like a metal one, but with silicone, flouring isn’t necessary since it’s naturally non-stick. In fact, 85% of bakers avoid flouring silicone to keep cakes smooth.
Is It Necessary to Flour Pans for All Cake Recipes?
You don’t always have to flour pans for every cake recipe. Some cakes release easily with just greasing, especially non-stick or silicone pans.
But for sticky or delicate cakes, flouring helps prevent sticking and guarantees a smooth release.
Conclusion
By following these simple steps, you’ll find your cake pan perfectly floured—like a soft snowfall settling evenly across a peaceful field. Just as each flake lands with care, your flour coats every corner, preventing sticking and ensuring a flawless cake release.
It’s amazing how a little attention to detail transforms your baking experience, turning a sticky mess into a smooth success. So, grab your tools, flour your pan, and watch your cake come out just right!
Mastering how to flour a cake pan not only prevents your cake from sticking but also helps achieve the perfect bake every time. Flour your cake pan properly to enjoy a delicious, beautifully shaped cake with ease.