How to Cure a Blackstone Griddle
To cure your Blackstone griddle properly, start by cleaning it thoroughly with warm, soapy water and drying it completely.
Curing a Blackstone griddle is essential for creating a durable, non-stick cooking surface that enhances your cooking experience. Applying the right technique ensures your griddle lasts longer and performs better.
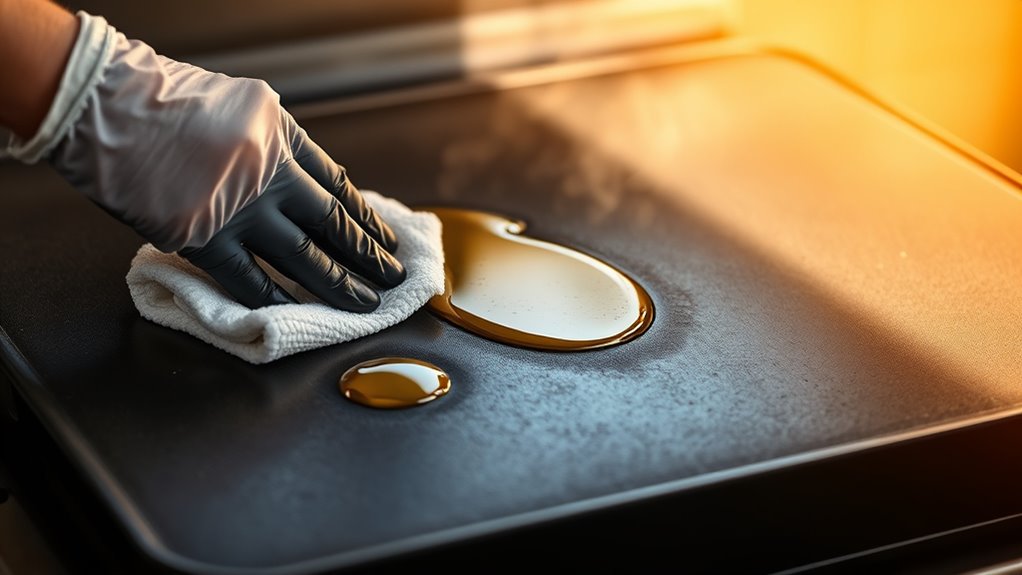
Apply a thin layer of high-smoke point oil like flaxseed or canola, spreading it evenly over the surface.
Heat the griddle on high until it begins to smoke, then maintain the temperature for 30-60 minutes.
This process helps the oil polymerize, forming a protective coating.
Repeat the oiling and heating cycle 2-3 times for a strong, non-stick finish.
Proper curing not only protects your griddle but also improves cooking results.
Following these steps carefully will give you perfect seasoning every time.
Key Takeaways
- Clean the griddle thoroughly with warm, soapy water and dry completely before curing to remove debris and moisture.
- Apply a thin, even layer of high-smoke point oil (flaxseed, canola, or grapeseed) over the entire surface.
- Heat the griddle on high until smoking, maintaining heat for 30-60 minutes to bond the oil to the surface.
- Repeat oiling and heating 2-3 times for a durable, non-stick seasoning layer, totaling 1-2 hours of curing time.
- Check for a smooth, dark, non-sticky surface and re-season regularly to maintain optimal cooking performance and rust protection.
Why Cure Your Blackstone Griddle?
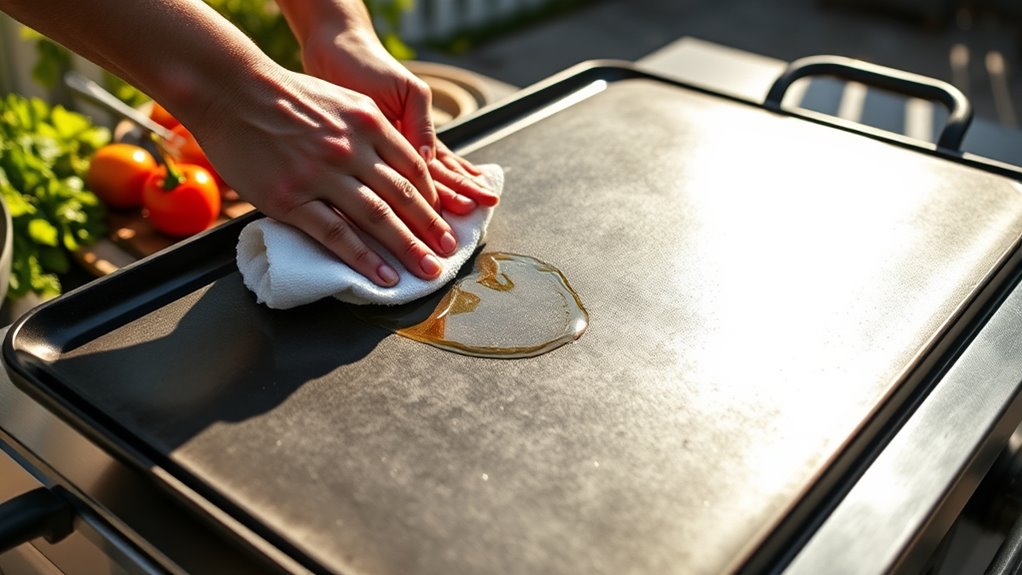
Although it might seem tempting to start cooking right away, you should cure your Blackstone griddle first to create a non-stick surface and prevent rust. Curing forms a protective layer by bonding oil to the metal, which stops food from sticking and makes cleaning easier.
Without curing, your griddle can quickly develop rust spots that damage its surface and shorten its lifespan. Plus, a well-cured griddle heats more evenly, giving you better cooking results every time. It also enhances the flavor of your food by creating that signature seasoned taste.
Taking the time to cure your griddle guarantees it stays in great condition and performs at its best, so you get the most out of your investment right from the start.
What You Need to Cure Your Blackstone Griddle
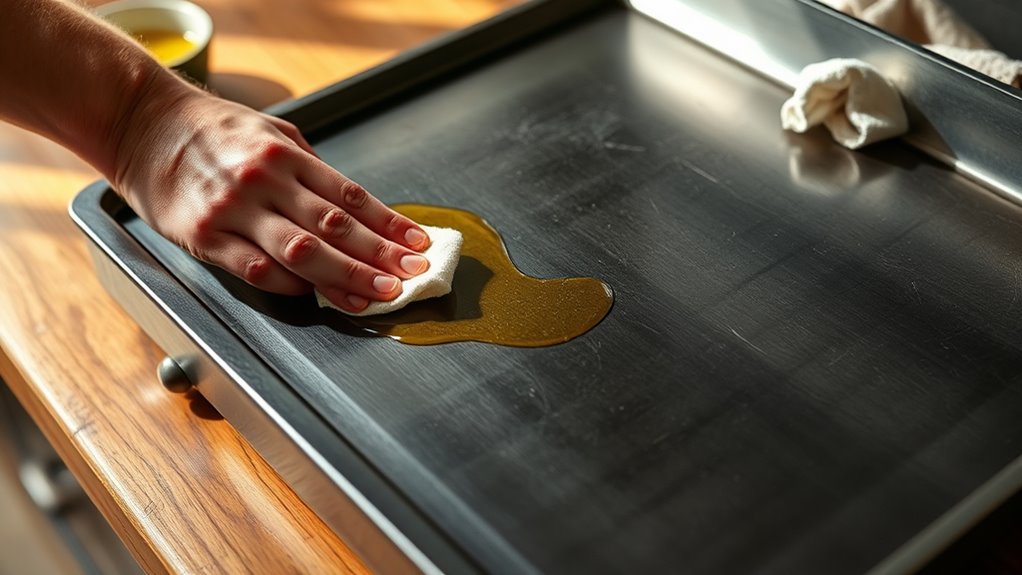
Before you start curing your Blackstone griddle, make sure you have the right supplies on hand. You’ll need a high-smoke point oil like flaxseed, canola, or grapeseed oil. These oils withstand high temperatures without breaking down, which is essential for a good seasoning layer.
Have a clean cloth or paper towels ready to spread the oil evenly across the griddle surface. A pair of heat-resistant gloves will protect your hands from burns while handling the hot griddle. If you have a cooking thermometer, it can help you monitor the griddle’s temperature during curing.
Finally, keep a spatula or scraper nearby for any adjustments as you go. Having these supplies ready sets you up for a smooth curing process and a well-seasoned griddle.
Cleaning Your Blackstone Griddle Before Curing
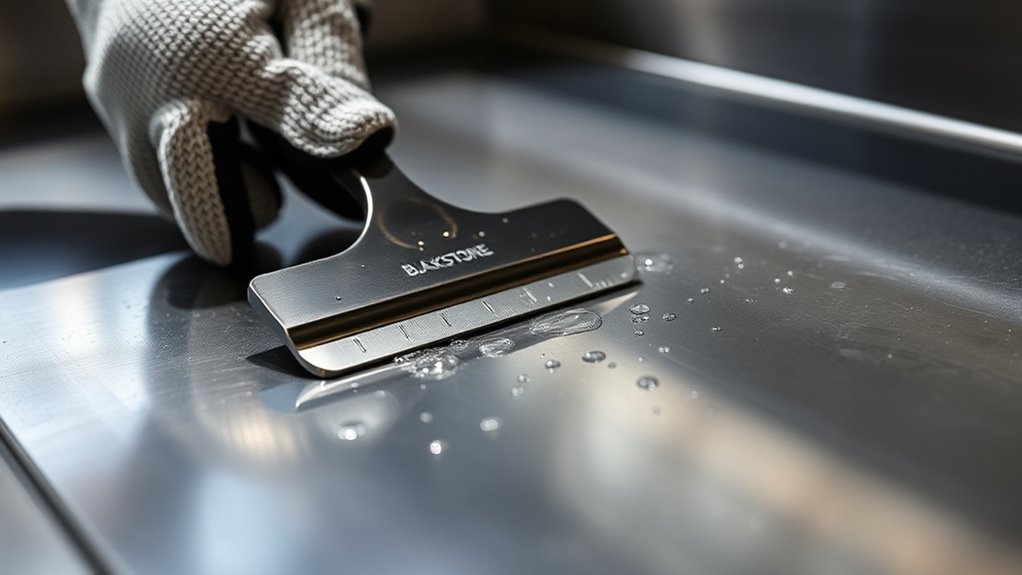
Before you start curing, make sure to remove any debris from your Blackstone griddle. Clean the surface with warm soapy water to get rid of grease and residue.
Finally, dry it completely to guarantee the curing process works properly.
Remove Debris Thoroughly
To prepare your Blackstone griddle for curing, you need to remove all debris thoroughly. Use a metal spatula or scraper to gently lift off stuck food particles, grease, and residue. Make certain no bits remain, as leftover debris can affect the seasoning process.
Check corners and edges carefully where grime often hides. Removing debris ensures a smooth surface, allowing the oil to bond evenly during curing.
| Tool | Purpose | Tip |
|---|---|---|
| Metal Scraper | Remove stuck food | Use gentle pressure |
| Paper Towels | Wipe loose debris | Change frequently |
| Soft Brush | Clean edges and corners | Avoid scratching surface |
| Hand Gloves | Protect your hands | Use for safer handling |
Use Warm Soapy Water
Once you’ve cleared away all debris, you’ll want to wash your Blackstone griddle with warm soapy water to remove any remaining grease and dirt. This step is essential because it guarantees your griddle’s surface is perfectly clean for the seasoning process, helping the oil bond properly and creating that non-stick, long-lasting finish you crave. Use a gentle sponge or cloth to avoid scratching the surface.
Focus on stubborn spots but don’t scrub too hard.
Remember, cleaning with warm soapy water:
- Restores your griddle’s fresh, smooth surface
- Removes hidden grease that can ruin seasoning
- Prepares the metal for maximum oil absorption
- Sets the stage for a flawless, durable cure
Taking this step seriously makes all the difference for your Blackstone’s performance.
Dry Completely Before Curing
Although you’ve cleaned your Blackstone griddle thoroughly, you need to make certain it’s completely dry before moving on to curing. Any moisture left on the surface can cause rust or interfere with the seasoning process. Use a clean towel to wipe down the griddle, absorbing as much water as possible.
Then, heat the griddle on low for 5-10 minutes to evaporate any remaining dampness. This step is essential because curing involves applying oil that bonds best to a dry surface. Skipping this could lead to uneven seasoning or corrosion.
Taking the time to dry your griddle properly ensures a strong, long-lasting protective layer, setting you up for great cooking results every time.
Choosing the Best Oil for Your Blackstone Griddle
When selecting oil for your Blackstone griddle, you’ll want one that withstands high heat without smoking or breaking down. The right oil creates a durable, non-stick surface and protects your griddle from rust. Choose oils with high smoke points to guarantee smooth seasoning and long-lasting results.
Here are four great options to take into account:
- Flaxseed oil: Known for creating a hard, durable seasoning layer.
- Canola oil: Affordable with a high smoke point, ideal for beginners.
- Grapeseed oil: Neutral flavor and excellent heat tolerance.
- Vegetable oil: Readily available and effective for initial curing.
Picking the best oil sets you up for success, making your griddle easier to cook on and maintain.
How to Apply Oil Evenly on Your Blackstone Griddle
To achieve an even coating on your Blackstone griddle, you need to apply oil carefully and consistently. Start by pouring a small amount of oil onto the center of the griddle. Use a folded paper towel or a heat-resistant brush to spread the oil evenly across the entire surface.
Work quickly but thoroughly, covering every inch, including edges and corners. Avoid pouring too much oil at once, as it can pool and create uneven spots. Applying oil in thin layers ensures better absorption and a smoother seasoning.
Keep a steady hand and maintain consistent pressure while spreading. This careful approach helps create a uniform protective layer that’s essential for curing and maintaining your Blackstone griddle’s longevity and performance.
Step-by-Step Guide to Curing Your Blackstone Griddle
Why is curing your Blackstone griddle essential before cooking? It creates a natural, non-stick surface and prevents rust, ensuring your griddle performs at its best. To cure it properly, follow these steps:
- Start by heating your griddle on high until it’s smoking hot.
- Apply a thin layer of oil evenly using a paper towel or cloth.
- Let the oil cook into the surface for about 30-60 minutes, watching for it to stop smoking.
- Repeat the oiling and heating process 2-3 times to build a durable seasoning layer.
This method protects your griddle and enhances flavor, so you’ll enjoy cooking even more. Once done, your Blackstone will be ready to deliver delicious meals every time!
How Long Should You Cure Your Blackstone Griddle?
You should cure your Blackstone griddle for at least 1 to 2 hours to build a strong seasoning layer. Keep in mind that factors like temperature and the number of seasoning coats can affect curing time.
Let’s explore how these elements influence the process.
Recommended Curing Duration
Although curing times can vary, you should plan to cure your Blackstone griddle for at least 30 to 60 minutes per seasoning layer. This guarantees each layer bonds well, creating a durable, non-stick surface. You might repeat this process 3 to 4 times for ideal results, building a protective coating that lasts.
Taking the time to cure properly means your griddle will perform better and stay rust-free longer.
Remember, curing your griddle is not just a chore—it’s an investment in your cooking experience. As you cure, you’ll feel:
- Pride in prepping your griddle for countless delicious meals
- Satisfaction watching the surface transform layer by layer
- Confidence knowing your food won’t stick or burn
- Excitement for the tasty adventures ahead on your seasoned Blackstone
Factors Affecting Curing Time
Since curing time can vary, several factors influence how long you should season your Blackstone griddle. First, the griddle’s size affects curing duration—a larger surface requires more time to evenly build a protective layer. Second, the type and amount of oil you use play a role; oils with higher smoke points often need longer heating to polymerize properly.
Third, your seasoning method matters: multiple thin coats typically take more time but yield a more durable finish than a single heavy coat. Environmental conditions like humidity and temperature also impact curing speed—warmer, drier weather helps the oil bond faster. Finally, how often you plan to cook on it influences your curing schedule; frequent use helps maintain seasoning, but initial curing should never be rushed for best results.
Curing Tips for Different Weather Conditions
When curing your Blackstone griddle, adapting your approach to the weather can make a big difference in results. Cold or humid days slow down the curing process, so you’ll want to be patient and keep your griddle warm. On hot, dry days, curing may happen faster, but you’ll need to monitor closely to avoid overheating.
Here are some tips to help you:
- In cold weather, cure indoors or use a windbreak to keep heat consistent.
- On humid days, wipe the griddle dry before seasoning to prevent moisture buildup.
- During hot weather, reduce the heat slightly to avoid burning the oil.
- If it’s windy, shield your griddle to maintain a steady temperature and ensure even seasoning.
Adjusting for weather helps you achieve a perfect, long-lasting cure.
Signs Your Blackstone Griddle Is Properly Cured
How can you tell if your Blackstone griddle is properly cured? Look for a smooth, dark, and slightly shiny surface that resists rust and food sticking. The seasoning layer should feel uniform without sticky patches.
When you cook, your food should release easily, and the griddle should heat evenly. Here’s a quick guide to key signs:
| Sign | What to Look For | Why It Matters |
|---|---|---|
| Color | Dark, matte to slightly shiny | Indicates good seasoning layer |
| Texture | Smooth, non-sticky surface | Prevents food from sticking |
| Rust Resistance | No rust spots | Shows protection is effective |
| Food Release | Food slides off easily | Confirms seasoning is solid |
| Even Heating | Uniform heat across surface | Ensures consistent cooking |
When and How Often to Re-Cure Your Blackstone Griddle
Knowing the signs of a properly cured Blackstone griddle helps you understand when it might need attention again. You should re-cure your griddle when you notice rust, uneven cooking surfaces, or food sticking more than usual.
How often depends on your use—if you cook daily, re-curing every few months keeps it in top shape. For occasional use, once or twice a year is enough to maintain that non-stick, seasoned surface.
Watch for these triggers that signal it’s time to re-cure:
- Rust spots appearing on the surface
- Food sticking or burning unexpectedly
- Uneven heating or discoloration
- Loss of that smooth, seasoned patina
Re-curing safeguards your investment and ensures delicious meals every time.
Avoid These Common Curing Mistakes
Before you start curing, make sure you clean the griddle thoroughly to avoid residue buildup. Don’t use oils that smoke too easily, or you’ll risk ruining the seasoning.
Also, avoid overheating the griddle, since it can damage the surface and affect curing.
Skipping Thorough Cleaning
Although it might seem tempting to jump straight into seasoning your Blackstone griddle, skipping a thorough cleaning can cause uneven seasoning and affect your griddle’s performance. You want a smooth, even surface to guarantee the oil bonds properly and creates a lasting non-stick layer.
Neglecting this step might leave behind old residues or factory coatings that block the curing process. This can lead to rust, sticky spots, or uneven cooking later on.
By taking the time to clean thoroughly, you’ll avoid:
- Frustration from uneven cooking results
- Wasting oil on areas that won’t season properly
- Early rust forming under the seasoning layer
- The disappointment of a griddle that doesn’t perform as expected
Don’t rush—clean carefully for a better, longer-lasting griddle.
Using Inappropriate Oils
When you cure your Blackstone griddle, selecting the wrong oil can undermine your efforts and lead to sticky spots or uneven seasoning. Oils with low smoke points or strong flavors aren’t ideal. Avoid using olive oil or butter since they burn quickly and create a sticky surface.
Instead, opt for oils with high smoke points like flaxseed, canola, or grapeseed oil for a durable, smooth finish.
| Oil Type | Why Avoid or Use? |
|---|---|
| Olive Oil | Low smoke point, sticky buildup |
| Butter | Burns fast, leaves residue |
| Flaxseed Oil | High smoke point, durable coat |
Choosing the right oil ensures a long-lasting, non-stick griddle surface.
Overheating The Griddle
If you crank your Blackstone griddle’s heat too high during curing, you risk damaging the seasoning and creating uneven patches. Overheating can cause the oil to burn rather than polymerize, leaving sticky, flaky spots that ruin your griddle’s surface. It’s tempting to blast the heat for faster results, but patience pays off here.
Avoid these overheating pitfalls:
- Frustration from uneven cooking surfaces
- Wasting oil on burnt, ineffective seasoning
- Stress of having to strip and redo the curing process
- Disappointment from a damaged griddle that won’t perform right
Keep the temperature moderate, around medium heat, and apply thin oil layers. This protects your griddle and builds a durable, non-stick coating you’ll appreciate every time you cook.
Maintaining Your Cured Blackstone Griddle Surface
To keep your Blackstone griddle performing at its best, you’ll need to regularly maintain its seasoned surface. After each use, clean the surface with a scraper while it’s still warm to remove food residue.
Then, wipe it down with a damp cloth and apply a thin layer of oil to prevent rust and keep the seasoning intact. Avoid using soap or harsh detergents, as they can strip the seasoning.
Periodically, you should reseason the griddle to restore its non-stick properties.
| Task | Frequency | Tips |
|---|---|---|
| Scrape residue | After every use | Use a metal scraper carefully |
| Wipe & oil | After cleaning | Use high smoke point oil |
| Reseason surface | Monthly or as needed | Heat evenly, apply thin oil |
Proper maintenance guarantees your griddle lasts and cooks evenly.
Frequently Asked Questions
Can I Cure My Blackstone Griddle Indoors Safely?
You can cure your Blackstone griddle indoors if you guarantee proper ventilation and keep windows open. Avoid inhaling smoke by using a fan, and never leave it unattended to maintain safety during the process.
Is Curing Necessary for a Used Blackstone Griddle?
You might think curing isn’t needed on a used Blackstone griddle, but it is. Curing creates a protective, non-stick layer that prevents rust and improves cooking, so you’ll want to do it before your next meal.
What Temperature Should My Griddle Be During Curing?
You should heat your griddle to around 400°F during curing. This temperature helps the seasoning oil polymerize properly, creating a durable, non-stick surface.
Keep it steady, and avoid overheating to protect your griddle’s finish.
Can I Use Flaxseed Oil to Cure My Griddle?
Like a painter choosing the perfect brush, you can use flaxseed oil to cure your griddle. It polymerizes well, creating a durable, non-stick surface that’ll make your cooking experience feel truly magical and effortless.
How Do I Remove Rust Before Curing My Blackstone Griddle?
You remove rust by scrubbing the griddle with steel wool or a wire brush, then rinse and dry thoroughly.
After that, apply a thin layer of oil and heat it to prevent further rust before curing.
Conclusion
Curing your Blackstone griddle isn’t just a step—it’s the secret handshake to a flawless cooking surface. When you care for it right, your griddle becomes a non-stick, rust-resistant champion that’ll serve you for years. Remember, patience and the right oil are your best friends here.
So, don’t skip this essential ritual; your future self—and delicious meals—will thank you. Ready to master your griddle? Let the seasoning magic begin!
By properly curing your Blackstone griddle, you ensure a long-lasting, easy-to-clean cooking surface. This crucial process helps prevent rust and enhances non-stick performance, making your cooking experience smoother. Embrace the curing process for the best Blackstone griddle results every time.