Can I Make Almond Flour in a Blender in 7 Steps?
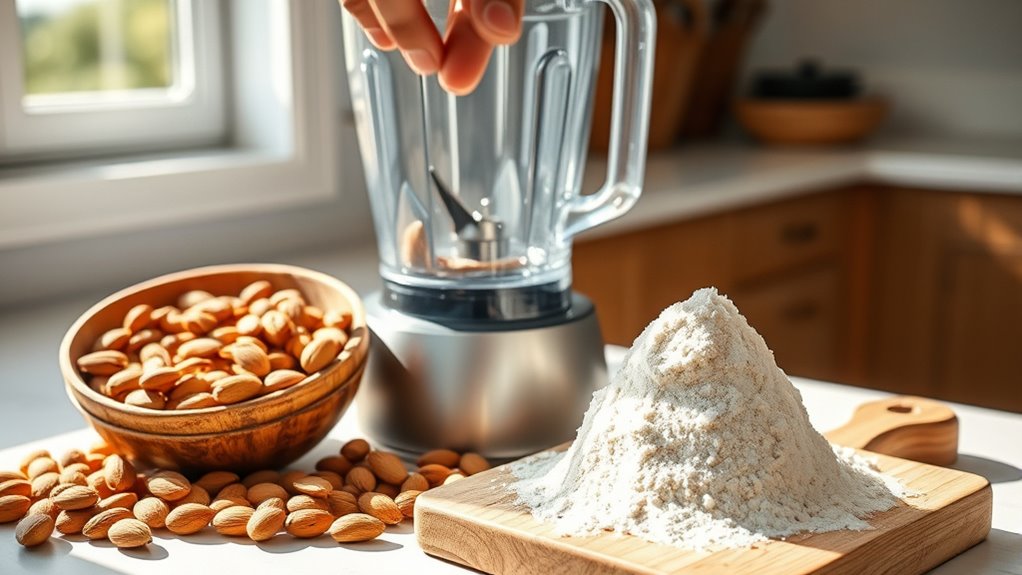
Yes, you can easily make almond flour in a blender by following seven simple steps. Making almond flour at home is a cost-effective and fresh alternative to store-bought options.
Start with clean, dry raw almonds, optionally toasting them lightly to enhance the flavor.
Blend the almonds in short pulses on low speed to avoid turning the nuts into butter.
Sift the flour to remove any coarse bits, then re-blend if needed for a finer texture.
Store your almond flour in airtight containers to keep it fresh and prevent moisture.
If you want to master the perfect texture and avoid common mistakes, keep going for detailed tips and tricks.
Key Takeaways
- Use raw, dry almonds and optionally toast them lightly before blending for enhanced flavor and texture.
- Blend almonds in short, low-speed pulses to avoid turning them into almond butter.
- Use a tamper or spatula to move almonds for even grinding and prevent clumping.
- Sift the blended almonds to remove larger chunks and re-blend for a fine, powdery consistency.
- Store the almond flour in an airtight container, refrigerate or freeze to maintain freshness up to 6 months.
Equipment and Almonds Needed
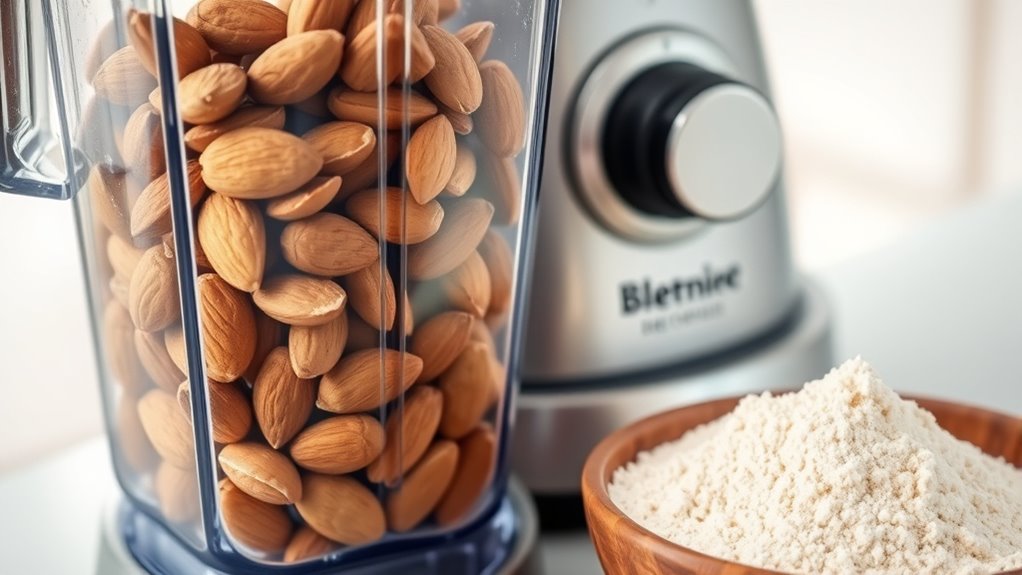
Before you start making almond flour, gather the right equipment and almonds. You’ll need a high-powered blender or food processor to grind the almonds finely. Make sure your device is sturdy enough to handle nuts without overheating.
A dry, airtight container is essential for storing your almond flour to keep it fresh. For almonds, choose raw, unsalted, and unroasted ones; they produce the best flavor and texture. Blanched almonds work well if you want a finer, lighter flour without skins.
Avoid pre-flavored or salted almonds, as these will affect your flour’s taste. Having a fine mesh sieve handy helps if you want to sift the flour for an even finer texture. With these items ready, you’re set to start your almond flour journey.
Preparing Almonds for Almond Flour
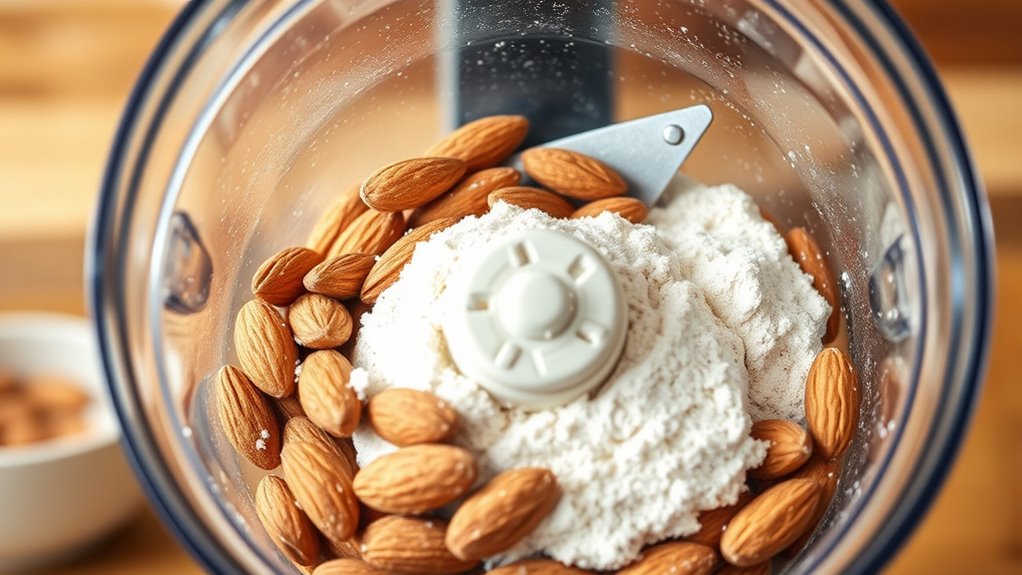
Before you start grinding, make sure to choose fresh, high-quality almonds for the best flavor and texture. You can use raw or lightly roasted almonds, but roasting them yourself helps bring out a richer taste.
Just be careful not to over-roast, or the almonds might turn oily and affect your flour.
Selecting Quality Almonds
Although making almond flour in a blender is straightforward, selecting high-quality almonds is essential to achieve the best texture and flavor. First, choose raw, whole almonds without skins that are fresh and free from any signs of mold or rancidity. Avoid almonds that look shriveled or have a stale smell, as these will affect your flour’s taste.
You can opt for organic almonds if you prefer to avoid pesticides. Make sure the almonds are completely dry to prevent clumping during blending. If you buy in bulk, store almonds in an airtight container in a cool, dark place to maintain freshness.
Almonds Roasting Tips
When you roast almonds for flour, you enhance their flavor and make them easier to blend into a fine powder. Start by preheating your oven to 350°F (175°C). Spread raw almonds in a single layer on a baking sheet to guarantee even roasting.
Roast them for 8 to 10 minutes, checking frequently to prevent burning. Let them cool completely before blending, as warm almonds can release oils and create clumps. You can also toss almonds with a small amount of oil or salt if you want a richer taste, but keep it light to avoid affecting the flour’s texture.
Roasting isn’t mandatory, but it adds a nutty depth and improves the consistency of your almond flour when using a blender.
Blending Almonds Into Almond Flour
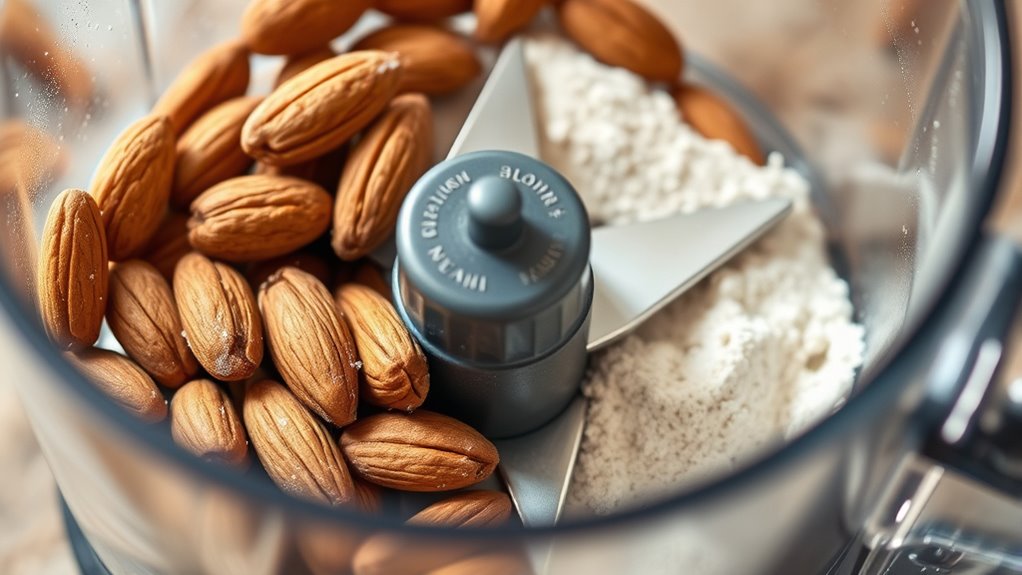
You’ll want to start with raw, unsalted almonds to get the best flour texture. Use short bursts on a high setting to avoid turning the almonds into butter. Keep an eye on the consistency and pulse as needed to achieve a fine, even flour.
Choosing The Right Almonds
How do you choose the best almonds for making flour in your blender? Start by picking raw, unsalted almonds because they grind more evenly and keep the flour fresh. Avoid roasted or flavored almonds—they can gum up your blender and alter the taste.
If possible, opt for blanched almonds, which have the skins removed. Skins can make your flour gritty and darker, so blanched almonds give you a finer, lighter result. Also, check the almonds for freshness—old or rancid nuts will ruin your flour’s flavor.
Finally, buy whole almonds rather than pre-sliced or chopped ones; whole almonds grind more uniformly, producing a consistent flour texture. Choosing the right almonds sets the foundation for great homemade almond flour every time.
Optimal Blender Settings
Since grinding almonds too aggressively can turn them into almond butter, you need to adjust your blender settings carefully to achieve a fine, powdery flour. Start by selecting the lowest speed setting on your blender to gently break down the almonds without overheating them. Use short pulses rather than continuous blending to maintain control and prevent the almonds from releasing oils.
Finally, periodically stop to shake or stir the mixture, ensuring even grinding and avoiding clumps.
- Use the lowest speed setting for gentle grinding.
- Pulse in short bursts to control texture.
- Stop and shake or stir to promote even consistency.
Preventing Almond Butter Formation
Although blending almonds is a straightforward process, preventing them from turning into almond butter requires careful attention. You need to control blending time and pulse frequently to avoid releasing too much oil. Using a powerful blender at high speed can quickly turn almonds into a paste, so monitor the texture closely.
Cooling the almonds beforehand can also help slow oil release, keeping the flour dry and light.
| Tip | Why It Helps |
|---|---|
| Pulse Instead of Blend | Controls texture, prevents paste |
| Blend in Short Bursts | Avoids overheating and oil release |
| Chill Almonds Beforehand | Keeps oils solid, reduces butter |
| Use a Dry Blender Bowl | Prevents moisture, maintains flour |
Fixing Your Almond Flour Texture
If your almond flour feels too coarse or clumpy, you can quickly fix the texture with a few simple adjustments. First, pulse the blender in short bursts rather than blending continuously. This prevents overheating and keeps the almonds from turning into butter.
Second, sift the flour through a fine mesh sieve to separate larger pieces. You can then re-blend these chunks for a finer consistency. Third, make sure your almonds are completely dry before blending.
Moisture causes clumping and uneven grinding. By following these steps, you’ll create a smooth, fine almond flour perfect for baking. Adjusting your technique this way guarantees consistent results without wasting ingredients or time.
Storing Homemade Almond Flour
When you make almond flour at home, proper storage is key to maintaining its freshness and flavor. You want to keep it in an airtight container to prevent moisture and odors from affecting it. Store it in a cool, dark place, or better yet, refrigerate or freeze it for longer shelf life.
Homemade almond flour can go rancid quickly if left out.
Here’s a simple guide to storing your almond flour:
| Storage Location | Shelf Life |
|---|---|
| Pantry | Up to 1 month |
| Refrigerator | Up to 6 months |
| Freezer | Up to 1 year |
| Airtight Seal | Essential everywhere |
Common Almond Flour Mistakes to Avoid
Because almond flour is delicate, you need to handle it carefully to avoid common mistakes that can ruin its texture or flavor. Here are three pitfalls to watch out for:
- Overprocessing: Blending almonds too long turns the flour into almond butter, so pulse in short bursts.
- Using Raw Almonds Without Drying: Moist almonds cause clumping and spoil faster. Make sure your almonds are completely dry before blending.
- Not Sifting the Flour: Skipping the sifting step leaves coarse bits in your flour, affecting the smoothness of baked goods. Use a fine mesh sieve to get an even, powdery consistency.
Avoid these mistakes to guarantee your homemade almond flour is light, fluffy, and perfect for all your recipes.
Benefits of Making Almond Flour in a Blender
Although some might prefer specialized equipment, making almond flour in a blender offers you convenience and control without the need for extra gadgets. You can quickly transform whole almonds into fine flour using a device you probably already own, saving you money and kitchen space.
Blenders allow you to customize the texture, so you get the perfect consistency for your recipe. Plus, it’s easy to make small batches whenever you need fresh almond flour, ensuring better flavor and freshness compared to store-bought options.
You also avoid preservatives and additives, giving you a healthier, more natural ingredient. Overall, using a blender puts you in charge of quality and freshness while keeping the process simple and efficient.
Frequently Asked Questions
Can I Use Other Nuts Besides Almonds in the Blender?
Yes, you can use other nuts like cashews, walnuts, or hazelnuts in your blender. Just pulse them carefully to avoid turning them into nut butter, and make sure to grind them evenly for the best flour consistency.
Is Almond Flour Gluten-Free?
Gluten-free as a clear blue sky, almond flour is perfect if you’re avoiding gluten. You’ll love how it adds a nutty crunch without the wheat, making your baking safe and delicious for gluten-sensitive folks.
How Does Homemade Almond Flour Compare Nutritionally to Store-Bought?
Homemade almond flour usually has the same nutrition as store-bought, but it might retain more natural oils and be less processed. You’ll get fresher flavor, but shelf life may be shorter without preservatives.
The texture can be slightly coarser depending on how finely you grind the almonds. Store-bought almond flour is often more consistent in texture and may be blanched to remove skins.
Both options are nutritious, but homemade versions offer more control over ingredients and freshness.
Can Almond Flour Be Used in Baking Bread?
You’ll love this—almond flour works great in baking bread! It adds a moist, nutty flavor and keeps it gluten-free.
Just remember, it won’t rise like wheat flour, so you’ll need extra leavening agents.
What Recipes Work Best With Homemade Almond Flour?
You’ll love using homemade almond flour in pancakes, muffins, and cookies. It works great for gluten-free bread and cakes too.
Just remember to grind finely for best texture and adjust liquids slightly in your recipes.
Conclusion
So, yes, you *can* make almond flour in a blender—because who needs fancy gadgets when you’ve got a kitchen appliance that also doubles as a noise machine? Just remember, it’s not rocket science; it’s almond science.
If your flour ends up more like almond dust or almond butter, hey, you’re just innovating! Embrace the chaos, store it right, and enjoy the humble power of homemade almond flour.
Because why buy almond flour when you can blend and pretend you’re a chef? Making almond flour in a blender is simple, fun, and totally doable in just 7 steps.