Can I Make Ice Cream in a Blender
Yes, you can make ice cream in a blender, creating a creamy and smooth dessert using frozen ingredients like cream or fruit. This method is quick and convenient, allowing you to enjoy homemade ice cream without special equipment.
Using your blender effectively ensures a great texture and rich flavor every time. Blend in short bursts to incorporate air and avoid overheating, scraping the sides as you go. After blending, freeze the mixture briefly, then blend again for extra smoothness.
Avoid using ice cubes or warm ingredients to keep the texture perfect.
If you want to explore how to customize flavors and avoid common mistakes, there’s plenty more to discover. Experimenting with different ingredients and techniques can elevate your homemade ice cream experience.
Key Takeaways
- Yes, you can make ice cream in a blender by blending frozen ingredients with chilled cream or milk for a creamy texture.
- Use short blending bursts and scrape sides to incorporate air and prevent overheating for smoother ice cream.
- Freeze the blended mixture for 30-60 minutes, then blend again to improve creaminess without an ice cream maker.
- Choose a powerful blender (500W+) with sharp blades to avoid chunks and ensure even blending of frozen ingredients.
- Store ice cream in an airtight container, freeze for at least 2 hours, and let it soften briefly before serving.
Can You Make Blender Ice Cream? How It Works
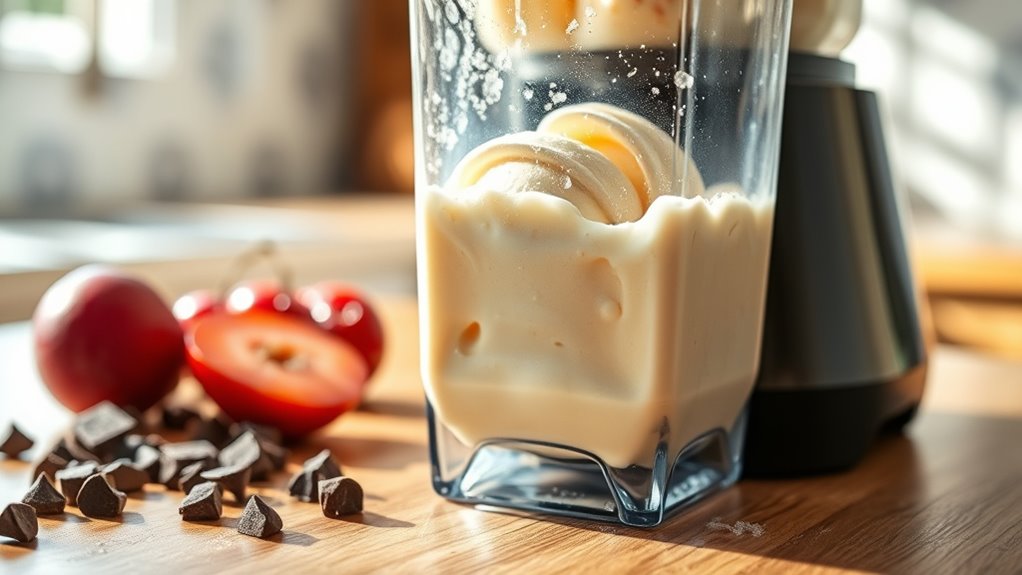
Although making traditional ice cream typically requires specialized equipment, you can definitely make a delicious frozen treat using just a blender. The blender works by rapidly mixing your ingredients, incorporating air to create a smoother texture. You start by blending your base ingredients until smooth, then add frozen fruit or ice to chill and thicken the mixture.
This process mimics the churning action of an ice cream maker, breaking down ice crystals and preventing them from forming large, icy chunks. You’ll notice the mixture gradually thickening as the frozen ingredients blend in. While it won’t be as creamy as churned ice cream, this method lets you whip up a quick, tasty frozen dessert without extra gadgets.
You just need to pulse, scrape, and blend until you reach your desired consistency.
Ingredients Needed for Blender Ice Cream
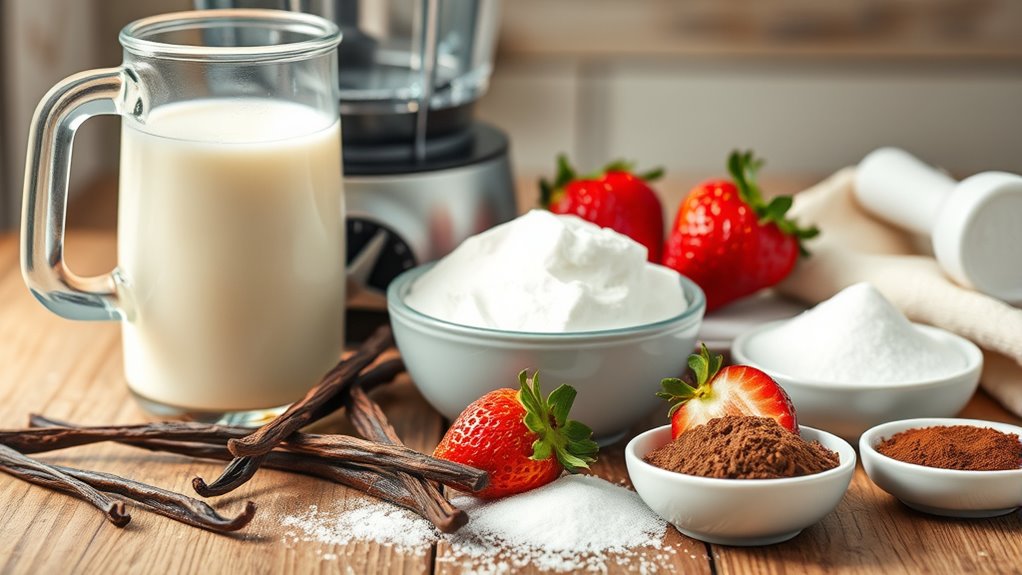
To make ice cream in your blender, you’ll need a few essential ingredients like heavy cream, sweetener, and flavorings. Choosing the right combinations can take your homemade treat to the next level.
Let’s explore what works best to get creamy, delicious results every time.
Essential Ingredients Overview
When you make ice cream in a blender, you’ll need a few key ingredients to get the perfect creamy texture and rich flavor. Start with heavy cream or full-fat milk as your base to guarantee smoothness. Sweeteners like sugar, honey, or maple syrup help balance the taste.
Don’t forget a pinch of salt—it enhances the overall flavor. For thickness and creaminess, adding a little vanilla extract or other natural flavorings works wonders. You might also want to include frozen fruit or ice cubes to help chill the mixture quickly while blending.
These essentials come together quickly in your blender, creating a delicious homemade treat without the need for an ice cream maker. With these basics, you’re set to craft creamy, flavorful ice cream right at home.
Best Flavor Combinations
How do you create irresistible ice cream flavors right in your blender? Start by choosing a creamy base like full-fat milk, heavy cream, or coconut milk. Then, add natural sweeteners such as honey, maple syrup, or agave.
For classic chocolate, blend cocoa powder with vanilla extract and a pinch of salt. Want fruit flavors? Toss in frozen berries or ripe bananas for natural sweetness and texture. For something nutty, try peanut butter or almond butter combined with a splash of vanilla.
Don’t forget mix-ins like chocolate chips, crushed cookies, or toasted nuts to add crunch. Experiment with spices like cinnamon or cardamom for warmth. By combining these ingredients thoughtfully, you’ll whip up delicious, unique ice cream flavors directly in your blender anytime.
Getting Your Blender Ready for Creamy Ice Cream
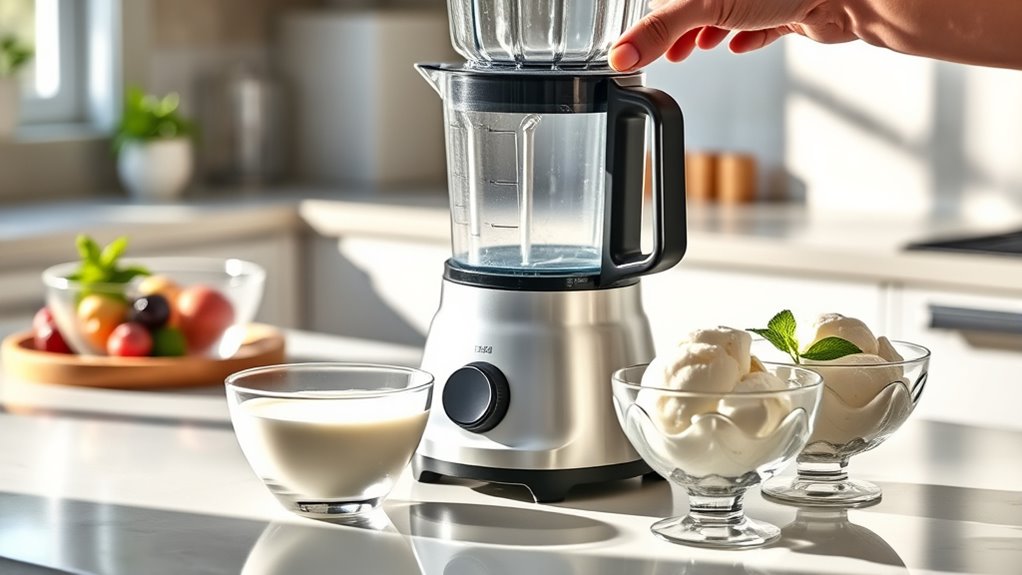
To make creamy ice cream, you’ll need the right blender that can handle thick mixtures smoothly. Before blending, make sure your ingredients are properly chilled and prepped for the best texture.
Getting these steps right sets you up for a perfect homemade treat.
Choosing The Right Blender
Although many blenders can handle basic blending tasks, selecting the right one is vital for making smooth, creamy ice cream. You’ll want a blender that can crush ice and frozen ingredients efficiently without overheating or leaving chunks behind.
Here are three key features to look for:
- Power: Aim for a blender with at least 500 watts to ensure it can handle dense mixtures and ice without struggling.
- Blade Design: Choose a blender with sharp, durable, multi-tiered blades designed for crushing and smooth pureeing.
- Capacity: Pick a jar size that fits your typical batch size; too small means frequent stops, too large may be inefficient for small batches.
With the right blender, you’ll get creamier results and a smoother ice cream texture every time.
Preparing Ingredients Properly
Once you’ve chosen a blender that can handle tough ingredients, it’s time to prepare those ingredients properly for the best ice cream texture. Start by chilling your milk or cream beforehand; cold liquids help the mixture freeze faster and create a smoother consistency. Measure your ingredients accurately to maintain the right balance of fat and sweetness, which affects creaminess.
If you’re adding solid components like fruit or chocolate, freeze them first to prevent warming the mixture during blending. Cut larger items into small pieces to ease the blending process and avoid overworking your blender. Finally, assemble your ingredients in the order recommended by your blender’s manufacturer—usually liquids first, then solids—to guarantee even blending and a creamy, well-mixed ice cream base.
Step-by-Step Guide to Blender Ice Cream
Making ice cream in a blender requires just a few simple steps that you can easily follow at home. Once your ingredients are prepped, you’ll blend everything to create a creamy base before freezing.
Here’s how to do it:
- Combine Ingredients: Add your chilled cream, milk, sugar, and flavorings into the blender. Start blending on low speed to mix smoothly.
- Increase Speed: Gradually raise the speed to high, blending until the mixture thickens to a soft-serve consistency.
- Transfer and Freeze: Pour the mixture into a freezer-safe container, cover it, and place it in the freezer to firm up.
How Long Does Blender Ice Cream Take to Freeze?
You’ll find that freezing time varies depending on your blender’s power and the ingredients you use. Setting your blender to the right speed helps achieve a smooth, creamy texture faster.
Let’s explore how these factors affect the overall freezing time.
Freezing Time Factors
Although blending your ice cream base happens quickly, the freezing process takes notably longer and depends on several factors. Understanding these will help you get the perfect texture without unnecessary waiting.
- Ingredients Composition: Higher fat content or sugar slows freezing, meaning rich, creamy bases take more time to solidify than lighter ones.
- Freezer Temperature: The colder your freezer, the faster your ice cream will freeze. A temperature around -18°C (0°F) is ideal for efficient freezing.
- Container Type and Size: Shallow, metal containers conduct cold better than deep or plastic ones, reducing freezing time markedly.
Keep these factors in mind, and you’ll know why some batches freeze faster than others, helping you plan your homemade ice cream adventure better.
Optimal Blender Settings
When you blend your ice cream base, choosing the right settings can make a big difference in texture and freezing time. Start with a medium speed to combine ingredients smoothly without overheating the mixture. High speeds can warm the base, slowing freezing and causing ice crystals.
Blend for about 1 to 2 minutes until the mixture is creamy but still cold. After blending, transfer the base to the freezer immediately. If your blender has a pulse function, use it sparingly to avoid over-processing.
Getting the Best Texture Without an Ice Cream Maker
Even without an ice cream maker, you can achieve a creamy, smooth texture by using a few simple techniques in your blender. The key is controlling freezing and blending cycles carefully.
- Freeze Ingredients Properly: Use frozen fruits or chill your ice cream base thoroughly before blending. This reduces ice crystal formation and creates a creamier result.
- Pulse Blending: Blend in short bursts instead of continuously. This helps incorporate air evenly and prevents overheating, which can melt the mixture.
- Scrape and Refreeze: After blending, scrape the sides and scrape the mixture into a container. Freeze it for 30–60 minutes, then blend again for added smoothness.
Following these steps will help you get a texture that rivals traditional ice cream makers.
Common Mistakes to Avoid When Making Blender Ice Cream
If you want your blender ice cream to turn out perfectly, you need to steer clear of some common pitfalls. First, don’t overload your blender with frozen ingredients; it can strain the motor and prevent smooth blending. Instead, add frozen items gradually.
Also, avoid using ice cubes—they water down the flavor and create icy textures. Make sure your blender is powerful enough; weak blenders can leave chunks unprocessed. Don’t skip chilling your mixture beforehand, as blending warm ingredients won’t give you that creamy consistency.
Finally, don’t overblend. Too much blending melts the ice cream, so pulse in short bursts and check texture frequently. By dodging these mistakes, you’ll get creamy, delicious ice cream straight from your blender every time.
How to Customize Flavors and Mix-Ins for Blender Ice Cream
Although the base recipe for blender ice cream is simple, you can easily tailor it to suit your taste by adding various flavors and mix-ins. Start with your favorite ice cream base, then blend in ingredients that excite your palate.
The simple blender ice cream base invites endless customization with flavors and mix-ins to delight your taste buds.
Here’s how to customize:
- Flavor Extracts and Syrups: Add vanilla, almond, or mint extract for subtle flavor boosts. Chocolate or caramel syrup can create rich swirls.
- Fresh or Frozen Fruits: Toss in berries, mango, or banana chunks for natural sweetness and texture.
- Crunchy Mix-Ins: Incorporate nuts, cookie pieces, or chocolate chips after blending for added crunch and variety.
Experiment with combinations to discover your perfect blend. Just add mix-ins gradually to maintain smooth consistency. This way, you’ll transform basic blender ice cream into a personalized treat.
Best Blender Ice Cream Recipes to Try First
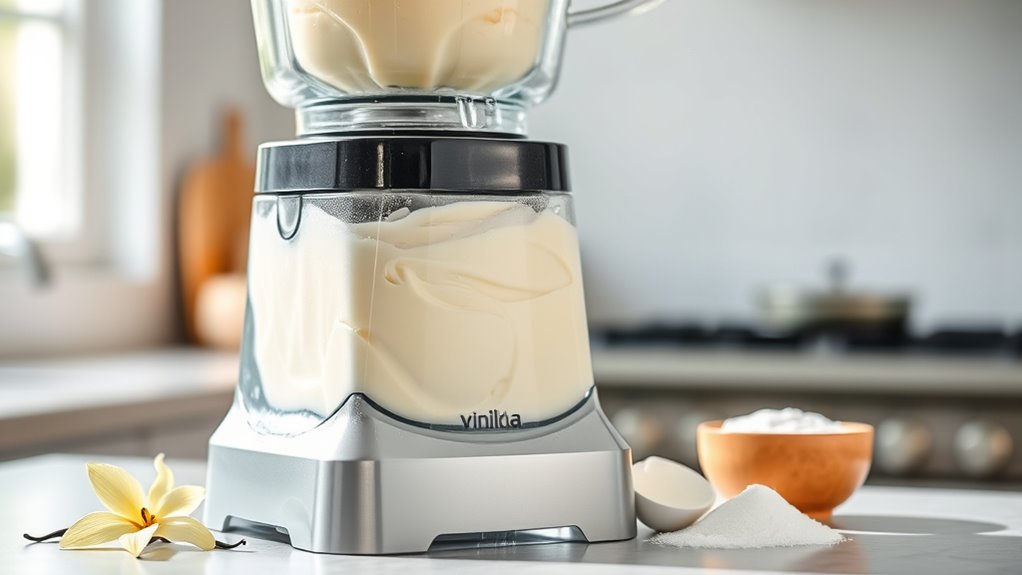
When you’re ready to plunge into making blender ice cream, start with a few simple recipes that showcase how versatile and quick the process can be. Try a classic vanilla by blending frozen cream, sugar, and vanilla extract until smooth.
For a revitalizing twist, blend frozen berries, yogurt, and a touch of honey for a fruity treat. If you love chocolate, mix frozen bananas, cocoa powder, and a splash of almond milk for a creamy, guilt-free option.
Want something nutty? Blend frozen coconut cream, peanut butter, and a drizzle of maple syrup. These recipes require minimal ingredients and let you enjoy homemade ice cream in minutes.
Once you master these basics, you’ll feel confident experimenting with your favorite flavors and add-ins.
How to Store and Serve Your Homemade Blender Ice Cream
After blending your ice cream to creamy perfection, you’ll want to store it properly to maintain its texture and flavor. First, transfer your ice cream into an airtight container to prevent ice crystals and freezer burn. Next, press a piece of plastic wrap directly onto the surface to minimize air exposure.
Finally, freeze it for at least 2 hours before serving to let it firm up.
When you’re ready to serve, let the ice cream sit at room temperature for a few minutes to soften slightly for easy scooping. Use an ice cream scoop dipped in warm water for smooth, neat servings.
Following these steps will help you enjoy your homemade blender ice cream just like the store-bought kind.
Frequently Asked Questions
Can I Use Non-Dairy Milk for Blender Ice Cream?
Yes, you can use non-dairy milk for blender ice cream. Just pick creamy options like coconut or almond milk, add sweeteners and flavors, then blend and freeze.
You’ll get a tasty, dairy-free treat easily!
Is a High-Speed Blender Necessary for Making Ice Cream?
You don’t necessarily need a high-speed blender to make ice cream, but it helps achieve a smoother, creamier texture faster.
A regular blender can work, but expect more chunks and longer blending times.
How Do I Clean My Blender After Making Ice Cream?
Wondering how to clean your blender after making ice cream? Just rinse it immediately with warm soapy water, blend a bit of soapy water to reach every corner, then rinse well.
Easy, right? Don’t forget to dry it!
Can I Make Vegan Blender Ice Cream?
Yes, you can make vegan blender ice cream! Just blend frozen fruits, plant-based milk, and sweeteners like maple syrup.
You’ll enjoy creamy, delicious vegan ice cream without any dairy, all made quickly right in your blender.
What Are the Nutritional Differences in Homemade vs. Store-Bought Ice Cream?
Did you know store-bought ice cream often contains over 30% added sugars?
Homemade ice cream lets you control ingredients, so you’ll get fewer preservatives, less sugar, and healthier fats, making it a smarter, tastier treat.
Conclusion
You can absolutely make delicious ice cream in your blender—it’s quick, easy, and fun! Did you know that nearly 70% of home cooks try new kitchen gadgets to simplify recipes? Using your blender for ice cream saves time and effort while letting you customize flavors endlessly.
Just follow the steps, avoid common mistakes, and experiment with mix-ins. Soon, you’ll enjoy creamy, homemade ice cream anytime without an ice cream maker! Making ice cream in a blender is a convenient and creative way to enjoy this frozen treat at home.