How to Make a Milkshake in a Blender in 7 Easy Steps
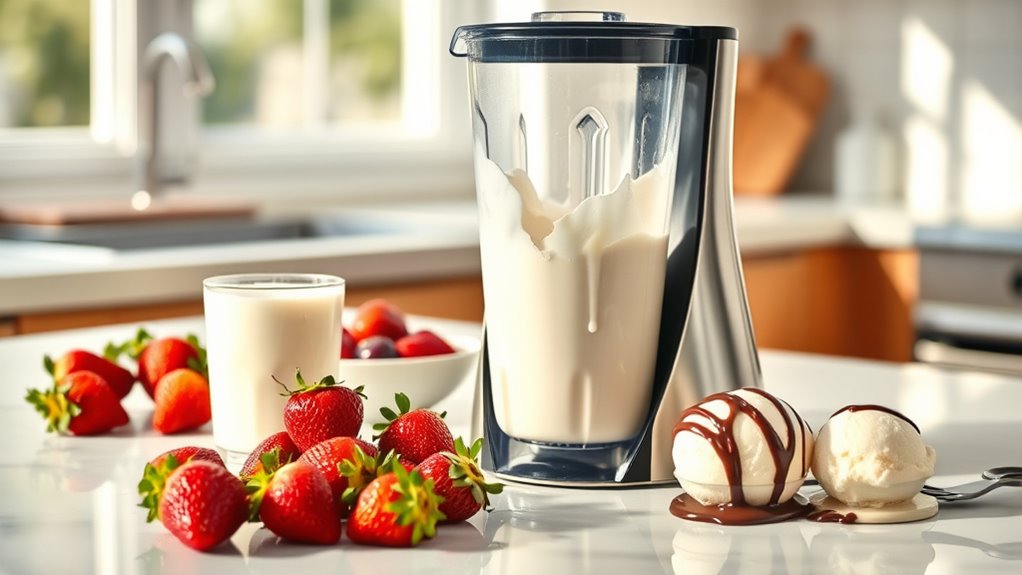
To make a milkshake in a blender, start by gathering key ingredients like ice cream, milk, and your favorite flavorings. These basic components are essential for creating a delicious milkshake that suits your taste. Preparing your ingredients properly ensures the best texture and flavor.
Measure and prep your ingredients carefully. Soften the ice cream slightly for easier blending, and chop any mix-ins if needed. Using a powerful blender, layer the liquids first, followed by the ice cream and any extras.
Blend in short pulses at first, then switch to high speed until the mixture is smooth and creamy. Add toppings such as whipped cream or syrup for an extra touch.
Finally, pour the milkshake into a chilled glass and serve immediately for the best experience.
Key Takeaways
- Gather and measure ingredients: 1-2 cups ice cream, 1 cup milk, and desired flavorings or mix-ins.
- Layer ingredients in blender: pour milk first, then ice cream, followed by syrups or fruits on top.
- Blend on medium speed for 20-30 seconds, then high for 10-15 seconds until smooth and creamy.
- Add toppings like whipped cream, sprinkles, or sauce for decoration and extra flavor before serving.
- Serve immediately in a chilled glass with a straw, and store leftovers airtight in the refrigerator if needed.
Gather Your Milkshake Ingredients
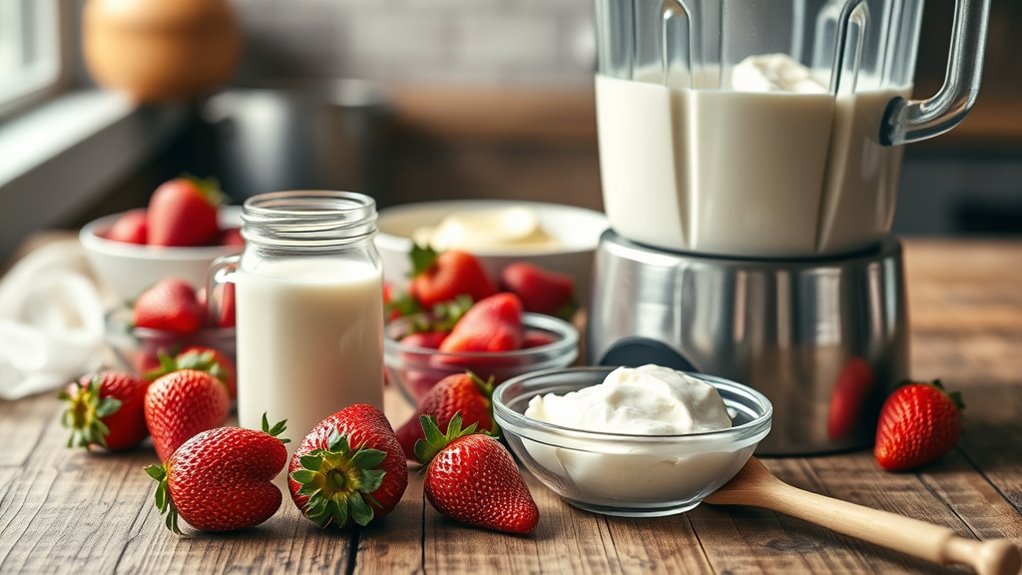
Before you start blending, gather all the ingredients you’ll need for your milkshake. You’ll want to have ice cream, milk, and your choice of flavorings ready. Vanilla ice cream is a classic base, but you can choose chocolate, strawberry, or any flavor you prefer.
For milk, whole milk works best to keep it creamy, but you can use skim or a dairy alternative if you like. Don’t forget any extras like chocolate syrup, fresh fruit, or a pinch of vanilla extract to boost flavor. If you want a thicker shake, having more ice cream and less milk is key.
Keep all your ingredients within reach to make the process smooth and enjoyable. Once everything’s set, you’re ready to move on to measuring and prepping.
Measure and Prep Ingredients for Perfect Texture

You’ll want to start by choosing high-quality ingredients to guarantee your milkshake tastes great. Next, measure each ingredient carefully to get the perfect balance.
Finally, prep everything properly so the texture turns out smooth and creamy.
Choose Quality Ingredients
Although blending is key, the quality of your milkshake starts with the ingredients you choose. Fresh, high-quality ingredients make a smooth, creamy shake that tastes amazing. Always pick whole milk or cream for richness.
Use fresh ice cream, and if you want fruit flavors, opt for ripe, fresh fruits instead of frozen ones to keep natural sweetness.
| Ingredient | Quality Tip | Effect on Texture |
|---|---|---|
| Milk | Choose whole or cream | Creamier, richer texture |
| Ice Cream | Use fresh, premium | Smooth and thick |
| Fruit | Ripe, fresh over frozen | Natural sweetness, fresh |
| Sweeteners | Pure sugar or honey | Balanced sweetness |
| Flavor extracts | Pure vanilla or chocolate | Intense, natural flavor |
Picking quality ingredients sets your milkshake up for success.
Measure Precise Quantities
When you measure precise quantities, you guarantee your milkshake’s texture turns out just right every time. Using exact amounts helps balance creaminess and thickness, avoiding a shake that’s too watery or overly dense.
Grab your measuring cups and spoons, and follow these key steps:
- Measure 1 to 2 cups of ice cream, depending on how rich you want your shake.
- Add 1 cup of milk for a smooth blend—adjust slightly if you prefer thicker or thinner.
- Use 1 to 2 tablespoons of sweetener or flavoring, like chocolate syrup or vanilla extract.
- Add any extras, like fruit or mix-ins, in measured portions to maintain consistency.
Stick to these precise amounts, and you’ll nail that perfect milkshake texture every single time.
Prepare Ingredients Properly
Before blending, make sure to prepare your ingredients carefully to achieve the ideal milkshake texture. Start by measuring your ice cream and milk precisely; too much liquid will make your shake runny, while too little can make it too thick to blend smoothly. Soften the ice cream slightly by letting it sit at room temperature for a few minutes—this helps it blend evenly without lumps.
If using mix-ins like fruits or cookies, chop them into small pieces to avoid large chunks. For frozen fruits, thaw them just enough to blend easily but not so much that they add excess water. Properly prepping guarantees a creamy, smooth milkshake with consistent flavor and texture every time you blend.
Pick the Right Blender for the Perfect Milkshake
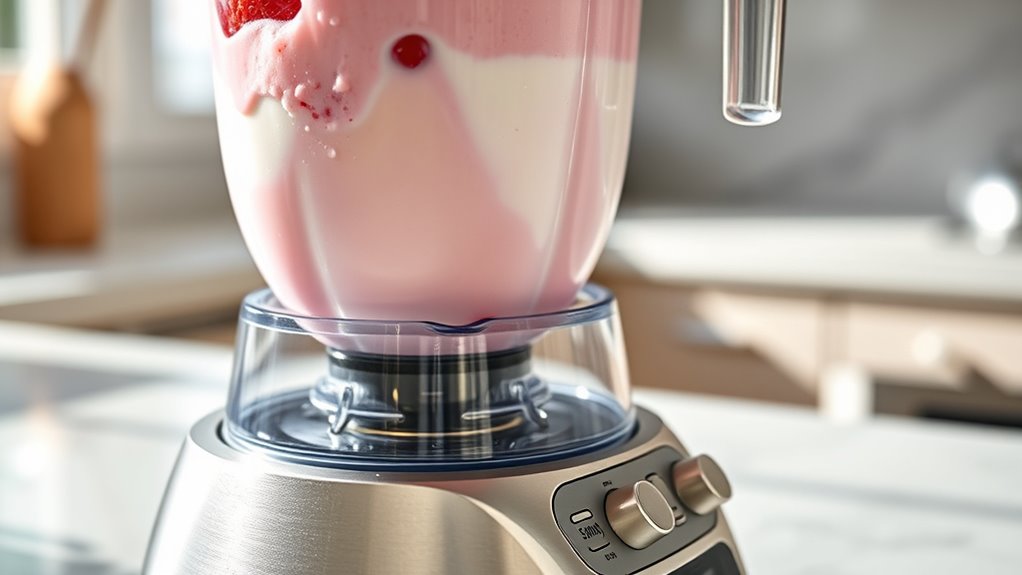
You’ll want a blender with enough power and speed to crush ice and blend ingredients smoothly. Pay attention to blade quality and design since they affect how well your milkshake mixes.
Also, consider the capacity and container material to match your serving needs and ease of cleaning.
Blender Power and Speed
Choosing the right blender can make all the difference in crafting a smooth, creamy milkshake. You want a blender with enough power to crush ice and blend frozen ingredients without struggle. Look for one with variable speed settings to control texture and consistency precisely.
A motor rated at least 500 watts is ideal for milkshakes, ensuring smooth blending without overheating.
Consider these key points:
- Motor Power: Higher watts mean better crushing ability.
- Speed Settings: Multiple speeds let you adjust thickness.
- Pulse Function: Helps break down tough ingredients quickly.
- Overheat Protection: Keeps the blender safe during long use.
With these features, you’ll enjoy perfectly blended milkshakes every time.
Blade Quality and Design
Although power and speed are essential, the quality and design of your blender’s blades play an equally important role in achieving a smooth milkshake. You want blades made from durable stainless steel that stay sharp over time. Sharp blades cut through ice and frozen fruit effortlessly, preventing chunks and ensuring a creamy texture.
Look for blades with multiple angles or layers, as these create better suction and more thorough blending. Some blenders feature uniquely curved or serrated blades designed to break down ingredients quickly and evenly. Remember, even the most powerful motor won’t deliver a perfect milkshake if the blades can’t handle the mix.
Capacity and Container Material
When making milkshakes, the blender’s capacity and container material directly impact both the quantity and quality of your blend. Selecting the right size guarantees you don’t end up with too little or have to blend in batches. The container material affects durability and taste.
Consider these points:
- Capacity: Pick a size that fits your usual servings—16 to 32 ounces works well for individual or family-sized shakes.
- Glass Containers: Heavy and scratch-resistant, they won’t retain odors or stains, keeping flavors pure.
- Plastic Containers: Lightweight and less fragile but prone to scratching and absorbing smells over time.
- Stainless Steel: Durable and insulated but you can’t see the blending progress, so timing matters more.
Choose wisely to enjoy smooth, perfectly blended milkshakes every time!
Layer Ingredients in the Blender Correctly
Before you start blending, layer your ingredients in the right order to guarantee a smooth, creamy milkshake. Begin by pouring your liquid base—milk or cream—into the blender first. This helps the blades move freely and blend everything evenly.
Next, add your ice cream or frozen yogurt. Placing these in the middle prevents clumping and ensures they break down smoothly. Finally, add any mix-ins like syrups, fruits, or cookies on top.
This order keeps heavier ingredients from settling at the bottom and light ingredients from floating away, creating a balanced blend. Avoid overfilling your blender to allow proper circulation. By layering your ingredients thoughtfully, you set yourself up for an effortless blending process and a perfectly textured milkshake.
Blend Your Milkshake to Creamy Perfection
Once you’ve layered your ingredients correctly, it’s time to blend your milkshake until it reaches a smooth, creamy consistency. Start by securing the blender lid tightly to prevent spills. Then, follow these steps:
- Pulse the blender a few times to break up the ice cream and mix the liquids.
- Blend on medium speed for about 20-30 seconds, watching the texture closely.
- Increase to high speed for another 10-15 seconds to achieve a velvety finish.
- Stop blending and check for any lumps—if needed, blend a few seconds more.
Avoid over-blending, or your milkshake may become too thin. Once creamy and smooth, your milkshake is ready to pour and enjoy!
Customize Your Milkshake With Mix-Ins and Toppings
Although your milkshake is delicious on its own, adding mix-ins and toppings lets you personalize it to your taste. Try folding in crushed cookies, chocolate chips, or fresh fruit before blending for a flavorful twist. You can also add a spoonful of peanut butter or a dash of cinnamon to spice things up.
After blending, top your milkshake with whipped cream, sprinkles, or a drizzle of chocolate or caramel sauce for extra indulgence. Don’t forget to experiment with nuts, marshmallows, or even a cherry on top. These additions not only enhance the flavor but also add texture and visual appeal.
Customize your milkshake to fit your cravings and make every sip uniquely yours.
Serve and Store Your Milkshake Properly
Adding mix-ins and toppings can make your milkshake more enjoyable, but serving it right keeps that enjoyment at its peak. Here’s how to serve and store your milkshake properly:
Mix-ins and toppings enhance your milkshake, but serving it correctly preserves its peak enjoyment.
- Pour the milkshake into a chilled glass to keep it cold longer.
- Add a straw and spoon for easy sipping and scooping.
- Serve immediately to enjoy the best texture and flavor.
- If you need to store leftovers, pour them into an airtight container and refrigerate.
Shake or stir before drinking, but note it may lose some creaminess.
Frequently Asked Questions
Can I Make a Milkshake Without Ice Cream?
Yes, you can make a milkshake without ice cream by using frozen bananas, yogurt, or frozen fruit instead. They’ll create a creamy texture, and you can add milk and sweeteners to get the flavor and consistency you want.
How Long Can I Keep a Milkshake in the Fridge?
You can keep your milkshake in the fridge for about 24 hours, but it might separate or lose its creamy texture.
Give it a good stir before drinking, and enjoy it as fresh as possible!
What’s the Best Milkshake Flavor for Kids?
While classic chocolate and vanilla might seem ordinary, kids love those flavors because they’re familiar and comforting. You’ll find that mixing in fruits or candies adds excitement, making the milkshake both fun and delicious for them.
Can I Use Frozen Fruit in My Milkshake?
Yes, you can definitely use frozen fruit in your milkshake. It adds thickness and chill without watering it down.
Just toss the frozen fruit in your blender with other ingredients, and blend until smooth and creamy.
How Do I Fix a Milkshake That’s Too Thick?
You can fix a milkshake that’s too thick by adding a little milk or cream gradually while blending. Keep blending until it reaches your desired consistency.
Don’t add too much at once to avoid thinning it too much.
Conclusion
Now that you’ve mastered making a marvelous milkshake, mix, match, and maximize your creativity! Whether you’re blending bold berries or classic chocolate, your blender becomes a brilliant buddy in crafting creamy concoctions.
Remember, the right ingredients, layering, and loving attention lead to luscious, lip-smacking results. So, shake up your snack time with sensational sips and serve smiles with every sweet, smooth swallow.
Enjoy every easy, enjoyable, and exciting milkshake moment! With these simple steps, your blender will help you create the perfect milkshake every time. Embrace the joy of making delicious milkshakes in a blender and delight in every creamy, refreshing sip!