How to Oil Cutting Boards in 7 Easy Steps
To oil your cutting board properly, start by choosing a food-safe oil such as mineral oil or beeswax blends, which provide lasting protection and maintain hygiene. Regularly oiling your cutting board not only preserves its appearance but also extends its life by preventing cracks and warping caused by moisture.
Proper care ensures your board remains safe and durable for all your food preparation needs.
Clean and dry the board thoroughly before applying oil. Use a clean cloth or brush to cover all surfaces evenly. Let the oil soak in for several hours or overnight.
Wipe off any excess oil to avoid stickiness. Oil your board monthly for best results.
Store it upright in a dry, ventilated spot to keep it in top shape.
Keep going to uncover tips that extend your board’s life and hygiene.
Key Takeaways
- Clean and dry the cutting board thoroughly before applying oil to ensure proper absorption and hygiene.
- Use a clean, lint-free cloth or food-safe brush to apply a small amount of mineral or food-safe oil evenly.
- Spread the oil in circular motions, covering all surfaces including edges and corners for uniform protection.
- Let the oil soak into the board for several hours or overnight in a well-ventilated, upright position away from heat.
- Wipe off any excess oil after soaking, and repeat oiling monthly or when the board appears dry or water absorbs quickly.
Choose the Right Oil for Your Cutting Board
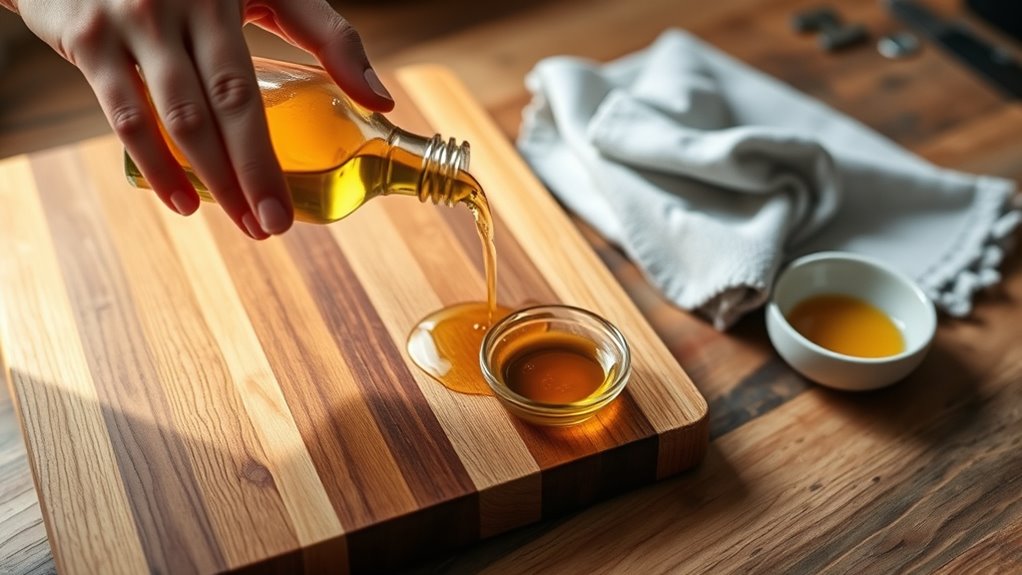
Although many oils are available, you should choose one that’s food-safe and won’t go rancid quickly. Mineral oil is a popular choice because it’s odorless, tasteless, and doesn’t spoil. You can find it easily at drugstores or kitchen supply stores.
Avoid vegetable oils like olive or canola since they can turn sticky and rancid over time. Another great option is beeswax or a blend of beeswax and mineral oil, which adds extra protection and a smooth finish. Food-grade walnut or coconut oil also works well if you prefer natural oils, but be cautious if anyone using the board has nut allergies.
Clean and Dry Your Cutting Board Before Oiling
Once you’ve picked the right oil to protect your cutting board, you need to make sure it’s clean and completely dry before applying it. Any leftover food particles or moisture can prevent the oil from soaking in properly, reducing its effectiveness.
Here’s how to get your board ready:
1. Rinse the board with warm water immediately after use to remove debris. 2. Scrub gently with a mild dish soap and a sponge or brush. 3. Rinse thoroughly to remove all soap residue.
4. Dry the board completely using a clean towel, then let it air dry for at least an hour.
Taking these steps guarantees your cutting board absorbs the oil evenly and stays in great shape longer.
Use a Clean Cloth or Brush to Apply Oil Evenly
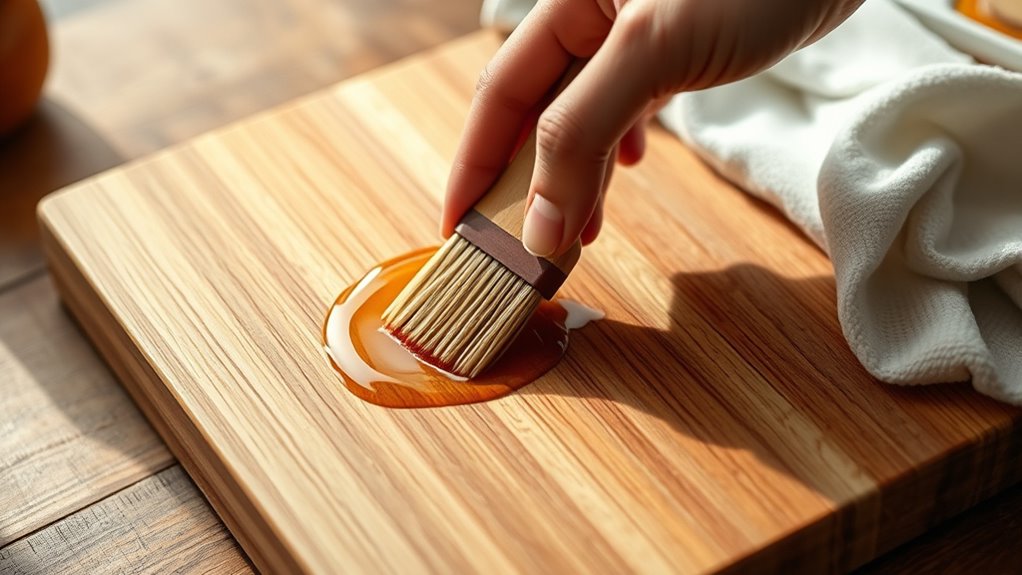
You’ll want to pick a clean cloth or a brush that won’t leave fibers behind when applying oil. This helps you spread the oil evenly across the entire surface.
Taking time here guarantees your cutting board absorbs the oil properly and stays protected.
Choosing The Right Applicator
When oiling your cutting board, selecting the right applicator makes a big difference in how evenly the oil spreads. You want something that helps you control the amount of oil and reaches every corner without wasting product.
Here are four great options to consider:
- Clean, lint-free cloth – Soft and absorbent, it lets you rub oil in smoothly.
- Natural bristle brush – Perfect for getting oil into grooves and textured surfaces.
- Foam brush – Holds oil well and applies it evenly without streaks.
- Paper towel – Convenient for quick jobs, but less eco-friendly and may tear.
Pick an applicator that feels comfortable and suits your cutting board’s texture to get the best results.
Ensuring Even Oil Coverage
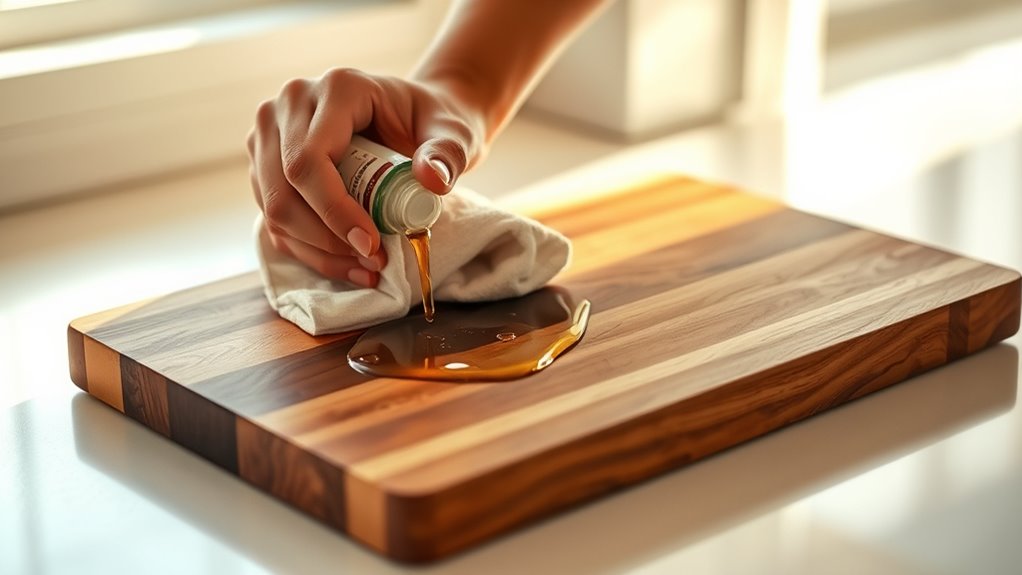
Although applying oil might seem straightforward, using a clean cloth or brush guarantees the oil spreads evenly across your cutting board’s surface. Grab a soft, lint-free cloth or a food-safe brush to apply the oil in thin, consistent layers. Start by pouring a small amount of oil onto the board, then use gentle, circular motions to work it into the wood.
Make certain to cover every inch, including edges and corners, to prevent uneven absorption or dry spots. Avoid saturating one area, as this can cause pooling or sticky patches. After applying, let the oil soak in for at least a few hours or overnight.
This approach assures your cutting board is well-protected and maintains its smooth, hydrated finish.
Allow the Oil to Soak for Several Hours or Overnight
Since the oil needs time to penetrate deeply, let your cutting board rest for several hours or overnight after applying it. This soaking period allows the oil to nourish the wood, preventing cracks and warping.
To make the most of this step:
- Place the board on a flat surface in a well-ventilated area.
- Avoid touching or using the board during this time to let the oil absorb fully.
- If possible, stand the board upright to expose all sides evenly.
- Keep the board away from direct sunlight or heat sources to prevent uneven drying.
Wipe Off Excess Oil to Prevent Sticky Residue
Why is it important to wipe off excess oil after letting your cutting board soak? Leaving too much oil on the surface can cause a sticky, unpleasant residue that attracts dirt and food particles.
This residue not only makes your board messy but can also affect your food’s flavor and hygiene. To keep your cutting board smooth and clean, grab a clean cloth or paper towel and gently wipe off the excess oil.
| Benefit | Reason | Result |
|---|---|---|
| Prevents Stickiness | Excess oil becomes tacky | Keeps surface smooth |
| Maintains Hygiene | Avoids attracting dirt and germs | Cleaner cutting environment |
| Enhances Appearance | Removes oily shine | Natural wood look restored |
| Improves Flavor | Stops oil mixing with food | Food tastes fresh and pure |
How Often to Oil Your Cutting Board for Best Results?
After wiping off the excess oil to keep your cutting board clean and smooth, you might wonder how often you should repeat the process. Proper oiling prevents cracking, warping, and bacteria buildup.
Here’s how to know when to oil your board for the best results:
- Monthly Routine: Oil your cutting board once a month if you use it daily.
- Visual Check: If the wood looks dry or lighter in color, it’s time to oil.
- Water Test: Sprinkle water; if it soaks in quickly, your board needs oiling.
- Heavy Use: For frequent chopping, oil every two weeks to maintain moisture.
Stick to these guidelines, and your board will stay durable and food-safe for years.
Store Your Cutting Board in a Dry, Ventilated Place to Protect the Oil Finish
You’ll want to store your cutting board in a dry, well-ventilated spot to keep the oil finish intact. Excess humidity can cause the oil to break down or the wood to warp.
Proper airflow helps maintain the board’s condition and extends its lifespan.
Importance Of Proper Ventilation
Although oiling your cutting board creates a protective barrier, storing it correctly plays an equally important role in maintaining that finish. Proper ventilation prevents moisture buildup, which can damage the oil treatment and the wood itself.
To keep your cutting board in top shape, follow these tips:
- Store your board upright to allow air circulation on all sides.
- Avoid stacking boards or placing them flat against a wall.
- Keep it away from enclosed cabinets or drawers that trap humidity.
- Choose a well-ventilated area, like near a window or on an open shelf.
Effects Of Humidity On Oil
Because humidity directly affects how oil interacts with wood, storing your cutting board in a dry, well-ventilated place is essential to maintaining its finish. When moisture levels are high, the wood can absorb excess water, causing the oil to break down or become less effective. This can lead to swelling, warping, or even mold growth, which damages both the board and its protective coating.
Frequently Asked Questions
Can I Use Mineral Oil on Plastic Cutting Boards?
You can use mineral oil on plastic cutting boards, but it’s not always necessary since plastic doesn’t absorb oil like wood. It helps keep the surface smooth and prevents cracking, so go ahead and apply it occasionally.
Is It Safe to Use Food-Grade Oils Only?
You absolutely must use food-grade oils—they’re safer than a superhero’s shield! Non-food-grade oils can harm your board and health.
Stick to mineral or specialty cutting board oils to keep your surface protected and safe.
How Do I Know if My Cutting Board Needs Oiling?
You’ll know your cutting board needs oiling when it looks dry, dull, or feels rough. If water soaks in quickly instead of beading on the surface, it’s time to apply oil and protect the wood.
Can I Use Olive Oil Instead of Mineral Oil?
You shouldn’t use olive oil because it can go rancid and leave a sticky residue. Instead, use food-grade mineral oil—it’s odorless, tasteless, and won’t spoil, keeping your cutting board in great shape longer.
Will Oiling Prevent My Cutting Board From Cracking?
You won’t stop your cutting board from cracking if it’s left in a desert! But regular oiling definitely keeps it hydrated, preventing cracks and warping.
Conclusion
You might’ve heard that oiling your cutting board once is enough, but the truth is, regular care makes all the difference. By choosing the right oil and following these simple steps, you’ll keep your board looking great and lasting longer.
Don’t skip the drying and storage part—moisture can ruin your hard work. So, keep up with oiling every few weeks, and you’ll enjoy a smooth, durable surface for years to come.
By oiling your cutting board properly, you maintain its natural beauty and strength. Regular oiling protects the wood from cracking and warping, ensuring your board remains a reliable kitchen tool. Follow these tips to make oiling cutting boards a simple and effective part of your routine.