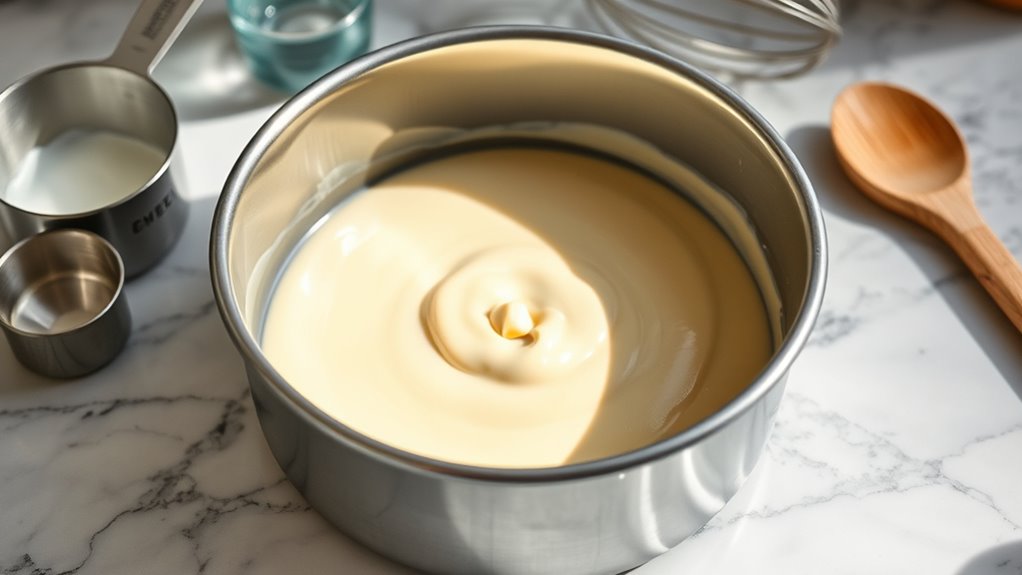
How Full to Fill Cake Pan: Top 7 Tips for Perfect Cakes
You should fill your cake pan about two-thirds full to guarantee even baking and prevent overflow. This simple tip is essential for perfect cakes and helps ensure your batter cooks evenly without spilling over.
Different pan shapes and cake types may need slight adjustments—deeper pans require more batter, while shallower ones need less.
Avoid overfilling to prevent spills and uneven texture. Measure batter precisely and bake test cakes to find the perfect fill.
These simple steps help you achieve consistent, delicious results.
Keep exploring to master your cake-baking technique and create beautifully baked cakes every time.
Key Takeaways
- Fill cake pans about two-thirds full to allow proper rise and prevent overflow during baking.
- Adjust batter volume based on pan shape, size, and cake type for even baking and texture.
- Use precise measuring tools and test small batches to find the ideal fill level.
- Avoid overfilling to prevent spills, uneven baking, and raw centers.
- Record and maintain consistent fill levels for uniform results across multiple bakes.
Recommended Cake Pan Fill Levels for Perfect Baking
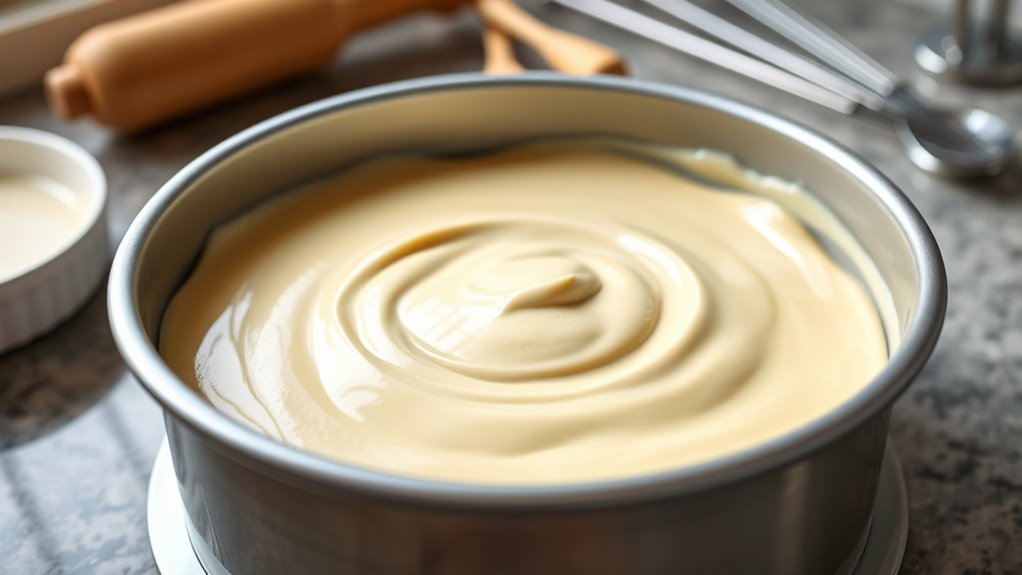
When you fill your cake pans correctly, your cakes bake evenly and rise just right. Typically, filling your pans between two-thirds and three-quarters full works best. This gives the batter enough room to expand without spilling over.
If you underfill, your cake might turn out flat and dry. Overfilling, on the other hand, can cause a messy overflow and an uneven bake. For most standard round or square pans, aim for that sweet spot—around ⅔ full—to strike the perfect balance.
You can always adjust slightly depending on the recipe’s rise or the type of batter, but staying within these limits ensures your cake maintains its shape and texture. Proper fill levels make your baking smoother and your results more consistent.
How Your Pan’s Size and Shape Change How Much Batter You Need
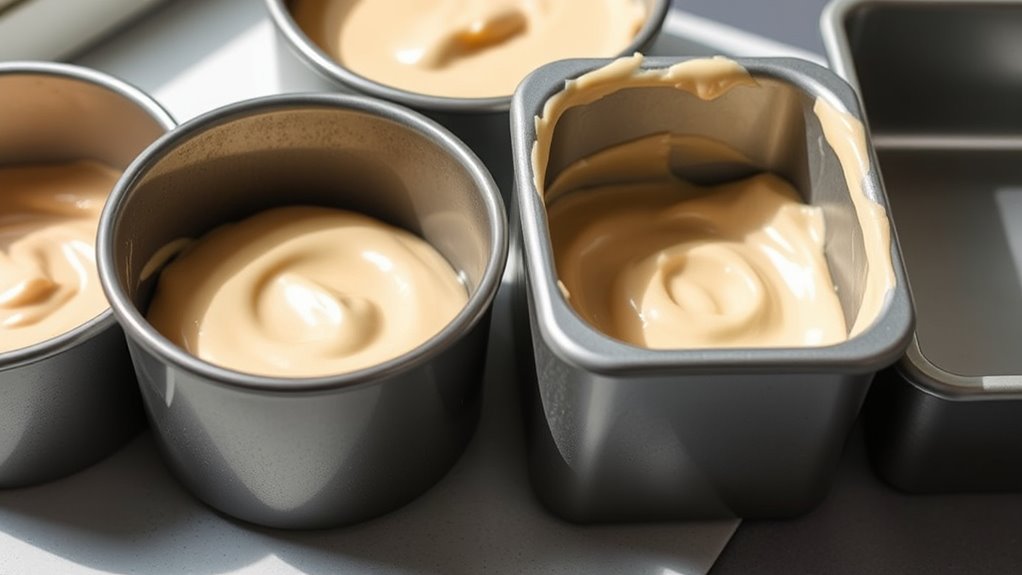
Because every cake pan varies in size and shape, the amount of batter you need changes accordingly. A deeper pan holds more batter than a shallow one of the same diameter, so you’ll need to adjust your batter quantity to prevent overflow or underfilled cakes.
Round pans typically require more batter than square or rectangular pans with the same volume because of their shape. Bundt or tube pans have a central hole, reducing batter capacity, so you’ll need less batter than a solid pan.
Measure your pan’s volume or check manufacturer guidelines to gauge how much batter to prepare. By matching your batter amount to your pan’s exact size and shape, you’ll guarantee even baking and a perfectly risen cake every time.
Adjusting Fill Levels for Different Types of Cakes
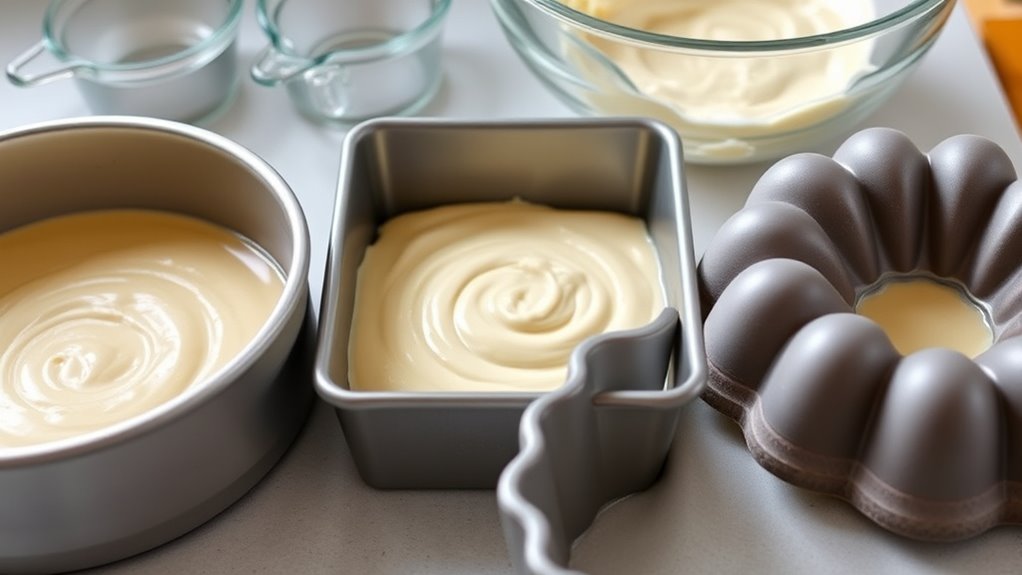
When filling pans, you’ll want to adjust the batter levels based on the cake type. Sponge cakes need a bit more room to rise, while cheesecakes require a more precise fill to prevent cracking.
For layer cakes, evenly dividing the batter guarantees consistent thickness and even baking.
Sponge Cake Fill Tips
Although sponge cakes are light and airy, you’ll want to adjust your fill levels carefully to avoid weighing them down or causing uneven baking. Fill your pan about halfway to two-thirds full. This allows enough room for the batter to rise without spilling over.
Since sponge cakes rely on air incorporated during mixing, overfilling can cause dense textures or collapse. Use a light hand when mixing to keep the batter fluffy. If you’re using a thinner pan, reduce the fill level slightly to prevent undercooking in the center.
Cheesecake Fill Recommendations
Since cheesecakes have a dense, creamy texture that expands differently than sponge cakes, you’ll want to adjust your fill levels accordingly. Overfilling can cause cracks or overflow, while underfilling wastes space and alters baking time. Typically, filling your pan about two-thirds full works best for cheesecakes, allowing room for slight expansion and smooth top surfaces.
| Cake Type | Recommended Fill Level |
|---|---|
| Classic Cheesecake | 2/3 full |
| No-Bake Cheesecake | 3/4 full (no rise) |
| Ricotta Cheesecake | 2/3 full |
| Mini Cheesecakes | 3/4 full (less shrinkage) |
Adjust fill levels based on texture and rising tendencies to bake a perfect cheesecake without cracks or spills.
Layer Cake Adjustments
Because different cakes rise and bake uniquely, you’ll need to adjust your fill levels to suit each type. For example, light and airy sponge cakes typically rise more, so fill the pan about halfway to prevent overflow. Denser cakes, like butter or pound cakes, don’t expand as much, so filling the pan two-thirds full works well.
When making layered cakes, keep in mind that thinner layers bake faster, so fill pans less to avoid overbaking. If you’re working with cakes that contain extra leavening agents or mix-ins like nuts or fruit, reduce the fill level slightly to compensate for uneven rising.
Fixing Common Issues With Shallow or Deep Cake Pans
If your cake pan is shallower or deeper than usual, you’ll need to adjust the batter volume accordingly to avoid overflow or dryness. Keep an eye on baking time since it can change with the pan’s depth, and consider using pan liners to prevent sticking.
These simple tweaks will help you get a perfect bake every time.
Adjusting Batter Volume
When you work with shallow or deep cake pans, you’ll need to adapt the amount of batter accordingly to avoid overflow or underfilled layers. For shallow pans, reduce the batter since less depth means the cake will spread more. Filling it about halfway or slightly less helps prevent spilling over.
With deep pans, add more batter to ensure the cake rises properly without leaving a thin, uneven layer. Use the pan’s volume to guide you—calculate by multiplying length, width, and depth for rectangular pans or use a volume formula for round pans. Then, modify your batter amount proportionally.
This way, you’ll get consistent thickness and avoid wasting batter or ruining your cake’s structure. Taking time here guarantees a better bake and smoother layering later on.
Modifying Baking Time
Adjusting the amount of batter in your cake pans sets the stage, but baking time also plays a key role in achieving the perfect cake. If your pan is shallower than the recipe calls for, your cake will bake faster. Check for doneness about 5 to 10 minutes earlier than the original baking time to avoid overbaking.
Conversely, if you’re using a deeper pan, your cake will take longer to bake through. Add 10 to 15 minutes, and test for doneness with a toothpick inserted in the center. Keep an eye on the cake’s edges and top, and cover the pan loosely with foil if the crust browns too quickly.
Adjusting baking time based on pan depth helps you prevent common problems like soggy centers or dry edges.
Using Pan Liners
Though pan liners might seem like a simple accessory, they can make a big difference in managing the challenges of shallow or deep cake pans. When you use liners, you create a smooth surface that helps your cake release easily, preventing cracks or uneven edges often caused by sticking.
For shallow pans, liners help you avoid overfilling by providing a clear boundary, so you can measure batter precisely. In deep pans, liners help distribute heat more evenly, reducing the risk of undercooked centers. You can use parchment paper cut to fit the bottom and sides or silicone liners designed for your pan size.
Remember to grease the liner lightly to guarantee your cake slides out perfectly every time.
Why Overfilling Cake Pans Ruins Your Bake
Because overfilling cake pans leaves little room for batter to rise, you risk uneven baking and spillovers. When the batter overflows, it creates a mess in your oven, which can burn and produce unpleasant smoke. Inside the pan, the excess batter can cause the cake’s center to remain raw while the edges overcook.
This uneven texture ruins the cake’s taste and appearance. Overfilled pans also make it harder for heat to circulate evenly, leading to inconsistent results. Plus, cleaning up spillovers wastes time and effort.
To bake a perfect cake, you need to leave enough space for the batter to expand without escaping the pan. Avoiding overfilling guarantees your cake bakes uniformly and looks professional every time.
Measuring Cake Pan Batter to Prevent Overflow
When you measure your batter carefully before pouring, you can prevent overflow and guarantee even baking. Start by checking your recipe for the recommended batter amount per pan size. Use a liquid measuring cup or a kitchen scale to portion the batter accurately.
If your recipe doesn’t specify, fill the pan no more than two-thirds full to allow room for rising. Pour your batter into a measuring cup first, then transfer it to the pan, so you know exactly how much you’re adding. This simple step helps maintain consistency, so each layer bakes evenly without spilling over.
How to Test and Perfect Your Cake Pan Filling Every Time
To perfect your cake pan filling every time, you need to test how your batter behaves during baking. Start by filling your pan to about two-thirds full, the general rule for most cakes. Bake a small test cake to observe rising patterns.
If it overflows, reduce the batter next time; if it barely rises, add a bit more. Take notes on rise height and texture to adjust your fill level precisely. Remember, different batters expand differently, so testing is key.
Once you find the sweet spot, stick with it for consistent results. Testing also helps you anticipate how temperature and pan size affect your batter. With these simple checks, you’ll avoid messy overflows and underfilled cakes, ensuring perfect bakes every time.
Frequently Asked Questions
Can I Reuse Cake Batter if I Overfill the Pan?
You can’t reuse cake batter once it’s baked or overfilled and spilled.
Instead, try pouring extra batter into smaller pans or freezing it for later baking to avoid waste and keep your cakes perfect every time.
What Type of Cake Pan Material Is Best for Even Baking?
You’ll want to choose aluminum pans for even baking since they conduct heat well. Don’t worry if you prefer nonstick; just reduce baking time slightly. This way, you get a perfectly baked cake every time.
How Does Altitude Affect Cake Pan Fill Levels?
At higher altitudes, you’ll want to fill your cake pan less—around half to two-thirds full—because cakes rise faster and can overflow. Adjusting fill levels helps prevent spills and guarantees even baking in thinner air.
Should I Grease My Pan Differently Based on Fill Level?
You don’t need to grease your pan differently based on fill level. Just apply a consistent layer of grease or use parchment to prevent sticking, ensuring your cake releases easily regardless of how full the pan is.
Can I Freeze Batter in a Filled Cake Pan?
You can freeze batter in a filled cake pan, but make sure to cover it tightly with plastic wrap and foil to prevent freezer burn.
Thaw it slowly in the fridge before baking for the best results and texture.
Conclusion
Think of filling your cake pan like filling a glass with water—you don’t want it to spill over, but you want just enough to enjoy. Overfilling can lead to a messy, uneven bake, while underfilling might leave you with a flat disappointment.
By following these tips, you’ll consistently hit that sweet spot, turning every bake into a masterpiece. Remember, a perfectly filled pan sets the stage for a perfect cake every time.
Mastering how full to fill cake pan is essential for achieving flawless results. Use these top 7 tips for perfect cakes to ensure your baking is always a success.