How Do You Use the Ninja Blender in 7 Easy Steps?
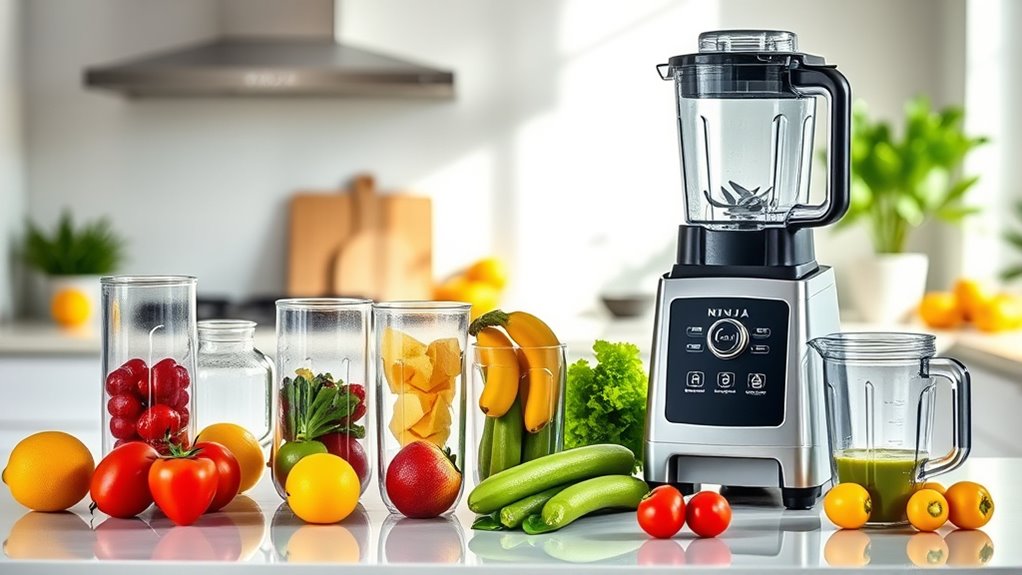
To use your Ninja Blender in 7 easy steps, start by unboxing and assembling the blender carefully. Make sure to lock the jar and blade securely before use. Choosing the right jar and blade for your blend is essential for the best results.
Next, add your ingredients by layering them thoughtfully. Begin with liquids first, place soft items near the blades, and put harder ingredients on top. This method helps achieve a smooth blend every time.
Secure the lid tightly to avoid any spills during blending. Select the proper speed or preset based on your blending task.
After use, clean the blender promptly to maintain its performance.
Keep going to discover helpful tips on troubleshooting common blender issues and maximizing your Ninja Blender’s efficiency.
Key Takeaways
- Unbox all parts, check for damage, and securely attach the jar and blade assembly to the base.
- Add liquids first, then layer soft ingredients near blades and harder ones on top for efficient blending.
- Secure the lid by aligning locking tabs and ensure the vent or cap is tightly closed to prevent spills.
- Select the appropriate jar and blade for your blending task to ensure safety and optimal results.
- Choose the right speed or preset function based on ingredient texture and desired blend consistency.
Unbox and Assemble Your Ninja Blender Correctly
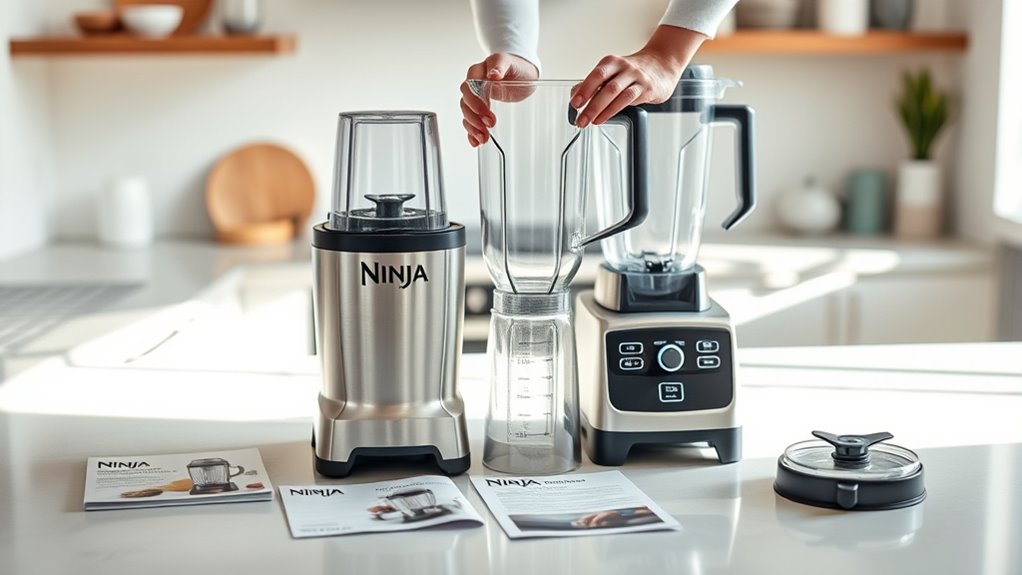
Where should you begin with your new Ninja Blender? Start by carefully unboxing all components, making sure nothing’s missing or damaged. Lay everything out on a clean surface.
Next, attach the blender jar to the base by aligning it properly and twisting it until it locks securely. If your model includes a separate blade assembly, fit it firmly into the jar, ensuring it’s tight to prevent leaks. Don’t forget to secure the lid with its locking mechanism before plugging the blender in.
Double-check that everything fits snugly and that the base rests on a stable surface. Proper assembly is key to safe, efficient blending, so take a moment to confirm each part is correctly positioned before moving on to your first recipe.
Choose the Right Ninja Blender Jar and Blade
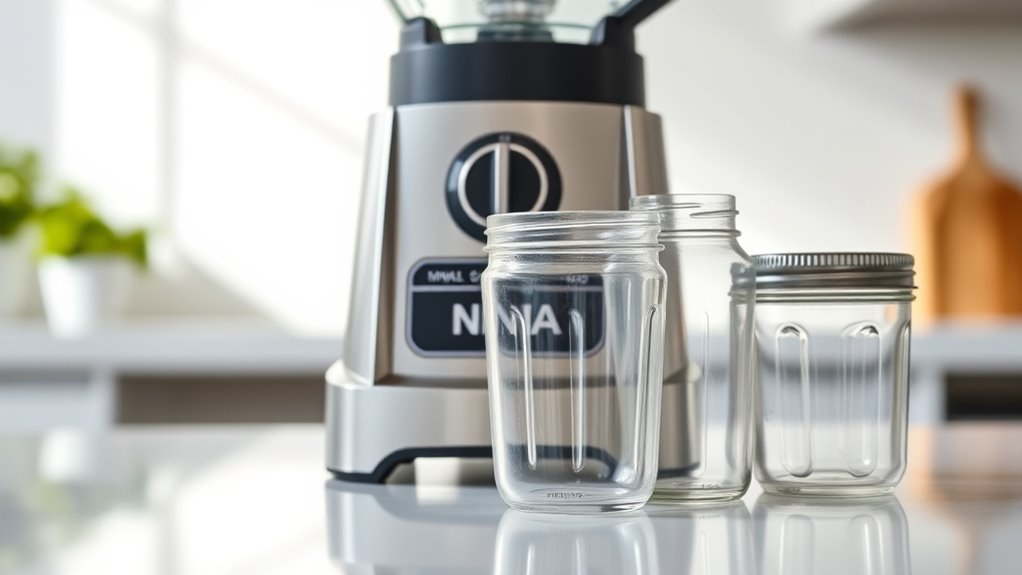
How do you know which Ninja Blender jar and blade to pick for your needs? Start by considering what you’ll blend most often. If you’re making smoothies or single servings, a smaller personal-sized jar with a single-serve blade works best.
For larger batches like soups or sauces, opt for a bigger pitcher jar paired with the standard chopping blade. Verify the blade fits securely on the jar and locks properly onto the base for safety. Also, check whether you need a specialized blade, like a dough blade for kneading or a crushing blade for ice.
Choosing the right combination ensures efficient blending and prevents damage. Keep your intended use in mind, and your Ninja Blender will perform exactly as you expect.
Add Ingredients in the Best Order for Your Ninja Blender
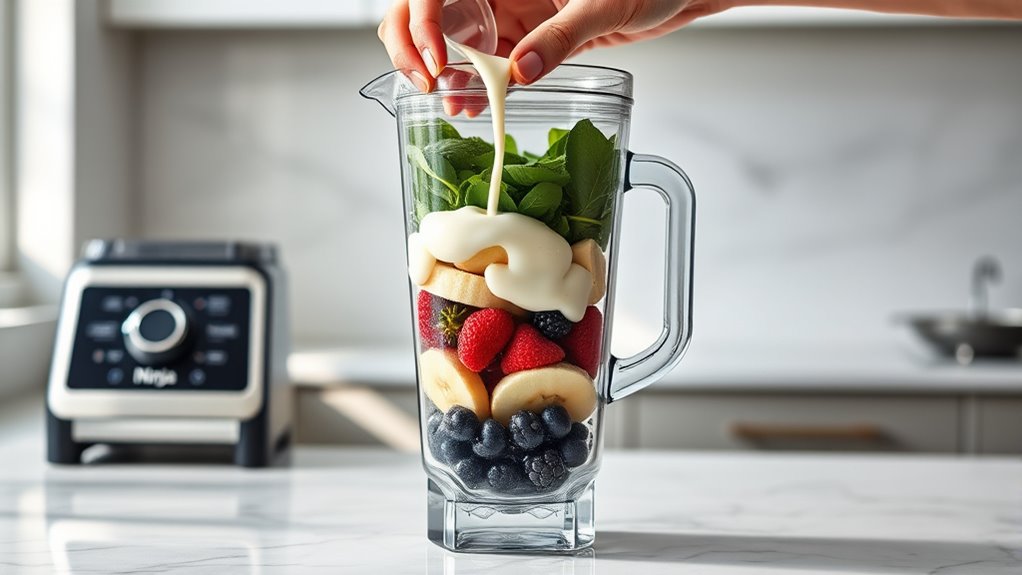
When adding ingredients to your Ninja blender, start by pouring in the liquids first to help the blades move smoothly. Next, layer softer items followed by harder ingredients on top. This order guarantees efficient blending and prevents the motor from straining.
Layer Ingredients Strategically
To get the best results from your Ninja Blender, you should layer ingredients in a specific order. Start by placing the softest or smallest items at the bottom near the blades, such as leafy greens or small fruit pieces. Next, add denser or chunkier ingredients like frozen fruit or vegetables.
This arrangement prevents heavier items from blocking the blades, ensuring smooth blending. Avoid overfilling the blender; instead, layer ingredients evenly to allow proper circulation. By placing ingredients strategically, you reduce the need to stop and scrape the sides, saving time and effort.
This simple step helps your Ninja Blender work efficiently, delivering consistent, well-blended results every time you use it.
Prioritize Liquid Components
Once you’ve layered your ingredients strategically, focus on adding liquids early in the process. Pouring liquids like water, milk, or juice first helps create a smooth vortex, allowing the blades to spin freely and blend everything efficiently. This prevents dry ingredients from sticking to the sides and guarantees a consistent texture.
Avoid adding thick or frozen ingredients before the liquids, as they can clog the blades or cause uneven blending. If your recipe calls for oils or syrups, add them with the liquids to help incorporate flavors smoothly. Prioritizing liquids also reduces the risk of overheating the motor by easing blade movement.
Secure the Lid and Avoid Spills While Blending
Although it might seem straightforward, securing the lid properly is essential to prevent spills and guarantee safe blending. First, place the lid firmly on the blender cup, making sure it fits snugly without gaps. Double-check that the lid’s locking tabs align with the base and click into place.
Avoid forcing the lid, as improper placement can cause leaks or accidents. If your Ninja blender has a vent or cap, ensure it’s tightly closed to keep ingredients inside. Never attempt to blend without the lid securely fastened.
This simple step keeps your kitchen clean and protects you from splashes of hot or cold mixtures. Taking a moment to secure the lid will help you blend safely and efficiently every time.
Pick the Right Speed and Setting on Your Ninja Blender
Now that your lid is secure, it’s time to pick the right speed and setting on your Ninja Blender. You’ll find different speed options designed for various textures, from chopping to pureeing.
Understanding each setting helps you get the perfect blend every time.
Speed Options Explained
How do you choose the right speed on your Ninja Blender for the best results? Start by understanding the speed options available: low, medium, and high. Use low speed for gentle mixing or combining soft ingredients without over-processing.
Medium speed works well for chopping and blending thicker mixtures like salsa or hummus. High speed is perfect for crushing ice, making smoothies, or pulverizing tougher ingredients quickly and thoroughly.
Setting Functions Overview
Choosing the right speed is just part of getting the best results with your Ninja Blender. You also need to understand the specific setting functions it offers. Most Ninja Blenders come with preset options like Pulse, Blend, and Crush, each designed for different tasks.
Use Pulse for quick bursts when you want more control over chopping or mixing. The Blend setting works well for smoothies and purees, providing a consistent texture. Crush is perfect for ice and frozen fruits, powering through tough ingredients with ease.
Clean Your Ninja Blender Quickly After Use
Although cleaning your Ninja blender might seem like a chore, doing it promptly guarantees it stays in top condition and ready for your next use. Start by unplugging the blender and disassembling the pitcher, lid, and blade assembly carefully. Rinse these parts under warm water to remove leftover residue.
Next, fill the pitcher halfway with warm water and a drop of dish soap, then secure the lid. Run the blender on a low setting for 30 seconds to loosen any stubborn bits. Afterward, rinse all components thoroughly with clean water.
Dry each part with a clean towel or let them air dry before reassembling. Wipe down the base with a damp cloth, avoiding water contact with electrical parts. This quick routine keeps your Ninja fresh and ready every time.
Fix Common Ninja Blender Problems Fast
Keeping your Ninja blender clean helps prevent many common issues, but sometimes problems still pop up. If your blender won’t start, first check that the pitcher is properly seated on the base and the lid is securely locked.
Keep your Ninja blender clean and ensure the pitcher and lid are properly secured to avoid startup issues.
For unusual noises or vibrations, stop blending immediately and ensure the blade assembly isn’t damaged or obstructed. If the motor overheats, let it cool down for 15-20 minutes before trying again.
A blender that leaks usually means the sealing ring is worn or misaligned—inspect and replace it if needed. Finally, if your blender isn’t blending smoothly, avoid overloading it and cut ingredients into smaller pieces.
Following these quick fixes will keep your Ninja running smoothly without hassle.
Frequently Asked Questions
Can I Use My Ninja Blender for Hot Soups?
You can’t blend hot soups directly in your Ninja blender because the heat could damage it or cause spills.
Let your soup cool slightly before blending, or use the blender to puree cooked ingredients after cooling a bit.
Is It Safe to Put the Ninja Blender Parts in the Dishwasher?
Yes, you can safely put most Ninja blender parts in the dishwasher. Just imagine the convenience of spotless blades and containers without scrubbing.
Always check your model’s manual to avoid damaging any delicate components.
How Long Does the Ninja Blender Motor Typically Last?
The Ninja blender motor typically lasts about 3 to 5 years with regular use. You’ll want to avoid overheating and follow maintenance tips to extend its life, ensuring it keeps blending smoothly for a long time.
Can I Make Nut Butters With My Ninja Blender?
Yes, your Ninja blender can transform nuts into creamy butter like a wizard casting a spell. Just pulse repeatedly, scraping sides often, and you’ll get smooth, delicious nut butter in no time—no magic wand needed!
What Is the Warranty Period for Ninja Blenders?
Ninja blenders typically come with a one-year limited warranty. You’ll be covered for defects in materials or workmanship during that time.
Always check your specific model’s warranty info to be sure, though.
Conclusion
So, now that you’ve mastered unboxing, choosing jars, and dodging spills, using your Ninja blender is basically a walk in the park—right? Who knew blending could be this simple when you just follow these seven steps! No mysterious explosions or smoothie disasters here.
You’re officially a Ninja pro, blending like a champ and cleaning up without breaking a sweat. Enjoy your perfectly blended creations—because even ninjas need a little help sometimes! With these easy steps, your Ninja blender will become your go-to kitchen tool for smoothies, sauces, and more.