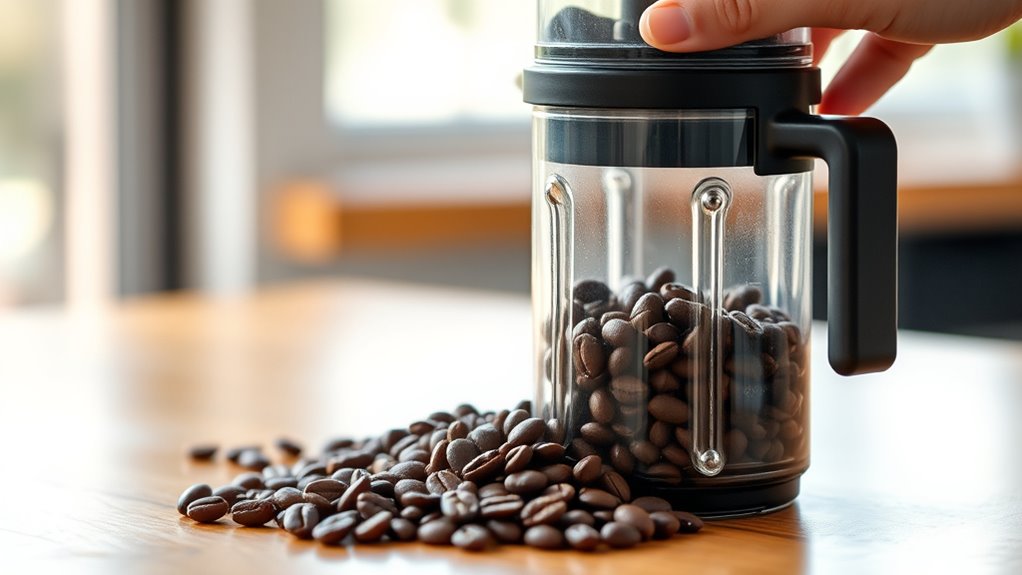
How You Grind Coffee Beans in a Blender Step by Step
To grind coffee beans in a blender, start by measuring the amount you need for your brew. Using a clean, dry jar is essential to ensure no moisture affects the beans.
Place the measured beans into the jar and secure the lid tightly to prevent spills.
Pulse the blender in short bursts of 10-15 seconds to avoid overheating the beans. Between pulses, gently shake the jar to promote even grinding.
This method helps you achieve a consistent grind size tailored to your brewing preference.
Check the grind size frequently and adjust the pulse duration as needed.
Once you reach the desired texture, transfer the grounds to an airtight container to preserve freshness.
Finally, clean the blender thoroughly to maintain its performance and avoid residual flavors.
With the right technique, you’ll enjoy fresh, flavorful coffee every time.
Key Takeaways
- Measure dry coffee beans according to brew size and ensure the blender jar is clean and dry before starting.
- Add beans in small batches, secure the lid tightly, and pulse the blender in short 10-15 second bursts.
- Shake the blender gently between pulses to promote even grinding and prevent overheating.
- Check grind size frequently, adjusting blending time to achieve coarse, medium, or fine grounds as needed.
- Transfer ground coffee to an airtight, opaque container and store in a cool, dry place to preserve freshness.
Why Grinding Coffee Beans Fresh Matters for Better Coffee
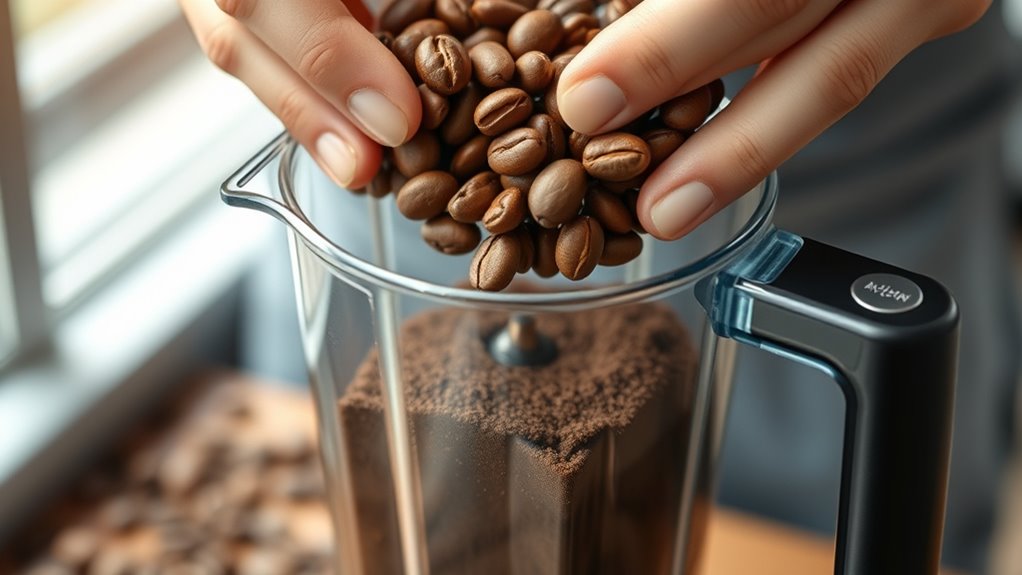
Because coffee begins to lose its flavor soon after grinding, you’ll get the best taste by grinding your beans just before brewing. Freshly ground coffee preserves essential oils and aromas that give your cup its rich, complex flavor. When you grind beans ahead of time, exposure to air causes oxidation, which dulls the taste and aroma.
Also, freshly ground coffee extracts more evenly, resulting in a balanced brew. If you want to enjoy the full depth of your coffee’s character, grinding right before brewing is key. This practice guarantees each cup bursts with freshness, making your morning ritual much more satisfying.
Which Blenders Work Best for Grinding Coffee Beans
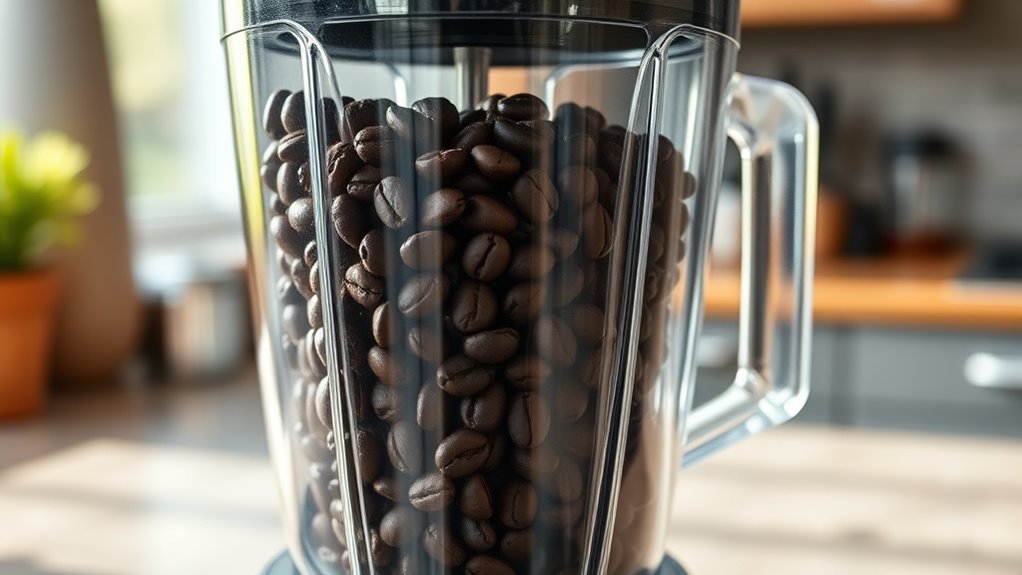
You’ll want a blender with enough power to handle the tough coffee beans without overheating. Look for sharp, sturdy blades designed to create a consistent grind. These features make all the difference in achieving the perfect coffee texture.
Power Requirements
While many blenders can crush ice and blend smoothies, not all have the power needed to grind coffee beans effectively. To get a consistent grind, look for a blender with at least 500 watts of power. Lower-powered blenders may struggle, leaving you with uneven grounds or overheating the motor.
High-wattage models handle the tough beans more efficiently, grinding them quickly without straining. If you want finer or more uniform grounds, a stronger motor is essential. Keep in mind that even powerful blenders should be used in short bursts to avoid overheating.
Blade Design
Power alone doesn’t guarantee a great grind; the blade design plays a big role in how well your blender handles coffee beans. Blenders with sharp, angled blades can crush beans more efficiently, while flat blades may struggle to produce a consistent grind.
You’ll also want blades made of durable materials like stainless steel to withstand the hardness of coffee beans.
Here’s a quick comparison of blade designs for grinding coffee:
| Blade Type | Efficiency | Best For |
|---|---|---|
| Angled Blades | High – better crush | Coarse to medium grind |
| Flat Blades | Moderate – less even | Quick pulse grinding |
| Serrated Blades | Low – inconsistent | Not recommended |
Choose a blender with angled, stainless steel blades for the best results.
Preparing Coffee Beans for Blender Grinding
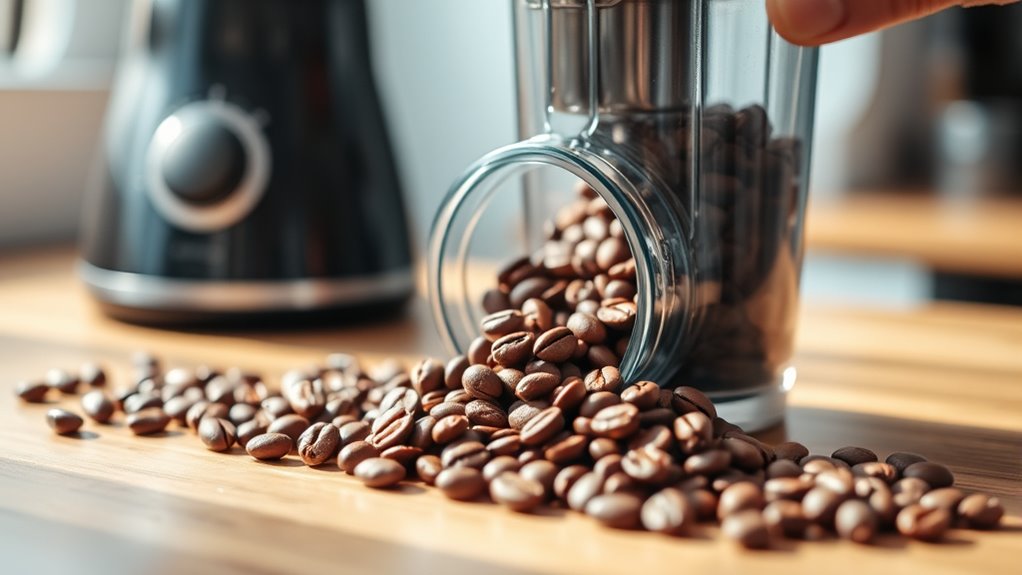
Before grinding your coffee beans in a blender, it’s important to prepare them properly to guarantee an even grind and preserve flavor. Start by measuring the amount of coffee beans you need based on your brew size. Avoid overfilling your blender; a smaller batch ensures better control and consistency.
Make certain your beans are dry and free of debris—any moisture or foreign particles can affect the grind and taste. If you prefer, gently warm the beans for a few minutes to reduce brittleness, but don’t overheat them. Finally, check your blender’s container to verify it’s clean and dry before adding the beans.
Taking these steps will set you up for a smooth grinding process and a flavorful brew.
Step-by-Step Guide to Grinding Coffee Beans in a Blender
Once you’ve prepared your beans, you can start grinding by adding them to your blender in small batches. Secure the lid tightly to prevent any spills. Hold the blender firmly and pulse in short bursts to break down the beans evenly.
After a few pulses, pause and shake the blender gently to redistribute the beans for a consistent grind. Repeat this process until the beans reach your desired coarseness. Avoid running the blender continuously to prevent overheating the beans, which can affect flavor.
Once done, carefully remove the lid and check the grind size. If needed, you can grind a bit more using the same pulsing method. Finally, transfer the ground coffee to your container, ready for brewing.
How to Set Blender Speed and Time for Ideal Grind
After you’ve mastered the pulsing technique to break down your coffee beans, the next step is dialing in the right blender speed and timing to achieve the perfect grind texture. Start with a medium speed setting to avoid overheating the beans and creating uneven grounds. Blend in short bursts of about 10 to 15 seconds, then pause to let the blender cool and the grounds settle.
Repeat this cycle as needed, usually totaling around 30 to 45 seconds of active blending. Avoid running the blender continuously, as this can cause heat buildup and damage the flavor. By carefully controlling speed and timing, you’ll guarantee a consistent grind that’s ready for brewing without scorching or over-processing your coffee beans.
How to Check and Adjust Grind Size for Your Brew
Although you’ve blended your coffee beans carefully, you’ll want to check the grind size to confirm it matches your brewing method. To do this, take a small pinch between your fingers and rub it. If it feels too coarse or powdery, adjust your blender time accordingly.
Shorter blending yields coarser grounds, while longer blending produces finer grinds.
Here’s a quick guide to help you match grind size to your brew:
| Brewing Method | Ideal Grind Size | Texture Example |
|---|---|---|
| French Press | Coarse | Like sea salt |
| Drip Coffee | Medium | Like sand |
| Espresso | Fine | Like powdered sugar |
Adjust your blender time based on this guide for the perfect cup every time.
How Much Coffee to Grind for Different Brewing Methods
Now that you’ve adjusted your grind size to suit your brewing method, the next step is measuring the right amount of coffee to grind. For a standard drip coffee maker, aim for about 1 to 2 tablespoons of coffee per 6 ounces of water.
If you’re using a French press, go with roughly 1 tablespoon of coarsely ground coffee for every 4 ounces of water. For espresso, use about 7 grams (roughly 1 tablespoon) of finely ground coffee per shot.
Pour-over methods typically need 1 to 2 tablespoons per 6 ounces of water. Always weigh or measure your coffee before grinding to guarantee consistency and taste. Getting these amounts right helps you brew a balanced cup every time.
Tips to Avoid Overheating and Preserve Coffee Flavor
When grinding coffee beans in a blender, you’ll want to prevent overheating to keep the flavor intact. Excess heat can burn the beans, causing bitterness and loss of aroma. To avoid this, here are three key tips:
- Pulse in short bursts: Use quick, 5-10 second pulses instead of continuous blending to reduce heat buildup.
- Let the blender rest: Pause for 30-60 seconds between pulses to allow the blades and beans to cool down.
- Grind smaller batches: Processing smaller amounts at once prevents the motor from working too hard and generating extra heat.
Common Blender Coffee Grinding Mistakes to Avoid
Keeping your blender cool while grinding helps preserve coffee flavor, but there are other common mistakes that can affect your results. One big mistake is grinding too many beans at once; overcrowding the blender leads to uneven grinds. Also, don’t forget to pulse rather than run the blender continuously, as this helps you control the grind size and prevents overheating.
Avoid using a blender with dull blades—they won’t crush the beans properly and can create inconsistent grounds. Another pitfall is not monitoring the grind time closely; grinding too long results in powdery grounds, while too short leaves large chunks. Finally, skipping small batches can cause blade damage and uneven texture.
Avoid these errors to get the best coffee grounds from your blender every time.
How to Clean Your Blender After Grinding Coffee Beans
Since coffee oils and fine grounds can quickly build up in your blender, you’ll want to clean it thoroughly after each use to prevent lingering odors and guarantee ideal performance. Start by rinsing the blender jar with warm water to remove loose grounds.
Next, add a drop of dish soap and fill the jar halfway with warm water. Secure the lid and blend on high for 30 seconds to clean hard-to-reach areas.
Finally, rinse the jar and lid thoroughly with warm water and dry them completely before storing.
Here’s a quick cleaning checklist:
- Rinse with warm water immediately after grinding.
- Blend soapy water to dislodge oils and residue.
- Rinse again and dry to avoid moisture buildup.
How to Store Freshly Ground Coffee for Maximum Freshness
Although freshly ground coffee offers the best flavor, it starts to lose its aroma and taste quickly if not stored properly. To keep your coffee fresh, store it in an airtight container to prevent exposure to air, which causes oxidation. Choose a container made of opaque material to block light, as sunlight can degrade the coffee’s quality.
Keep the container in a cool, dry place, away from heat sources like ovens or direct sunlight. Avoid storing coffee in the fridge or freezer, as moisture can affect the flavor and cause clumping. Only grind the amount you plan to use within a day or two to maintain maximum freshness.
Frequently Asked Questions
Can I Grind Other Spices in the Same Blender After Coffee?
You can grind other spices in the same blender after coffee, but you’ll want to clean it thoroughly to avoid flavor mixing.
Otherwise, your spices might taste like coffee, which could ruin your recipes.
Does Grinding Coffee Beans in a Blender Affect Caffeine Content?
Grinding coffee beans in a blender doesn’t steal their caffeine spirit; it’s like revealing a treasure chest. You’ll still get the same caffeine kick, but the grind texture might dance differently, affecting flavor extraction.
How Long Do Freshly Ground Coffee Beans Stay Flavorful?
You’ll find freshly ground coffee beans stay flavorful for about 15 to 30 minutes. After that, oxidation starts dulling the taste, so it’s best to brew right after grinding to enjoy the richest flavor.
Can I Use Frozen Coffee Beans in a Blender?
You can use frozen coffee beans in a blender, like thawing a hidden treasure before revealing its glow.
Just let them warm slightly, so your blender’s blades can release that rich, fresh flavor without damage or clumps.
Is It Safe to Grind Oily Coffee Beans in a Blender?
Yes, you can safely grind oily coffee beans in a blender, but be careful. Oily beans might clump and cause uneven grinding, so pulse gently and don’t overheat the blades to avoid damaging your blender or ruining the coffee.
Conclusion
Grinding coffee beans in your blender is like revealing a treasure chest of fresh flavor right at home. By choosing the right blender, setting the perfect speed, and avoiding common mistakes, you’ll brew coffee that sings with freshness every time.
Remember to clean your blender promptly and store your grounds properly to keep that rich aroma alive. With these simple steps, your morning cup will always be a delightful, aromatic escape.
Mastering how to grind coffee beans in a blender ensures you enjoy the freshest coffee possible. Follow these tips for the best grind, and savor the rich taste of freshly ground coffee every day.