How to Season a Frying Pan
To season your frying pan and enhance its non-stick properties, start by cleaning it thoroughly with warm, soapy water. Make sure to dry it completely before moving on to the next step.
Proper seasoning not only improves cooking performance but also extends the life of your pan.
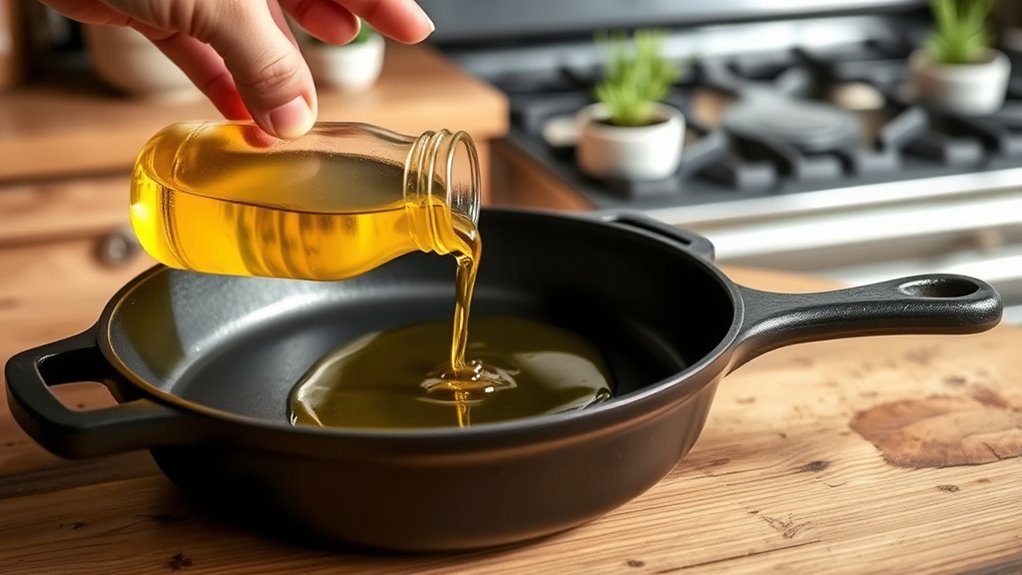
Apply a thin, even layer of high-smoke-point oil like flaxseed or vegetable oil all over the surface.
Next, heat the pan upside down in a 450°F oven for an hour to allow the oil to bond to the metal.
Afterward, let the pan cool inside the oven.
Repeat this process a few times for a durable, non-stick surface that will stand the test of time.
Keep your pan well-maintained, and you’ll discover how to maximize its cooking performance and longevity.
Key Takeaways
- Clean the pan thoroughly with warm, soapy water and dry completely before seasoning.
- Apply a thin, even layer of high-smoke-point oil like flaxseed or vegetable oil to all surfaces.
- Bake the oiled pan upside down at 450°F (232°C) for one hour to bond the oil.
- Let the pan cool slowly inside the oven before handling to prevent warping.
- Repeat the heating and cooling process multiple times to build a durable non-stick coating.
Why Season a Frying Pan? Benefits Explained
Although it might seem unnecessary, seasoning a frying pan considerably improves its performance. When you season your pan, you create a natural non-stick surface, which means food won’t stick as much, and clean-up becomes easier. It also helps protect the pan from rust and corrosion, especially if it’s made of cast iron or carbon steel.
By building up a layer of polymerized oil, you enhance heat distribution, making cooking more even. This coating also adds durability, extending your pan’s life. Plus, a well-seasoned pan can develop unique cooking qualities and flavors over time, improving your dishes.
Step-by-Step Guide to Seasoning Your Frying Pan
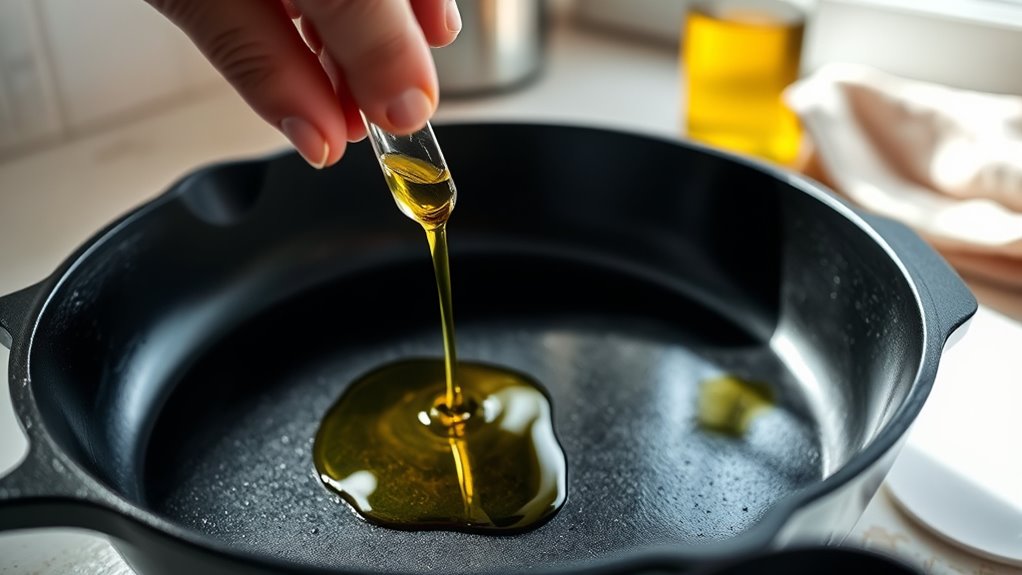
First, you’ll want to prepare your pan by cleaning and drying it thoroughly. Then, apply a thin layer of oil evenly across the surface.
Finally, heat the pan to lock in the seasoning, then let it cool completely before using.
Preparing The Pan
Why should you prepare your frying pan before seasoning it? Proper preparation ensures the seasoning adheres well and lasts longer. Start by washing your pan thoroughly with warm, soapy water to remove any factory coatings or residues.
Use a scrub brush or sponge to get rid of stubborn spots. Rinse and dry the pan completely—any moisture can prevent proper seasoning. Next, inspect the surface for rust or imperfections; if you find rust, scrub it away with steel wool until the metal looks clean.
Finally, preheat your oven to around 350°F (175°C) and place the pan inside for 10 minutes to evaporate any remaining moisture. Once your pan is clean, dry, and preheated, it’s ready for the next step in seasoning.
Applying The Oil
How do you apply oil to get the perfect seasoning on your frying pan? Start by choosing a high-smoke-point oil like flaxseed, grapeseed, or vegetable oil. Pour a small amount—about a teaspoon—into the pan.
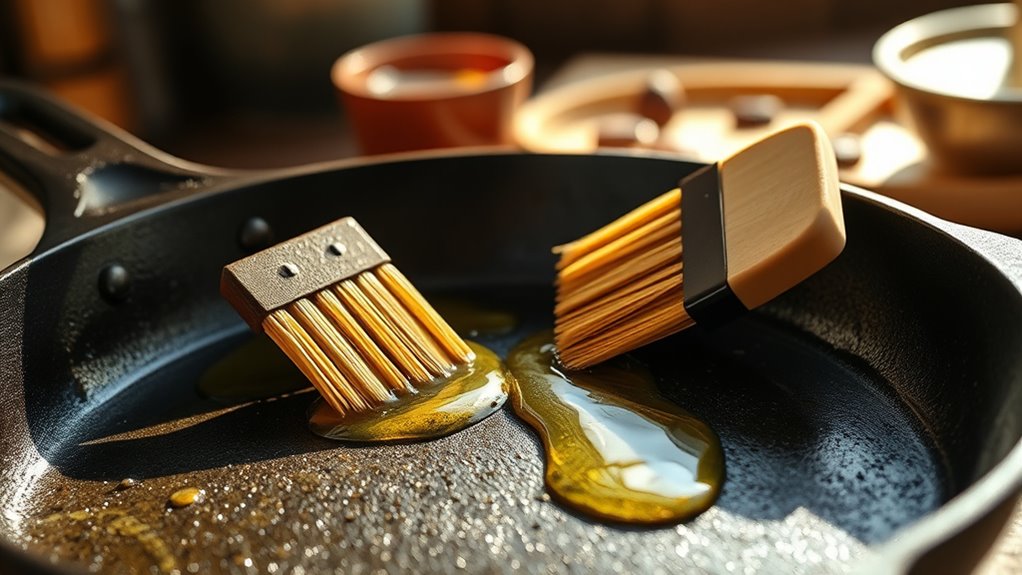
Using a clean cloth or paper towel, spread the oil evenly across every surface, including the sides and handle if they’re cast iron. Make sure the layer is thin; too much oil will create sticky spots. Rub the oil in until the pan looks shiny but not dripping.
Don’t forget to wipe off any excess oil to avoid pooling. This even coating is essential because it bonds with the metal during heating, forming that durable, non-stick layer you’re aiming for. Once applied, your pan is ready for the next step.
Heating And Cooling
When do you know your frying pan has seasoned properly? After applying oil, it’s time to heat and cool your pan carefully. Place the pan upside down in a preheated oven at 450°F (232°C).
Heating for one hour allows the oil to bond and form a durable, non-stick layer. Avoid rushing this step; consistent heat ensures proper polymerization. Once the hour is up, turn off the oven but leave the pan inside to cool gradually.
This slow cooling prevents warping and helps the seasoning set evenly. After it’s fully cool, your pan will have a smooth, shiny finish, signaling a strong seasoning layer. Repeat this heating and cooling process a few times for the best, long-lasting results.
Which Frying Pans Need Seasoning Most?
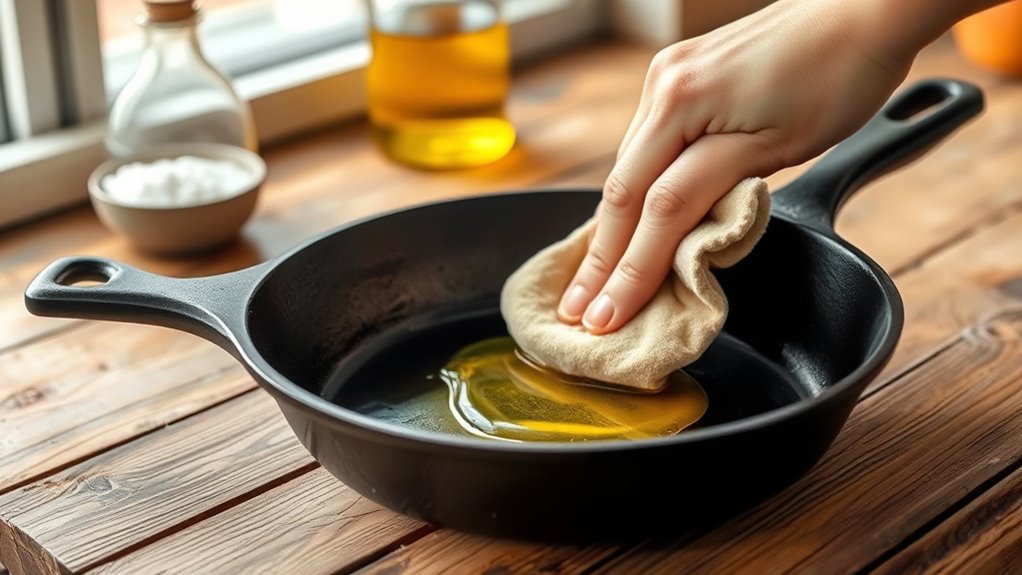
You’ll want to focus on seasoning cast iron and carbon steel pans since their surfaces benefit most from it. Nonstick and stainless steel pans usually don’t need seasoning, but a light layer can sometimes help with sticking.
Let’s explore why these differences matter for your cookware.
Cast Iron And Carbon Steel
Two types of frying pans demand seasoning more than others: cast iron and carbon steel. You’ll want to season these pans to create a natural, nonstick surface that protects them from rust and improves cooking performance. Both materials are durable but reactive to moisture and air, so seasoning is essential.
| Pan Type | Why Season? |
|---|---|
| Cast Iron | Prevents rust, builds nonstick |
| Carbon Steel | Creates smooth surface, resists rust |
| Both | Improve heat retention and flavor |
Nonstick And Stainless Steel
Although nonstick and stainless steel pans don’t require seasoning as often as cast iron or carbon steel, understanding when and how to season them can still enhance their performance. Nonstick pans already have a coating that prevents sticking, so seasoning isn’t necessary unless the surface starts to wear.
In that case, a light seasoning can help maintain nonstick properties. Stainless steel pans don’t have a natural nonstick surface, but seasoning them creates a temporary layer that reduces sticking and improves cooking.
You can season stainless steel by heating oil until it smokes, then wiping it evenly across the pan. Just remember, seasoning nonstick and stainless steel pans isn’t about building a durable layer like with cast iron—it’s more about maintaining and improving their cooking surfaces.
How to Clean Your Pan Before Seasoning
How should you prepare your frying pan before seasoning it? Cleaning your pan thoroughly is key to guarantee the seasoning adheres properly. Follow these steps:
- Wash your pan with warm, soapy water to remove any factory oils or residue.
- Use a non-abrasive sponge or brush to scrub away dirt without scratching the surface.
- Rinse the pan well under hot water to eliminate all soap traces.
- Dry the pan completely using a clean towel or by heating it briefly on the stove.
Which Oils Work Best for Seasoning a Frying Pan
When seasoning your frying pan, choosing the right oil makes all the difference in achieving a durable, non-stick surface. You want an oil with a high smoke point that polymerizes well when heated. Flaxseed oil is a popular choice because it creates a hard, long-lasting coating.
Other good options include grapeseed, canola, and vegetable oils, as they’re affordable and heat stable. Avoid olive oil or butter—they have lower smoke points and can leave sticky residue. Make certain the oil you pick is fresh and not rancid, as old oils won’t season properly.
Ultimately, pick an oil you cook with regularly, so you can maintain the seasoning easily during everyday use. This guarantees a smooth, reliable cooking surface.
How to Tell When Your Pan Is Properly Seasoned
Choosing the right oil sets the foundation for effective seasoning, but knowing when your pan has reached the ideal non-stick surface is just as important. You’ll notice your pan is properly seasoned when it exhibits these signs:
- Smooth, glossy finish – The surface looks shiny and feels slick to the touch without any sticky residue.
- Even darkening – The pan’s color deepens uniformly, usually to a rich, black patina.
- Water beading test – Drops of water dance and bead up instead of spreading out.
- Improved cooking performance – Foods release easily without sticking or tearing.
When you observe these indicators, you can confidently start cooking, knowing your pan offers excellent non-stick qualities and durability.
Tips for Maintaining Your Pan’s Seasoned Surface
To keep your pan’s seasoning intact, avoid harsh detergents when cleaning and stick to gentle scrubbing. You’ll want to reapply oil regularly to maintain that smooth, non-stick surface.
Also, store your pan properly to prevent moisture buildup and rust.
Cleaning Without Harsh Detergents
Although you might be tempted to reach for strong detergents, avoiding harsh soaps is essential to preserving your pan’s seasoned surface. Instead, follow these steps to clean your pan effectively without damaging its coating:
- Rinse the pan with hot water immediately after cooking to loosen food particles.
- Use a soft sponge or brush to gently scrub away residue, avoiding abrasive materials.
- For stubborn bits, simmer a bit of water in the pan for a few minutes to soften debris before scrubbing.
- Dry the pan thoroughly with a towel to prevent rusting.
Regular Oil Reapplication
How often should you reapply oil to keep your frying pan’s seasoning in top shape? Ideally, you should reapply a thin layer of oil after every few uses or whenever the surface starts to look dull or dry.
After cleaning and drying your pan, heat it slightly, then rub a small amount of oil evenly across the cooking surface. Use an oil with a high smoke point, like flaxseed or vegetable oil, to maintain durability.
Heating the pan with oil helps polymerize the layer, reinforcing the non-stick coating. Regular oil reapplication prevents rust and keeps your pan slick for cooking.
Proper Storage Techniques
When you store your frying pan properly, you protect the seasoning from damage and rust.
Here’s how to maintain your pan’s seasoned surface:
- Keep it dry: Always ensure your pan is completely dry before storing to prevent rust.
- Use a paper towel: Place a paper towel inside the pan to absorb moisture and avoid scratches.
- Avoid stacking: If you must stack pans, put a soft cloth or paper towel between them to protect the seasoning.
- Store in a cool, dry place: Humidity can ruin the seasoning, so pick a spot with good air circulation.
How Often Should You Re-Season Your Frying Pan?
Since your frying pan’s seasoning wears down with use, you’ll need to re-season it periodically to maintain its nonstick surface and prevent rust. How often depends on how frequently you cook and the type of food you prepare.
If you notice sticking or dull spots, it’s time to re-season.
| Usage Frequency | Signs to Watch For | Suggested Re-Seasoning Interval |
|---|---|---|
| Daily | Food sticking, dull patches | Every 1-2 months |
| Weekly | Slight sticking, fading shine | Every 3-4 months |
| Occasional | Rust spots, uneven coating | Every 6 months |
Mistakes to Avoid When Seasoning Your Frying Pan
Keeping your frying pan well-seasoned guarantees better cooking results, but it’s easy to make mistakes during the process that can damage the pan or ruin the seasoning. To avoid common pitfalls, follow these key steps:
- Don’t skip cleaning: Always clean your pan thoroughly before seasoning to remove any dirt or rust.
- Avoid using too much oil: Excess oil can create uneven, sticky layers instead of a smooth seasoning.
- Don’t season at too low a temperature: The oil needs to polymerize properly; heat your pan enough to smoke slightly.
- Avoid seasoning over non-stick coatings: It won’t bond well and can damage the coating.
How to Fix a Sticky or Flaking Seasoned Pan
If your frying pan’s seasoning feels sticky or starts flaking, it’s a sign that the oil didn’t polymerize properly or the layers built up unevenly. To fix it, strip the pan back to bare metal by scrubbing with steel wool and mild soap.
Dry it thoroughly, then reapply a thin, even layer of high-smoke-point oil. Heat the pan gradually in the oven to create a smooth, durable seasoning.
Here’s a simple way to visualize the process:
| Problem | Action | Result |
|---|---|---|
| Sticky surface | Scrub with steel wool | Clean metal base |
| Flaking layers | Remove old seasoning | Smooth surface |
| Uneven coating | Apply thin oil layer | Even, tough coat |
Repeat seasoning if needed for a resilient pan surface.
Best Cooking Techniques for Seasoned Frying Pans
When you cook with a well-seasoned frying pan, you get the best results by using medium to medium-high heat to preserve the seasoning and prevent sticking. Here are some top techniques to help you make the most of your pan:
- Preheat your pan slowly to avoid thermal shock and maintain seasoning.
- Use oils with high smoke points like avocado or grapeseed for cooking.
- Avoid acidic ingredients like tomatoes or vinegar, which can break down the seasoning layer.
- Clean your pan with hot water and a soft brush immediately after use—skip soap to protect the seasoning.
Following these simple techniques ensures your pan stays non-stick and flavorful for years to come, making every meal better and easier to cook.
Frequently Asked Questions
Can I Season a Non-Stick Frying Pan?
You shouldn’t season a non-stick frying pan because it already has a coating designed to prevent sticking. Adding oil buildup can damage its surface and reduce its effectiveness, so stick to gentle cleaning instead.
Does Seasoning Affect the Flavor of Food?
Seasoning doesn’t paint your food with extra flavor; it’s like a silent guardian, preventing sticking and rust.
You won’t taste the seasoning itself, but your dishes will cook more evenly and taste just right.
Can I Use My Oven for Seasoning?
Yes, you can use your oven for seasoning. Just coat your pan with oil, place it upside down in a preheated oven at 375°F, and bake for an hour.
Let it cool inside to build a durable non-stick layer.
Is Seasoning Necessary for Ceramic Pans?
No, you don’t need to season ceramic pans like cast iron. They come with a non-stick surface, so just clean them gently and avoid high heat to keep that coating in great shape.
How Long Does the Seasoning Process Take?
The seasoning process usually takes about an hour. You’ll heat the pan with oil for 30-60 minutes, then let it cool completely.
Repeating this a few times builds a strong, nonstick surface you’ll love.
Conclusion
So, you’ve mastered seasoning your frying pan—congratulations, kitchen wizard! Now your pan’s got a non-stick charm that’s basically magic. Just don’t go seasoning it with maple syrup or expect it to do your taxes.
Keep it clean, oil it right, and re-season when it throws a tantrum. Remember, your pan isn’t a diva—well, maybe a little—but treat it right, and it’ll cook like a dream, not a nightmare.
Bon appétit! Proper seasoning of your frying pan ensures a durable, non-stick surface that enhances your cooking experience. Follow these simple steps for seasoning a frying pan to maintain its performance and longevity.