Make End Grain Cutting Boards in 7 Easy Steps
Choose dense hardwoods like maple or walnut to make durable end grain cutting boards.
Start by cutting uniform strips with squared edges for a consistent pattern. Using food-safe PVA glue, glue and clamp the strips tightly to create a solid base.
Next, slice and rearrange the glued pieces to showcase the unique end grain pattern you desire. Glue the rearranged segments firmly, making sure all edges are tightly aligned for a seamless finish. This step is crucial for both strength and aesthetics.
Finally, sand the board from coarse to fine grit until the surface is smooth and even. Apply a food-safe finish to protect the wood and enhance its natural beauty.
Follow these steps, and you’ll craft a beautiful, long-lasting cutting board with lasting appeal.
Key Takeaways
- Select dense, non-toxic hardwoods with tight grain for durability and food safety.
- Cut uniform wood strips, square edges, and label for easy tracking during assembly.
- Glue strips with food-safe waterproof PVA and clamp evenly to ensure tight, flat joints.
- Slice glued blocks into strips, rearrange for end grain patterns, and glue with precise alignment.
- Sand progressively from coarse to fine grit, then apply a food-safe finish to protect and enhance the board.
Choose the Best Hardwoods for End Grain Cutting Boards

Before you begin crafting your end grain cutting board, you’ll want to select the best hardwoods that balance durability, aesthetics, and food safety. Hardwoods like maple, walnut, and cherry are excellent choices because they’re dense, resist knife marks, and won’t dull your blades. Maple offers a light, clean look, while walnut provides rich, dark tones, and cherry adds warm reddish hues.
Avoid softwoods or open-grain woods like oak since they can harbor bacteria and wear down quickly. Also, steer clear of toxic or oily woods. By choosing hardwoods known for their tight grain and non-toxic properties, you guarantee your cutting board will last longer, look great, and stay safe for food prep.
This careful selection sets the foundation for a quality end grain board.
Cut and Prepare End Grain Wood Strips Precisely

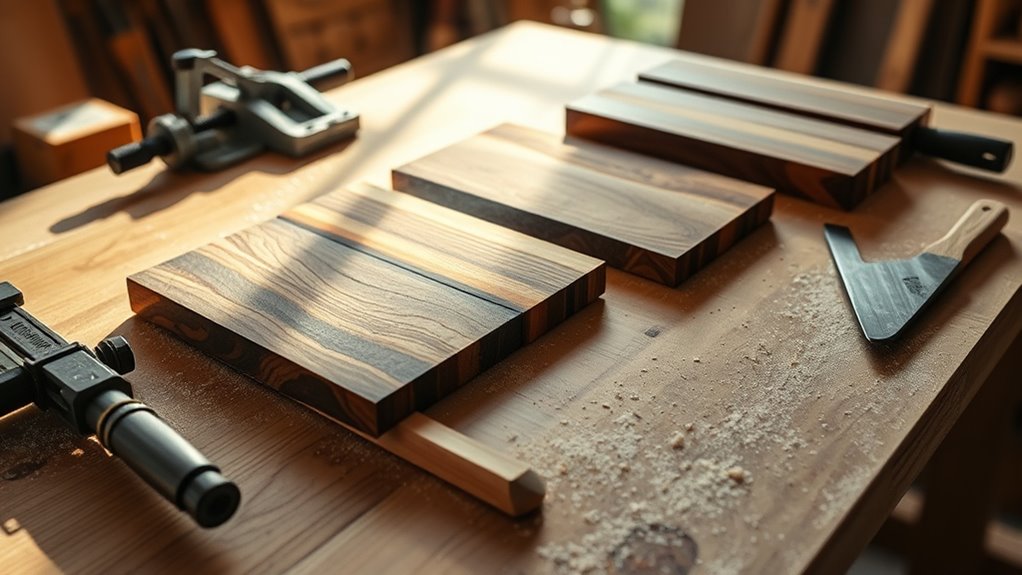
Once you’ve selected your hardwoods, cut them into uniform strips with a table saw or a reliable hand saw, ensuring each piece is the exact width and thickness you planned for. Precision here is essential; even slight variations can affect the final board’s stability and appearance. Use a sharp blade and steady feed rate to avoid tear-out or uneven edges.
After cutting, square the edges by running each strip through a jointer or planing them carefully. This step guarantees tight, seamless joints later. Measure twice before each cut to maintain consistency.
Label your strips if they’re from different wood species or grain orientations to keep track. Taking your time now will save headaches as you progress, ensuring your end grain cutting board looks professional and durable.
Glue and Clamp Wood Strips for a Strong Bond
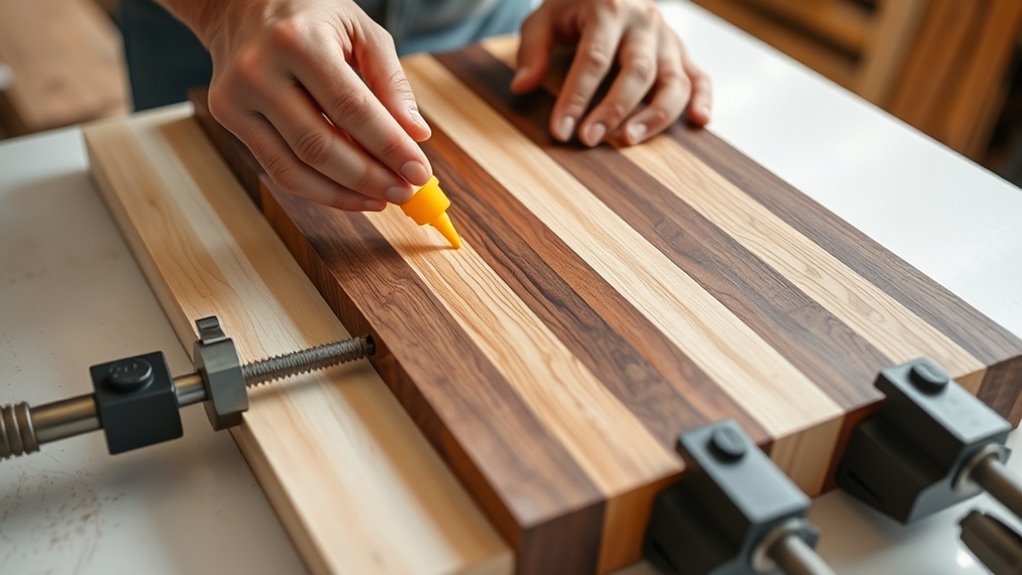
You’ll want to pick a strong, waterproof adhesive to guarantee your cutting board holds up over time. Applying even pressure with the right clamping technique is just as important to create a solid bond.
Let’s look at how to choose the best glue and clamp your wood strips effectively.
Choosing the Right Adhesive
Selecting the right adhesive is essential for creating a durable end grain cutting board that won’t fall apart over time. You’ll want to choose a glue specifically designed for woodworking, such as a high-quality PVA (polyvinyl acetate) glue. These glues create strong, water-resistant bonds that hold up well against moisture and daily use.
Avoid general household glues—they won’t provide the lasting strength you need. When selecting glue, look for one that offers a longer open time; this gives you enough working time to arrange your wood strips precisely before clamping. Also, make sure the glue is non-toxic and food-safe once cured, since your cutting board will come into contact with food.
Using the right adhesive sets the foundation for a sturdy, long-lasting board.
Effective Clamping Techniques
After spreading your food-safe glue evenly on the wood strips, the next step is to clamp them tightly to guarantee a strong bond. Position the strips so their edges align perfectly, then use bar clamps or pipe clamps to apply even pressure across the entire length. Avoid over-tightening, which can squeeze out too much glue and weaken the joint.
Place a caul or scrap wood between the clamp and your board to prevent clamp marks. Check that the strips don’t shift while tightening. Leave the clamps on for the glue’s recommended drying time, usually at least an hour.
Proper clamping ensures your cutting board’s end grain pieces fuse securely, resulting in a durable, stable surface that will last through years of kitchen use.
Slice and Rearrange Pieces for the End Grain Pattern
Now that your glued board is set, it’s time to slice it into strips and rearrange them to create the end grain pattern. Pay close attention to how the grain aligns to achieve a balanced and visually appealing design.
This step is key to turning simple pieces into a stunning cutting board.
Cutting Board Pattern Design
When you slice your wood pieces, you open the opportunity to rearrange them into striking end grain patterns that enhance both the board’s durability and visual appeal. Begin by laying out your slices in various configurations to see how the grain direction forms unique designs. You can create checkerboards, stripes, or more intricate geometric patterns by alternating wood species or slice orientations.
Keep symmetry and balance in mind to achieve a cohesive look. Don’t hesitate to experiment—sometimes flipping or rotating a piece can transform the entire pattern. Remember, the pattern you design now will define your cutting board’s character, so take your time.
Once you settle on a design, you’re ready to move forward with assembling your beautifully patterned end grain cutting board.
Aligning Wood Grain Pieces
Once you finalize your cutting board pattern, it’s time to carefully align the wood grain pieces to bring that design to life. Start by slicing your glued wood block into strips, then rearrange these pieces so the end grain faces upward, showcasing the beautiful patterns.
Pay close attention to how the grain lines flow; alternating colors and grain directions adds visual interest and strength. Use clamps to hold the pieces tightly together, ensuring no gaps appear. Double-check alignment before gluing to prevent mistakes.
This step requires patience and precision, but it’s essential for a crisp, professional look. Once aligned and secured, your board will display that stunning checkerboard or striped end grain effect you envisioned.
Check Alignment and Glue the Rearranged Pieces Firmly
Before the glue sets, carefully check the alignment of your rearranged pieces to assure the edges fit together seamlessly. Misaligned pieces can cause gaps or uneven surfaces, so adjust them until everything is perfect.
Once aligned, apply even pressure using clamps to confirm the glue bonds firmly. Don’t rush—allow the glue to cure fully for a durable hold.
| Step | Action | Tip |
|---|---|---|
| 1 | Inspect edges | Look for gaps or misfits |
| 2 | Adjust pieces | Tap lightly for alignment |
| 3 | Apply glue evenly | Cover all contact surfaces |
| 4 | Clamp securely | Use uniform pressure |
| 5 | Let cure fully | Follow glue manufacturer’s time |
This careful process guarantees a solid, seamless cutting board foundation.
Sand and Smooth Your End Grain Cutting Board Surface
Although the glue has cured, your work isn’t finished yet; sanding the surface guarantees your end grain cutting board feels smooth and looks polished. Start with a coarse grit sandpaper, like 80 or 100 grit, to level any uneven joints or glue residue. Use a sanding block or an orbital sander to keep pressure even and avoid gouges.
Gradually progress to finer grits—120, then 220—to refine the surface and remove scratches from previous sanding. Don’t forget to sand the edges and corners to prevent sharp spots. Wipe away dust between grits with a damp cloth or tack cloth to check your progress clearly.
Taking your time during sanding ensures a flawless, comfortable cutting surface that’s ready for finishing.
Apply Finish to Protect and Beautify Your Board
To protect your end grain cutting board and bring out its natural beauty, you’ll want to apply a suitable finish that seals the wood and resists moisture. Food-safe finishes like mineral oil or a beeswax and mineral oil blend work best. Start by applying a generous coat of mineral oil with a clean cloth, rubbing it thoroughly into the wood.
Let it soak for several hours or overnight, then wipe off excess oil. For added protection and shine, apply a beeswax finish after the oil has dried. Repeat this process regularly to maintain the board’s condition and prevent drying or cracking.
Avoid finishes with harmful chemicals to keep your board safe for food prep. Proper finishing extends your board’s life and enhances its natural grain.
Frequently Asked Questions
How Do I Prevent My Cutting Board From Warping Over Time?
You can prevent your cutting board from warping by regularly oiling it with mineral oil, avoiding soaking it in water, drying it flat, and storing it away from direct heat or sunlight to maintain its shape and durability.
What Tools Are Essential for Making an End Grain Cutting Board?
You’ll need a table saw, planer, jointer, clamps, and random orbital sander. Don’t forget wood glue and a router for smooth edges. These tools help you create precise, durable end grain cutting boards efficiently.
Can I Use Recycled Wood for an End Grain Cutting Board?
You can use recycled wood for an end grain cutting board, but remember, “one man’s trash is another man’s treasure.”
Just make sure the wood is clean, food-safe, free of chemicals, and properly dried before crafting your board.
How Often Should I Reapply the Finish on My Cutting Board?
You should reapply the finish every few weeks or whenever your cutting board looks dry or dull. Regular oiling keeps it protected, prevents cracking, and maintains that smooth, food-safe surface you want for slicing.
Are End Grain Cutting Boards Dishwasher Safe?
No, you shouldn’t put end grain cutting boards in the dishwasher. The heat and water can cause warping and cracking.
Instead, hand wash them with mild soap, dry immediately, and oil regularly to keep them in great shape.
Conclusion
Now that you’ve mastered these seven steps, your end grain cutting board will be as sturdy and timeless as Excalibur itself. Just like the legendary sword, your board combines strength and beauty, ready to serve in your kitchen battles for years to come.
Keep honing your craft, and remember—every slice you make honors the skill and care you put into creating this masterpiece. Your culinary adventure starts here!
With your new end grain cutting board, you’re equipped to enhance your kitchen experience. Enjoy the durability, functionality, and stunning design that only a handcrafted cutting board can provide. Happy cooking and cutting!