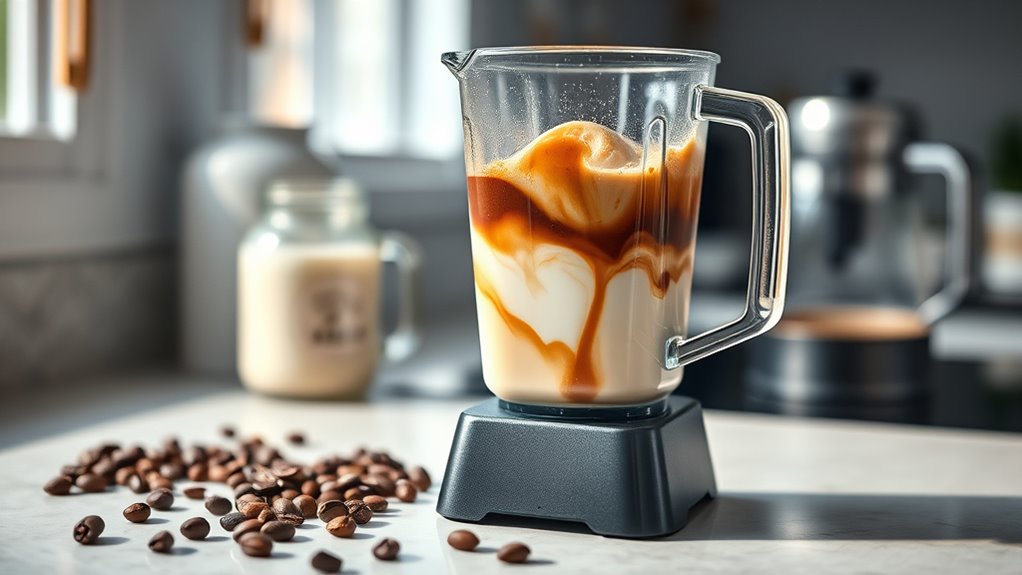
How to Make Cofee Milkshake in Small Blender
To make a coffee milkshake in your small blender, start by brewing strong, cooled coffee using quality beans. This step ensures a rich coffee flavor that stands out in your milkshake.
Using a small blender is convenient and perfect for single servings, making it easy to enjoy a delicious coffee milkshake at home.
Pour the coffee and milk or milk alternative into the blender first, then add vanilla ice cream or frozen yogurt.
Blend in short pulses until smooth, adjusting thickness by adding more liquid or ice cream.
Sweeten with sugar or syrup to taste.
Serve immediately in chilled glasses with toppings if you like.
Keep exploring to discover tips for perfecting and storing your shake.
This simple method will help you create a creamy and refreshing coffee milkshake every time.
Key Takeaways
- Brew strong, cooled coffee using quality beans and measure about 2 tablespoons per 6 oz water for rich flavor.
- Add liquids first, then ice cream or frozen coffee to the small blender, and use pulse blending for about 30 seconds.
- Adjust thickness by adding milk to loosen or more ice cream to thicken the milkshake as needed.
- Serve immediately in chilled tall glasses with optional toppings like whipped cream or cinnamon for best taste.
- Clean the blender jar promptly by rinsing, adding dish soap, blending briefly, then rinsing again to maintain performance.
Ingredients and Equipment for Your Coffee Milkshake
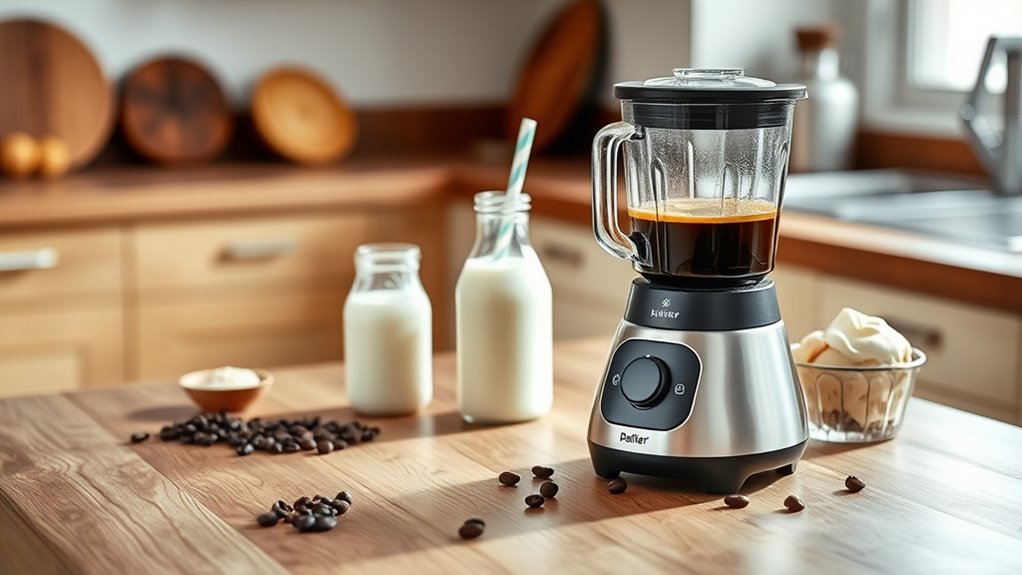
Before you start blending, gather all the ingredients and equipment you’ll need for your coffee milkshake. You’ll need strong brewed coffee, preferably cooled, to give that rich flavor. Grab some vanilla ice cream or frozen yogurt for creaminess.
Milk or a milk alternative helps adjust the thickness. Sweeten it with sugar, honey, or flavored syrup according to your taste.
For equipment, your small blender is key. Make sure it has enough power to crush ice and blend thick ingredients smoothly. A measuring cup or spoons help keep your proportions right.
You’ll also want a tall glass for serving and a spoon or straw to enjoy your shake. Having everything ready guarantees a smooth, quick process without interruptions.
How to Brew the Perfect Coffee for Your Milkshake

To make a great coffee milkshake, start by choosing high-quality coffee beans that suit your taste. Next, pick a brewing method that brings out the rich flavors you want in your shake. Getting these steps right will set a solid foundation for a delicious treat.
Choosing Coffee Beans
How do you pick the right coffee beans to make your milkshake truly stand out? Start by choosing fresh, high-quality beans with a rich aroma. Opt for medium or dark roasts since their bold flavors blend well with milk and ice cream, giving your milkshake a deep, satisfying coffee taste.
Avoid overly light roasts as they may taste too acidic or weak once blended. Single-origin beans can add unique flavor notes, but if you prefer a balanced cup, go for a well-crafted blend. Also, check the roast date on the bag—freshness matters.
Store your beans in an airtight container, away from heat and light, to keep them flavorful until you’re ready to brew. Your coffee bean choice sets the foundation for a delicious coffee milkshake.
Brewing Techniques
Since the quality of your brewed coffee directly impacts your milkshake’s flavor, you’ll want to master the right brewing techniques. Start by using fresh, cold water and a clean coffee maker to avoid unwanted flavors. Brew your coffee slightly stronger than usual because it will be diluted by milk and ice.
If you’re using a drip coffee maker, aim for a ratio of about 2 tablespoons of coffee per 6 ounces of water. For a quicker method, try instant coffee but choose a high-quality brand. Let the coffee cool completely before blending it with ice and milk to prevent melting and thinning your milkshake.
Choose the Best Milk and Cream for Your Coffee Milkshake
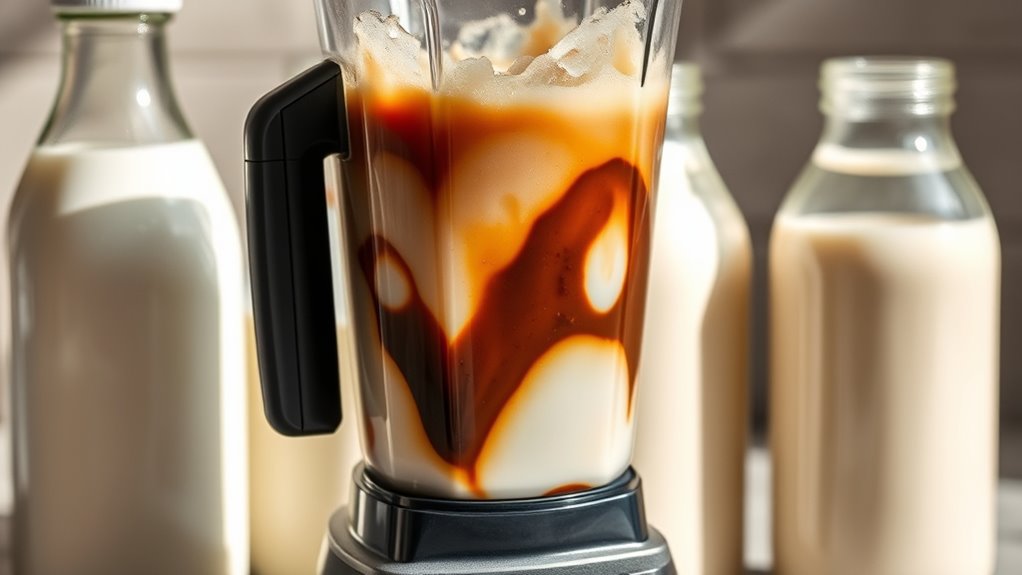
What kind of milk or cream you pick can make or break your coffee milkshake. Choosing the right one sets the texture and richness, enhancing the coffee’s flavor without overpowering it. If you want a creamy, indulgent milkshake, whole milk or heavy cream works best.
For a lighter option, try almond or oat milk—they add subtle sweetness and keep it smooth. Here’s a quick guide to help you decide:
| Milk/Cream Type | Emotion it Evokes |
|---|---|
| Whole Milk | Comforting, rich |
| Heavy Cream | Decadent, indulgent |
| Almond Milk | Light, nutty |
| Oat Milk | Smooth, cozy |
| Skim Milk | Clean, revitalizing |
Pick what feels right for your mood and enjoy every sip!
Add Sweeteners and Flavors to Your Coffee Milkshake
Once you’ve picked the perfect milk or cream to set the base, it’s time to bring your coffee milkshake to life with the right sweeteners and flavors. Start by adding sugar, honey, or your favorite syrup to balance the bitterness of the coffee. You can use white or brown sugar for a classic touch, or flavored syrups like vanilla or caramel for extra richness.
Don’t forget to weigh natural sweeteners like agave or maple syrup if you want a healthier twist. For added depth, sprinkle in a pinch of cinnamon, nutmeg, or cocoa powder. You might also try a splash of vanilla extract or a few drops of almond essence to elevate the taste.
Adjust these additions to suit your preference before moving on to blending.
Blend Your Coffee Milkshake in Minutes
You’ll want to blend your coffee milkshake quickly to keep it smooth and creamy. Using a small blender saves time and makes cleanup easier.
Just pulse a few times until everything’s perfectly mixed.
Quick Blending Tips
Although blending a coffee milkshake may seem straightforward, using the right techniques can save you time and guarantee a perfectly smooth texture. Start by adding your liquid ingredients first, like milk or brewed coffee, which helps the blades move freely. Then, add ice cream or frozen coffee cubes to avoid overworking your blender.
Use the pulse function initially to break down larger chunks quickly, then switch to a continuous blend for about 30 seconds. Don’t overload your blender, as crowding ingredients can slow the process and create uneven blending. If your milkshake looks too thick, add a splash of milk gradually instead of all at once.
Following these tips ensures your coffee milkshake comes out creamy and well-mixed every time, with minimal effort.
Efficient Small Blender Use
When working with a small blender, prioritizing ingredient order and portion size helps you blend your coffee milkshake quickly and smoothly. To make the most of your small blender, follow these steps:
- Add liquids first, like milk and coffee, to create a smooth base.
- Next, add ice cream or frozen ingredients to ease blending.
- Keep your portions moderate—overloading slows down the blades.
- Use the pulse function in short bursts to avoid overheating.
Get the Perfect Texture and Consistency
How exactly do you achieve that smooth, creamy texture that makes a coffee milkshake irresistible? Start by adding your ingredients in the right order—liquids first, then ice cream or frozen coffee cubes. This helps your small blender work efficiently without straining.
Blend on medium speed initially to break down the solids, then switch to high for about 20-30 seconds to create a velvety consistency. If the shake feels too thick, add a splash of milk or brewed coffee to loosen it up. Avoid over-blending, which can make it watery or frothy.
Finally, pause and check the texture; it should be thick enough to coat your spoon but smooth enough to sip easily. With these steps, you’ll get that perfect coffee milkshake consistency every time.
Customize Your Coffee Milkshake With Tasty Extras
Once you’ve mastered the ideal texture for your coffee milkshake, you can start making it truly your own by adding flavorful extras. These additions can elevate your drink and satisfy your unique cravings.
Here are four tasty options to try:
- Chocolate Syrup – Drizzle some in for a mocha twist.
- Whipped Cream – Top it off for a creamy, indulgent finish.
- Cinnamon or Nutmeg – Sprinkle a pinch to add warmth and spice.
- Vanilla Extract – Mix in a few drops for a subtle sweetness boost.
Feel free to experiment with these extras or combine them to create your perfect coffee milkshake. Your blender’s small size won’t stop you from crafting big flavors!
Fix Common Coffee Milkshake Problems Fast
If your coffee milkshake isn’t turning out just right, don’t worry—you can fix common problems quickly with a few simple tweaks. If it’s too thin, add more ice cream or frozen coffee cubes to thicken it up. Too thick? Pour in a splash of milk or brewed coffee while blending.
If the taste is too bitter, sweeten it with a little sugar, honey, or flavored syrup. For a bland shake, boost the coffee flavor by adding a shot of espresso or instant coffee powder. If your blender struggles or leaves chunks, pulse it in short bursts or chop ingredients smaller before blending.
These quick fixes will help you enjoy a smooth, balanced coffee milkshake every time without frustration.
Store and Serve Your Coffee Milkshake Right
To keep your coffee milkshake fresh, store it in an airtight container in the fridge right after making it. When you’re ready to serve, give it a quick stir or blend to restore its creamy texture.
Serving it chilled in a tall glass with a straw will make it even more enjoyable.
Proper Storage Techniques
Although coffee milkshakes are best enjoyed fresh, you can store leftovers properly to maintain their flavor and texture. Follow these simple steps to keep your milkshake delicious:
- Use an airtight container: This prevents air exposure, keeping the shake creamy and fresh.
- Refrigerate promptly: Store the milkshake in the fridge within two hours to avoid spoilage.
- Consume within 24 hours: For the best taste and safety, finish your milkshake within a day.
- Stir before serving: Separation may occur; just give it a quick stir to restore its smooth texture.
Ideal Serving Tips
Keeping your coffee milkshake fresh is just the start—serving it properly can elevate the entire experience. First, chill your serving glasses in the freezer for about 10 minutes; this keeps your milkshake colder longer. Use a wide straw and a long spoon to enjoy every creamy sip and thick swirl.
If you’re adding toppings like whipped cream, chocolate shavings, or a sprinkle of cinnamon, add them right before serving to maintain their texture. Serve immediately after blending to enjoy the best flavor and consistency. If you need to store leftovers, cover the milkshake tightly and refrigerate, but know it’s best consumed within 24 hours.
Following these simple tips guarantees every sip of your coffee milkshake is as delightful as the first.
Healthy Coffee Milkshake Variations to Try
When you want to enjoy a coffee milkshake without the guilt, experimenting with healthy variations can make all the difference. You don’t have to skip the creamy texture or rich flavor to keep it nutritious. Try these four quick swaps:
- Use unsweetened almond or oat milk instead of regular milk to cut calories.
- Add a scoop of protein powder to boost energy and keep you full longer.
- Blend in a frozen banana for natural sweetness and creaminess without added sugar.
- Sprinkle in cinnamon or nutmeg for antioxidants and a flavor kick without extra calories.
These tweaks keep your coffee milkshake delicious and healthier, so you can indulge without compromise. Enjoy blending!
Keep Your Small Blender Clean and Ready
How often do you clean your small blender? Keeping it spotless guarantees your coffee milkshake tastes fresh every time. After blending, rinse the jar immediately with warm water to prevent residue buildup.
For a quick clean, add a drop of dish soap and some warm water, then blend for 30 seconds. Rinse thoroughly afterward. Don’t forget to wipe the base and buttons with a damp cloth to avoid sticky messes.
Regularly check and clean the blade area carefully to prevent clogging. Avoid submerging the motor base in water. By maintaining your blender this way, you’ll extend its lifespan and keep it ready for your next delicious coffee milkshake.
Cleanliness truly makes all the difference in flavor and performance.
Frequently Asked Questions
Can I Use Decaf Coffee for a Milkshake?
Yes, you can use decaf coffee for a milkshake. It gives you the same rich flavor without the caffeine kick, so you can enjoy it anytime without worrying about staying awake or feeling jittery later.
How Long Does a Coffee Milkshake Stay Fresh in the Fridge?
Coincidentally, your coffee milkshake stays fresh about 24 to 48 hours in the fridge. You’ll want to drink it quickly, though, because after that, the flavor and texture start to change and won’t taste as good.
What Blender Speed Is Best for Coffee Milkshakes?
You should use a medium to high blender speed for coffee milkshakes. It blends ingredients smoothly without overheating.
Start medium, then boost if needed, ensuring a creamy texture without overworking your small blender’s motor.
Can I Make a Coffee Milkshake Without Ice Cream?
Yes, you can make a coffee milkshake without ice cream. Just use chilled milk, strong brewed coffee, a bit of sugar, and blend well.
Adding frozen banana or yogurt helps create a creamy texture without ice cream.
Is It Better to Use Hot or Cold Brewed Coffee?
You’ll get a smoother taste using cold brewed coffee since it’s less bitter and less acidic. Hot brewed coffee can make your milkshake watery if it melts the ice cream or ice too quickly, so cold is better.
Conclusion
Now that you know how to brew, blend, and perfect your coffee milkshake in a small blender, it’s time to enjoy, experiment, and share. You can customize, sweeten, and chill your shake just the way you like.
Remember to clean, store, and serve it right to keep the goodness fresh every time. With these simple steps, making a delicious coffee milkshake in a small blender is easy, fun, and satisfying.
Enjoy your perfect cup of coffee milkshake and explore new flavors to make it even better. Making coffee milkshake in a small blender ensures convenience without compromising taste. Embrace the process and savor every sip!