How Do You Use the Ninja Blender
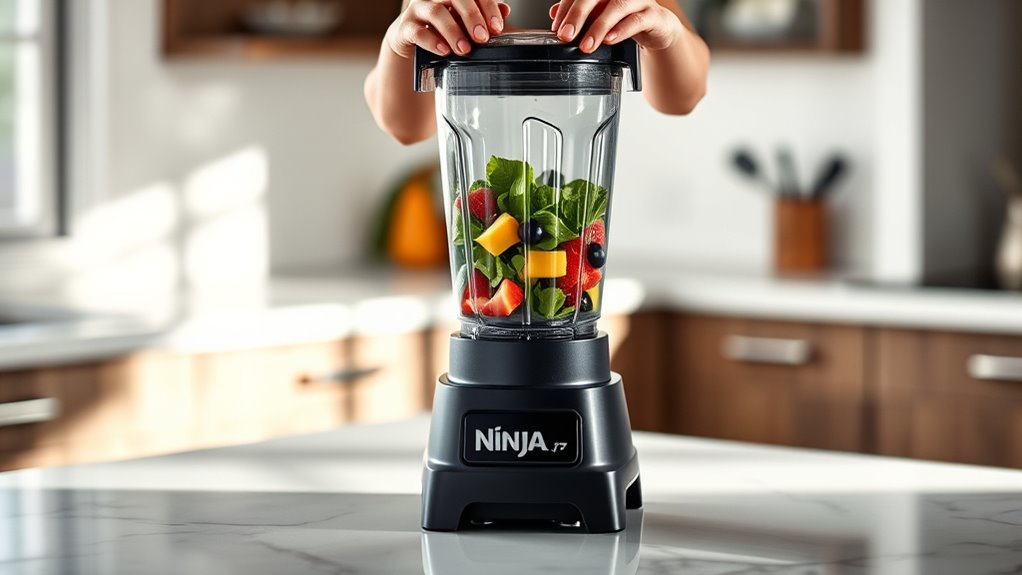
To use your Ninja Blender effectively, start by assembling the pitcher and blade securely onto the base before plugging it in. Selecting the right blade is essential—choose the Total Crushing blade for ice and hard ingredients or the Precision blade for softer foods. Proper assembly and blade choice ensure optimal performance and perfect blends every time.
Add your ingredients carefully without overfilling the pitcher. Lock the lid tightly to prevent spills, then select the appropriate preset or speed setting on your Ninja Blender. For tougher chunks, start pulsing before blending continuously until smooth.
After blending, clean all parts promptly to maintain your blender’s longevity. Keep experimenting with different settings and ingredients to uncover useful tips for perfect blends and easy troubleshooting.
Key Takeaways
- Assemble the pitcher and blades securely on the base before plugging in the blender.
- Add ingredients without overfilling and secure the lid tightly before blending.
- Use preset functions or adjust speed controls based on the recipe and ingredient toughness.
- Start blending with pulse for tough ingredients, then switch to continuous blending at high speed.
- Clean all parts immediately after use by rinsing and blending warm soapy water for maintenance.
Setting Up Your Ninja Blender for First Use
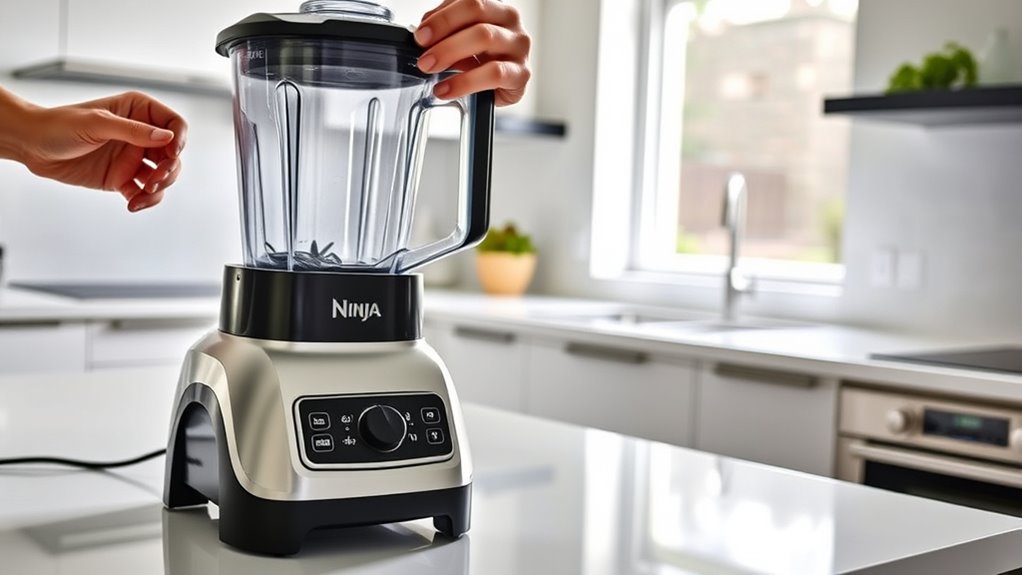
How do you get your Ninja Blender ready for its first use? Start by unpacking all the components and placing them on a clean surface. Before you plug it in, give the pitcher and lid a thorough wash with warm, soapy water to remove any manufacturing residues.
Rinse and dry them completely. Take a moment to read the user manual so you understand the basic functions and safety tips. Once everything’s dry, position the blender base on a sturdy, flat surface near an outlet.
Make sure the power cord is untangled and won’t get in the way. Now you’re set to assemble and start blending safely. Taking these simple steps guarantees your Ninja Blender works smoothly from day one.
Get to Know Your Ninja Blender Parts and Blades
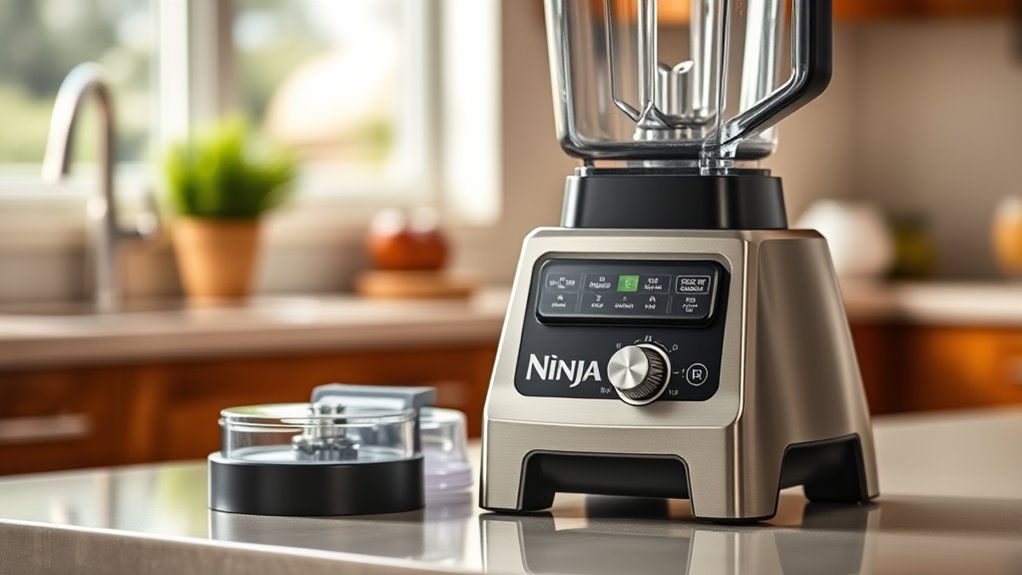
Before you start blending, it’s important to identify each part of your Ninja Blender and understand the different blade types. You’ll also want to learn how to assemble everything correctly to keep things safe.
Knowing these basics will help you get the best results every time.
Identifying Blender Components
Where should you start when getting familiar with your Ninja Blender? Begin by identifying the main components: the base, pitcher, lid, and blades. The base houses the motor and controls.
The pitcher, usually made of durable plastic or glass, holds your ingredients. The lid fits securely on top to prevent spills. Inside the pitcher, you’ll find the blade assembly attached at the bottom.
This part is essential for chopping, blending, and pureeing. You’ll also notice the control panel on the base, featuring buttons or dials for different speeds and functions. Some models include a tamper tool to help push ingredients toward the blades.
Types Of Ninja Blades
Although Ninja Blenders come with various blade types, each serves a specific purpose to help you achieve the perfect texture for your recipes. You’ll typically find Total Crushing Blades designed for ice and frozen fruits, giving you smooth smoothies and crushed ice.
The Precision Blades are great for chopping vegetables or making salsa, providing consistent, even cuts. There are also Dough Blades, which help knead dough without overworking it. Some models include Specialty Blades, like the Nutri Ninja blades that extract nutrients by breaking down tough ingredients.
Knowing which blade to use means you’ll get the best results every time, whether you’re blending, chopping, or crushing. Keep these blade types in mind to make your Ninja Blender work smarter for you.
Assembly And Safety Tips
Knowing your Ninja Blender blades sets the stage for safe and easy assembly. You’ll find that each blade is designed for specific tasks, so always match the blade to your recipe. Before you start, make sure the blender is unplugged to avoid accidents.
Handle the blades carefully—they’re extremely sharp. When attaching the blade, place it securely onto the pitcher or cup, then twist it until it locks firmly in place. Check for a tight seal to prevent leaks during blending.
Always assemble the pitcher or cup onto the base before plugging in. After use, detach blades carefully and clean them immediately to maintain sharpness and hygiene. Following these assembly and safety tips helps you enjoy your Ninja Blender efficiently and safely every time.
Choosing the Best Blade and Container for Your Ninja Blender
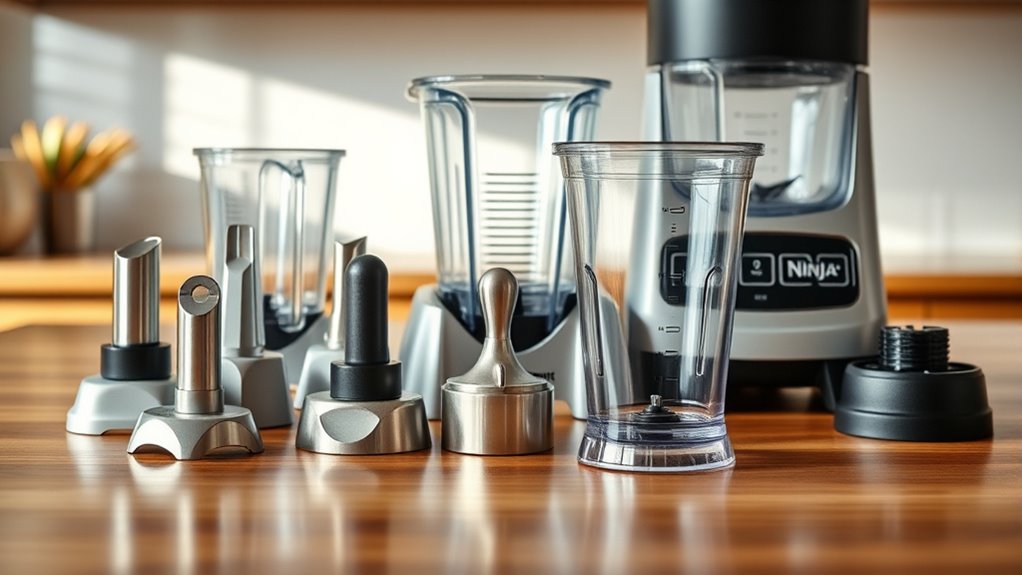
Before you start blending, you’ll want to select the right blade and container to match your recipe and desired texture. Ninja blenders typically come with multiple blades designed for different tasks. Use the Total Crushing blade for ice, frozen fruits, and tough ingredients, while the Precision Processor blade works best for chopping and pureeing softer foods.
When it comes to containers, choose one based on the quantity and consistency you need. The large pitcher is perfect for smoothies and soups, while smaller cups suit single servings or dressings. Also, consider the container material—BPA-free plastic is lightweight and durable, while glass offers better scratch resistance.
Matching the blade and container correctly guarantees efficient blending and helps you get the perfect texture every time.
Mastering Ninja Blender Settings and Controls
Once you’ve chosen the right blade and container, it’s time to get familiar with your Ninja blender’s settings and controls to make the most of its features. Start by identifying the buttons or dial on your model—most have presets like “Smoothie,” “Ice Crush,” or “Pulse.” Use these for consistent results without guesswork.
If your blender offers variable speed control, experiment by starting slow to break down ingredients, then increase speed for a smooth finish. Don’t forget the pulse function; it gives you precise control for chunky or coarse textures. Always *verify* the lid is securely locked before blending.
Mastering these controls helps you tailor the blending process to your recipe, making your Ninja blender a versatile and efficient kitchen tool.
Ingredients That Blend Best in Your Ninja Blender
Although your Ninja blender handles a wide range of ingredients, some blend more efficiently than others, guaranteeing smoother textures and less wear on your machine. To get the best results, focus on these ingredients:
Your Ninja blender works best with certain ingredients for smoother blends and less machine wear.
- Soft fruits like bananas, berries, and mangoes blend quickly and create creamy textures without much effort.
- Leafy greens such as spinach and kale blend well when combined with some liquid, helping you get a smooth consistency.
- Liquid-based ingredients like yogurt, milk, or juice help your blender’s blades move freely, reducing stress on the motor.
Avoid overloading your blender with hard, dry ingredients without liquid; it can cause uneven blending and strain the motor.
Choosing the right ingredients guarantees your Ninja blender performs at its best and lasts longer.
Ninja Blender Tips for Smoothies and Frozen Drinks
To get the best results with your Ninja blender, start by prepping your ingredients properly—cut fruits into smaller pieces and slightly soften frozen items. Use the right blending speed settings to achieve a smooth texture without overworking the motor.
These simple steps will help you create perfect smoothies and frozen drinks every time.
Optimal Ingredient Preparation
When preparing ingredients for your Ninja blender, cutting fruits and vegetables into smaller pieces helps the blades work efficiently and guarantees a smoother blend. You’ll also want to factor in the order in which you add ingredients to avoid clogging and ensure even mixing.
Follow these tips for ideal preparation:
- Add liquids first to create a vortex that pulls ingredients toward the blades.
- Layer soft fruits and leafy greens next for easy chopping.
- Place harder items like frozen fruits and ice cubes on top to get crushed last.
Blending Speed Settings
Since different ingredients require varying levels of power, you’ll want to choose the right blending speed on your Ninja blender to achieve the perfect texture for your smoothies and frozen drinks. Start with a low speed to break down softer fruits and liquids, then gradually increase to a higher setting for tougher ingredients like frozen fruit or ice. Use the pulse function for quick bursts to control blending and prevent over-processing.
For creamy smoothies, blend on medium to high speeds until smooth. When crushing ice, select the highest speed or the dedicated ice-crushing setting if your model has one. Adjusting speeds lets you customize texture, avoiding chunks or overly thin blends.
Experimenting with speed settings guarantees your Ninja blender delivers consistent, delicious results every time.
Crushing Ice and Blending Tough Ingredients With Your Ninja Blender
Although crushing ice and blending tough ingredients might seem challenging, your Ninja Blender handles these tasks with ease. To get the best results, follow these steps:
Crushing ice and tough ingredients is easy with your Ninja Blender—just follow these simple steps for perfect results.
- Fill the pitcher with ice or tough ingredients, but avoid overfilling to guarantee smooth blending.
- Use the pulse function initially to break up large chunks before switching to a continuous blend.
- Adjust the speed setting to high for tougher ingredients or ice, allowing the powerful blades to work efficiently.
Your Ninja Blender’s strong motor and sharp blades are designed to crush ice and blend fibrous foods effortlessly. Just remember to secure the lid tightly and avoid pushing ingredients down with utensils while blending.
This way, you’ll enjoy perfectly crushed ice and smooth textures every time.
Cleaning and Maintaining Your Ninja Blender
How often should you clean your Ninja Blender to keep it running smoothly? Ideally, you should clean it after every use to prevent residue buildup and maintain performance. Start by unplugging the blender, then disassemble the pitcher, blade assembly, and lid.
Rinse them under warm water immediately to remove leftover food. For a deeper clean, fill the pitcher halfway with warm water, add a drop of dish soap, and blend on low for 30 seconds. Rinse thoroughly afterward.
Wipe the base with a damp cloth—never immerse it in water. Regularly check the blade assembly for dullness or damage, and replace it if needed to guarantee safe, efficient blending. Keeping your Ninja clean and well-maintained extends its lifespan and ensures every blend tastes fresh.
Fixing Common Ninja Blender Problems and Troubleshooting
Keeping your Ninja blender clean helps prevent many common issues, but sometimes you might still face problems like the blender not starting, leaking, or unusual noises.
Here’s how you can troubleshoot these problems quickly:
- Blender Not Starting: Ensure the pitcher is properly seated and the lid is locked. Check the power source and reset the blender if needed.
- Leaking: Tighten the blade assembly and inspect the gasket for damage. Replace the gasket if it’s worn out.
- Unusual Noises: Stop the blender and check for foreign objects or misaligned blades. Clean and realign blades carefully before use.
Following these steps will have your Ninja blender running smoothly again in no time.
Frequently Asked Questions
Can I Use My Ninja Blender to Make Hot Soups?
Yes, you can use your Ninja blender to make hot soups. Just blend cooked ingredients and use the heating function if available, or transfer to a pot to heat.
It’s quick, easy, and perfect for creamy soups!
Is the Ninja Blender Dishwasher Safe?
Absolutely, you can toss your Ninja blender parts into the dishwasher like a Viking conquering new lands.
Just remove the blade assembly, and the pitcher, lid, and other components are dishwasher safe for easy, modern cleanup.
What Recipes Work Best for Meal Prep With a Ninja Blender?
You’ll love using your Ninja blender for smoothies, soups, sauces, and dips—perfect for meal prep. It easily blends veggies, fruits, and proteins, helping you create nutritious, ready-to-go meals that save time throughout your week.
How Long Is the Ninja Blender Warranty Period?
You’re covered for a decent amount of time—Ninja blenders typically come with a one-year warranty. That means if something goes sideways, you’ve got a safety net for parts and repairs, keeping your blending smooth and worry-free.
Can the Ninja Blender Be Used to Grind Coffee Beans?
Yes, you can grind coffee beans with your Ninja Blender. Just add a small amount of beans, pulse in short bursts, and watch them break down to your preferred grind size.
Don’t overblend to avoid overheating.
Conclusion
Now that you’ve unfastened the power of your Ninja blender, you’re ready to turn ordinary ingredients into silky smoothies and icy delights with a flick of the wrist.
Think of it as your kitchen’s trusty sidekick, blending and crushing with unstoppable force. Keep it sharp, clean, and cared for, and it’ll keep dancing through your recipes like a ninja in the night—swift, smooth, and silently powerful.
Happy blending with your Ninja blender, and enjoy creating delicious smoothies, frozen drinks, and more with ease and precision!