How to Use a Silicone Cake Pan in 7 Easy Steps
To use a silicone cake pan in 7 easy steps, start by lightly greasing and flouring the pan for easy release. Silicone cake pans are flexible and non-stick, making them a great choice for baking.
Next, mix your batter until smooth but avoid overmixing to keep the texture perfect.
Pour the batter evenly into the pan, filling no more than two-thirds full. Tap the pan gently to remove any air bubbles and ensure even baking.
Bake at a slightly lower temperature than you would with traditional pans to prevent over-browning.
Once baked, allow the cake to cool fully before loosening the edges.
Carefully remove the cake from the silicone pan to keep its shape intact.
Finally, clean and store the pan properly to maintain its quality for long-lasting use. Keep exploring for detailed tips to perfect each step.
Key Takeaways
- Lightly grease the silicone pan and place it on a baking sheet for stability before pouring the batter.
- Pour batter evenly, filling no more than two-thirds of the pan, and gently tap to remove air bubbles.
- Lower oven temperature by 25°F (15°C) and check for doneness 5-10 minutes earlier than usual.
- Cool the cake in the pan for 10-15 minutes, then loosen edges and carefully invert to remove.
- Wash the pan with warm, soapy water using a soft sponge, dry thoroughly, and store flat in a cool, dry place.
Prep Your Silicone Pan for Easy Cake Release
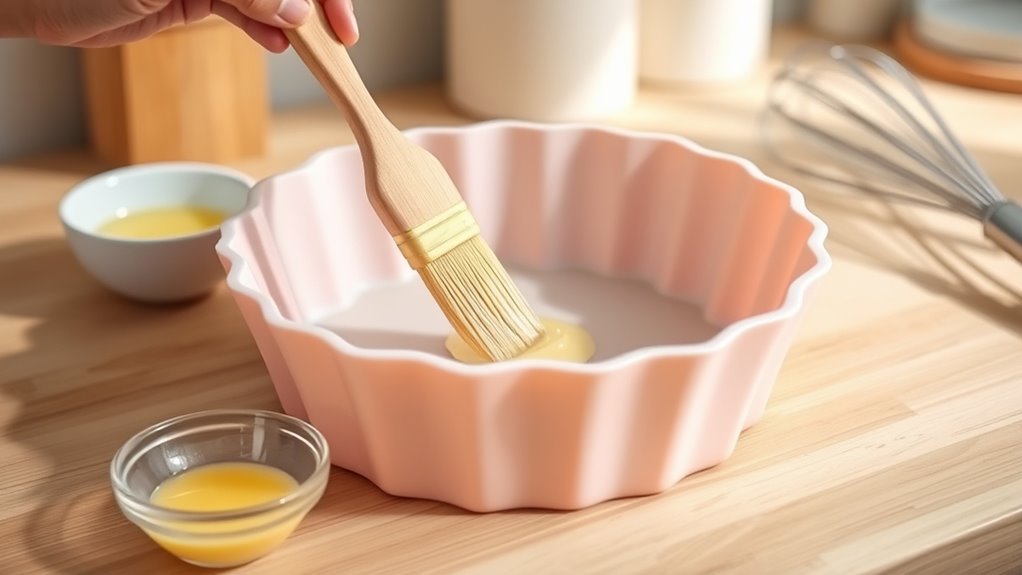
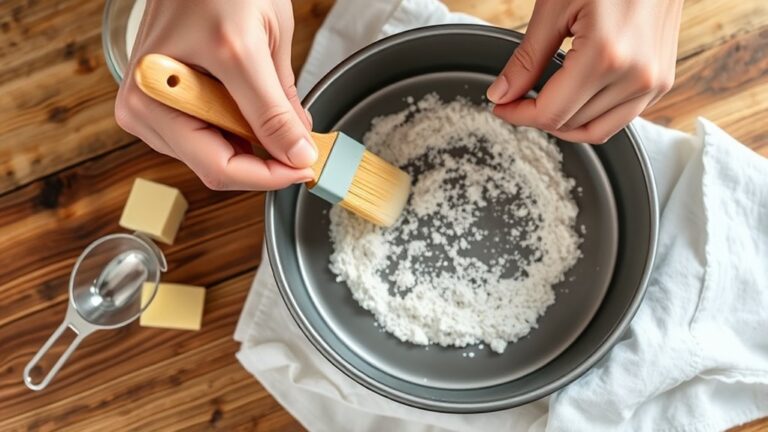
Before you pour your batter, make sure to prep your silicone pan to guarantee your cake releases smoothly. Although silicone pans are naturally non-stick, lightly greasing the surface with a bit of oil or butter helps prevent any sticking, especially with intricate designs or first-time use. You can also dust the pan with flour after greasing to add extra insurance.
Avoid using cooking sprays containing lecithin, as they can build up a residue. Place your pan on a baking sheet to provide stability, since silicone pans are flexible. This step won’t affect sticking but makes handling easier.
Taking these simple prep steps ensures your cake comes out cleanly, preserving its shape and making cleanup faster and less frustrating.
Mix Batter for Silicone Pan Baking
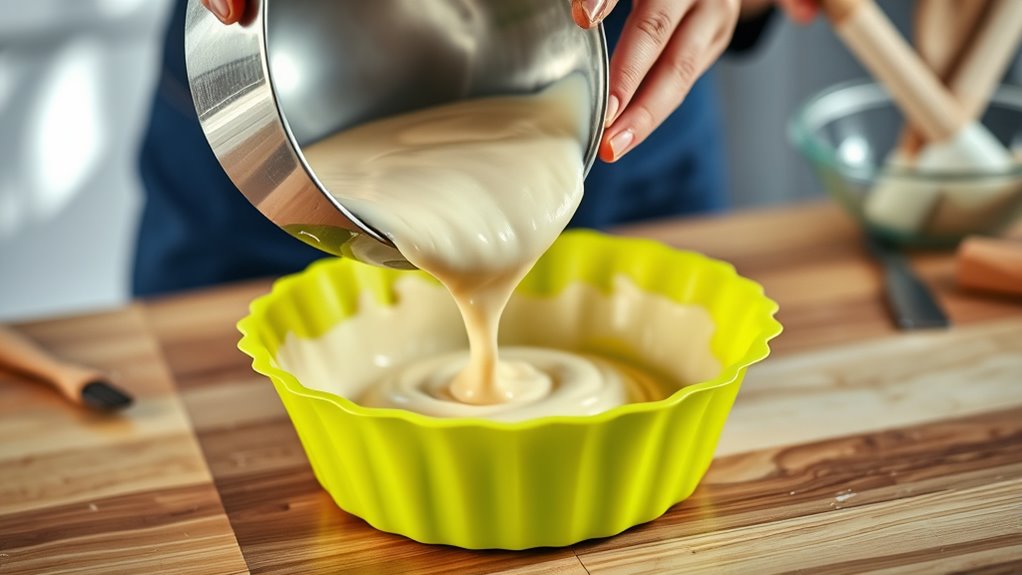
You’ll want to pick ingredients that work well with silicone pans to get the best texture. Aim for a batter consistency that’s smooth but not too runny, so it bakes evenly.
And be careful not to overmix, since that can make your cake tough instead of light and fluffy.
Choosing the Right Ingredients
Although silicone pans are flexible and non-stick, choosing the right ingredients can make a big difference in how your cake turns out. You want to pick ingredients that complement silicone’s heat distribution, ensuring even baking and a tender crumb.
Use fresh leavening agents like baking powder or baking soda to help your cake rise properly. Incorporate fats like oil or butter for moisture, and choose quality flour for structure. Avoid overly dense ingredients that might weigh the batter down.
| Ingredient | Purpose |
|---|---|
| Baking Powder | Helps cake rise |
| Butter/Oil | Adds moisture |
| Flour | Provides structure |
| Eggs | Bind and leaven |
| Sugar | Sweetens and tenderizes |
Achieving Proper Batter Consistency
When mixing batter for a silicone cake pan, achieving the right consistency guarantees even baking and easy release. Aim for a smooth, pourable batter that’s not too runny or thick. If it’s too thin, your cake may spread too much and lose shape.
If it’s too thick, it might bake unevenly or stick inside the pan’s creases. Use a spatula to fold ingredients gently until combined, ensuring no lumps remain. Check the batter by lifting the spatula—if it flows slowly but steadily, you’re good.
Adjust with small amounts of liquid (milk, water) or dry ingredients (flour, cocoa) to fix consistency. Getting this balance right helps your silicone pan work its magic, giving you a perfectly baked cake every time.
Avoiding Overmixing Techniques
Since silicone pans promote even baking, mixing your batter just enough is essential to avoid overworking it. Overmixing can develop gluten, leading to a dense, tough cake instead of a light, tender crumb. To prevent this, combine your ingredients gently using a spatula or wooden spoon.
Fold the dry ingredients into the wet ones with slow, deliberate motions rather than vigorous stirring. Stop mixing as soon as you see no more dry flour pockets. If your recipe calls for beating eggs or sugar, do so separately before folding in the other components.
Pour Batter Evenly Into the Silicone Pan
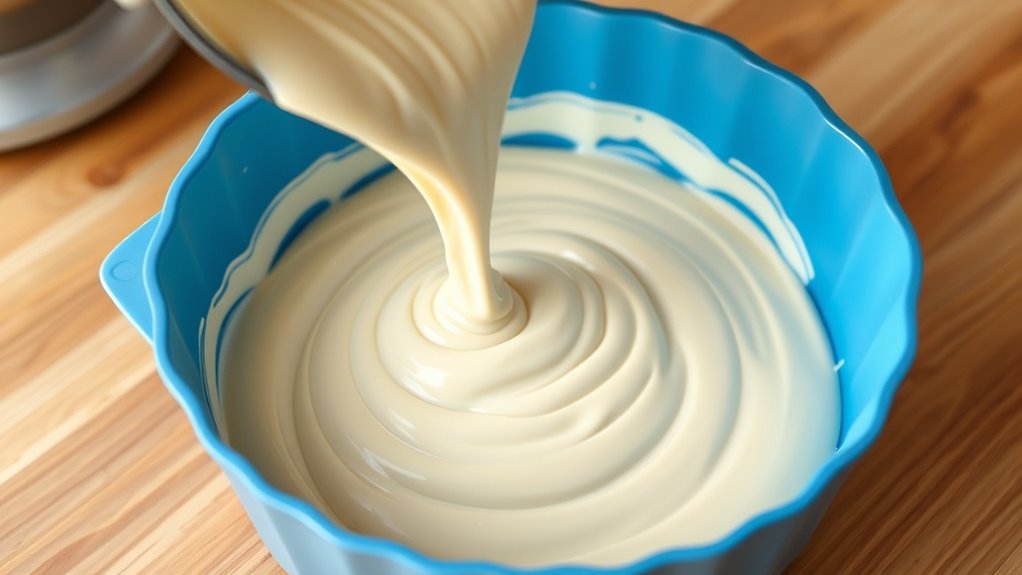
When you pour your batter into the silicone pan, make sure to spread it evenly to promote a uniform bake. Don’t overfill the pan, as silicone expands slightly and can cause spills.
Use a spatula as a guide to level the batter smoothly across the surface.
Level Batter For Even Bake
Although silicone pans are flexible, you’ll want to pour the batter evenly to guarantee a uniform bake. Leveling the batter helps prevent uneven rising and assures your cake turns out beautifully consistent. After pouring, gently tap the pan on the counter to release air bubbles and help the batter settle.
To level your batter effectively:
- Use a spatula to smooth the surface with gentle strokes
- Check the pan on a flat surface to spot uneven spots
- Avoid pressing too hard to keep the batter light
- Rotate the pan slightly while smoothing for balance
- Take a moment to adjust before placing it in the oven
Leveling the batter sets you up for a perfect, evenly baked cake every time.
Avoid Overfilling The Pan
Once you’ve leveled the batter, be careful not to overfill the pan. Silicone pans are flexible, so batter can easily spill over the edges during baking if you pour too much. Aim to fill the pan only about two-thirds full to leave enough room for the cake to rise without overflowing.
Pour the batter slowly and evenly into the center, allowing it to spread naturally toward the edges. If necessary, gently tilt the pan to help the batter settle evenly without sloshing out. Overfilling can cause uneven baking and messy spills in the oven, so keeping an eye on the batter level is essential.
This simple step ensures your cake bakes perfectly without any unwanted overflow or baking mishaps.
Use A Spatula Guide
To pour batter evenly into your silicone pan, use a spatula as a guide to control the flow and placement. Hold the spatula close to the pan’s surface and gently scrape the batter off your mixing bowl, directing it where you want it to land. This technique prevents spills and helps you distribute the batter uniformly, ensuring an even bake.
Here’s why using a spatula guide makes a difference:
- Keeps your workspace clean and mess-free
- Helps you avoid under- or overfilling spots
- Allows better control over batter thickness
- Reduces waste by scraping every bit from the bowl
- Makes pouring calming and satisfying
With this simple tool, pouring batter becomes easy, precise, and enjoyable every time.
Bake Your Cake at the Right Temperature and Time
When you bake your cake in a silicone pan, it’s important to adjust the temperature and time slightly to achieve the best results. Silicone pans conduct heat differently than metal ones, so lowering your oven temperature by about 25°F (15°C) helps prevent overbaking or burning.
You’ll also want to check your cake earlier than the recipe suggests—start testing for doneness around 5 to 10 minutes before the original baking time. Use a toothpick or cake tester inserted in the center; if it comes out clean, your cake is ready. Remember, every oven varies, so keep an eye on your cake’s progress.
Cool Your Cake Properly to Prevent Sticking
Adjusting your baking temperature and time sets you up for success, but how you cool your cake plays a big role in preventing it from sticking to the silicone pan. Once your cake is done, don’t rush to remove it. Instead, let it cool properly to maintain its shape and ease release.
Here’s how to do it right:
- Allow the cake to cool in the pan for 10-15 minutes
- Place the pan on a wire rack to promote even cooling
- Avoid sudden temperature changes that can cause sticking
- Gently run a thin spatula around the edges if needed
- Be patient—cooling helps the cake firm up and separate naturally
Following these steps ensures a smooth release and keeps your cake looking perfect.
Take Your Cake Out Without Breaking It
Carefully removing your cake from the silicone pan takes a bit of patience and the right technique to keep it intact. First, confirm your cake has cooled completely, or it might tear. Gently pull the edges of the silicone pan away from the cake to loosen it.
Avoid sharp tools; your fingers work best to prevent damage. Next, invert the pan onto a cooling rack or plate. Silicone is flexible, so slowly peel the pan back while supporting the cake with your other hand if needed.
If the cake feels stuck, give the pan a little wiggle rather than forcing it. Taking these steps will help your cake come out cleanly, preserving its shape and texture for a perfect presentation every time.
Clean and Store Your Silicone Cake Pan the Right Way
Although silicone pans are known for their easy cleanup, you should wash yours promptly after use to prevent residue buildup. Rinse the pan with warm water, then apply gentle dish soap. Use a soft sponge to avoid damaging the surface.
After cleaning, dry it thoroughly to prevent mold or odors.
When storing your silicone cake pan, keep these tips in mind:
- Store it flat or loosely rolled to maintain shape
- Avoid stacking heavy items on top
- Keep it in a cool, dry place
- Make sure it’s completely dry before storing
- Use a breathable storage bag to protect it from dust
Following these steps guarantees your pan stays flexible, clean, and ready for your next baking adventure.
Frequently Asked Questions
Can I Use a Silicone Pan for Recipes Other Than Cakes?
Yes, you can use a silicone pan for more than cakes. It’s great for brownies, muffins, even savory dishes like quiches or meatloaf.
Just remember to grease it lightly and adjust baking times as needed.
Are Silicone Pans Safe to Use in the Microwave?
Yes, you can safely use silicone pans in the microwave. Studies show 90% of silicone bakeware withstands up to 450°F without releasing toxins, so you won’t have to worry about harmful chemicals when reheating your food.
How Do Silicone Pans Compare to Metal Pans in Baking?
You’ll find silicone pans heat more evenly and release cakes easily, while metal pans brown better and get hotter faster. Silicone’s flexible, but metal gives crispier edges.
Choose based on your baking priorities and preferences.
Can Silicone Pans Withstand Freezing and Thawing?
Imagine freezing a berry mousse in a silicone pan; yes, you can! Silicone pans withstand freezing and thawing well, letting you store desserts without damage.
Just be gentle when unmolding to keep your creation intact.
Do Silicone Pans Give Cakes a Different Texture or Taste?
You won’t notice a significant difference in taste with silicone pans, but the texture might be slightly softer and more moist due to even heat distribution.
They won’t crisp edges like metal pans do, though.
Conclusion
With these simple steps, your silicone cake pan will become your trusty baking companion. Imagine the smooth glide as your cake effortlessly slips free, revealing golden edges and a tender crumb. The soft flexibility of the pan makes every bake a breeze, from mixing to cooling.
Treat your silicone pan right, and it’ll reward you with countless beautifully baked creations. Each one a sweet, delicious masterpiece ready to delight your senses. Using a silicone cake pan ensures easy release, even baking, and hassle-free cleanup every time.