How to Reseason a Blackstone Griddle
You should reseason your Blackstone griddle whenever food starts sticking, rust appears, or the surface looks dull. Proper Blackstone griddle seasoning is essential to maintain a smooth, non-stick cooking surface and extend the life of your griddle.
Regular maintenance through reseasoning helps prevent rust and ensures your griddle performs at its best.
Begin by scraping off debris and cleaning with mild soap, then dry thoroughly.
Heat the griddle to around 375°F, apply a thin layer of high-smoke-point oil, and let it smoke for 30-60 minutes.
Keep the surface oiled after each use to maintain seasoning.
Follow these steps, and you’ll keep your griddle cooking smoothly and lasting longer.
Learn how to perfect this process and keep your griddle in top shape.
Key Takeaways
- Identify wear signs like rust, food sticking, or flaking seasoning to know when to reseason your Blackstone griddle.
- Clean the griddle thoroughly using a scraper, warm soapy water, and dry completely before starting reseasoning.
- Apply a thin, even layer of high-smoke-point oil, then heat the griddle between 375°F and 400°F for 30-60 minutes.
- After cooking, scrape off residue, avoid harsh soaps, and lightly reapply oil while the surface is still warm.
- Store the griddle covered and dry, and regularly inspect and maintain seasoning to prevent rust and ensure longevity.
Quick Guide: How to Reseason Your Blackstone Griddle
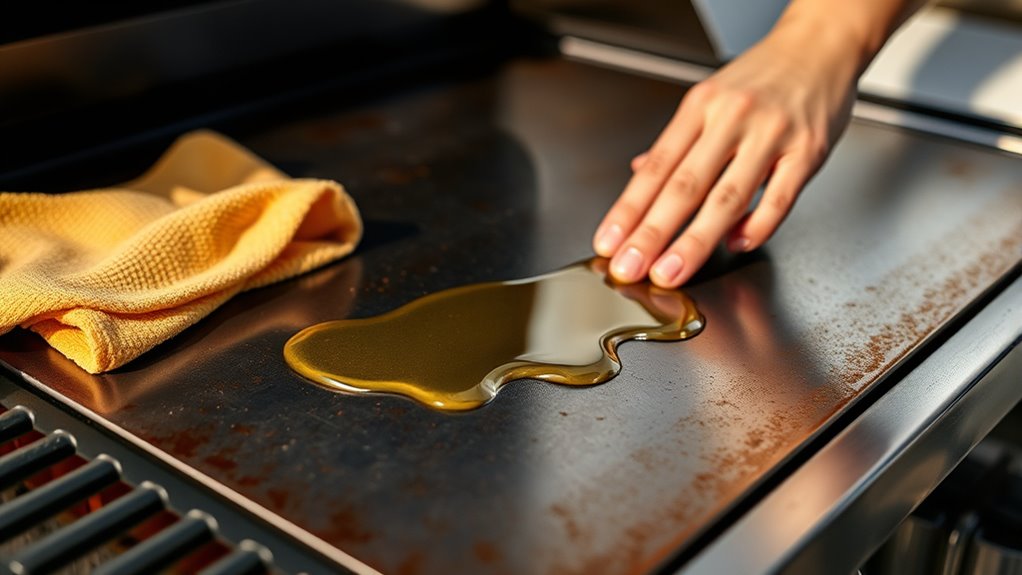
Wondering how to bring your Blackstone griddle back to life? Start by cleaning it thoroughly. Scrape off any food residue with a metal spatula, then wipe the surface with warm, soapy water.
Rinse and dry it completely. Next, preheat your griddle on medium-high for about 10 minutes. Apply a thin, even layer of cooking oil—like flaxseed or vegetable oil—across the entire surface using a paper towel.
Let the griddle heat until the oil starts to smoke, then spread the oil again. Repeat this heating and oiling process two to three times to build a durable seasoning layer. Once done, let the griddle cool down naturally.
This process restores a non-stick surface and protects your griddle from rust, ensuring great cooking results every time.
When to Reseason Your Blackstone Griddle
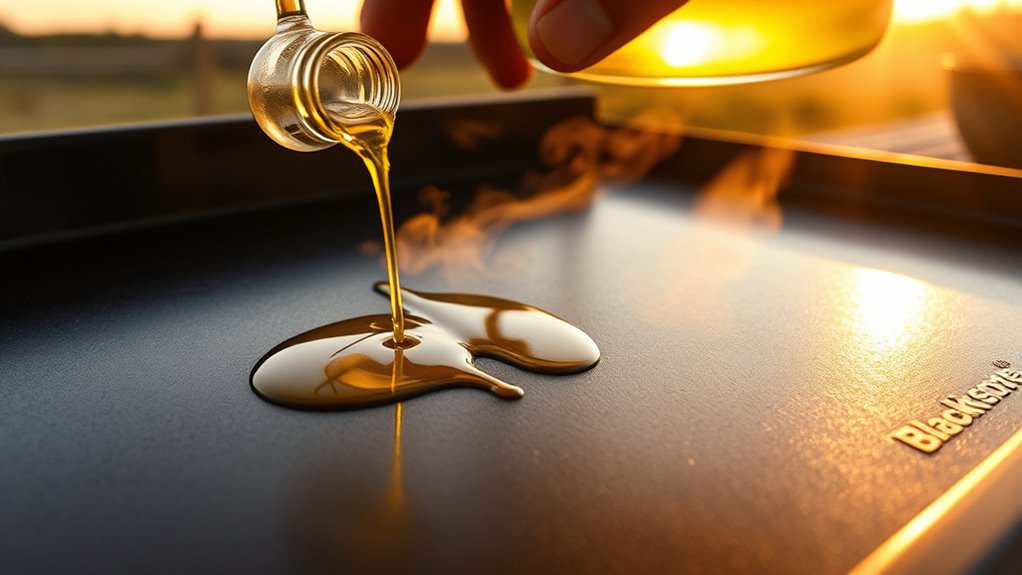
You should reseason your Blackstone griddle when you notice signs of wear like rust, food sticking, or a dull surface. How often you reseason depends on how frequently you use it and how well you maintain it.
Keeping an eye on these indicators will help you know exactly when it’s time to reseason.
Signs Of Wear
Although Blackstone griddles are built to last, certain signs indicate it’s time to reseason yours. Watch for dull or patchy spots where the seasoning wears thin, exposing bare metal. If you notice rust forming, that’s a clear signal to reseason immediately to prevent further damage.
Another sign is food starting to stick more than usual, which means the protective layer is breaking down. You might also see uneven color changes or flaking seasoning, indicating your griddle’s surface needs revitalizing. Ignoring these signs can lead to uneven cooking and a shorter lifespan for your griddle.
Frequency Of Reseasoning
How often should you reseason your Blackstone griddle to keep it performing at its best? The answer depends on how frequently you use it and how well you maintain it. Generally, reseasoning every few months works well, but certain situations call for it sooner.
Consider reseasoning your griddle if you notice any of the following:
- Food starts sticking more than usual
- The cooking surface looks dull or patchy
- You’ve scrubbed it down heavily after use
- You see rust forming anywhere on the surface
- It’s been stored unused for an extended period
Tools and Supplies Needed for Reseasoning
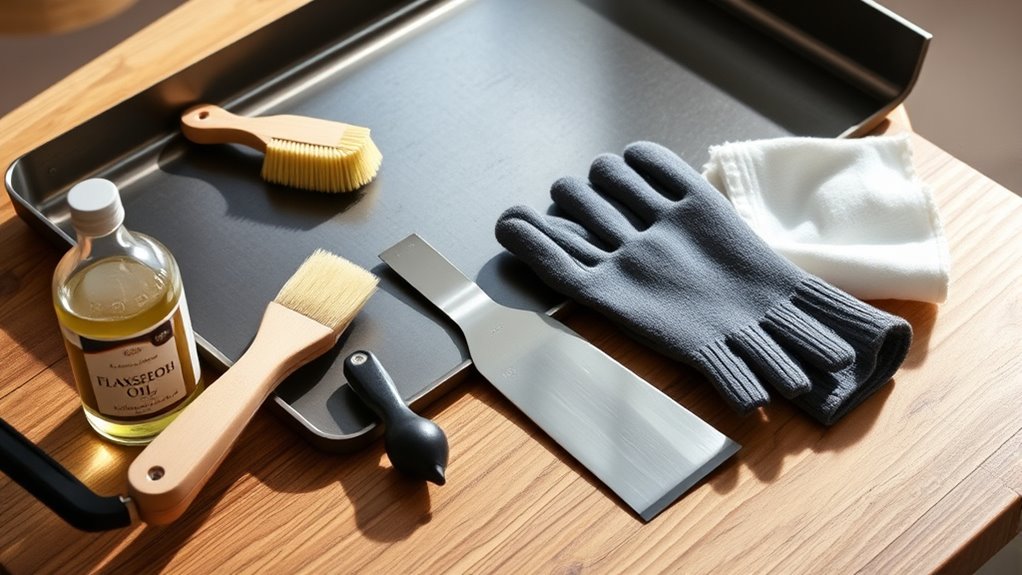
You’ll need a few essential tools to get started, like a scraper and a clean cloth. For seasoning, high-smoke-point oils such as flaxseed or canola work best.
Having the right supplies on hand will make the reseasoning process smooth and effective.
Essential Tools Overview
Before you start reseasoning your Blackstone griddle, gather the right tools and supplies to make the process smooth and effective. Having everything ready guarantees you won’t interrupt your workflow or miss critical steps.
Here’s what you’ll need:
- Griddle scraper or spatula – to remove debris and old seasoning residue
- Heat-resistant gloves – to protect your hands from the hot surface
- Paper towels or clean cloths – for wiping and spreading oil evenly
- Cooking oil with a high smoke point – essential for creating the seasoning layer
- A brush or applicator – to apply oil precisely without waste
With these tools on hand, you’ll be ready to reseason efficiently and extend your griddle’s lifespan.
Recommended Seasoning Supplies
Gathering the right seasoning supplies makes the reseasoning process easier and more effective. You’ll want to have everything on hand before you start to avoid interruptions and guarantee a smooth reseasoning.
Here’s a concise list of what you’ll need:
| Supply | Purpose |
|---|---|
| Cooking oil | Creates a non-stick surface |
| Paper towels | For applying and wiping excess oil |
| Heat-resistant gloves | Protects your hands from heat |
| Stainless steel spatula | Helps spread oil evenly |
| Grill scraper | Cleans the griddle surface |
With these essentials, you’ll coat your Blackstone griddle evenly and safely, ensuring a durable, smooth seasoning layer that enhances cooking performance.
Cleaning Your Blackstone Griddle Before Reseasoning
Since a clean surface guarantees the best seasoning results, start by thoroughly scraping off any leftover food debris and grease from your Blackstone griddle. Use a metal spatula or scraper to remove stuck-on bits, making sure the surface is smooth and ready for cleaning.
Next, tackle any remaining residue with care.
Here’s a quick checklist to clean your griddle effectively:
- Wipe down with a damp cloth or paper towel to remove loose debris
- Use warm water and mild dish soap for stubborn grease spots
- Avoid harsh chemicals or abrasive scrubbers that damage the surface
- Rinse thoroughly to prevent soap residue
- Dry completely with a clean towel or let it air dry
Doing this guarantees your griddle is perfectly prepped for reseasoning, promoting long-lasting, non-stick performance.
Preparing the Surface for Reseasoning
Although you’ve cleaned your griddle thoroughly, you still need to prepare the surface properly to guarantee the seasoning bonds well. Start by heating your griddle on medium to medium-high heat until it’s warm but not smoking. This helps open the steel’s pores, allowing the oil to penetrate better.
Next, take a paper towel or clean cloth and wipe the surface with a small amount of high-smoke-point oil to remove any remaining residue or moisture. Use tongs to avoid burns. Make sure the surface is dry and free of any debris or leftover cleaning agents.
If you notice rust spots, gently scrub them with steel wool or a griddle scraper, then wipe clean. Proper prep ensures a smooth, durable seasoning layer.
Applying Oil and Setting Temperature for Best Seasoning
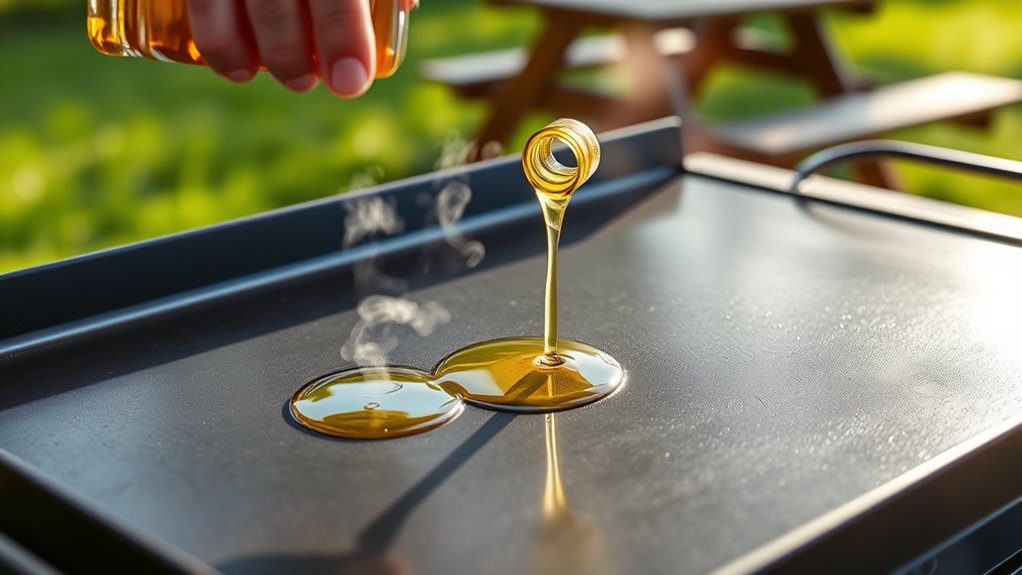
Once your griddle is warm and clean, apply a thin, even layer of high-smoke-point oil across the surface using a paper towel or cloth to guarantee proper seasoning. Use oils like flaxseed, grapeseed, or canola for their high smoke points.
Next, set your griddle’s temperature between 375°F and 400°F. This range allows the oil to polymerize and bond effectively with the metal. Keep the temperature steady throughout the process and avoid overheating, which can burn the oil.
Remember to:
- Use just a thin coat to prevent pooling
- Spread oil evenly to cover every inch
- Maintain consistent heat for 30-60 minutes
- Let the surface smoke lightly—that’s normal
- Turn off heat and let the griddle cool gradually
This method ensures a durable, non-stick seasoning layer.
How to Avoid Common Blackstone Griddle Reseasoning Mistakes
When you’re reseasoning your Blackstone griddle, avoiding common mistakes can save you time and frustration. One key error is applying too much oil, which causes sticky residue. Another is not heating the griddle evenly, leading to patchy seasoning.
Also, skipping the cleaning step can trap food particles, spoiling the surface.
| Mistake | Consequence | How to Fix |
|---|---|---|
| Over-oiling | Sticky surface | Use thin, even oil layers |
| Uneven heating | Patchy seasoning | Preheat gradually, evenly |
| Skipping cleaning | Food residue buildup | Thoroughly clean before start |
| Rushing process | Weak seasoning | Allow full heating time |
Stick to these tips for a smooth, durable seasoning process.
How to Build and Maintain Your Blackstone Griddle’s Seasoning
Mastering the seasoning process means you’ll need to focus on both building a strong initial layer and keeping it in good shape over time. Start by applying a thin, even coat of high-smoke point oil after cleaning your griddle. Heat it gradually to polymerize the oil, creating that non-stick, rust-resistant surface.
To maintain your seasoning, follow these steps:
- Clean the griddle with a scraper after each use to remove food residue
- Avoid harsh soaps that strip seasoning layers
- Reapply oil lightly after every cleaning while the surface is warm
- Cook fatty foods occasionally to boost the seasoning naturally
- Store your griddle covered and dry to prevent rust
Frequently Asked Questions
Can I Use Any Type of Oil to Reseason My Blackstone Griddle?
You can’t use just any oil; choose one with a high smoke point like flaxseed, grapeseed, or canola oil. These oils create a durable, non-stick coating without smoking excessively during seasoning. Avoid low smoke point oils.
How Long Does the Reseasoning Process Take From Start to Finish?
The reseasoning process usually takes about 1 to 2 hours. You’ll heat the griddle, apply oil, let it smoke and polymerize, then repeat the oiling and heating steps for a durable, non-stick surface.
Is It Safe to Reseason My Griddle Indoors?
You can reseason your griddle indoors, but guarantee proper ventilation. The process produces smoke and strong odors, so open windows and use fans to keep air flowing. Safety comes first, so avoid confined spaces.
How Often Should I Reseason My Blackstone Griddle for Best Results?
Think of your Blackstone griddle like a trusty pair of boots—you’ll want to reseason it every 10-15 uses or when food starts sticking. This keeps its surface smooth and ready for your next cooking adventure.
Regular reseasoning helps maintain a natural non-stick coating, making cooking easier and cleanup quicker.
If you notice any rust or dull spots, it’s a good indicator that reseasoning is needed. Keeping up with this routine ensures your griddle performs at its best for years to come.
Can Reseasoning Fix Rust Spots on My Blackstone Griddle?
Yes, reseasoning can fix rust spots on your Blackstone griddle. You’ll need to scrub off the rust, clean the surface, then apply oil and heat it thoroughly to restore the protective seasoning layer and prevent future rust.
Start by removing the rust with a scrubber or steel wool. Make sure the surface is clean and dry before proceeding.
Next, apply a thin layer of cooking oil evenly across the griddle. Heat the griddle until the oil bonds to the surface, creating a new seasoning layer.
Repeat the oil application and heating process if necessary to build up a strong, protective coating. This will help prevent rust from returning and keep your griddle in good condition.
Conclusion
Reseasoning your Blackstone griddle might seem like a chore, but it’s actually your secret weapon for long-lasting, nonstick cooking. Think of it like building a protective shield—each layer of oil polymerizes under heat, creating that perfect surface. Skipping reseasoning? You risk sticking and rust.
So, next time you clean up, take a few extra minutes to reseason. Your griddle will thank you with better flavor and easier cooking every time. Proper reseasoning is key to maintaining your Blackstone griddle’s durability and nonstick performance.