How to Remove Cake From Cake Pan in 7 Easy Steps
To remove cake from a cake pan cleanly, start by greasing and flouring the pan—or use cocoa powder for chocolate cakes. This step is crucial to prevent sticking and ensure easy release.
Once your cake is baked, let it cool fully in the pan to set its shape properly.
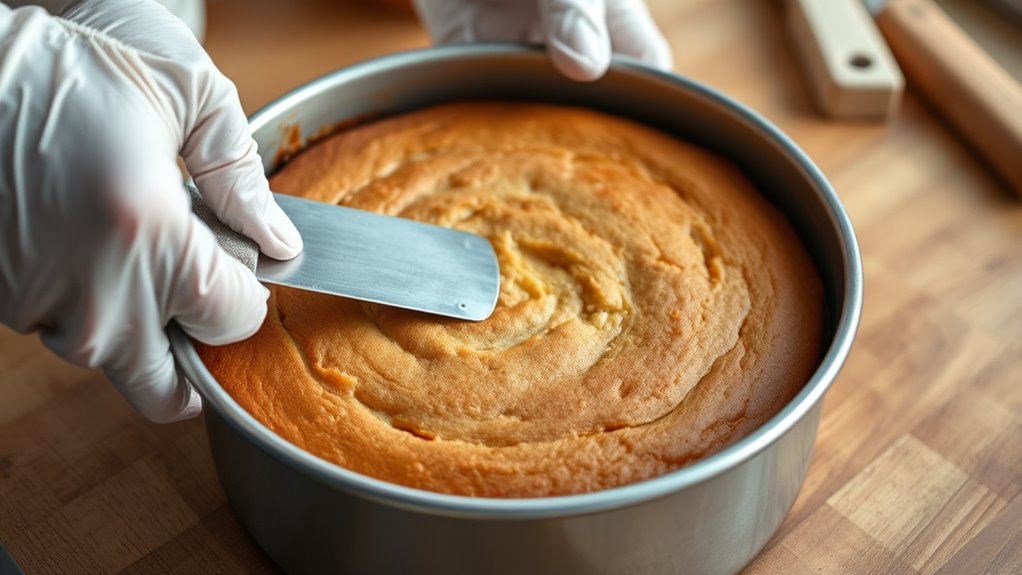
Next, gently loosen the edges with a thin knife or spatula.
Carefully flip or lift the cake using a wide spatula or cake lifter to avoid breaking it.
If your cake sticks or breaks, handle pieces gently and use crumbs creatively for decoration or filling.
By following these simple steps, you’ll keep your cake intact and ready to serve.
Explore further for expert tips on perfect cake handling and presentation.
Key Takeaways
- Lightly grease and flour or use parchment paper to prepare the cake pan for easy cake release.
- Allow the cake to cool completely in the pan to help it set and prevent crumbling.
- Gently loosen the cake edges with a thin knife or flexible spatula to avoid damage.
- Flip the cake onto a rack or plate using a smooth, steady motion to prevent cracks.
- Support the cake with a wide spatula or cake lifter when lifting to maintain its shape.
Prepare Your Cake Pan to Prevent Sticking
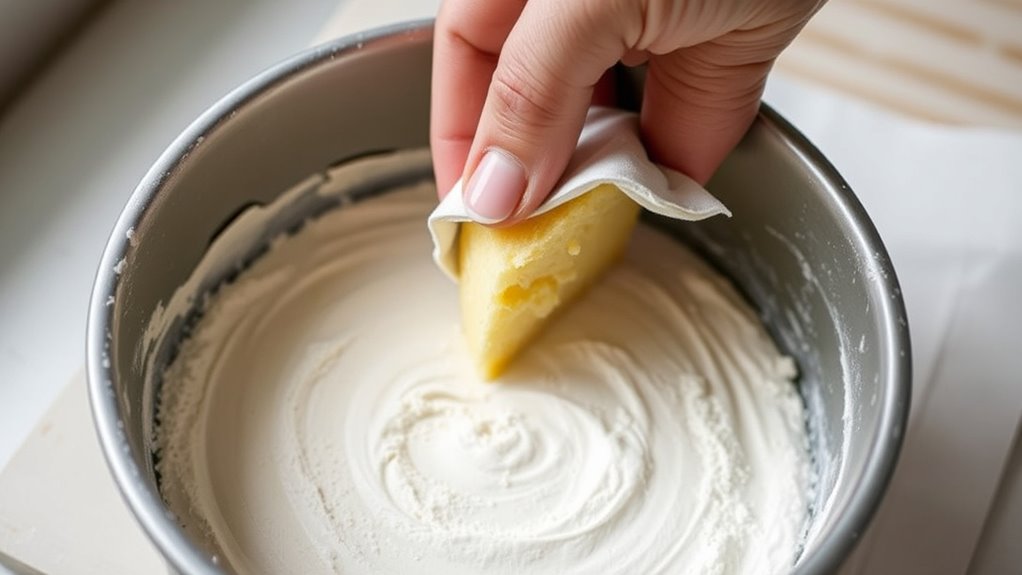
Before you bake, take a few simple steps to prepare your cake pan and prevent sticking. First, lightly grease the pan with butter or oil, covering every surface evenly. You can use a pastry brush or a paper towel for this.
Next, dust the pan with a thin layer of flour, tapping out any excess to avoid clumps. If you’re making a chocolate cake, try using cocoa powder instead of flour to prevent white residue. Alternatively, you can line the bottom with parchment paper, cutting it to fit perfectly.
This extra step ensures your cake won’t stick to the base. Taking these precautions makes removing your cake easier and keeps it intact, saving you from frustration and preserving its beautiful shape.
Let Your Cake Cool Properly Before Removing
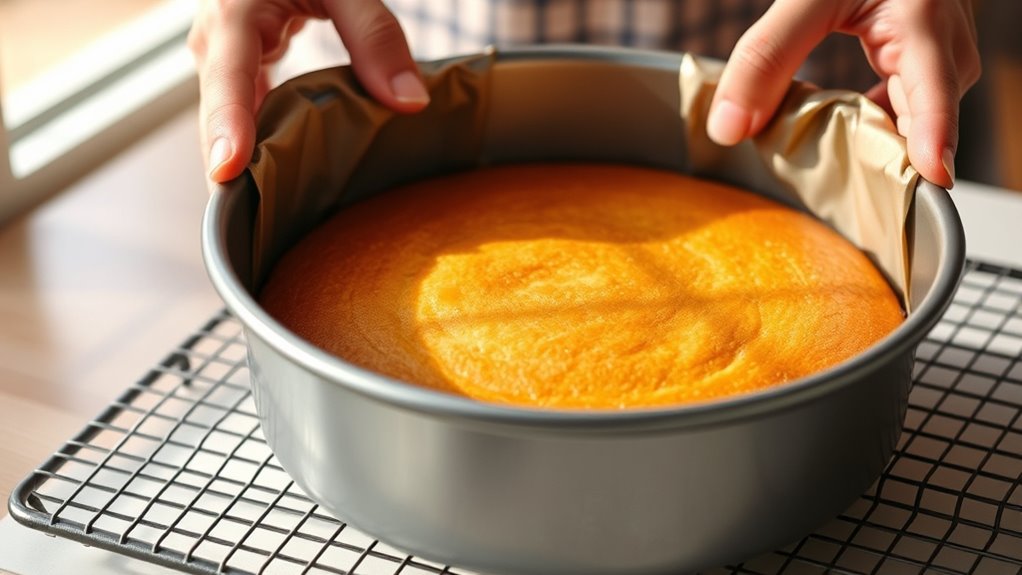
You’ll want to let your cake cool properly before removing it from the pan to avoid breaking or crumbling. Cooling helps the cake set, ensuring a better texture and easier release.
Skipping this step can lead to a messy cake and frustration.
Importance Of Cooling Time
One essential step in removing cake from a pan is allowing it to cool completely. When you skip this, the cake may stick or break apart. Cooling gives the cake time to firm up, making it easier to handle and less likely to crumble.
Here’s a quick guide on cooling times for different cake sizes:
| Cake Size | Cooling Time | Reason |
|---|---|---|
| Small (6-8″) | 10-15 mins | Cools quickly, easy removal |
| Medium (9-10″) | 20-30 mins | Allows cake to set firmly |
| Large (12″+) | 40-60 mins | Prevents sticking and tearing |
| Bundt | 30-45 mins | Complex shape, needs time |
| Sheet Cake | 20-25 mins | Flat surface, quicker cool |
Stick to these times, and you’ll remove your cake cleanly every time.
Effects On Cake Texture
Although it’s tempting to remove your cake right away, letting it cool properly plays a crucial role in preserving its texture. When you allow the cake to cool in the pan, the structure firms up, preventing it from breaking or crumbling when you take it out. If you try to remove the cake too soon, it may stick to the pan or fall apart because the crumb hasn’t set.
Cooling also helps moisture redistribute evenly, ensuring your cake stays tender and moist instead of dense or dry. By waiting the recommended time, you keep your cake’s delicate crumb intact and maintain that perfect balance between softness and stability.
Loosen the Cake Edges Carefully With a Knife or Spatula
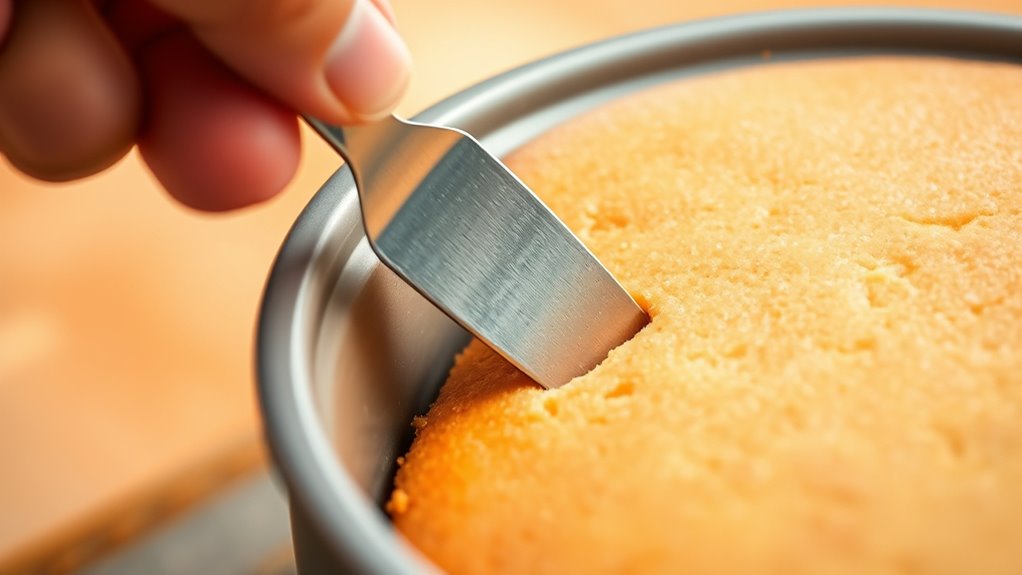
Choose a thin knife or a flexible spatula to gently loosen the cake edges. Slide your tool carefully between the cake and the pan to avoid tearing.
Take your time and work slowly around the entire edge.
Choose The Right Tool
When you’re ready to release the cake from the pan, gently running a thin knife or a flexible spatula around the edges can make all the difference. Choosing the right tool guarantees you don’t damage the cake or pan. A thin knife works well for tight spaces but requires steady hands.
A flexible spatula offers control and reduces the risk of cutting into the cake. Avoid using sharp or bulky utensils that might tear the cake or scratch your pan.
| Tool Type | Best For |
|---|---|
| Thin Knife | Precise edge loosening |
| Flexible Spatula | Gentle, even separation |
| Plastic Knife | Non-stick pans, delicate cakes |
| Offset Spatula | Hard-to-reach corners |
Pick the tool that suits your pan type and cake texture for smooth removal.
Gently Separate Cake Edges
After picking the right tool for your cake and pan, start by gently loosening the edges. Take a thin, flexible knife or an offset spatula and carefully slide it between the cake and the pan’s sides. Move slowly around the entire circumference to make certain you don’t tear the cake or damage its shape.
If you feel resistance, wiggle the tool slightly rather than forcing it. This step is essential because it separates the cake from the pan’s surface without breaking the crust or sides. Once you’ve loosened all edges, you’ll find it easier to lift or invert the cake without sticking.
How to Flip or Lift Your Cake Without Damage
Although flipping or lifting a cake can seem tricky, handling it carefully will prevent cracks and breakage. First, make certain your cake has cooled enough to firm up but isn’t completely cold, which can make it fragile. Place a cooling rack or plate over the cake pan, then hold both firmly and flip them together in one smooth motion.
If you’re lifting the cake without flipping, use a thin spatula or offset knife to gently loosen edges. Then, slide a wide spatula or cake lifter underneath, supporting as much surface area as possible. Lift slowly and steadily to avoid bending or breaking.
Always keep your hands steady and don’t rush—the key is gentle, confident movements to keep your cake intact and beautiful.
What to Do If Your Cake Sticks or Breaks
If your cake sticks or breaks, don’t panic—you can still salvage your dessert with a few simple tricks. Start by gently loosening the edges with a knife or offset spatula. Use a spatula to carefully lift broken pieces and press them back together.
You can also crumble the broken parts and use them as a decorative topping or mix into frosting. Here’s a quick guide to help you handle sticky or broken cakes:
| Problem | Cause | Solution |
|---|---|---|
| Cake sticks | Insufficient greasing | Grease pan thoroughly next time |
| Cake breaks | Overbaking or cooling | Press pieces gently back together |
| Cake crumbs | Fragile texture | Use crumbs as garnish or filling |
| Cake edges tear | Removing too soon | Let cake cool completely |
| Cake cracks | Oven temperature high | Lower oven temperature next time |
Handle Delicate Cakes Carefully
When handling delicate cakes, you’ll want to take extra care to prevent them from breaking or crumbling. These cakes are fragile, so gentle techniques make a big difference.
Here’s how to handle them safely:
- Use a thin spatula or offset knife to gently loosen the edges before removing the cake from the pan. This prevents sticking without tearing.
- Invert the cake onto a cooling rack or parchment paper carefully, supporting the entire cake with your hands or an additional flat surface like a cutting board.
- Lift slowly and evenly to keep the cake intact, avoiding sudden movements that could cause cracks or breaks.
Store and Transport Your Cake Safely
Once you’ve carefully removed your cake from the pan, the next step is making certain it stays fresh and intact during storage and transport. First, wrap your cake tightly in plastic wrap to prevent it from drying out. If your cake is frosted, use a cake box or a sturdy container to protect the decorations.
When transporting, place the cake on a flat surface inside your vehicle, like the trunk or floor, to avoid shifting and damage. Avoid stacking other items on top of the cake. Keep the temperature cool, especially in warm weather, to prevent melting or spoiling.
Frequently Asked Questions
What Types of Cake Pans Work Best for Even Baking?
You’ll want to use light-colored aluminum pans because they conduct heat evenly and prevent over-browning. Nonstick and silicone pans work well too, but avoid dark or glass pans since they can cause uneven baking and hot spots.
How Long Should I Preheat My Oven for Baking Cakes?
Preheat your oven for about 15-20 minutes—think of it as warming up before a race. This guarantees even heat, so your cake bakes perfectly, avoiding soggy centers or burnt edges.
Don’t rush this essential step!
Can I Reuse Cake Pans for Multiple Recipes?
Yes, you can reuse cake pans for multiple recipes. Just make sure to clean them thoroughly between uses, avoid scratches, and grease or line them properly to prevent sticking, so your cakes come out perfectly every time.
What Ingredients Help Make a Cake More Moist?
Moisture matters most! You’ll want ingredients like yogurt, sour cream, or applesauce to add ample moisture. Honey, oil, and buttermilk also boost buttery softness,
ensuring your cake stays deliciously dense and delightfully damp.
How Do I Fix a Cake That Sinks in the Middle?
You can fix a sunken cake by leveling the top and frosting it thickly. Next time, avoid overmixing, check your oven temperature, and don’t open the door early.
Adding a bit more baking powder helps too.
Conclusion
Removing your cake from the pan doesn’t have to feel like a scene from a baking disaster movie. By prepping your pan well, letting your cake cool, and gently loosening the edges, you’re setting yourself up for a flawless reveal—like pulling Excalibur from the stone.
Even if things stick or crack, stay calm and handle your cake with care. With these steps, you’ll conquer every cake removal challenge like a true baking hero. Following these tips will ensure your cake comes out perfectly, making the process of how to remove cake from cake pan easy and stress-free.