How to Make Slush Ice Without a Blender in 7 Easy Steps
To make slush ice without a blender, start by mixing your favorite flavored liquid, such as juice or soda, ensuring it’s smooth and sweetened to taste. This simple method allows you to enjoy refreshing slush ice anytime without needing special equipment.
Pour the mixture into a shallow, freezer-safe container and place it in the freezer. Stir every 15-20 minutes to break up forming ice crystals and keep the texture fluffy.
Continue this process until the mixture reaches a soft, granular slush consistency. Once ready, serve the slush ice in chilled glasses for a cool treat.
If you want to master the perfect timing and texture or learn handy tips to enhance your slush ice making, there’s more to explore ahead.
Key Takeaways
- Mix flavored liquids thoroughly and taste to adjust sweetness before freezing for optimal flavor and texture.
- Pour the mixture into a shallow container and freeze, stirring every 15-20 minutes to prevent solid ice formation.
- Scrape and stir the semi-frozen mixture regularly to break up ice crystals and maintain a granular, slushy texture.
- Check consistency frequently, letting it soften slightly if too hard, or freezing longer if too liquid, aiming for a fluffy slush.
- Serve promptly in chilled glasses with a spoon, and store leftovers in the freezer, softening before reuse.
Gather Ingredients and Tools for Blender-Free Slush Ice
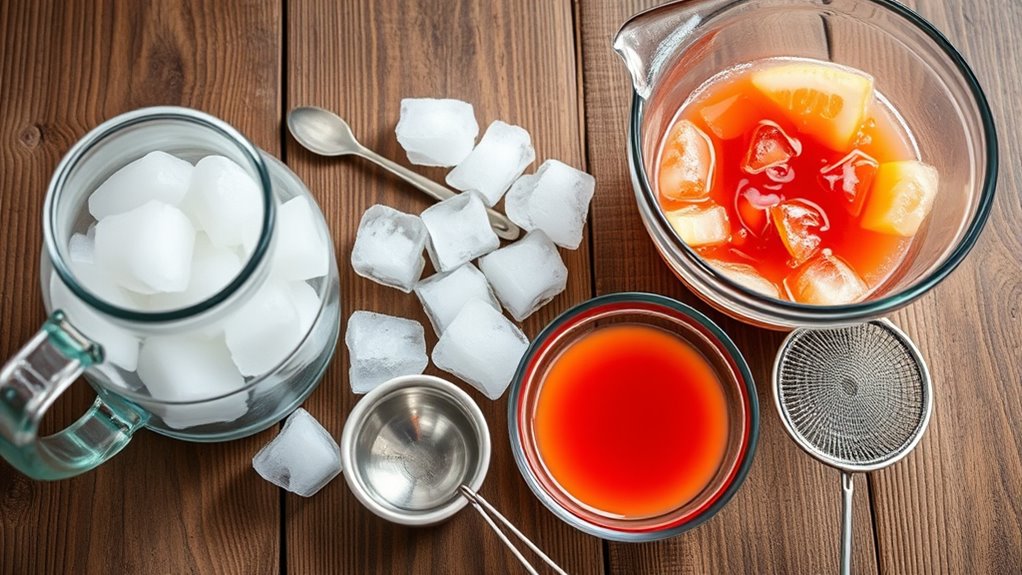
Before you start making slush ice without a blender, gather all the necessary ingredients and tools to guarantee a smooth process. You’ll need your flavored liquid—juice, soda, or any drink you prefer. Make sure it’s ready in advance.
Grab a shallow, freezer-safe container to spread the liquid thinly for faster freezing. You’ll also want a fork or a whisk to scrape and break up the ice crystals as they form. Have measuring cups or a pitcher handy to pour the liquid evenly.
Finally, keep a spoon or small spatula nearby for stirring and serving. By preparing these items upfront, you’ll avoid interruptions and make the whole process quicker and more enjoyable. Now, you’re all set to create delicious slush ice easily.
Freeze Your Flavored Liquid Until Slushy
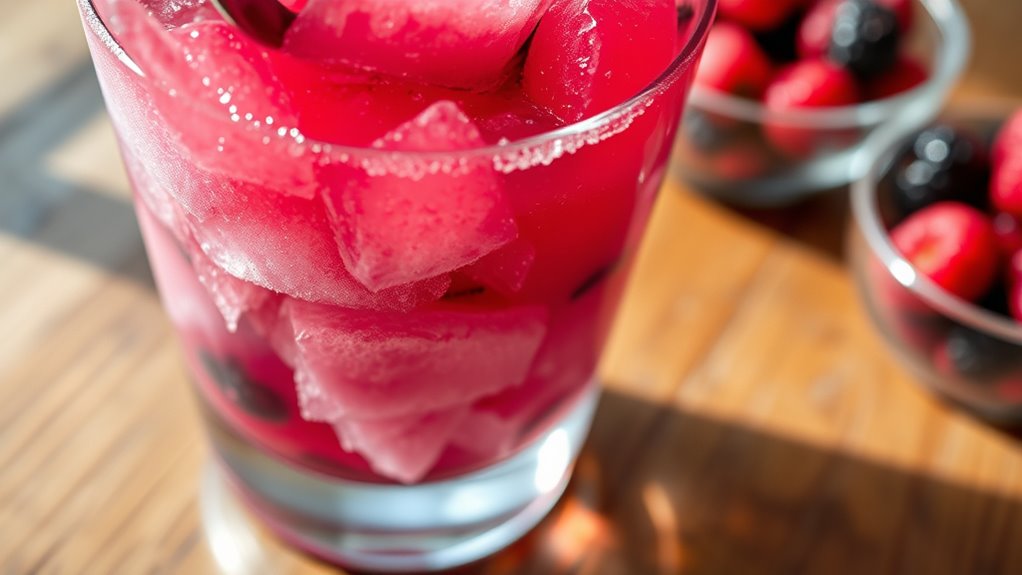
With your ingredients and tools ready, it’s time to get your flavored liquid into the freezer. Pour it into a shallow, freezer-safe container to help it freeze evenly and more quickly. Place the container flat in the freezer and set a timer for about 30 minutes.
After 30 minutes, check the liquid—it should start to form ice crystals around the edges while remaining slushy in the center. Use a fork to gently scrape and stir the mixture, breaking up ice chunks to create that perfect slush texture. Return it to the freezer, repeating this scraping process every 15 to 20 minutes until the entire mixture reaches a consistent slushy state.
This gradual freezing and stirring method guarantees your slush ice forms without needing a blender.
Adjust Sweetness and Flavor Before Final Freeze
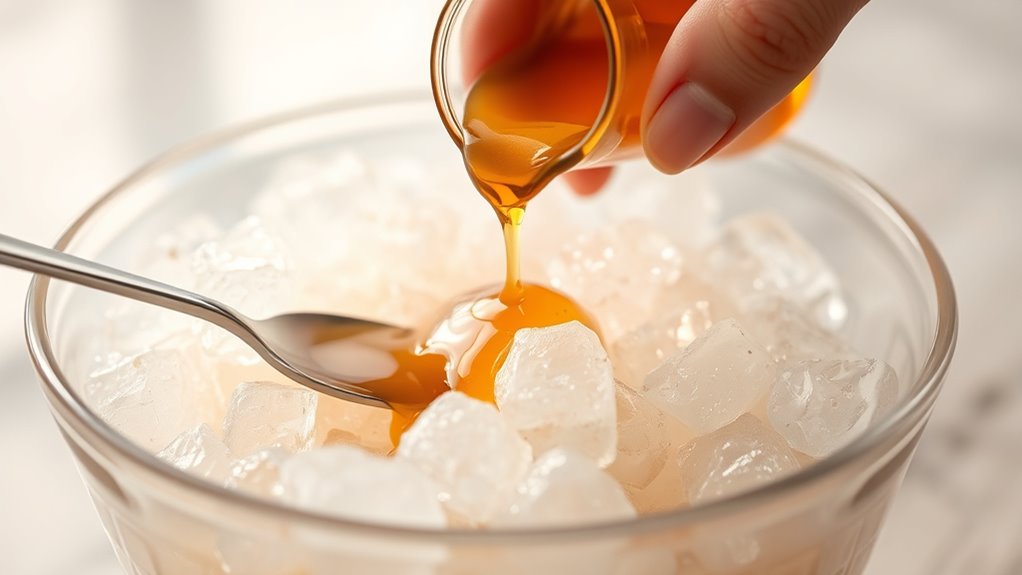
Once your mixture reaches a slushy consistency, you can taste it to see if the sweetness and flavor are just right. If it’s too bland, add a little more sweetener—like sugar, honey, or a flavored syrup—and stir well to dissolve. For stronger flavor, consider a splash of fresh juice or a hint of extract, such as lemon or vanilla.
Be careful not to overdo it; a little goes a long way. After adjusting, give the mixture a quick stir to distribute everything evenly. Once satisfied, return it to the freezer for the final freeze.
This step guarantees your slush ice has that perfect balance, making every bite revitalizing and flavorful before you move on to creating the ideal texture.
Scrape Ice Crystals and Stir Regularly for Fluffy Texture
While your mixture is freezing, you’ll want to scrape the forming ice crystals from the edges and stir regularly to keep the texture light and fluffy. Use a fork or a sturdy spoon to gently break up the ice as it forms along the sides and bottom of the container. Stirring every 15-20 minutes prevents large ice chunks from setting, creating that perfect slush consistency.
This process helps incorporate air, making your slush ice softer and more enjoyable. Be patient—it may take a couple of hours depending on your freezer’s temperature. Keep scraping and stirring until the entire mixture reaches a semi-frozen, granular state.
This simple technique ensures your slush ice won’t be icy or hard but delightfully smooth and invigorating.
Serve Your Homemade Slush Ice in Chilled Glasses
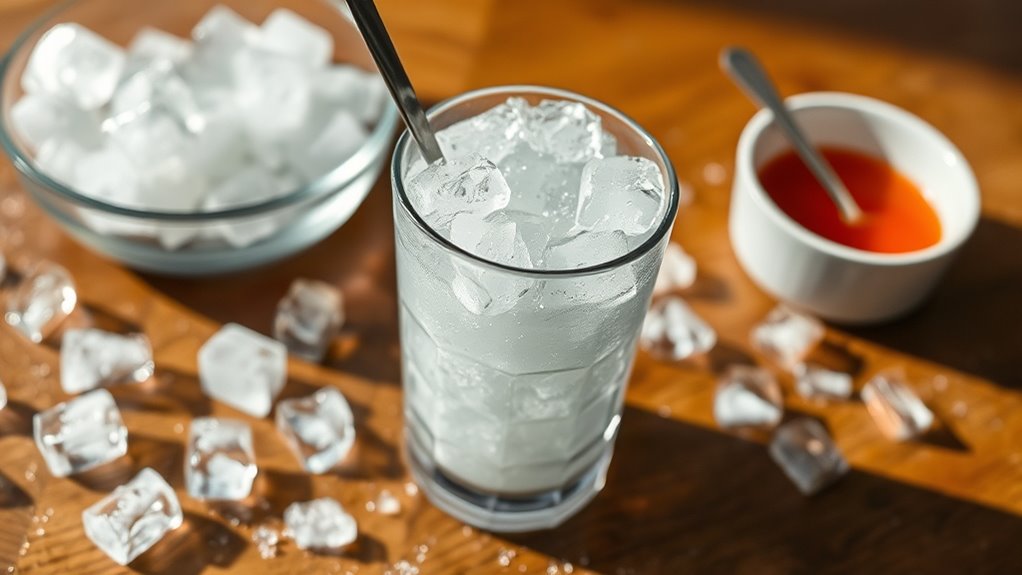
To keep your slush ice from melting too quickly, serve it in chilled glasses. You can easily chill your glasses by placing them in the freezer for about 15 minutes before serving.
This small step makes a big difference in maintaining the perfect icy texture.
Benefits of Chilled Glasses
Although it might seem like a small detail, serving your homemade slush ice in chilled glasses makes a big difference in taste and experience. Chilled glasses help maintain the cold temperature longer, preventing your slush from melting too quickly. This means you get to enjoy that invigorating, icy texture without it turning watery fast.
Plus, the cold glass enhances the flavors, making every sip more vibrant and satisfying. When you use a warm or room-temperature glass, your slush starts melting the moment it touches the surface, diluting the taste. By choosing chilled glasses, you keep your slush ice crisp, cold, and delicious from the first sip to the last.
It’s a simple upgrade that elevates your homemade treat effortlessly.
How to Chill Glasses
Since chilled glasses keep your slush ice colder for longer, you’ll want to prepare them before serving. Start by placing your glasses in the freezer for at least 30 minutes.
If you’re short on time, fill the glasses with ice cubes and cold water, then let them sit for 5 to 10 minutes before dumping the ice and water out. Another quick method is to wet the glass rims and place them in the freezer; the moisture will freeze faster, chilling the glass.
Avoid leaving glasses out too long once chilled, as they’ll warm up quickly. By serving your slush ice in these properly chilled glasses, you’ll enjoy a revitalizing, longer-lasting icy treat every time.
Tips to Customize and Speed Up Slush Ice
You can easily boost your slush ice by adding your favorite flavors before freezing. Sprinkling a bit of salt on the ice helps speed up the freezing process and creates a smoother texture.
Plus, using quick freezing techniques will have your slush ready in no time.
Flavoring Your Slush Ice
When you add your favorite flavors to slush ice, you can instantly transform a simple treat into something exciting and unique. Start by mixing fruit juices like orange, grape, or cranberry for natural sweetness and vibrant colors. You can also stir in flavored syrups or a splash of soda to add fizz and zest.
To enhance the taste, try squeezing fresh lemon or lime juice for a tangy twist. If you want to speed up the flavor infusion, gently crush some fresh berries or mint leaves before adding them—they release their essence faster. Remember to taste as you go, adjusting sweetness or tartness to your liking.
Flavoring your slush ice lets you experiment and keep this invigorating snack fun and revitalizing every time.
Using Salt To Freeze
Although salt might seem like an unusual ingredient for making slush ice, it plays a crucial role in speeding up the freezing process. When you sprinkle salt onto ice, it lowers the melting point, causing the ice to melt faster. This melting absorbs heat from your mixture, effectively cooling it more rapidly.
To use salt in your slush ice, simply pack crushed ice in a bowl, add a generous handful of salt, then place your drink container inside. The colder environment created will help your drink reach that perfect slushy consistency quicker. Just be sure not to add salt directly to your beverage unless you want it salty.
Using salt this way gives you a simple, effective method to customize and accelerate slush ice without any fancy equipment.
Quick Freezing Techniques
Salt can speed up freezing by lowering the ice’s melting point, but there are other simple tricks that help you get slush ice even faster. First, use a shallow, wide container to increase the surface area, allowing water to freeze quicker.
Next, stir the mixture every 15-20 minutes to break up ice crystals and encourage even freezing. You can also pre-chill your container and water before starting to cut down freezing time.
Placing the container near the coldest part of your freezer or wrapping it in a damp cloth can boost the freezing process. Finally, avoid overfilling your container; leaving some space helps the slush form properly.
With these techniques, you’ll enjoy perfectly textured slush ice without needing a blender.
How to Tell When Your Slush Ice Is Ready
As the mixture chills, you’ll notice it gradually thickens and takes on a grainy texture. This change signals that your slush ice is nearly ready. To confirm, check these key signs:
- The mixture should be semi-solid but still scoopable, not fully frozen.
- Small ice crystals should be visible throughout, giving it that perfect slush consistency.
- When stirred, it should break apart easily without any large chunks.
- The temperature will be just below freezing but not solid ice.
If your slush meets these points, it’s time to enjoy! If it’s too liquid, leave it in the freezer a bit longer, stirring occasionally. If it’s too hard, let it sit at room temperature for a few minutes to soften before serving.
Frequently Asked Questions
Can I Use Any Type of Juice for Slush Ice?
Yes, you can use any type of juice for slush ice. Just make sure it’s not too thick or pulpy, so it freezes evenly and scrapes well.
Experiment to find your favorite flavor!
How Long Does Homemade Slush Ice Last in the Freezer?
Slush stays satisfying for about a week in your freezer. To preserve perfect puffiness, pack it properly in an airtight container. Don’t delay, or it’ll develop icy, unpleasant chunks that kill your cool, creamy craving.
Is It Possible to Make Slush Ice Without Sugar?
Yes, you can make slush ice without sugar by using naturally sweet fruits like watermelon or berries. They’ll add flavor and sweetness, letting you enjoy a invigorating treat without any added sugar or artificial sweeteners.
What’s the Best Way to Store Leftover Slush Ice?
Think of leftover slush ice as a fading memory; store it in an airtight container to preserve its fleeting chill.
Keep it in the coldest part of your freezer, and don’t let it melt and refreeze repeatedly.
Can I Add Alcohol to My Slush Ice Mixture?
Yes, you can add alcohol to your slush ice mixture, but use it sparingly. Too much alcohol lowers the freezing point, making your slush less icy and more liquidy.
Balance flavors for the best chill.
Conclusion
Now you’re ready to enjoy your homemade slush ice without a blender—easy, invigorating, and way cooler than a snowstorm in July! Just follow these simple steps, and you’ll have a frosty treat that’s perfect anytime.
Remember, patience is key, but scraping and stirring make all the difference. Customize your flavors, chill those glasses, and get ready to impress everyone with your slush-making skills.
You’ve officially mastered the art of icy perfection! Making slush ice without a blender is simple, fun, and a great way to stay cool. Enjoy your refreshing, homemade slush ice anytime!