How to Cook Chicken Strips in a Skillet
Choose boneless, skinless chicken breasts or thighs and cut into uniform strips for even cooking. Properly cooking chicken strips in a skillet is a quick and delicious way to enjoy tender, juicy chicken.
Season or marinate the strips for 30 minutes to enhance flavor and tenderness.
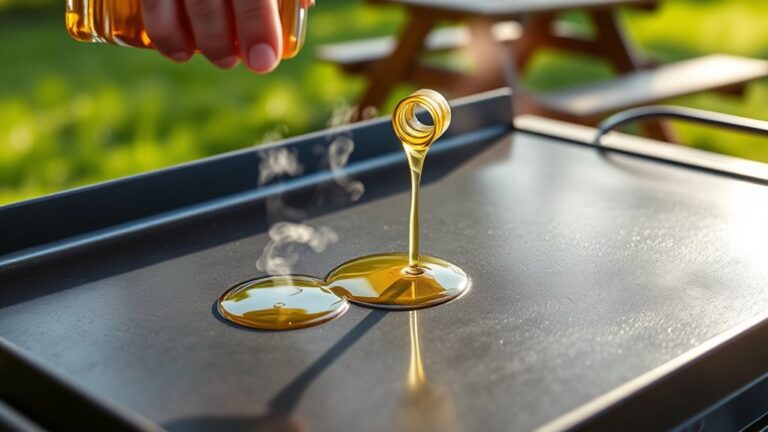
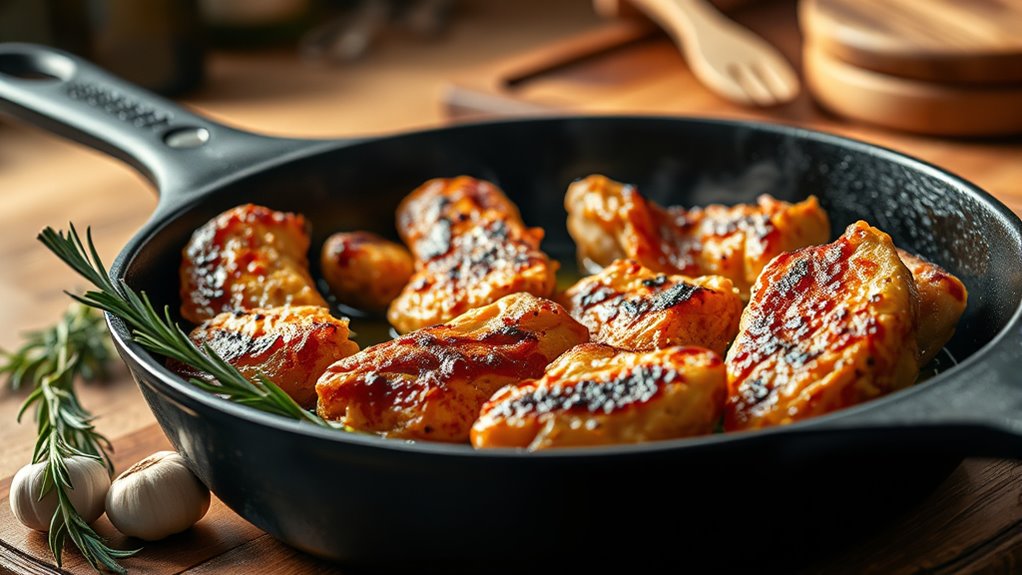
Preheat a heavy skillet with high-smoke-point oil like avocado or canola oil. Cook the chicken strips in a single layer over medium heat for 3-4 minutes per side. This ensures they become golden brown and reach an internal temperature of 165°F for safety.
Let the cooked strips rest for a few minutes to seal in the juices.
Keep going to reveal tips for extra crispiness and perfect doneness when cooking chicken strips in a skillet.
Key Takeaways
- Use boneless, skinless chicken breasts or thighs, cut into uniform 1/2 to 3/4 inch strips for even cooking.
- Preheat a heavy-bottomed skillet and add high smoke point oil, like canola or vegetable oil, before cooking.
- Cook chicken strips in a single layer over medium heat, about 3-4 minutes per side, until golden brown.
- Check doneness by ensuring internal temperature reaches 165°F and juices run clear.
- Let strips rest after cooking to redistribute juices and keep the meat tender and juicy.
Choose the Best Chicken Cuts for Strips
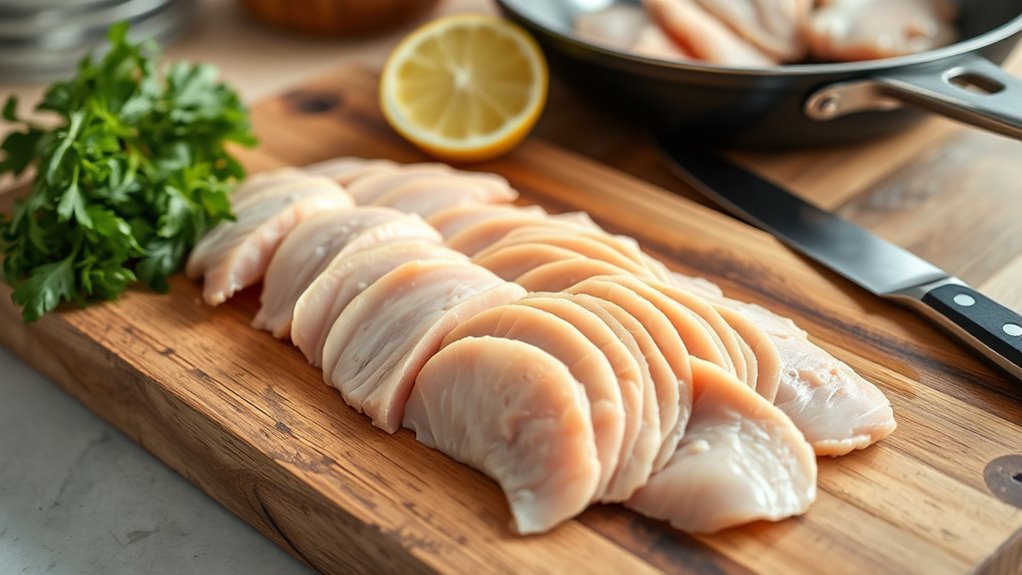
Although you can use various parts of the chicken, the best cuts for strips are boneless, skinless chicken breasts or thighs because they cook evenly and stay tender. Breasts offer lean meat that’s mild in flavor and cooks quickly, making them a popular choice.
Thighs, on the other hand, provide a juicier, more flavorful option thanks to their higher fat content. You want to avoid cuts with bones or skin because they complicate cooking and affect texture. Also, trimming excess fat and connective tissue helps the strips cook uniformly.
Choosing fresh or properly thawed chicken guarantees the best results. By selecting the right cut, you set yourself up for perfectly cooked, tender chicken strips every time, ready to be seasoned and cooked in your skillet.
Prepare Chicken Strips for Even Cooking
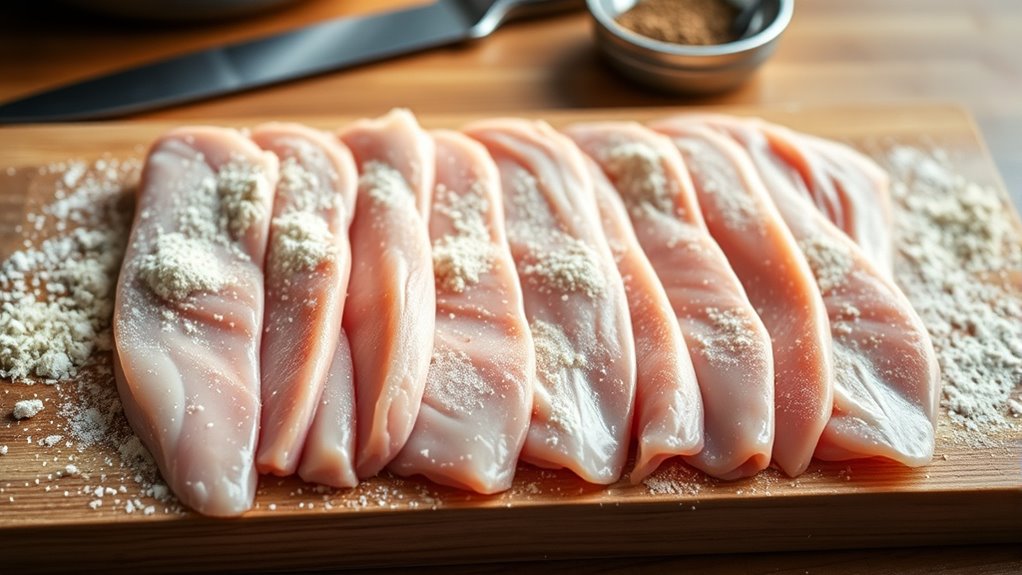
To cook chicken strips evenly, make sure you cut them into uniform sizes. Pat the strips dry to help them brown nicely in the skillet. Don’t forget to season them well before cooking to boost the flavor.
Choose Uniform Strip Sizes
How do you guarantee your chicken strips cook evenly and finish at the same time? The key is choosing uniform strip sizes. When your strips are roughly the same thickness and length, they’ll cook at a consistent rate.
This prevents some pieces from drying out while others remain undercooked. To achieve this, use a sharp knife and trim the chicken breast into even, finger-sized strips. Aim for about 1/2 to 3/4 inch thick strips for ideal cooking.
Avoid very thin or thick pieces mixed together. If needed, you can gently pound thicker sections to match the thinner ones. Keeping uniform sizes not only ensures even cooking but also makes flipping easier during skillet cooking, saving you time and effort.
Pat Strips Dry
Once you’ve cut your chicken into uniform strips, patting them dry is essential for even cooking. Moisture on the surface causes the chicken to steam rather than brown, making it soggy instead of crispy.
To get the best skillet sear, follow these simple steps:
- Use paper towels or a clean kitchen towel to gently press each strip
- Avoid rubbing aggressively to keep the meat intact
- Pat strips individually for thorough drying
- Check for any excess moisture, especially around edges
- Drying helps the oil stick better, enhancing the browning process
Season Before Cooking
After drying your chicken strips thoroughly, seasoning them properly sets the stage for flavorful and evenly cooked pieces. Sprinkle salt and pepper evenly on all sides to enhance the natural taste. Don’t forget to add garlic powder or paprika for extra depth.
Use your hands to rub the seasonings into the meat; this guarantees every strip absorbs the flavors. If you like a bit of heat, a pinch of cayenne pepper works well. Let the seasoned strips rest for 5 to 10 minutes before cooking—this allows the spices to penetrate and helps the chicken cook more evenly.
Avoid overcrowding the strips in the skillet later, as this can cause uneven cooking. Proper seasoning makes all the difference in your final dish.
Season and Marinate Chicken Strips for Flavor

You’ll want to pick the right spices to bring out the best flavor in your chicken strips. Let the strips marinate just long enough to soak up the seasoning without overpowering the meat.
Remember to balance salt and herbs carefully to keep the taste just right.
Choosing The Right Spices
When selecting spices for your chicken strips, focus on flavors that complement the natural taste of the meat without overpowering it. You want a balance that enhances rather than masks the chicken’s mild flavor. Start with simple, versatile spices and build from there.
Here are five great options to contemplate:
- Paprika: adds a mild smokiness and vibrant color
- Garlic powder: provides savory depth without moisture
- Onion powder: offers subtle sweetness and umami
- Black pepper: delivers a gentle heat and sharpness
- Dried herbs (thyme, oregano): contribute earthiness and freshness
Mix and match these based on your taste preference. Keep the blend light—you can always add more, but you can’t take spices away once applied!
Marinating Time Guidelines
Although chicken strips can absorb flavors quickly, allowing them to marinate for at least 30 minutes will considerably enhance their taste. If you have more time, aim for 1 to 2 hours for deeper flavor penetration. Avoid marinating longer than 24 hours, as the texture may become mushy.
Use a non-reactive container or a sealed plastic bag to keep the marinade evenly coating the strips. Remember to refrigerate the chicken while it marinates to guarantee food safety. If you’re short on time, even a quick 15-minute soak can add some zest, but longer marinating releases richer flavors.
Plan ahead to give your chicken strips that perfect balance of seasoning and tender juiciness before cooking them in your skillet.
Balancing Salt And Herbs
Since salt enhances natural flavors and herbs add aromatic complexity, balancing the two is key to perfectly seasoned chicken strips. When seasoning, you want enough salt to bring out the chicken’s taste without overpowering the herbs. Too much salt can mask the fresh, vibrant notes herbs provide.
Keep these tips in mind:
- Use kosher salt for even seasoning.
- Choose fresh herbs like thyme, rosemary, or parsley.
- Add salt before herbs when marinating to penetrate the meat.
- Don’t overdo dried herbs—they’re more concentrated.
- Taste your marinade or seasoning mix before applying.
Choosing the Best Skillet and Oil for Chicken Strips
How do you pick the perfect skillet and oil to get crispy, flavorful chicken strips every time? Start with a heavy-bottomed skillet, like cast iron or stainless steel. These retain heat evenly, helping your chicken strips cook thoroughly and develop a golden crust.
Choose a heavy-bottomed skillet like cast iron or stainless steel for even heat and golden, crispy chicken strips.
Avoid nonstick pans because they don’t brown as well.
Next, choose the right oil. Look for oils with a high smoke point such as canola, peanut, or vegetable oil. These oils handle the heat without burning, keeping your chicken strips tasty and avoiding any bitter flavors.
Olive oil’s lower smoke point makes it less ideal for frying chicken strips, but you can use it for a subtle flavor if you cook on medium heat. With the right skillet and oil, you’ll set the stage for perfectly crispy chicken strips.
Heating Your Skillet for Perfect Crispiness
Once you’ve chosen the right skillet and oil, it’s time to heat your pan properly to lock in that crispy texture. Heating the skillet correctly guarantees your chicken strips cook evenly and develop a golden crust.
Here’s how to get your skillet ready:
- Preheat the skillet over medium heat for 3–5 minutes.
- Add oil only after the skillet is hot to prevent sticking.
- Look for a shimmering surface on the oil—that’s the perfect temperature.
- Avoid overheating; smoke signals the oil is too hot.
- Test heat by flicking a drop of water; it should sizzle immediately.
Step-by-Step: Cooking Chicken Strips in a Skillet
Before you place the chicken strips in the skillet, make sure your oil is hot and shimmering to guarantee a crispy, golden crust. Lay the strips carefully in a single layer, avoiding overcrowding. Cook them for about 3-4 minutes on one side until golden, then flip and cook the other side.
Adjust heat as needed to prevent burning. Use tongs for easy turning, and keep an eye on the strips as they cook evenly.
| Step | Action |
|---|---|
| 1 | Heat oil until shimmering |
| 2 | Place strips in single layer |
| 3 | Cook 3-4 minutes each side |
| 4 | Flip strips with tongs |
This method assures a perfect crust and juicy interior every time.
How to Tell When Chicken Strips Are Done Without Cutting
You can tell when chicken strips are done by checking their color, texture, and firmness without cutting into them. Look for a golden-brown exterior and feel if the strips spring back when pressed.
Using a meat thermometer to check the internal temperature is the most reliable way to guarantee they’re fully cooked.
Visual Color Changes
Although it’s tempting to cut into chicken strips to check if they’re cooked through, you can rely on visual cues to know when they’re done. Paying attention to color changes helps you avoid losing juices and flavor. Here’s what to look for:
- The exterior should turn a golden brown, indicating a good sear.
- Raw pink hues fade, replaced by opaque white or light tan inside.
- Juices running clear from the surface mean the chicken is cooked.
- Slight browning around the edges signals proper cooking without burning.
- The chicken’s surface loses its glossy, raw appearance and looks matte.
Watch these signs carefully, and you’ll nail perfectly cooked chicken strips without cutting into them prematurely.
Texture And Firmness
When chicken strips feel firm yet slightly springy to the touch, they’re usually cooked through. You can gently press a strip with your finger or tongs; if it bounces back, that’s a good sign. Raw chicken feels soft and mushy, while overcooked chicken becomes tough and rubbery.
Avoid relying solely on color or juices, as they can be misleading. Instead, focus on the texture—you want a balance between firmness and slight give. This indicates the muscle fibers have tightened but still retain moisture.
Practice will help you recognize this feel quickly. With experience, you’ll confidently know when your chicken strips are perfectly cooked without cutting into them, keeping them juicy and tender every time.
Internal Temperature Check
How can you be absolutely sure your chicken strips are fully cooked without cutting into them? The most reliable way is to check their internal temperature. Using a meat thermometer ensures safety and perfect doneness every time.
Here’s what you need to do:
- Insert the thermometer into the thickest part of the strip.
- Avoid touching the skillet or bone if present.
- Look for a reading of 165°F (74°C) — the safe internal temperature for chicken.
- If it’s below 165°F, cook a bit longer and recheck.
- Let the strips rest for a few minutes; temperature can rise slightly.
This method keeps your chicken juicy and safe without sacrificing presentation or texture. Trust the thermometer over guesswork for perfect results.
Keeping Chicken Strips Juicy and Tender
To keep your chicken strips juicy and tender, you’ll want to control the cooking temperature carefully and avoid overcooking. Cook them over medium heat so the outside doesn’t burn before the inside cooks through. Keep an eye on the internal temperature, pulling the strips off the skillet once they reach 165°F (74°C).
Let the strips rest for a few minutes after cooking; this allows the juices to redistribute, keeping the meat moist. Avoid poking or cutting into the strips right away, as this can release valuable juices. Using a marinade or brine before cooking can also help lock in moisture.
Making Chicken Strips Extra Crispy
Keeping your chicken strips juicy sets a great foundation, but adding a crispy exterior takes them to the next level. To make your chicken strips extra crispy, focus on the coating and cooking technique. Here’s how you can achieve that perfect crunch:
- Use a combination of flour and cornstarch in your breading for extra crispiness.
- Double dip: coat strips in egg wash, then breading, then egg wash and breading again.
- Let the coated strips rest for 10 minutes before cooking to help the breading adhere better.
- Cook over medium-high heat with enough oil to cover at least half the strip’s thickness.
- Avoid overcrowding the skillet to maintain oil temperature and crispiness.
These tips will help you get that irresistible crispy texture every time.
Easy Sides and Dips to Serve With Chicken Strips
When you serve chicken strips, pairing them with simple sides and flavorful dips can elevate the entire meal. You want sides that complement the crispy texture and dips that add a burst of flavor without overpowering the chicken. Fresh veggies, classic fries, or a light salad work perfectly.
Here’s a quick guide to easy sides and dips:
| Sides | Dips |
|---|---|
| French fries | Honey mustard |
| Coleslaw | BBQ sauce |
| Steamed veggies | Ranch dressing |
Try mixing and matching these options to find your favorite combo. These sides keep things straightforward while the dips add that extra kick, making every bite satisfying.
Frequently Asked Questions
Can I Use Frozen Chicken Strips Directly in the Skillet?
You can cook frozen chicken strips directly in the skillet, but you’ll need to cook them longer and lower the heat to guarantee they’re cooked through without burning.
Cover the pan to keep moisture and heat consistent.
How Do I Store Leftover Cooked Chicken Strips?
You should store leftover cooked chicken strips in an airtight container and refrigerate them within two hours.
Did you know 90% of foodborne illnesses come from improper storage? Using this method keeps your strips safe and tasty.
Are Chicken Strips Healthy Compared to Other Chicken Cuts?
Chicken strips can be healthy if you choose lean cuts and cook them without heavy breading or frying. Compared to other chicken cuts, they’re similar in nutrition but watch for added oils or coatings that increase calories and fat.
Choosing grilled or baked chicken strips over fried options helps keep them lower in unhealthy fats and calories. Additionally, using herbs and spices instead of heavy sauces can enhance flavor without adding extra calories.
Can I Bake Chicken Strips Instead of Cooking in a Skillet?
You absolutely can bake chicken strips—they’ll turn out juicy and delicious, almost like a flavor explosion in your mouth!
Just preheat the oven, arrange strips on a baking sheet, and cook until golden and crispy.
What Kitchen Tools Do I Need Besides the Skillet?
You’ll need tongs or a spatula to flip the chicken strips, a cutting board and knife for prepping, a bowl for seasoning or breading.
Paper towels to drain excess oil. Don’t forget a plate to serve!
Conclusion
Now that you’ve mastered cooking chicken strips in a skillet, you’re ready to impress like a true kitchen knight of old. Just remember to keep your skillet hot, your strips juicy, and your seasonings bold.
With these tips, you’ll serve up crispy, flavorful chicken strips every time—no need for a crystal ball to predict your success. So grab your skillet, get cooking, and enjoy your delicious creation with your favorite sides and dips!
By following these simple steps for cooking chicken strips in a skillet, you ensure a perfect, golden-brown crust and tender inside. Mastering this skillet chicken strips recipe will make your meals both easy and irresistibly tasty. Enjoy your skillet-cooked chicken strips with confidence and flavor!