Can You Juice With a Blender?
You can definitely juice with a blender by blending whole fruits and veggies into a thick, nutrient-packed drink. Using a blender for juicing is a convenient way to enjoy fresh, homemade juice without needing a separate juicer. Just chop ingredients into chunks, add some water, and blend until smooth.
For a thinner juice, strain the pulp using a fine mesh strainer or cheesecloth. Blending keeps all the fiber and nutrients, making your juice more filling and healthy. This method preserves the natural goodness of your fruits and vegetables.
If you want fresh flavor tips, prep tricks, and recipe ideas, there’s plenty more to explore. Juicing with a blender can be a versatile and delicious way to boost your daily intake of vitamins and minerals.
Key Takeaways
- Yes, you can juice with a blender by blending chopped fruits and vegetables with added water for a smooth consistency.
- Straining the blended mixture through a fine mesh sieve or cheesecloth removes pulp for clearer juice.
- Blending retains all fiber, making the juice thicker and more filling compared to traditional juicing.
- Preparation includes washing, peeling tough skins, and removing seeds to enhance flavor and texture.
- Using a high-powered blender and tools like spatulas and funnels improves juice extraction and pouring.
Can You Really Juice With a Blender? A Quick Overview
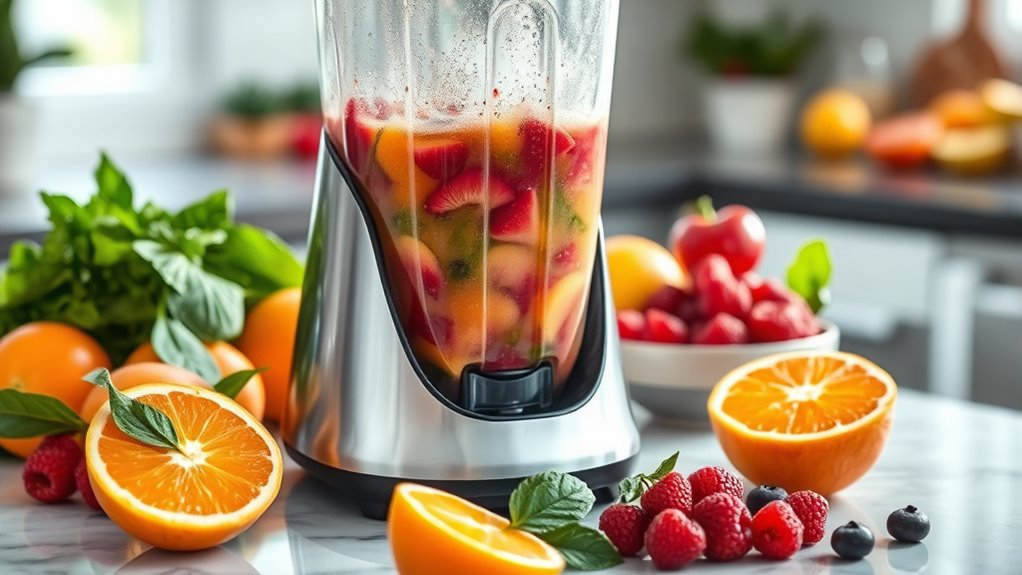
How exactly can you juice with a blender? You start by adding your fresh fruits and vegetables right into the blender jar. Unlike a traditional juicer that separates juice from pulp, the blender breaks down the entire produce into a thick liquid.
To get a smoother consistency, you’ll need to add some water or another liquid to help everything blend evenly. After blending, you can strain the mixture through a fine mesh sieve, nut milk bag, or cheesecloth to remove the pulp if you prefer a thinner juice.
This method keeps all the fiber, so you get more nutrients and a heartier drink. Juicing with a blender is straightforward, economical, and a great way to make fresh juice at home without specialized equipment.
How Does Juicing With a Blender Differ From Using a Juicer?
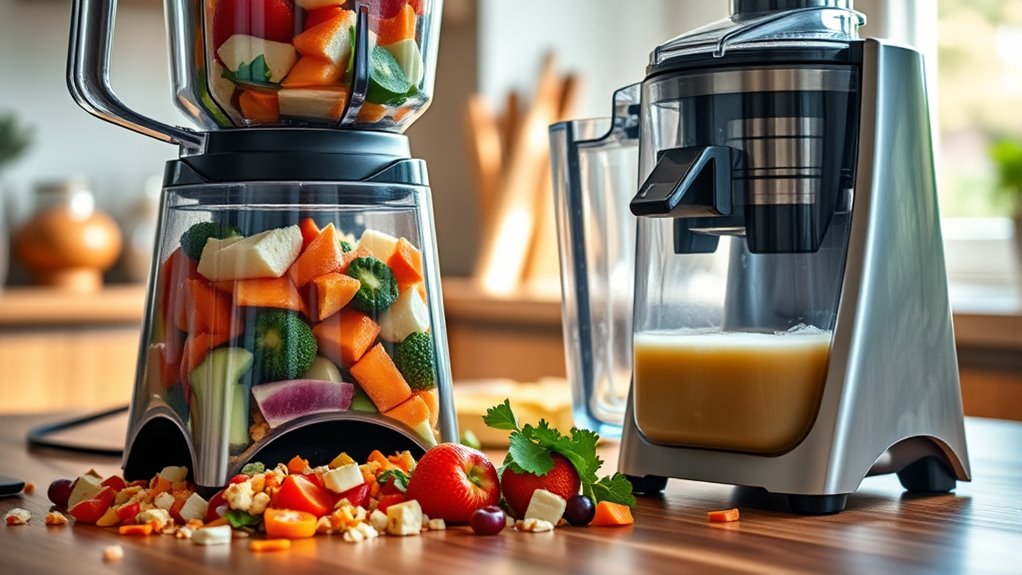
When you use a blender instead of a juicer, the way juice is extracted changes considerably. You’ll notice differences in fiber content since blenders keep most of it, while juicers often remove it.
Plus, the nutrient retention can vary depending on which method you choose.
Juice Extraction Methods
Although both blenders and juicers help you enjoy fresh juice, they extract it in very different ways. When you use a blender, you blend the whole fruit or vegetable, turning it into a thick, pulpy liquid. Juicers, on the other hand, separate the juice from the pulp, giving you a clearer liquid.
Here’s how the methods differ:
- Blenders pulverize the entire produce, keeping all parts.
- Juicers crush and press to extract only the liquid.
- Blenders require you to add water or strain for a smoother texture.
- Juicers produce juice faster without needing extra steps.
Understanding these differences helps you choose the right method based on your texture and flavor preferences.
Fiber Content Differences
Why does fiber content matter when you choose between a blender and a juicer? Fiber plays a key role in digestion and helps keep you full longer. When you use a blender, you keep all the fiber because the whole fruit or vegetable is pulverized.
This means your drink is thicker, more filling, and supports better digestion. On the other hand, a juicer extracts only the liquid, separating out most of the fiber and leaving you with a clearer, less filling juice.
Nutrient Retention Levels
Because blenders pulverize the entire fruit or vegetable, they tend to preserve more nutrients compared to juicers, which separate the juice from the pulp. When you blend, you keep all the vitamins, minerals, and antioxidants intact, including those in the fiber. Juicers often expose juice to air and heat, which may degrade some nutrients.
Using a blender means you get the whole food experience, maximizing nutrient intake.
Here’s what you should know about nutrient retention with blenders:
- Maintains fiber-bound nutrients that juicers discard
- Minimizes oxidation from less exposure to air
- Retains heat-sensitive vitamins better due to shorter processing time
- Preserves antioxidants found in the pulp
Choosing a blender can boost the overall nutritional value of your juice.
Best Fruits and Vegetables for Blender Juicing
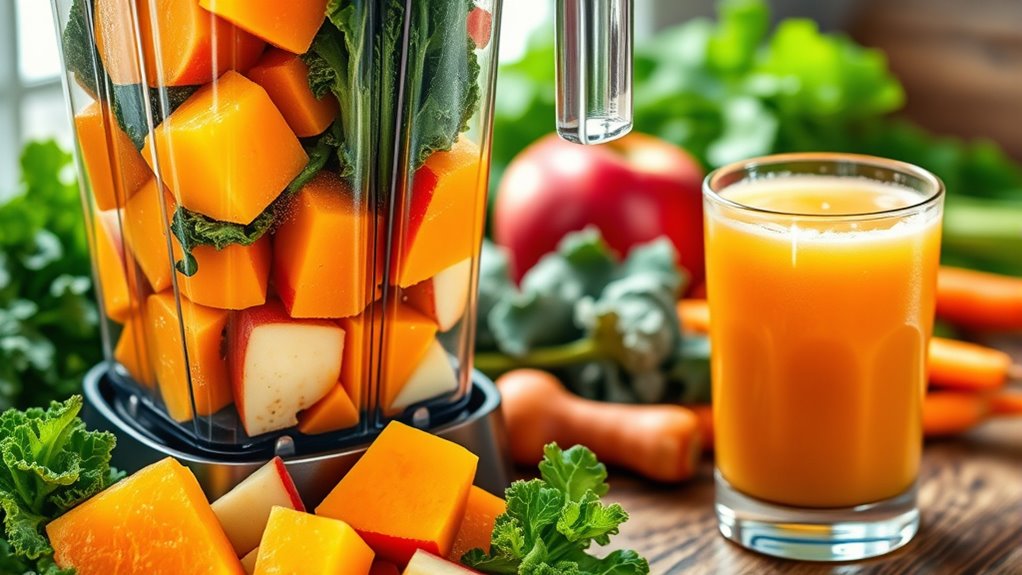
You’ll want to choose fruits and vegetables that pack a nutrient punch while blending smoothly. Low-fiber fruits like berries and melons work best to keep your juice silky without extra pulp.
Don’t forget veggies like spinach and cucumber—they blend easily and add great flavor and nutrition.
Nutrient-Rich Juicing Choices
When you choose the right fruits and vegetables for your blender juicing, you maximize both flavor and nutritional value. Nutrient-rich options help you get the most vitamins, minerals, and antioxidants in every glass. You’ll want to pick produce that blends smoothly while packing a healthful punch.
Leafy greens, for example, are loaded with iron and calcium. Bright fruits add vitamin C and natural sweetness, balancing the earthiness of veggies.
Try these nutrient-rich choices for your next blend:
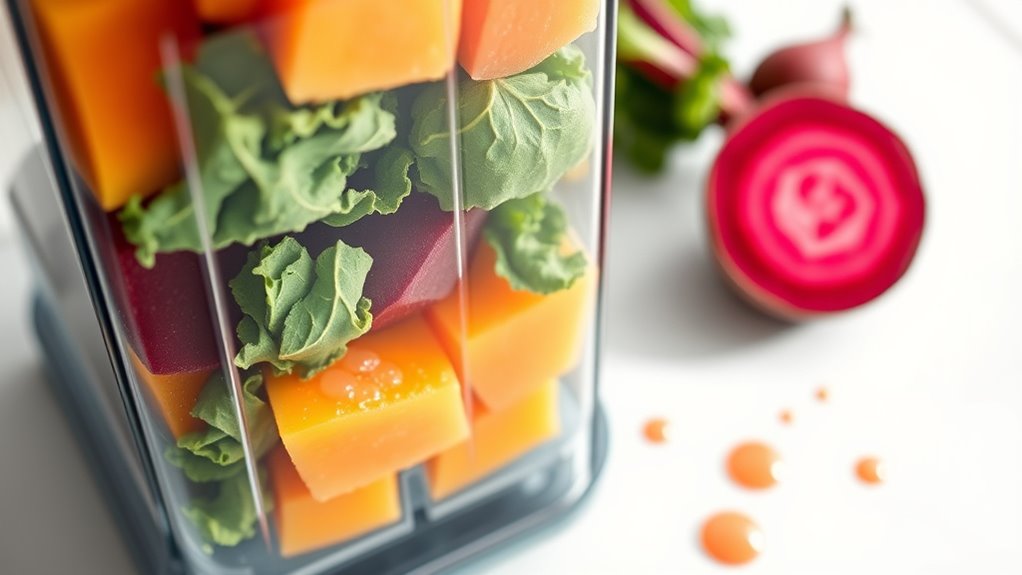
- Spinach or kale for fiber and iron
- Carrots for beta-carotene and vitamin A
- Apples for antioxidants and a touch of sweetness
- Beets for folate and potassium
These ingredients will keep your juice vibrant, tasty, and packed with nutrients.
Low-Fiber Fruit Picks
Which fruits and vegetables blend best for a smooth, revitalizing juice? Low-fiber fruits like grapes, watermelon, cantaloupe, and peeled apples are your go-to choices. These fruits break down easily in your blender, creating a silky texture without the gritty pulp.
You’ll also want to try peeled cucumbers and ripe tomatoes—they blend effortlessly and add a invigorating twist. Avoid fruits with thick skins or tough fibers, as they can leave your juice chunky or gritty. By focusing on low-fiber options, you’ll get a cleaner, more enjoyable juice that’s easy to drink and digest.
These picks maximize flavor and hydration, making your homemade juice both tasty and revitalizing every time you blend.
Vegetables Ideal For Blending
Blending low-fiber fruits gives you that smooth, invigorating base, but adding the right vegetables can boost both nutrition and flavor. When you toss in veggies, you increase vitamins, minerals, and antioxidants, all while keeping your juice revitalizing. Choose vegetables that blend easily and complement fruits for the best results.
Here are some vegetables ideal for blending:
- Cucumbers: High in water content, they add hydration and mild flavor.
- Spinach: A nutrient powerhouse that blends smoothly without overpowering taste.
- Carrots: Naturally sweet and packed with beta-carotene, they enhance both color and nutrition.
- Celery: Adds a subtle salty note and plenty of hydration, plus fiber for fullness.
These veggies help you create delicious, nutrient-rich blended juices effortlessly.
How to Prepare Fruits and Vegetables for Blender Juice
Preparing fruits and vegetables properly guarantees your blender juice turns out smooth and delicious. Start by washing everything thoroughly to remove dirt and pesticides. Peel tough-skinned produce like pineapples, oranges, and carrots, as their skins can affect taste and texture.
Cut fruits and veggies into smaller chunks—about 1 to 2 inches—to help your blender work efficiently. Remove seeds, pits, and cores from fruits like apples and peaches; these parts can be bitter or hard on your blender. If you’re using leafy greens, remove thick stems to avoid a gritty texture.
Finally, if you want a colder juice, freeze your ingredients beforehand or add ice during blending. Taking these simple steps guarantees your blender juice is fresh, tasty, and easy to enjoy.
How to Make Juice With a Blender: Step-by-Step
Now that your ingredients are ready, it’s time to blend them properly for the best juice. You’ll want to focus on blending techniques that maximize flavor and nutrition while knowing how to strain the mixture for a smooth finish.
Let’s walk through each step to make your juice perfect every time.
Preparing Ingredients Properly
Before you start juicing, you’ll want to make sure your ingredients are clean, fresh, and cut into manageable pieces. This step guarantees your blender works efficiently and your juice tastes fresh. Rinse fruits and vegetables under cold water to remove dirt and pesticides.
Remove any seeds, pits, or tough skins that could affect texture or flavor. Cutting ingredients into smaller chunks helps your blender break them down smoothly without overworking the motor.
Here are some tips for preparing your ingredients:
- Wash all produce thoroughly to avoid unwanted residues.
- Peel citrus fruits and tough-skinned vegetables for better blending.
- Remove seeds from apples, peaches, or pears to reduce bitterness.
- Chop ingredients into 1 to 2-inch pieces for easier processing.
Proper prep sets you up for a smoother juicing experience.
Blending And Straining Techniques
Once your ingredients are prepped, you can move on to blending and straining to extract smooth, fresh juice. Start by adding your fruits and vegetables to the blender jar, then pour in a small amount of water or coconut water to help the blades move freely. Blend on high until the mixture is smooth and uniform.
Next, strain the blended mixture using a fine mesh sieve, nut milk bag, or cheesecloth over a bowl or pitcher. Press or squeeze gently to extract as much liquid as possible without forcing pulp through. This step guarantees a clearer juice free of fibrous bits.
Finally, discard the leftover pulp or save it for recipes, and enjoy your fresh, homemade juice right away for excellent flavor and nutrients.
How to Strain Pulp for Smoother Juice
Although blending extracts most of the juice, you’ll want to strain the pulp to achieve a smoother texture. Straining removes fibrous bits that can make your juice gritty or thick. To do this effectively, pour your blended mixture through a fine mesh sieve or cheesecloth over a bowl.
Use a spoon or spatula to press the pulp gently, squeezing out as much liquid as possible without forcing solids through. This step enhances the juice’s mouthfeel and makes it easier to drink, especially if you prefer a cleaner finish. Remember to discard or repurpose the leftover pulp to reduce waste.
Here’s how to strain pulp efficiently:
- Use a fine mesh strainer or cheesecloth
- Pour slowly to avoid spills
- Press pulp gently with a spoon
- Collect juice in a clean container for serving
Tools and Accessories to Improve Blender Juicing
Straining your juice is a great way to improve its texture, but the right tools can make the entire juicing process smoother and more efficient. Start with a high-powered blender—it handles tough produce better and yields smoother juice. Next, use a fine mesh strainer or nut milk bag to separate pulp effectively.
A funnel helps you pour juice neatly into bottles without spills. Consider a tamper to push ingredients down evenly while blending, ensuring consistent texture. A sturdy pitcher with measurement marks lets you track your juice volume easily.
Finally, silicone spatulas are perfect for scraping every last drop from your blender jar and strainer. These simple accessories streamline your blender juicing experience, saving you time and effort while delivering better results.
Pros and Cons of Juicing With a Blender vs. a Juicer
When you decide between using a blender or a juicer, understanding their pros and cons can help you choose the best option for your needs. Blenders keep the entire fruit or vegetable, including fiber, while juicers extract mainly liquid, leaving pulp behind. This difference impacts texture, preparation time, and cleanup.
Choosing between a blender and juicer depends on your texture preference, prep time, and cleanup needs.
Here’s a quick comparison:
- Blender pros: Retains fiber, versatile for smoothies and soups, easy to clean, usually less expensive
- Blender cons: Thicker texture, may require dilution or straining
- Juicer pros: Produces smooth, pulp-free juice, often faster for large quantities
- Juicer cons: More expensive, requires more prep and cleanup, wastes fiber
Choose based on your texture preference, time, and budget.
Does Blending Change the Nutrients in Your Juice?
Since blending keeps the whole fruit or vegetable, including fiber and pulp, it affects the nutrient profile differently than juicing. When you blend, you retain more fiber, which helps with digestion and slows sugar absorption. Some vitamins, like vitamin C, may degrade slightly due to the heat and oxidation caused by blending, but the difference is minimal if you consume the drink quickly.
Juicing removes fiber, concentrating nutrients but also sugars, which can cause blood sugar spikes. Blending preserves antioxidants and phytonutrients that might be lost in juicing. Overall, blending offers a more balanced nutrient intake, giving you fiber alongside vitamins and minerals.
How to Customize Blender Juice for Better Flavor and Nutrition
Although blending creates a nutrient-packed base, you can easily tailor your juice to suit your taste and health goals by adding specific ingredients. To make your blender juice more flavorful and nutritious, consider incorporating these additions:
- Fresh herbs like mint or basil for a invigorating twist and added antioxidants.
- Citrus fruits such as lemon or lime to brighten flavor and boost vitamin C content.
- Superfoods like chia seeds or spirulina to enhance protein and nutrient density.
- Natural sweeteners like honey or dates if you prefer a sweeter taste without refined sugars.
Best Blender Juice Recipes to Try
Adding the right ingredients can transform your blender juice into a flavorful and nutritious treat. Start with a classic green blend by combining spinach, cucumber, green apple, and a squeeze of lemon for a revitalizing detox.
If you prefer something sweeter, try blending frozen mango, pineapple, orange juice, and a touch of ginger for a tropical boost. For a creamy option, mix banana, almond milk, a spoonful of peanut butter, and a dash of cinnamon—perfect for a filling breakfast.
Don’t forget to add a handful of ice or water to adjust consistency. Experiment with these recipes to find your favorite, and feel free to swap ingredients based on what you have. These blends pack vitamins and taste, making your homemade juice both healthy and delicious.
How to Clean and Maintain Your Blender After Juicing
To keep your blender performing at its best, you need to clean it promptly after juicing. Leftover pulp and juice can stain parts or cause odors if not removed. Start by rinsing the jar immediately to prevent residue buildup.
Clean your blender immediately after use to prevent stains, odors, and residue buildup.
Here’s how to clean and maintain your blender efficiently:
- Fill the jar halfway with warm water and a drop of dish soap, then blend for 30 seconds.
- Rinse thoroughly to remove all soap and pulp particles.
- Wipe the base with a damp cloth, avoiding water inside the motor.
- Regularly check and tighten blades if they become loose to maintain performance.
Frequently Asked Questions
Can I Store Blender Juice for Later Consumption?
Yes, you can store blender juice for later, but keep it in an airtight container in the fridge and drink within 24-48 hours.
Fresh juice tastes best, so consume it quickly to enjoy maximum nutrients and flavor.
Is Blender Juice Safe for Babies or Toddlers?
Think of blender juice as a colorful puzzle; you can safely give it to babies or toddlers if you avoid added sugars and chunks. Always strain and introduce small amounts to prevent choking or allergies.
Make sure to observe your child for any reactions when trying new ingredients. Consult with a pediatrician if you have concerns about allergies or digestion.
Blender juice can be a nutritious addition to your child’s diet when prepared carefully and thoughtfully.
What’s the Ideal Blender Speed for Juicing?
You’ll want to use a medium to high speed on your blender for juicing. This helps break down fruits and veggies efficiently without overheating, preserving nutrients and flavor.
Don’t crank it too high or it might overheat.
Can I Blend Frozen Fruits for Juice?
Can’t you blend frozen fruits for juice? Absolutely, you can! Just add a bit of liquid to help your blender work smoothly, and blend in pulses to avoid overheating.
You’ll get a delicious, invigorating juice every time.
How Much Juice Yield Can I Expect From a Blender?
You’ll get less juice yield from a blender compared to a juicer because it blends whole fruits, including pulp. Expect about 60-70% juice, with the rest as thick pulp needing straining for clearer juice.
Conclusion
You can absolutely juice with a blender—it’s like having a mini juicer right on your countertop. While it’s not exactly the same as a traditional juicer, blending keeps all the fiber intact, giving you a thicker, more filling drink.
With the right fruits, veggies, and a little prep, you’ll whip up delicious, nutrient-packed juice in no time. Just blend, strain if you want, and enjoy the vibrant burst of freshness!
In conclusion, using a blender to juice is a convenient and efficient way to make fresh juice at home. This method preserves fiber and nutrients, making it a great alternative to a traditional juicer. Try blending your favorite fruits and vegetables today for a healthy, homemade juice experience.