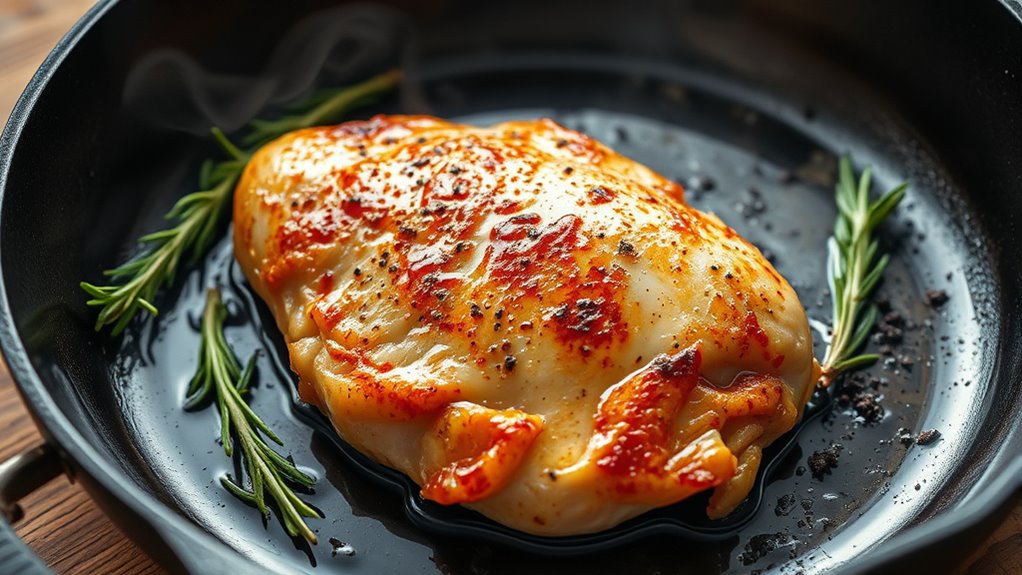
How to Cook Chicken Breast in Cast Iron Skillet
To cook chicken breast in a cast iron skillet, start by selecting fresh, evenly sized pieces and patting them dry. Properly cooking chicken breast in a cast iron skillet ensures a juicy and flavorful meal.
Season with salt, pepper, and your favorite spices, then preheat the skillet until it’s hot.
Sear the chicken on each side until golden brown, flipping only once. Finish cooking covered on low heat, checking for an internal temperature of 165°F.
Let it rest before serving to lock in juices.
Keep exploring for tips on perfect seasoning and cooking techniques. Mastering this method will elevate your chicken breast dishes every time.
Key Takeaways
- Select fresh, evenly sized chicken breasts and pound to uniform thickness for even cooking.
- Season chicken with salt, pepper, and spices, then let it sit for at least 15 minutes before cooking.
- Preheat the cast iron skillet over medium-high heat until hot, then add a high smoke point oil for searing.
- Sear chicken skin-side down without overcrowding, flip once a golden crust forms, and cover to finish cooking.
- Use a meat thermometer to ensure 165°F internal temperature, then rest chicken 5-10 minutes before serving.
Choosing the Best Chicken Breast for Cast Iron Cooking
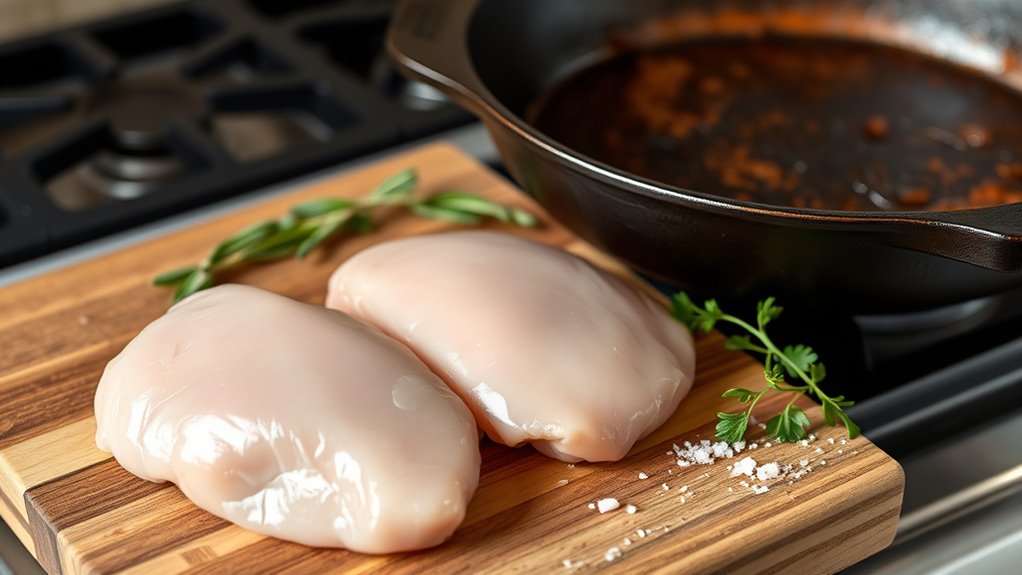
When selecting chicken breasts for your cast iron skillet, choose fresh, evenly sized pieces to guarantee they cook uniformly. You don’t want some parts overcooked while others remain underdone. Look for chicken breasts that feel firm with a slight spring when pressed—that’s a sign of freshness.
Avoid any with a grayish tint or an off smell, as those indicate they’re past their prime. If you can, pick breasts that are similar in thickness; this helps them cook evenly without needing to pound them flat. Organic or free-range options often have better flavor and texture, but fresh conventional breasts work well too.
Ultimately, starting with quality chicken sets you up for a successful, delicious meal in your cast iron skillet.
Prepping Chicken Breast for Even Cooking
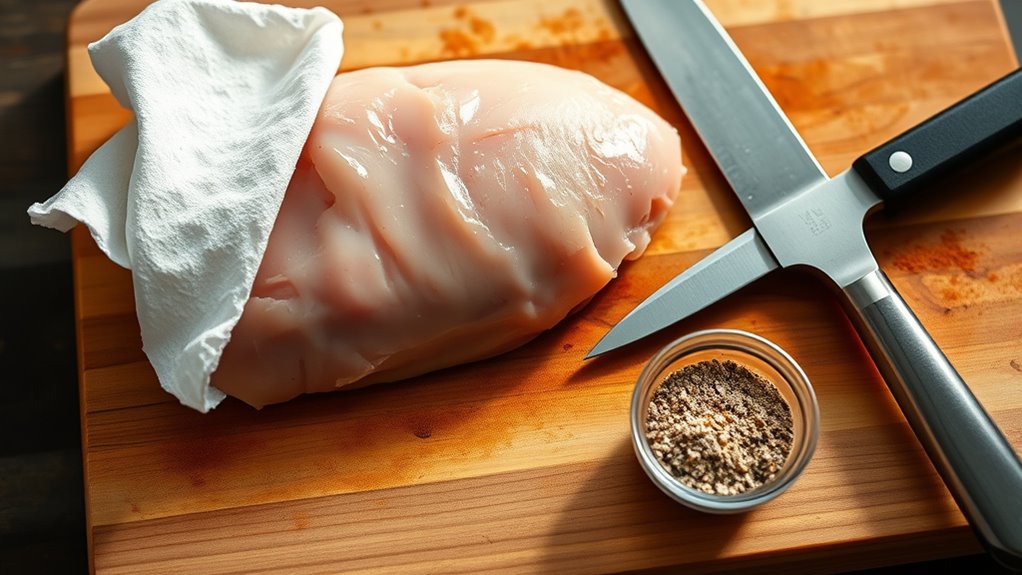
Although chicken breasts might look ready to cook straight away, prepping them properly guarantees they cook evenly and stay juicy. Start by patting the chicken dry with paper towels to remove excess moisture—this helps achieve a nice sear.
Properly prepping chicken breasts ensures even cooking and juicy results—start by patting them dry for a perfect sear.
Next, check for uneven thickness. If one side is thicker, use a meat mallet or rolling pin to gently pound it to an even thickness, about ½ to ¾ inch. This prevents thinner parts from overcooking while thicker parts finish.
Trim any excess fat or tendons to assure a cleaner cook. Finally, let the chicken rest at room temperature for 15-20 minutes before cooking; this promotes even heat distribution throughout the meat.
These simple steps set the stage for perfectly cooked chicken breasts in your cast iron skillet.
How to Season Chicken Breast for Maximum Flavor
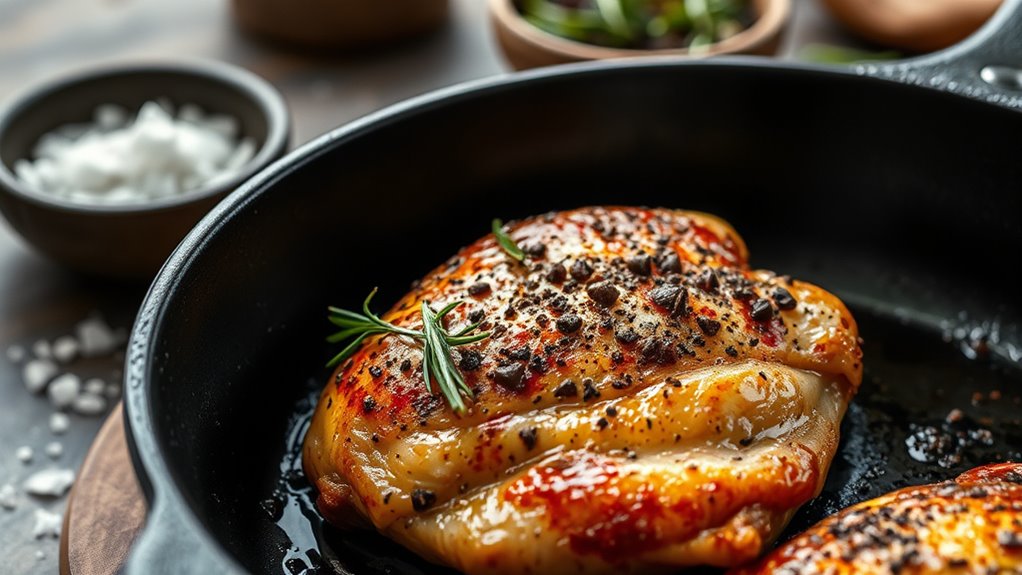
You’ll want to start with essential seasoning ingredients like salt, pepper, garlic powder, and paprika to boost the chicken’s flavor. Don’t wait until the last minute—season your chicken at least 15 minutes before cooking to let the flavors soak in.
This simple timing trick makes a big difference in taste.
Essential Seasoning Ingredients
To bring out the best flavor in your chicken breast, start with a simple blend of essential seasoning ingredients. You’ll want salt and freshly ground black pepper as your base—they enhance natural flavors without overpowering. Add garlic powder or minced garlic for a savory depth.
A pinch of paprika delivers subtle smokiness and vibrant color. For a hint of earthiness, sprinkle in some dried thyme or oregano. Don’t forget a little olive oil to help the seasonings stick and promote even browning in your cast iron skillet.
These ingredients work together to create a balanced, flavorful profile that complements the chicken’s mild taste. Keep your seasoning straightforward, and you’ll get maximum flavor without masking the juicy texture you aim to achieve.
Timing for Seasoning
Once you’ve prepared your seasoning blend, the next step is deciding when to apply it for the best flavor. Timing matters because it affects how deeply the flavors penetrate the chicken breast. Here’s what you should consider:
- Season immediately after patting the chicken dry to help the spices stick.
- For a more intense flavor, season at least 30 minutes before cooking.
- If you’re short on time, seasoning just before cooking still adds a nice crust.
- Avoid salting too far in advance (over 24 hours) unless refrigerated, to prevent moisture loss.
- When marinating, combine seasoning with oil or acid and let the chicken sit for 1-2 hours.
Preheating Your Cast Iron Skillet for Chicken Breast
You want your cast iron skillet to be hot enough to sear the chicken breast without burning it. Heating it over medium-high heat for a few minutes usually gets it to the ideal temperature.
Keep a close eye and use a drop of water to test if it sizzles immediately—that’s your signal to start cooking.
Ideal Skillet Temperature
Although it might seem simple, getting your cast iron skillet to the ideal temperature before cooking chicken breast makes all the difference in achieving a juicy, well-seared result. You want the skillet hot enough to create a golden crust but not so hot that the chicken burns or cooks unevenly.
Aim for a medium-high temperature, typically around 375°F (190°C). Here’s how to tell when your skillet is ready:
- It feels evenly hot across the surface
- A drop of water sizzles and evaporates quickly
- Oil shimmers without smoking immediately
- The pan starts to emit a faint smoky aroma
- You can hold your hand an inch above the surface for 2-3 seconds before it feels too hot
This temperature balance guarantees perfect searing and juicy chicken.
Heating Techniques and Tips
Achieving the right skillet temperature starts with proper heating techniques that set the stage for cooking chicken breast perfectly. Begin by placing your cast iron skillet on medium heat and let it warm gradually for about 5 minutes. Avoid cranking the heat too high too fast—that can cause uneven heating or burning.
To test if the skillet is ready, sprinkle a few drops of water on the surface; if they dance and evaporate quickly, you’re good to go. Adding a bit of oil only after the skillet is hot helps prevent sticking and ensures a nice sear. Remember, patience during preheating pays off with juicy, evenly cooked chicken breast and a beautifully browned crust every time.
How to Sear Chicken Breast for a Crispy Exterior
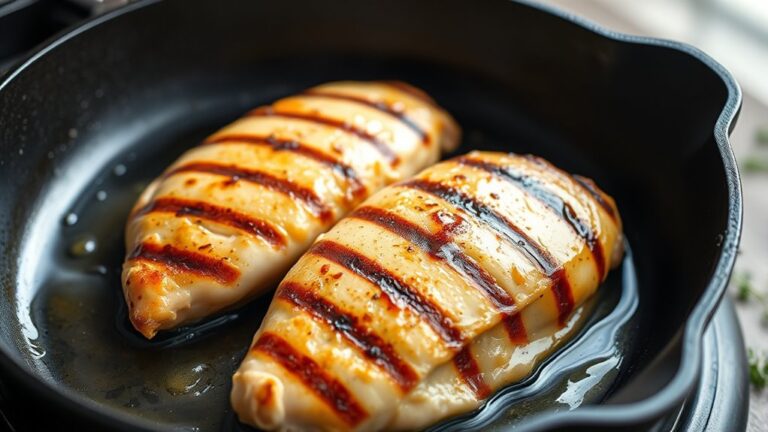
When the skillet is hot enough, place the chicken breast skin-side down to start creating that irresistible crispy exterior. Don’t move it around; let it sit so the heat can do its magic.
To get that perfect sear, keep these tips in mind:
- Use a high smoke point oil like avocado or grapeseed oil.
- Press the chicken gently with a spatula to ensure even contact.
- Avoid overcrowding the pan to maintain heat and crispness.
- Let the chicken develop a golden-brown crust before flipping.
- Use tongs to flip carefully without tearing the skin.
Cooking Times and Temperatures for Juicy Chicken Breast
Since chicken breast can dry out quickly, monitoring cooking times and temperatures is vital to keep it juicy and tender. Aim to cook the chicken at medium heat, around 350°F (175°C), to guarantee even cooking without burning the exterior. For average-sized breasts, cook each side for about 5-7 minutes.
Use a meat thermometer to check for doneness; the internal temperature should reach 165°F (74°C). Remove the chicken from the skillet as soon as it hits this temperature to avoid overcooking. Remember, carryover heat will continue to cook the meat slightly after you take it off the stove.
Let the chicken rest for 5 minutes before slicing to allow juices to redistribute, resulting in a moist and flavorful bite every time.
When and How to Flip Chicken Breast in the Skillet
You’ll want to flip the chicken breast once it releases easily from the skillet and has a golden-brown crust. Watch for clear juices and firm edges as signs it’s ready.
When flipping, use tongs or a spatula to lift gently and avoid tearing the meat.
Timing The First Flip
Although it might be tempting to flip the chicken breast immediately, waiting until a golden crust forms is key to preventing sticking and ensuring even cooking. You want to give the meat enough time to sear properly before turning it over.
Here’s how to nail the timing for the first flip:
- Preheat your skillet and add oil before placing the chicken.
- Place chicken breast gently and avoid moving it right away.
- Wait about 5-7 minutes, depending on thickness.
- Look for a deep golden-brown color at the edges.
- Use a spatula to gently lift and check if it releases easily.
Patience here means better texture and flavor, so resist the urge to flip too soon!
Signs Chicken Is Ready
When the chicken breast has developed a rich, golden-brown crust and easily releases from the skillet, it’s a clear sign that it’s ready to be flipped. If you try to lift the chicken and it sticks, give it more time to sear properly. This crust forms as the natural sugars and proteins caramelize, locking in flavor and moisture.
You’ll also notice the edges starting to turn opaque and firm, which means the heat is penetrating through the meat. Avoid flipping too early, as this can tear the surface and prevent proper browning. Once the chicken lifts off effortlessly, use a spatula to gently flip it over, ensuring the second side cooks evenly for juicy, perfectly cooked breast every time.
Flip Technique Tips
Before flipping the chicken breast, wait until it releases easily from the skillet to avoid tearing the crust. This guarantees a perfect sear and keeps the meat juicy. Use a thin, flexible spatula to gently lift one edge and check if it’s ready.
Keep these flip technique tips in mind:
- Flip only once to maintain a crisp crust
- Slide the spatula fully underneath before lifting
- Use tongs to assist if needed for stability
- Flip confidently but gently to prevent splatter
- Avoid pressing down after flipping to keep juices inside
Finishing Chicken Breast With a Lid or Foil
To lock in moisture and guarantee even cooking, you can finish your chicken breast by covering the skillet with a lid or foil. This traps steam, gently cooking the chicken through without drying it out. After searing both sides, reduce the heat to low and cover the pan.
Check occasionally to avoid overcooking. Using a lid works well if it fits your skillet snugly; otherwise, foil provides a flexible alternative. This method ensures the heat circulates evenly around the chicken, making it tender and juicy.
Avoid lifting the cover too often—you want to keep the heat and moisture inside. Once the chicken feels firm but still yields slightly to the touch, you’re ready to move on to resting or serving.
How to Check Chicken Breast Doneness Accurately
Covering the skillet helps cook the chicken breast evenly, but you still need to make certain it’s done just right. Checking doneness accurately ensures juicy, safe-to-eat chicken. Here’s how you can do it:
Covering the skillet cooks chicken evenly, but confirming doneness ensures it’s juicy and safe to eat.
- Use a meat thermometer to check the internal temperature; it should read 165°F (74°C).
- Pierce the thickest part of the breast with a fork or knife; clear juices indicate it’s done.
- Cut into the center to verify the meat is white, not pink.
- Press the chicken with your finger; it should feel firm but springy.
- Avoid relying solely on cooking time; factors like thickness and heat vary.
Resting Chicken Breast After Cooking and Why It Matters
Although you’ve cooked the chicken breast perfectly, letting it rest for a few minutes is essential to lock in the juices and maintain its tenderness. When you take the chicken off the heat, the juices are still moving inside. Resting allows these juices to redistribute evenly throughout the meat instead of spilling out when you cut into it.
If you skip this step, your chicken breast will lose moisture and become dry. Ideally, let it rest on a warm plate, loosely covered with foil, for about 5 to 10 minutes. This short pause also helps the internal temperature stabilize, ensuring every bite stays juicy and flavorful.
Serving and Saucing Ideas for Cast Iron Chicken Breast
When you’ve rested your chicken breast, it’s time to think about how you’ll serve it to highlight its juicy, flavorful qualities. Simple accompaniments and sauces can elevate your cast iron masterpiece without overpowering it. Consider these ideas:
- Drizzle a lemon butter sauce for bright, tangy richness.
- Add a spoonful of creamy mushroom gravy for earthiness.
- Serve alongside a fresh arugula salad with a balsamic glaze.
- Top with sliced avocado and a sprinkle of chili flakes for a creamy, spicy kick.
- Pair with roasted vegetables or garlic mashed potatoes for a hearty meal.
These options complement your chicken’s sear and moisture, making each bite satisfying. Feel free to mix and match to suit your taste and create a memorable dish every time.
Fixing Common Cast Iron Chicken Breast Problems
Serving your perfectly cooked chicken breast is rewarding, but sometimes things don’t go as planned during cooking. If your chicken turns out dry, try pounding it to an even thickness before cooking and avoid overcooking by using a meat thermometer.
For sticking issues, make sure your cast iron skillet is properly seasoned and preheated, then add enough oil to create a nonstick surface. If the chicken isn’t browning well, increase the heat slightly and avoid overcrowding the pan, which lowers the temperature.
To fix uneven cooking, flatten thicker parts or butterfly the breast for consistent thickness. Finally, if your chicken tastes bland, don’t hesitate to season generously with salt, pepper, or your favorite herbs before cooking to enhance flavor.
Frequently Asked Questions
Can I Cook Frozen Chicken Breast in a Cast Iron Skillet?
You can cook frozen chicken breast in a cast iron skillet, but it takes longer. You’ll want to cook it over medium heat, cover it to retain moisture, and guarantee it reaches 165°F for safe eating.
How Do I Clean My Cast Iron Skillet After Cooking Chicken?
Don’t rush—clean your skillet carefully. Use hot water and a stiff brush while it’s still warm, avoiding soap.
Dry it completely, then rub with oil to keep it seasoned and ready for your next delicious meal.
Is It Safe to Use Metal Utensils on a Cast Iron Skillet?
You can use metal utensils on a well-seasoned cast iron skillet without damaging it. Just avoid scraping aggressively, and your pan’s seasoning will stay intact, keeping it nonstick and ready for your next meal.
Can I Marinate Chicken Breast Before Cooking in Cast Iron?
Yes, you can marinate chicken breast before cooking it in a cast iron skillet. Just pat the chicken dry before cooking to guarantee a good sear and avoid excess moisture that can prevent browning.
This helps achieve a flavorful and nicely browned crust. Marinating also tenderizes the meat and enhances its taste.
Be sure not to leave the chicken in the marinade for too long, as acidic marinades can start to break down the texture.
What Types of Oil Are Best for Cast Iron Cooking?
You’ll want oils with high smoke points like avocado, grapeseed, or canola oil. These oils won’t burn easily, helping you cook evenly and avoid sticking.
Olive oil works too, but watch the heat closely.
Conclusion
By choosing the right chicken breast and prepping it well, you’ll nail that crispy, juicy cast iron sear every time. Coincidentally, the same skillet that gives you a golden crust also helps you master even cooking and resting for perfect tenderness.
So, with a little seasoning and patience, your cast iron skillet becomes more than a pan—it’s your secret weapon for delicious, foolproof chicken breast meals.
Ready to impress? You’ve got this! Mastering how to cook chicken breast in a cast iron skillet ensures every bite is packed with flavor and perfectly cooked to juicy perfection.