How to Season Non Stick Cookware in 10 Easy Steps
To season your non-stick cookware effectively, start by washing and drying it thoroughly, taking care to avoid scratches. Proper seasoning enhances the non-stick surface, making cooking and cleaning easier while extending the lifespan of your pans.
Choose a high-smoke-point oil like flaxseed or avocado oil for the best results.
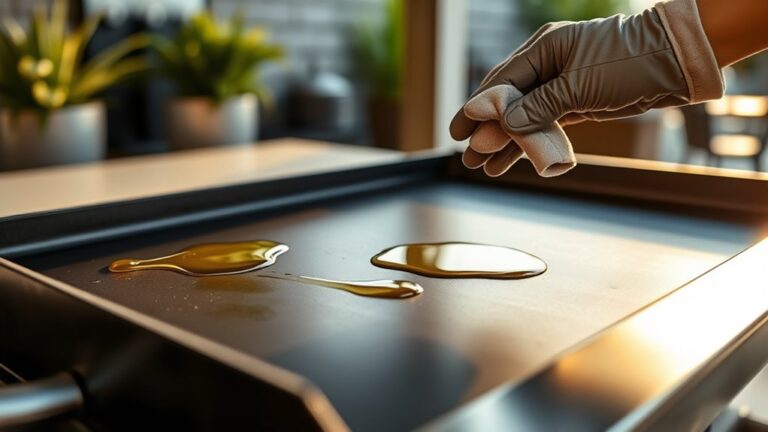
Apply a thin, even layer of the oil using a cloth or paper towel. Heat the pan on medium-low for 10-15 minutes until you notice a slight shimmer on the surface. Then, allow the pan to cool completely before handling.
Repeat the seasoning process a few times each year or whenever food begins to stick. Use gentle cleaning methods and proper care to maintain a smooth, non-stick surface.
Keep following for more tips on maintenance and recognizing when it’s time to reseason your cookware.
Key Takeaways
- Clean non-stick cookware with warm, soapy water and dry thoroughly before seasoning to ensure proper oil adhesion.
- Apply a thin, even layer of high smoke point oil (e.g., avocado or grapeseed) using a cloth or paper towel.
- Heat the cookware on low to medium heat for 10-15 minutes until the surface appears slightly shiny and smooth.
- Allow the pan to cool completely before wiping off excess oil with a soft cloth to prevent sticky residue.
- Repeat seasoning 2-3 times a year or when food starts sticking, maintaining the non-stick surface and extending pan life.
How to Prepare Your Non-Stick Pan for Seasoning
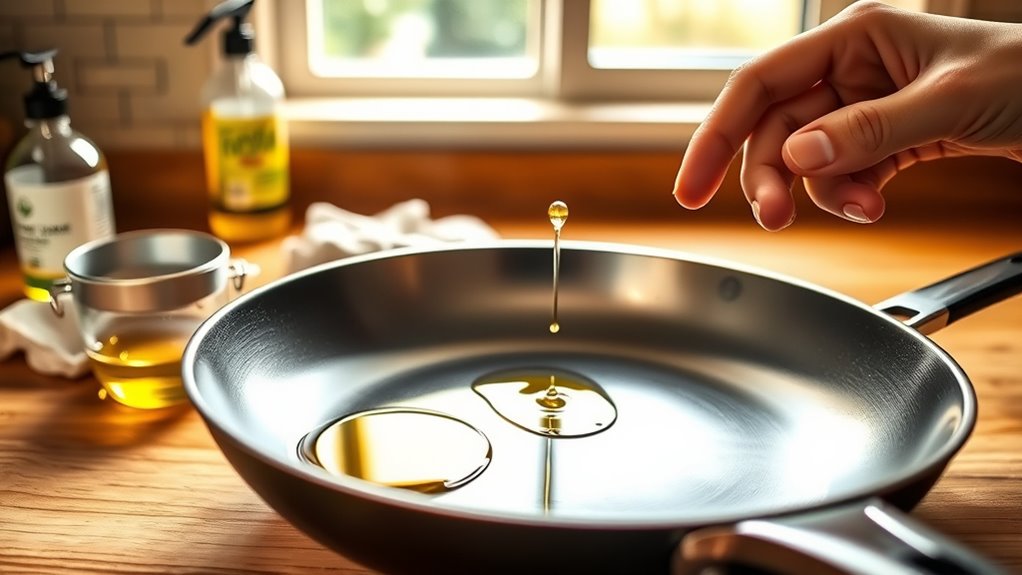
Before you begin seasoning your non-stick pan, make sure it’s clean and completely dry. Start by washing it gently with warm, soapy water to remove any factory residues or dust. Avoid abrasive sponges that could damage the surface.
After rinsing thoroughly, dry the pan with a soft cloth or paper towel. Moisture left on the surface can interfere with the seasoning process, so confirm it’s fully dry. Also, check for any scratches or peeling on the coating; if you find any, seasoning might not be effective and could worsen the damage.
Once your pan is spotless and dry, you’re ready to move on to the next step. Proper preparation ensures the seasoning layer adheres well, extending your pan’s life and enhancing its performance.
How to Choose the Best Oil for Seasoning Your Non-Stick Pan
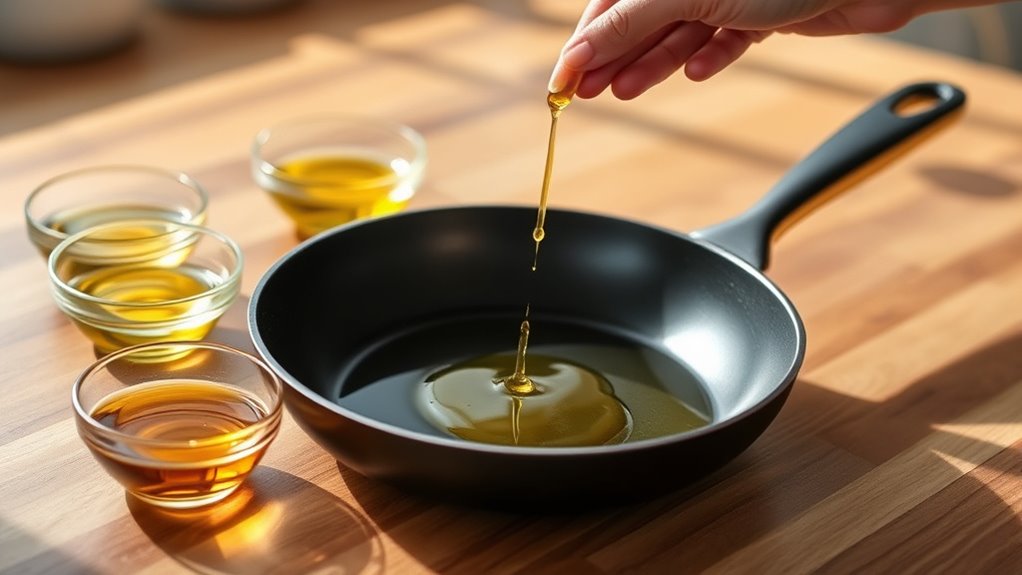
When selecting oil for seasoning your non-stick pan, which type works best to create a durable, smooth coating? You want an oil with a high smoke point that polymerizes well when heated. Flaxseed oil is a popular choice because it forms a hard, long-lasting layer.
Grapeseed oil and avocado oil also work great due to their stability at high temperatures. Avoid oils with low smoke points like olive oil or butter, as they can create sticky residues instead of a proper seasoning. Also, choose oils that are neutral in flavor so your pan won’t absorb unwanted tastes.
How to Apply Oil Evenly on Your Non-Stick Pan
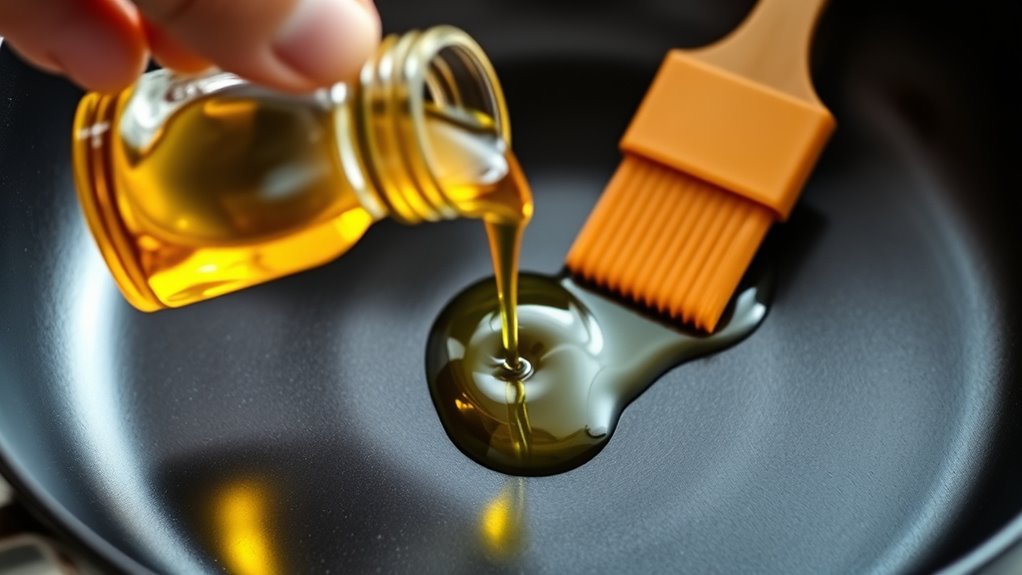
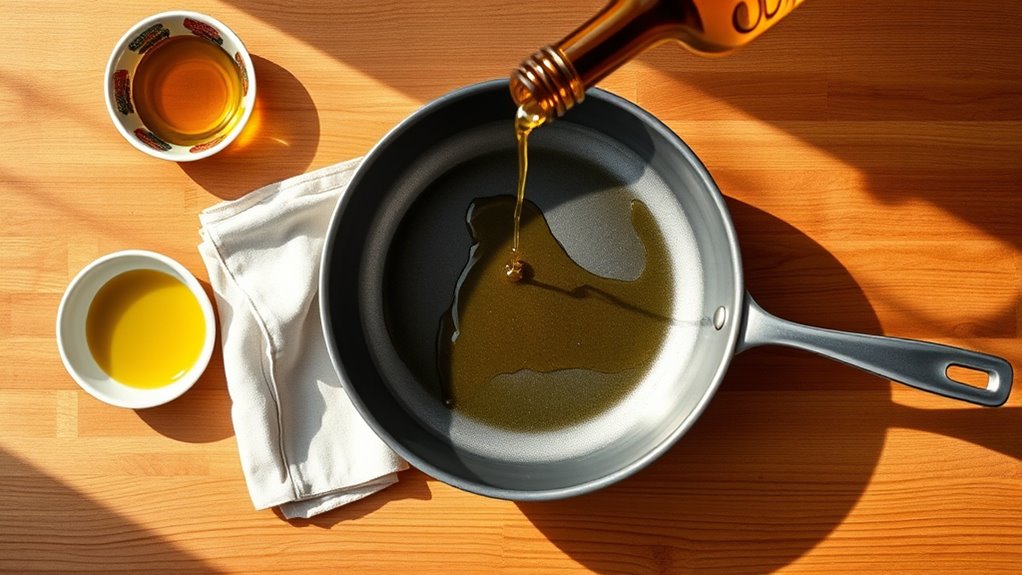
Now that you’ve picked the right oil, it’s important to apply it evenly on your non-stick pan for the best seasoning results. Use a clean cloth or paper towel to spread a thin, uniform layer across the entire surface.
This helps create a smooth, protective coating that improves your pan’s performance.
Choosing The Right Oil
Although non-stick pans require less oil than traditional cookware, choosing the right oil and applying it evenly is essential to maintain the pan’s surface and enhance its performance. You’ll want to pick oils with a high smoke point, like avocado oil, grapeseed oil, or refined coconut oil. These oils withstand heat without breaking down, preventing residue buildup that can damage your pan.
Avoid using butter or olive oil for seasoning because their lower smoke points can cause sticky patches. When selecting oil, also consider flavor neutrality—neutral oils won’t affect the taste of your food. By choosing the right oil, you protect your pan’s coating while ensuring smooth, even seasoning that boosts non-stick effectiveness and longevity.
Techniques For Even Coating
Since even oil distribution is key to effective seasoning, you’ll want to apply it carefully to cover the entire cooking surface without pooling. Start by pouring a small amount of oil—about a teaspoon—into the center of the pan. Use a paper towel or a soft cloth to spread the oil evenly, moving from the center toward the edges in gentle, circular motions.
Avoid using too much oil, as excess can create sticky spots. Make sure to coat the sides and rim as well. If you notice any oil pooling, blot it with a clean paper towel.
This careful, even coating guarantees your non-stick pan develops a smooth, durable seasoning layer that enhances its performance and longevity.
What Temperature to Use When Heating Your Non-Stick Pan
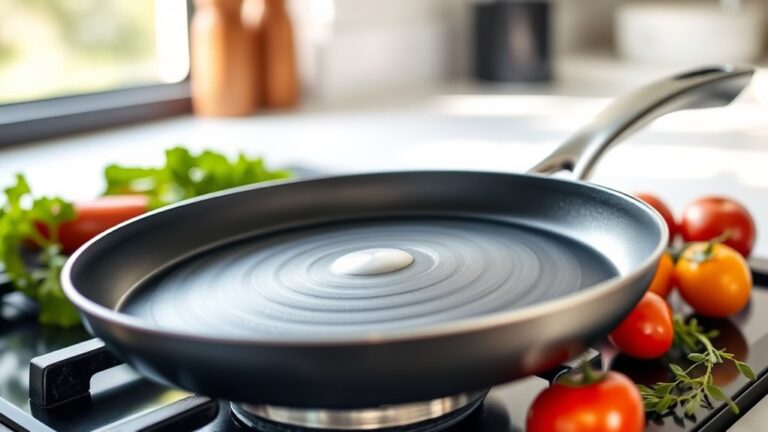
When heating your non-stick pan, you should avoid using high temperatures that can damage the coating. Stick to low to medium heat settings instead. High heat can cause the non-stick surface to break down, releasing harmful fumes and reducing the pan’s lifespan.
Aim for a gentle warmth that allows the oil to spread evenly during seasoning without smoking or burning. If your stove has numbered settings, choose around 3 to 5 on a scale of 1 to 10. Electric stoves often require slightly lower settings than gas.
Always preheat gradually rather than blasting the pan with heat. This controlled temperature helps the seasoning layer bond properly to the surface, ensuring your non-stick pan stays effective and durable over time.
How Long to Heat Your Pan for Effective Seasoning
You’ll want to heat your pan just long enough to let the oil bond with the surface without risking damage. Keep an eye out for a slight shimmering or smoke to know it’s ready.
Heating too long can harm the non-stick coating, so timing is key.
Optimal Heating Duration
How long should you heat your non-stick pan to achieve effective seasoning? The ideal heating duration is essential to guarantee the oil bonds properly to the surface without damaging the coating. Typically, you want to heat your pan on medium heat for about 10 to 15 minutes.
This time frame allows the oil to polymerize and form a protective layer.
Keep these tips in mind for perfect heating:
- Heat the pan gradually to avoid overheating or warping.
- Maintain medium heat to balance seasoning without burning oil.
- Avoid exceeding 15 minutes to protect the non-stick surface.
- Allow the pan to cool naturally after heating for best results.
Following this timing helps you build a durable, effective seasoning layer.
Signs Pan Is Ready
Although seasoning times can vary slightly, you’ll know your pan is ready when you see a slight shimmer or feel a smooth texture on the surface. This means the oil has polymerized correctly, creating a protective bond. Heating too briefly won’t develop the layer, while overheating risks damaging the coating.
Here’s a quick guide to help you gauge when your pan’s ready:
| Heat Level | Time | Sign to Watch For |
|---|---|---|
| Low | 5 minutes | Surface feels slightly warm |
| Medium-Low | 7 minutes | Oil starts to thin out |
| Medium | 10 minutes | Slight shimmer appears |
| Medium-High | 12 minutes | Surface feels smooth |
| High | 15 minutes | Ready, but don’t exceed! |
Watch for these signs to get perfect seasoning every time.
Avoid Overheating Damage
Since overheating can quickly ruin your non-stick pan’s surface, it’s essential to heat it only as long as necessary to build that protective seasoning layer. Typically, heating your pan for about 10 to 15 minutes on medium heat is enough to polymerize the oil without damaging the coating. Keep a close eye on the process to avoid smoke or discoloration, which signal overheating.
Remember, patience is key—rushing by cranking the heat can cause peeling or warping.
To avoid excessive heat damage, follow these tips:
- Heat the pan gradually over medium heat
- Limit seasoning time to 10–15 minutes
- Watch for smoke or color changes as warnings
- Allow the pan to cool naturally before wiping excess oil
This approach ensures a durable, non-stick seasoning layer without harm.
Cooling and Wiping Your Pan After Seasoning
Once you’ve finished seasoning your non-stick pan, let it cool completely before handling it. This step is essential to avoid burns and to let the oil fully bond with the pan’s surface.
After it’s cool, take a soft cloth or paper towel and gently wipe away any excess oil or residue. Avoid using abrasive materials that could damage the coating. If you notice sticky spots, a light wipe with a cloth slightly dampened with warm water will do the trick—no soap needed.
Once wiped, leave the pan to air dry or pat it gently with a dry cloth. Proper cooling and wiping make certain your pan is ready for use and helps maintain its non-stick properties longer.
How Often to Season Your Non-Stick Cookware
You’ll want to season your non-stick cookware every few months to keep it performing well. Pay attention to signs like food sticking or a dull surface, which mean it’s time to re-season.
Regular maintenance helps extend your pan’s lifespan and keeps cooking smooth.
Seasonal Maintenance Frequency
Although non-stick cookware requires less frequent seasoning than cast iron, you should still season it regularly to maintain its coating and prevent damage. Seasonal maintenance helps extend your cookware’s lifespan and keeps it performing well throughout the year.
Generally, seasoning your non-stick pans once every few months is enough, but your cooking habits and frequency might influence this schedule.
Consider these points for seasonal maintenance frequency:
- Season cookware at least twice a year, ideally before and after heavy use seasons
- Increase seasoning frequency if you cook acidic or oily foods often
- Store cookware clean and dry to minimize the need for frequent seasoning
- Adjust frequency based on visible wear or changes in non-stick performance
Indicators For Re-Seasoning
If your non-stick cookware starts showing signs of wear, it’s a clear signal that it needs re-seasoning. Look for scratches, dull spots, or food sticking more than usual—these are key indicators. If you notice uneven cooking or discoloration, it’s time to act.
Also, if you’ve scrubbed your pan with harsh detergents or abrasive tools, re-seasoning helps restore its protective layer. Don’t wait for the surface to degrade completely; regular checks keep your cookware performing well. How often you season depends on use—heavy daily cooking may require monthly seasoning, while occasional use might only need it every few months.
Pay attention to these signals to maintain your non-stick coating’s effectiveness and prolong your cookware’s lifespan.
How to Maintain Your Seasoned Non-Stick Surface Between Uses
Keeping your seasoned non-stick surface in top shape between uses requires gentle cleaning and careful handling. You want to preserve the protective layer you’ve built by avoiding harsh scrubbing and abrasive materials. After cooking, let the pan cool before washing it with warm, soapy water.
Use a soft sponge or cloth to clean—never steel wool or rough pads. Dry it thoroughly to prevent rust or damage to the seasoning.
To maintain your seasoned surface:
- Hand wash gently with mild detergent
- Avoid soaking the pan for long periods
- Use wooden or silicone utensils to prevent scratches
- Apply a light coat of oil after drying for added protection
These steps help keep your non-stick surface performing well and lasting longer.
Avoid These Common Seasoning Mistakes
When seasoning your non-stick cookware, you’ll want to steer clear of common mistakes that can damage the surface or reduce its effectiveness. First, don’t skip cleaning your pan thoroughly before seasoning; any residue can prevent the oil from bonding properly. Avoid using too much oil—just a thin, even layer is enough.
Overheating the pan during seasoning can cause the oil to burn and create a sticky residue, so keep the temperature moderate. Don’t use abrasive scrubbers or harsh detergents afterward, as they can strip the seasoning. Finally, avoid seasoning your non-stick pans too often; over-seasoning can build up an uneven layer that affects cooking performance.
Follow these tips to keep your cookware in top shape and extend its lifespan.
How to Tell When Your Pan Needs Reseasoning
Although non-stick cookware is designed to resist sticking, you’ll know it’s time to reseason your pan when food begins to cling or the surface looks dull and worn. Pay attention to these signs to keep your pan performing at its best.
- Food sticks more than usual, even with oil or butter
- The cooking surface appears scratched, faded, or dull
- You notice uneven heating or hot spots during cooking
- Sticky residue or discoloration remains after washing
When you spot these signs, it means the protective layer is breaking down. Reseasoning restores that slick surface, improving cooking and extending your pan’s life.
Don’t wait too long—regular maintenance keeps your non-stick cookware working smoothly.
Frequently Asked Questions
Can Seasoning Improve the Lifespan of Non-Stick Cookware?
Yes, seasoning can improve your non-stick cookware’s lifespan by creating a protective layer that reduces wear and prevents food from sticking.
You’ll keep your pans in better shape and enjoy cooking without constantly worrying about damage.
Is Seasoning Safe for All Types of Non-Stick Coatings?
No, you shouldn’t season all non-stick coatings. Some, like ceramic or PTFE, can be damaged by high heat or oils.
Always check your cookware’s instructions to avoid ruining the surface or reducing its effectiveness.
Can Seasoning Remove Existing Stains or Residues on Non-Stick Pans?
Seasoning won’t remove existing stains or residues on your non-stick pans. You’ll need to clean them thoroughly first.
Seasoning mainly helps maintain the coating and improve performance, but it doesn’t act as a cleaner.
Does Seasoning Affect the Flavor of the Food Cooked?
Seasoning won’t turn your dinner into a bizarre flavor explosion! You won’t taste it at all.
Instead, it just creates a smooth, protective layer, keeping your food tasting just like it should—delicious and pure.
Are There Any Specific Brands Recommended for Seasoning Non-Stick Pans?
You’ll find that brands like Lodge and Carote offer seasoning oils specifically for non-stick pans. However, you can also use common options like flaxseed or grapeseed oil to season your cookware effectively.
These oils help create a durable, non-stick surface and enhance the longevity of your pans. Choosing the right oil ensures better seasoning results.
Always apply a thin layer and heat the pan according to the seasoning instructions for the best outcome.
Conclusion
Seasoning your non-stick pan is like giving it a protective hug—it keeps your cooking smooth and your cleanup easy. By prepping your pan right, choosing the best oil, and heating it just so, you’ll extend its life and boost performance.
Remember to season regularly and avoid common pitfalls to keep that non-stick magic alive. Treat your pan well, and it’ll reward you with countless delicious meals, every single time. Proper seasoning of non-stick cookware ensures durability, enhances non-stick properties, and makes cooking a joy.