How to Make 3D Cutting Boards in 7 Easy Steps
You start by understanding what makes a 3D cutting board unique—layered wood pieces creating depth and intricate patterns. Crafting these beautiful kitchen essentials involves selecting the right hardwoods like maple or walnut for durability and safety.
Designing your pattern carefully is crucial, considering color contrasts and grain direction for the best visual impact.
Cut and prepare each piece with precision, then glue and clamp them securely to maintain stability during assembly. After the glue sets, shape your board by sanding and routing the edges smoothly to achieve a professional finish.
Finally, apply food-safe finishes such as mineral oil to protect your work and ensure longevity.
Regular maintenance will keep your cutting board looking great and functioning well over time. Follow these steps closely, and you’ll discover how to master each part perfectly.
Key Takeaways
- Select hardwoods like maple, walnut, and cherry for durability, food safety, and attractive color contrasts.
- Plan and sketch your 3D pattern, considering wood grain direction and contrasting colors for visual depth.
- Measure and cut wood pieces precisely, label them, and sand edges before gluing for accurate assembly.
- Assemble glued pieces with clamps, then sand and shape edges using a router and progressively finer sandpaper.
- Finish with food-safe oils or beeswax, maintain regularly by cleaning gently and reapplying finishes monthly.
Understand What Makes a 3D Cutting Board Unique
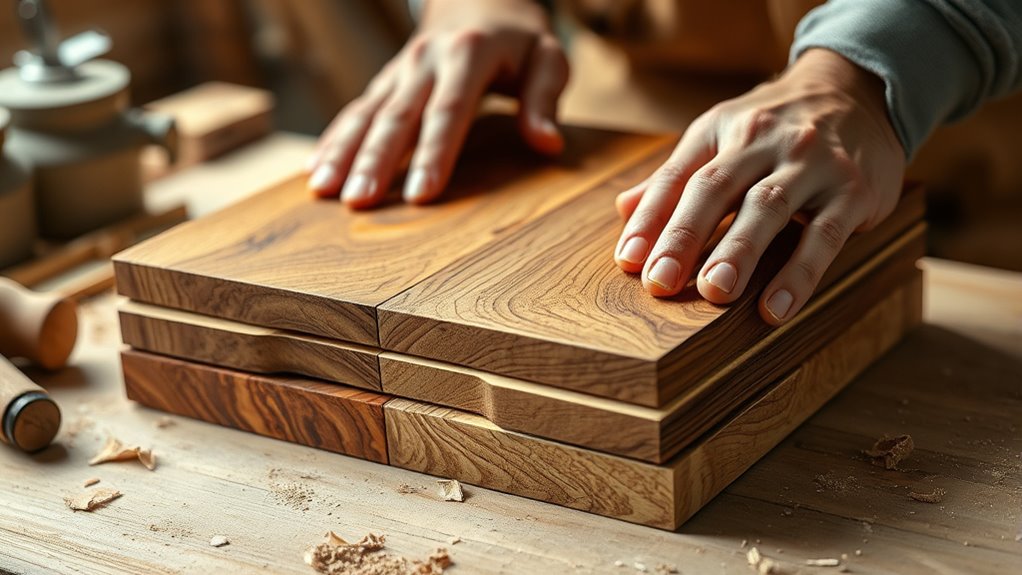
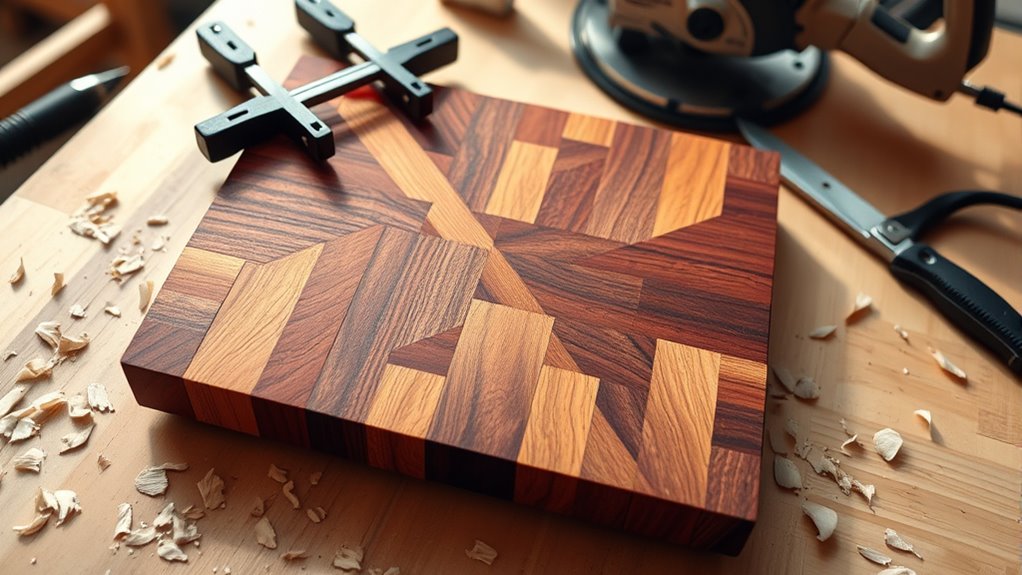
Although cutting boards come in many shapes and sizes, 3D cutting boards stand out because of their intricate patterns and depth. When you create one, you’re not just making a flat surface; you’re crafting a piece with layers and textures that give it a unique visual appeal. The 3D effect comes from carefully arranging wood pieces of varying thicknesses and shapes to form a design that literally pops out.
You’ll notice that these boards often look like miniature landscapes or geometric puzzles, making them functional art. Understanding this uniqueness helps you appreciate the precision and creativity needed in the process. As you work, focus on how each piece interacts in three dimensions to bring your cutting board to life.
Choose the Best Wood for Your 3D Cutting Board

You’ll want to pick wood that balances durability, hardness, and food safety to make a lasting 3D cutting board. Different wood types offer unique benefits, so comparing them helps you find the best fit.
Let’s explore how to choose the right wood that keeps your board strong and safe for everyday use.
Wood Types Comparison
When selecting wood for your 3D cutting board, you want a material that balances durability, appearance, and food safety. Maple is a popular choice because it’s light-colored, non-toxic, and has a fine grain that resists bacteria.
Walnut offers a rich, dark tone and naturally resists moisture, adding elegance to your board. Cherry wood provides a warm reddish hue that deepens over time, making your cutting board uniquely beautiful.
Bamboo, though technically a grass, is eco-friendly and has natural antimicrobial properties, but it’s harder and can be less forgiving on knives. Avoid softwoods like pine, which can dent easily and may harbor bacteria.
Choosing the right wood guarantees your 3D cutting board is safe, attractive, and functional for your kitchen needs.
Durability and Hardness
Since your cutting board will face constant knife strikes, choosing wood with the right durability and hardness is essential to guarantee it lasts and protects your knives. Hardwoods like maple, walnut, and cherry offer a perfect balance—they’re tough enough to resist deep cuts but gentle enough to avoid dulling your blades quickly. Avoid overly hard woods like oak or hickory; they can damage your knives and may splinter over time.
On the other hand, softwoods like pine wear out fast and absorb moisture easily. When selecting wood, consider the Janka hardness rating to find a species that withstands daily use without compromising performance. Prioritizing durability and hardness ensures your 3D cutting board stays functional and beautiful for years.
Food Safety Considerations
How do you guarantee your 3D cutting board stays safe and hygienic for food prep? Start by choosing wood that naturally resists bacteria, like maple, walnut, or cherry. These hardwoods have tight grains that prevent deep cuts where germs can hide.
Avoid softwoods or open-grain woods, which absorb moisture and harbor bacteria. After crafting, seal your board with a food-safe finish like mineral oil or beeswax to create a moisture barrier. Clean your board thoroughly after each use—wash with hot, soapy water and dry it immediately.
Regularly oil the surface to prevent cracking and warping, which can trap bacteria. By selecting the right wood and maintaining your board properly, you assure a safe, durable surface that’ll protect your food and last for years.
Design Your 3D Pattern and Plan Your Cuts
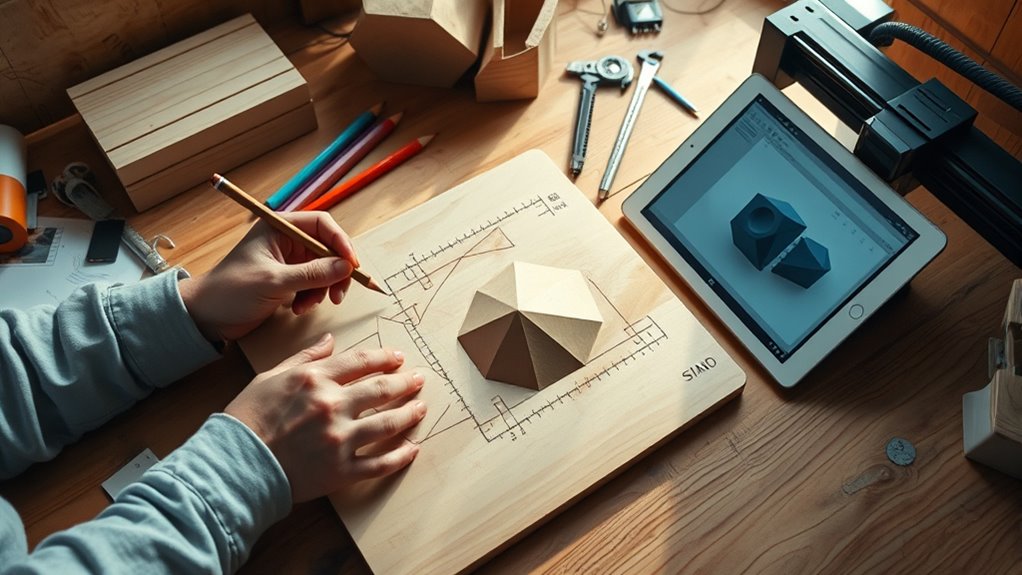
Before you start cutting, you’ll want to create a clear 3D pattern that guides each slice of your board. Begin by sketching your design on paper or using design software to visualize how the colors and shapes will align. Keep in mind the thickness of each segment and how they’ll fit together to form the final 3D effect.
Mark the grain direction and note any contrasting wood types to enhance the pattern’s depth. Plan your cuts carefully, deciding the order and angles to maximize wood yield and minimize waste. This preparation helps you avoid mistakes and guarantees each piece fits perfectly during assembly.
Taking time here makes the cutting and gluing stages smoother and your 3D cutting board truly stand out.
Cut and Prepare Wood Pieces for Assembly
With your 3D pattern clearly planned, you can start cutting and preparing the wood pieces for assembly. Precision here is key—each piece must fit perfectly to achieve the 3D effect. Follow these steps to guarantee your cuts are accurate and your wood is ready:
- Measure twice, cut once: Double-check all dimensions against your pattern before cutting.
- Use a sharp saw: A fine-toothed blade on a table or miter saw gives clean edges.
- Label each piece: Mark them clearly to avoid confusion during assembly.
- Sand edges smoothly: Lightly sand cut edges to remove splinters and ensure a tight fit.
Glue and Clamp Board Layers Securely
Once you’ve cut and prepared all the wood pieces, you’ll want to glue and clamp them carefully to guarantee a strong, seamless bond. Apply a thin, even layer of wood glue on each edge, then press the pieces together firmly. Use clamps to hold the layers tightly as the glue dries—this prevents gaps and assures stability.
Don’t rush; give the glue enough time to cure fully.
| Feeling | Why It Matters |
|---|---|
| Satisfaction | Seeing layers fit perfectly |
| Confidence | Knowing your board is strong |
| Excitement | Watching your project take shape |
| Pride | Creating a durable, beautiful board |
This step sets the foundation for a cutting board you’ll love and use for years.
Shape Your 3D Cutting Board With Sanding and Routing
Although your cutting board layers are securely glued, you’ll need to shape the edges and surfaces to achieve that smooth, professional look. Start by sanding to remove any excess glue and level uneven spots. Then, use a router to add rounded edges or decorative profiles, which not only enhance appearance but also improve comfort and safety.
Securely glued layers need shaping—sand to smooth, then route edges for a polished, safe finish.
Follow these steps:
- Begin with coarse sandpaper (80-100 grit) to flatten and smooth rough areas.
- Progress to medium (150 grit) and fine (220 grit) sandpapers for a polished finish.
- Carefully route the edges, choosing a bit that suits your desired contour.
- Finish with hand sanding to eliminate any router marks and ensure uniform smoothness.
This process transforms your board into a sleek, functional kitchen tool.
Apply Food-Safe Finishes and Maintain Your Board
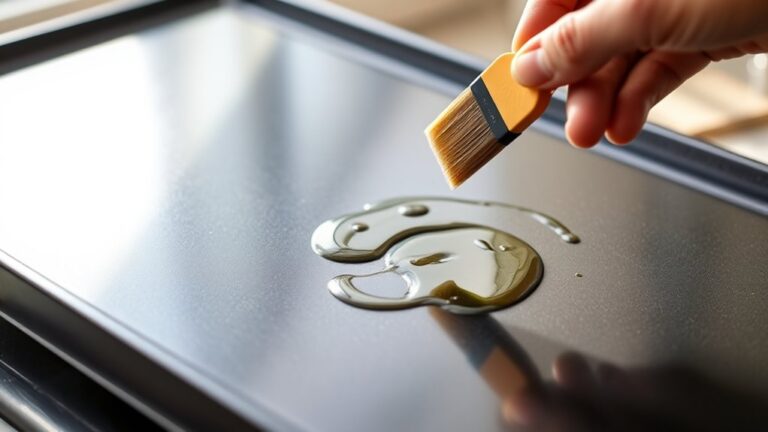
After shaping your cutting board to a smooth finish, protecting the wood is the next step to guarantee durability and safety. Apply a food-safe finish like mineral oil, beeswax, or a mix to seal the wood and prevent cracking. Reapply finishes monthly or when the board looks dry.
Clean your board with mild soap and water, avoid soaking it, and never put it in the dishwasher. Store it upright to keep it dry and prevent warping.
| Finish Type | Application Frequency | Benefits |
|---|---|---|
| Mineral Oil | Monthly | Penetrates wood, easy to apply |
| Beeswax | Every 2 months | Adds a protective coating |
| Oil & Wax Mix | Monthly | Combines moisture and surface protection |
Keeping your board well-maintained extends its life and keeps it safe for food prep.
Frequently Asked Questions
Can I Use Recycled Wood for My 3D Cutting Board?
Yes, you can use recycled wood for your 3D cutting board, but make sure it’s clean, untreated, and free from harmful chemicals. Sand it well to smooth the surface, ensuring it’s safe and food-friendly before use.
What Tools Are Essential for Beginners Making 3D Cutting Boards?
You’ll need a saw sharp enough to cut through a mountain, a sander to smooth every inch, clamps to hold pieces tight.
Wood glue, and a good finish. These tools will make your 3D cutting board shine!
How Long Does It Take to Complete a 3D Cutting Board?
It usually takes you about 4 to 6 hours to complete a 3D cutting board, depending on your experience and tools. You’ll spend time cutting, gluing, sanding, and finishing to get that perfect look.
Are 3D Cutting Boards Dishwasher Safe?
No, 3D cutting boards aren’t dishwasher safe. You should hand wash them with mild soap and warm water to preserve the wood and glue.
Avoid soaking or harsh detergents to keep your board looking great longer.
Can I Customize 3D Cutting Boards as Gifts?
You can customize 3D cutting boards as gifts, turning a simple kitchen tool into a heartfelt symbol of care. Personalize designs, engravings, or shapes to create unique, memorable presents that truly cut through the ordinary.
These customized boards make thoughtful, practical gifts that stand out. Whether for birthdays, weddings, or housewarmings, they add a personal touch.
Gift-giving becomes more special when you tailor each piece to the recipient’s taste. A 3D cutting board is not just functional but also a keepsake.
Conclusion
Now that you know how to choose wood, design patterns, cut pieces, glue layers, shape edges, and apply finishes, you’re ready to create your own stunning 3D cutting board. You’ll craft with care, assemble with precision, sand with patience, and finish with safety.
By following these steps, you’ll turn simple wood into a functional work of art. This process not only enhances your woodworking skills but also results in a unique and durable kitchen accessory.
Making 3D cutting boards allows you to combine creativity and craftsmanship, transforming everyday materials into beautiful, practical pieces. Each cutting board you create will add a personal touch to your kitchen, making meal preparation more enjoyable and special.