How Do You Grease a Cake Pan
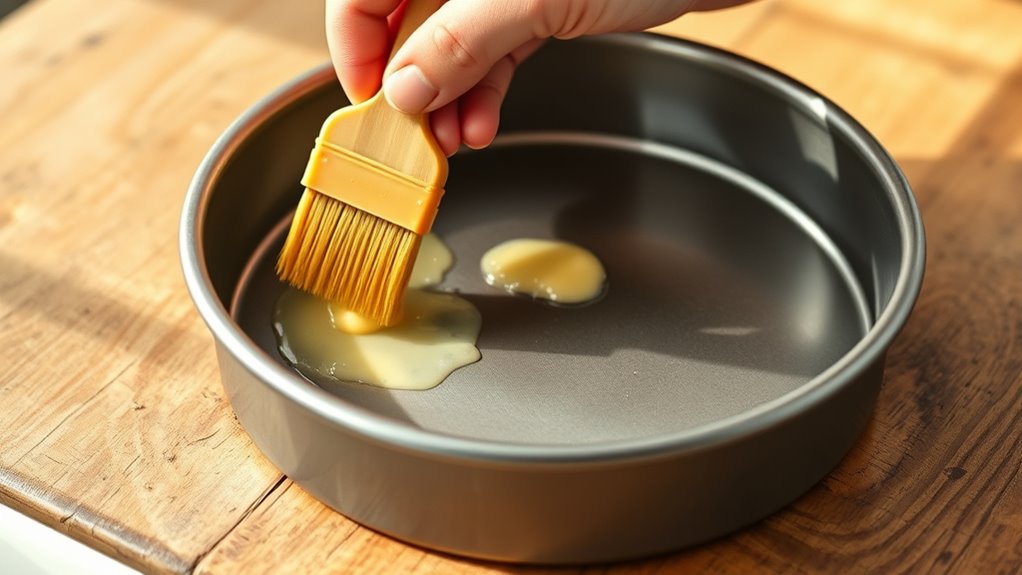
To grease a cake pan effectively, you need to spread a thin, even layer of butter, shortening, oil, or nonstick spray over every surface. This includes the corners and edges where batter can stick the most. Properly greasing a cake pan is essential for ensuring your cake releases cleanly and maintains its shape.
Use a pastry brush, paper towel, or your fingers to cover the pan thoroughly. After greasing, lightly dust the pan with flour for extra non-stick protection, especially when working with delicate batters.
Make sure there are no bare spots or puddles to prevent sticking and uneven baking.
Proper greasing not only helps your cake come out cleanly but also promotes even baking. Keep going to find tips for greasing different pans and common pitfalls to avoid.
Key Takeaways
- Spread a thin, even layer of butter, shortening, or oil over all pan surfaces, including corners and edges, using a pastry brush or paper towel.
- For extra non-stick protection, dust the greased pan lightly with flour, cocoa powder, or sugar, especially for delicate or sticky batters.
- Use nonstick spray or oil for silicone and non-stick pans, while butter or shortening with flour works best for metal and glass pans.
- Thoroughly coat every nook and crevice in Bundt or specialty pans to ensure smooth cake release after baking.
- Check greasing by pressing parchment paper onto the surface; if it peels away smoothly, the pan is properly greased.
How to Grease a Cake Pan for Easy Cake Release
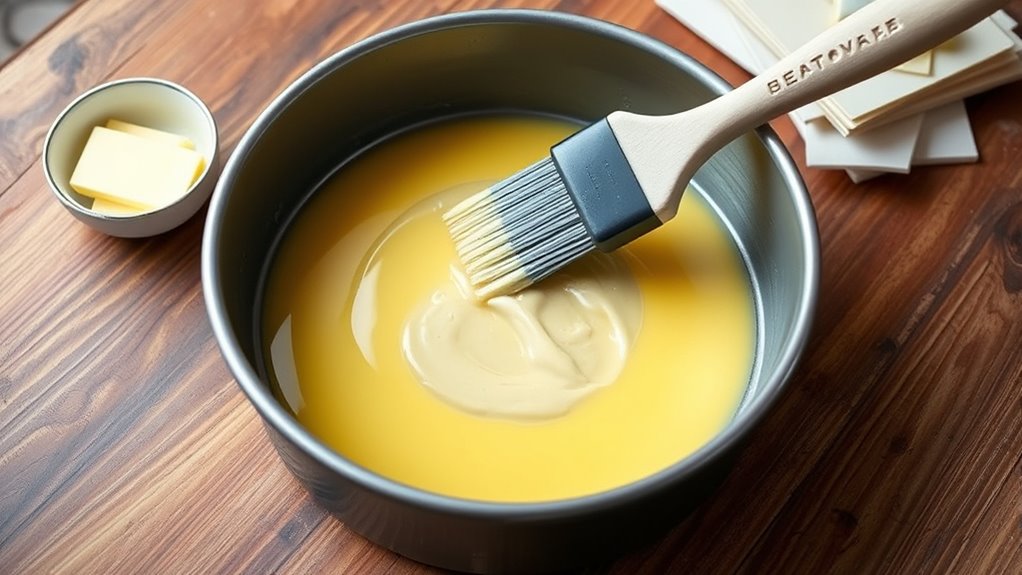
When you grease a cake pan properly, you make it much easier to release the cake without sticking or breaking. Start by choosing the right grease—oil sprays or shortening work well. Use a paper towel or clean cloth to spread a thin, even layer over every surface, including the sides and corners.
Don’t forget to cover the edges fully, as batter tends to stick there. After greasing, you can lightly dust the pan with flour, tapping out the excess to create a non-stick barrier. This step is especially helpful for cakes with delicate textures.
How to Grease a Cake Pan With Butter or Margarine
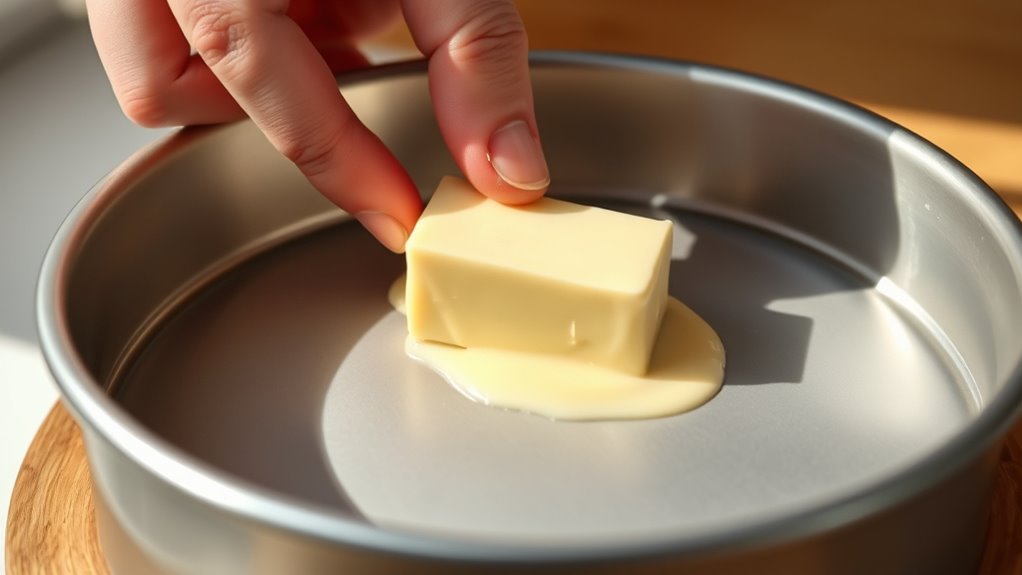
Choosing butter or margarine to grease your cake pan adds a rich flavor and helps create a golden crust on your cake. Start by softening the butter or margarine to make spreading easier. Use a paper towel, pastry brush, or your fingers to evenly coat the entire inside surface of the pan, including the corners and sides.
Make sure you apply a thin, even layer to prevent excess greasing that can cause uneven baking. For best results, chill the pan briefly after greasing to firm up the coating. If you want extra insurance against sticking, lightly dust the buttered pan with flour, tapping out any excess.
This method guarantees your cake releases cleanly and bakes beautifully every time.
How to Grease a Cake Pan Using Oil
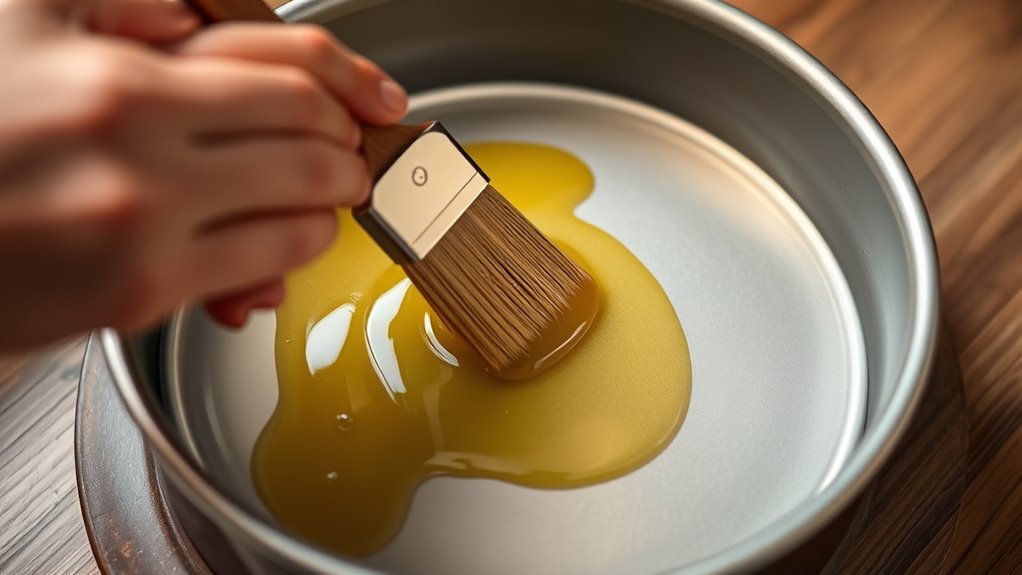
Although butter adds flavor, using oil to grease your cake pan offers a quick and mess-free alternative. Pour a small amount of neutral oil—like vegetable or canola—into the pan. Use a paper towel or clean cloth to spread the oil evenly over the entire surface, including the sides.
Make certain to coat every corner to prevent sticking. Oil’s liquid nature lets you cover hard-to-reach spots with ease. Avoid using too much; a thin, even layer is enough.
This method works well for nonstick and metal pans alike. After greasing, you can lightly dust the pan with flour if desired, but oil alone often does the trick. Using oil saves time, cleans up easily, and ensures your cake releases smoothly after baking.
How to Grease a Cake Pan With Shortening
Since shortening has a solid consistency, it’s easy to spread evenly across your cake pan without dripping or pooling. Start by taking a small amount of shortening on your fingers or a paper towel. Rub it thoroughly over the entire inner surface of the pan, including the bottom and sides.
Make sure to cover every corner to prevent sticking. If you want extra protection, sprinkle a light layer of flour over the greased surface and tap out the excess. This creates a barrier that helps your cake release cleanly.
Using shortening works especially well with metal pans because it withstands high heat without burning. Just remember to use enough to coat the pan thinly but completely—too much can cause uneven baking or greasy spots on your cake.
When and How to Use Nonstick Cooking Spray
If you want a quick and hassle-free way to prepare your cake pan, nonstick cooking spray is a great option. Use it when you’re short on time or prefer an even coating without extra mess.
Before pouring your batter, hold the spray can about 6 to 8 inches from the pan’s surface. Apply a light, even mist over the entire interior, including corners and edges, to prevent sticking. Avoid over-spraying, which can cause pooling and affect your cake’s texture.
Nonstick sprays with flour are convenient for most cakes but avoid them if you’re adding flour separately later. Remember to spray just before filling the pan to keep the coating effective. This method saves time and guarantees easy cake release every time.
When and How to Flour a Greased Cake Pan
Using nonstick cooking spray with flour can simplify your prep, but there are times when you’ll want to flour a greased cake pan separately. When your recipe calls for a delicate or sticky batter, flouring helps create a barrier that prevents sticking and promotes even baking.
After greasing your pan thoroughly with butter or shortening, sprinkle a small amount of flour inside. Tilt and tap the pan gently, coating all sides evenly. Then, turn the pan upside down and tap out any excess flour to avoid clumps.
Be sure to use flour that complements your batter, such as all-purpose or cake flour. This method is especially important for light cakes like sponge or angel food, ensuring they release cleanly and maintain their shape.
How to Grease Different Types of Cake Pans
Every type of cake pan requires a slightly different approach to greasing to guarantee your cake releases smoothly and bakes evenly. For metal pans, coat the surface lightly with butter or shortening, then dust with flour for a non-stick finish. Silicone pans need only a thin layer of oil or cooking spray since their flexible nature helps release cakes easily.
Glass pans benefit from a bit more greasing with butter or oil because they don’t conduct heat as well, which can cause sticking. Non-stick pans usually require just a light wipe of oil or spray; avoid heavy greasing to protect the coating. When working with aluminum pans, use a fat-based grease like butter or shortening, as oils can sometimes react and leave a metallic taste.
Tailor your greasing method to the pan type for best results.
How to Grease Bundt and Specialty Cake Pans
When greasing Bundt and specialty cake pans, you’ll want to choose the right type of grease to prevent sticking. Make certain to apply it evenly, paying close attention to every curve and crevice.
Handling the intricate designs carefully ensures your cake releases perfectly without damage.
Choosing The Right Grease
Although greasing any cake pan is important, selecting the right grease for Bundt and specialty pans can make a big difference in how easily your cake releases. You want a grease that fills every nook without leaving residue. Butter works well for simple pans, but specialty pans often need something that spreads smoothly and sticks less.
Here’s a quick guide to help you choose:
| Grease Type | Best For | Notes |
|---|---|---|
| Butter | Simple pans | Adds flavor, may stick in crevices |
| Shortening | Bundt pans | Smooth, non-stick, easy to apply |
| Cooking spray | Specialty pans | Even coverage, convenient |
Pick what fits your pan and recipe for perfect results every time.
Applying Grease Evenly
How exactly do you guarantee grease covers every inch of a Bundt or specialty cake pan? The key is thoroughness and the right tools. You want to avoid sticky spots that cause your cake to tear or stick.
Here’s how to do it:
- Use a pastry brush or a folded paper towel to spread the grease evenly.
- Focus on all curves and edges, ensuring no area is missed.
- Don’t forget the central tube in Bundt pans—grease it well to prevent sticking.
- Apply a light dusting of flour after greasing for extra release, shaking out the excess.
Handling Intricate Pan Designs
Because intricate pans like Bundt molds have many nooks and crannies, you’ll need extra care to guarantee every detail is properly greased. Start by softening your butter or shortening to make spreading easier. Use a pastry brush or a small, flexible silicone brush to reach every groove and curve.
Don’t rush—apply a thin, even layer, focusing on crevices where batter might stick. For extra security, dust the pan lightly with flour or cocoa powder after greasing, then tap out the excess. This helps prevent sticking in tricky spots.
If you don’t have a brush, a folded paper towel works well to get into tight spaces. Taking these steps ensures your cake will release cleanly, preserving your pan’s intricate design and your cake’s perfect shape.
How to Test If Your Cake Pan Is Greased Right
You’ll want to make sure your cake pan is greased just right before pouring in the batter. Start by checking the surface for an even, shiny coating and try the paper test to see if it sticks or slides smoothly.
Finally, observe how easily your cake releases after baking to confirm the job was done well.
Visual Surface Check
Wondering if your cake pan is greased properly before pouring in the batter? The visual surface check is a simple way to guarantee your pan is ready. Just take a close look at the pan’s interior:
- The surface should have a thin, even sheen without any bare spots.
- Avoid puddles of grease; too much can cause uneven baking.
- Make sure the grease covers corners and edges thoroughly.
- The pan shouldn’t look dry or patchy, which means the batter might stick.
Paper Test Method
Although the visual surface check gives a good initial idea, the paper test method provides a quick and reliable way to confirm if your cake pan is greased properly. Simply press a small piece of parchment or wax paper onto the pan’s surface, then peel it away gently. If the paper sticks or tears, your pan needs more grease.
If it lifts off smoothly without resistance, you’ve done a good job. This test helps you spot dry spots or uneven grease distribution that might not be obvious just by looking. It’s a simple step that saves you from sticky cake mishaps later.
Make sure to repeat this test on different parts of the pan, especially corners, where grease tends to be missed.
Batter Release Observation
After confirming your pan is evenly greased with the paper test method, the next step is to observe how the batter behaves when poured in. This simple act reveals if you’ve greased your pan just right. When you pour the batter, notice how it moves and settles.
If it glides smoothly without sticking or clumping, you’re on track. If it clings or pools unevenly, you might need to add more grease.
Here’s what to watch for:
- Batter spreads evenly without resistance.
- No batter sticks stubbornly to the sides.
- Smooth, glossy surface inside the pan.
- Easy release after baking, with clean edges.
Trust these signs—they’ll boost your confidence and ensure perfect cakes every time.
Mistakes That Make Your Cake Stick (And How to Avoid Them)
When your cake sticks to the pan, it’s often due to common greasing mistakes that can easily be fixed. You might be using too little grease, skipping flour, or not covering corners properly. Each of these errors reduces the non-stick effect and makes cleanup harder.
| Mistake | Why It Happens | How to Fix It |
|---|---|---|
| Insufficient Greasing | Not applying enough oil or butter | Use a pastry brush for even spread |
| Forgetting to Flour | Grease alone isn’t enough | Lightly flour after greasing |
| Missing Pan Corners | Uneven coverage | Pay close attention to edges |
Avoid these pitfalls, and your cake will release effortlessly every time.
Why Properly Greasing Your Cake Pan Matters for Baking
You want your cake to come out clean and intact, so properly greasing your pan is essential to prevent sticking. It also helps your cake bake evenly by creating a smooth surface for the batter to rise on.
Skipping this step can lead to frustrating results and uneven texture.
Preventing Cake Sticking
Although it might seem like a small step, properly greasing your cake pan plays a crucial role in preventing your cake from sticking. When you skip or rush this step, you risk ruining your masterpiece and feeling frustrated.
Here’s why you should never overlook it:
- Your cake will release cleanly, keeping its shape intact.
- You avoid the heartbreak of a crumbly, torn cake.
- Cleanup becomes easier, saving you time and effort.
- It guarantees every slice looks as perfect as you imagined.
Ensuring Even Baking
Properly greasing your cake pan doesn’t just stop your cake from sticking—it also helps it bake evenly. When you grease the pan thoroughly, you create a thin, consistent barrier between the batter and the metal surface. This barrier prevents hot spots, which can cause uneven cooking or over-browning in some areas.
Without proper greasing, parts of your cake might cook faster, leading to a lopsided texture or undercooked sections. By applying grease evenly, you guarantee heat distributes uniformly, allowing your cake to rise and set properly. So, take the time to coat every corner of your pan with butter, oil, or non-stick spray.
This small step makes a big difference in achieving a perfectly baked, moist cake every time.
Frequently Asked Questions
Can I Reuse Greased Cake Pans for Multiple Bakes?
Yes, you can reuse greased cake pans for multiple bakes, but make certain to clean them properly after each use.
Residue can affect the cake’s texture, so reapply grease before every bake to ensure even release.
What Is the Best Greasing Method for Vegan Cakes?
You want oil, not butter, for vegan cakes—smooth and light, it won’t stick. Use a paper towel to spread it evenly, then dust with flour or cocoa powder.
This prevents sticking without altering flavor.
How Long Should I Wait After Greasing Before Pouring Batter?
You don’t need to wait long after greasing; just pour the batter right away. This guarantees the grease stays fresh and prevents the batter from sticking, helping your cake release easily once baked.
Does Greasing Affect the Cake’s Texture or Flavor?
Greasing doesn’t directly change your cake’s flavor but can subtly affect texture by ensuring even baking and preventing sticking. You’ll get a smoother surface and a tender crumb, which improves overall mouthfeel without altering taste.
Can Greasing Help Prevent Cake Pan Rusting?
Yes, greasing your cake pan can help prevent rust by creating a barrier between the metal and moisture.
Just make sure to dry the pan thoroughly after washing to keep it rust-free and ready for your next bake.
Conclusion
Now that you know how to grease your cake pan just right, the real question is—will your cake come out perfectly every time? The secret isn’t just in the greasing method itself, but in the details you might overlook. One slip, and your beautifully baked cake could stick, crumble, or break.
So, take a moment, follow these tips carefully, and watch your cake release effortlessly. Properly greasing a cake pan is essential for baking success. By mastering this technique, you ensure every bite is as flawless as you imagined.