How to Crush Ice Without a Blender in 7 Easy Steps
To crush ice without a blender, start by choosing small, solid chunks of clear ice for the best results. Using simple kitchen tools, you can easily crush ice at home without needing any special equipment. This method is perfect for making cocktails, cold drinks, or simply having crushed ice ready for your recipes.
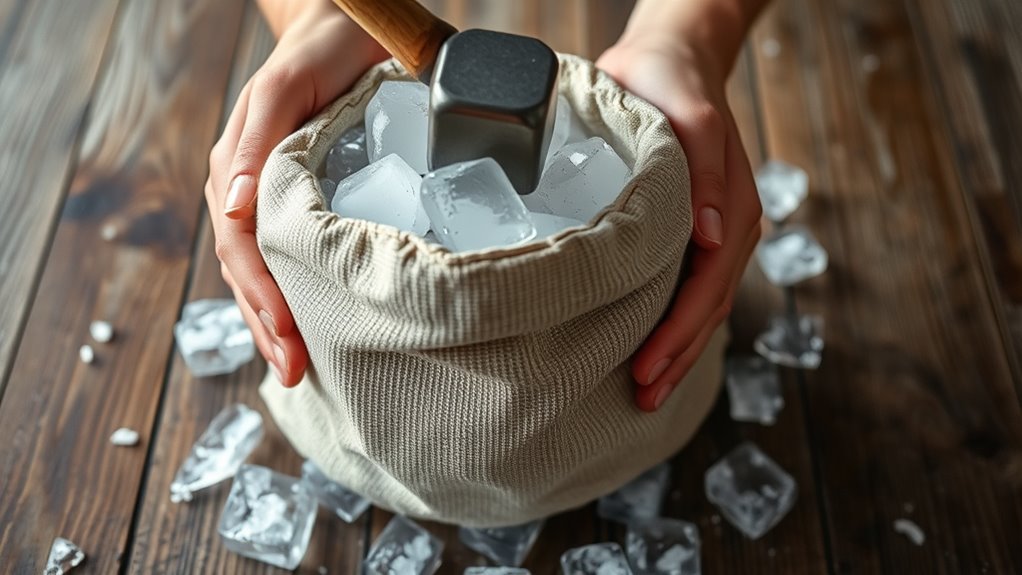
Set up a clean, sturdy surface and gather tools like a heavy-duty plastic bag, towel, and a mallet or rolling pin. Wrap the ice tightly in the towel to contain shards, then use firm, controlled hits to break it down.
Check the size, repeat if needed, and store the crushed ice properly.
Follow these easy steps, and you’ll master the process quickly. Crushing ice without a blender is simple, safe, and effective when done right.
Key Takeaways
- Select solid, smaller ice chunks and let freezer ice thaw briefly to reduce frost before crushing.
- Use a clean, sturdy surface and gather a heavy-duty plastic or silicone bag with a towel and sturdy utensils.
- Wrap ice tightly in a thick towel or place it in a plastic bag to contain shards and protect hands.
- Crush ice using a mallet, rolling pin, or hammer with firm, controlled impacts on a hard surface.
- Check ice size for consistency, store in airtight containers or bags, and keep frozen until use.
Choose the Right Ice for Crushing
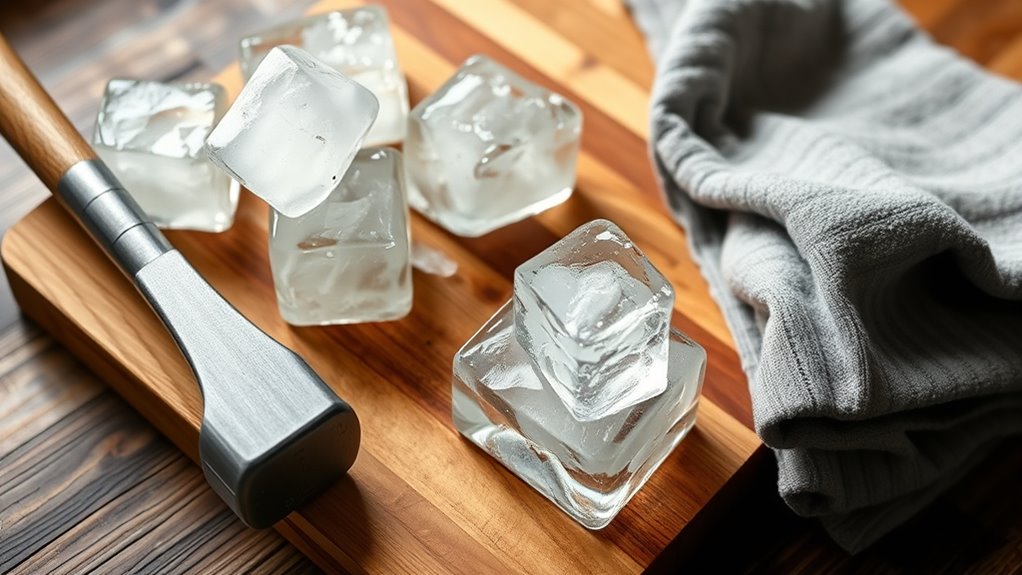
When choosing ice to crush, you want to pick pieces that are solid but not too large. Smaller chunks break down easier and reduce the risk of damaging your tools or container. Avoid using ice that’s too thin or fragile, as it can shatter unevenly and create sharp shards.
Clear ice works best because it’s denser and free of air bubbles, making it sturdier for crushing. If you’re using ice cubes from your freezer, let them sit for a minute to reduce frost, which can make crushing messier. Also, avoid overly large blocks unless you plan to break them into smaller chunks first.
Picking the right ice guarantees you get consistent crushed pieces without struggling or risking injury.
Set Up Your Workspace and Gather Tools for Crushing Ice
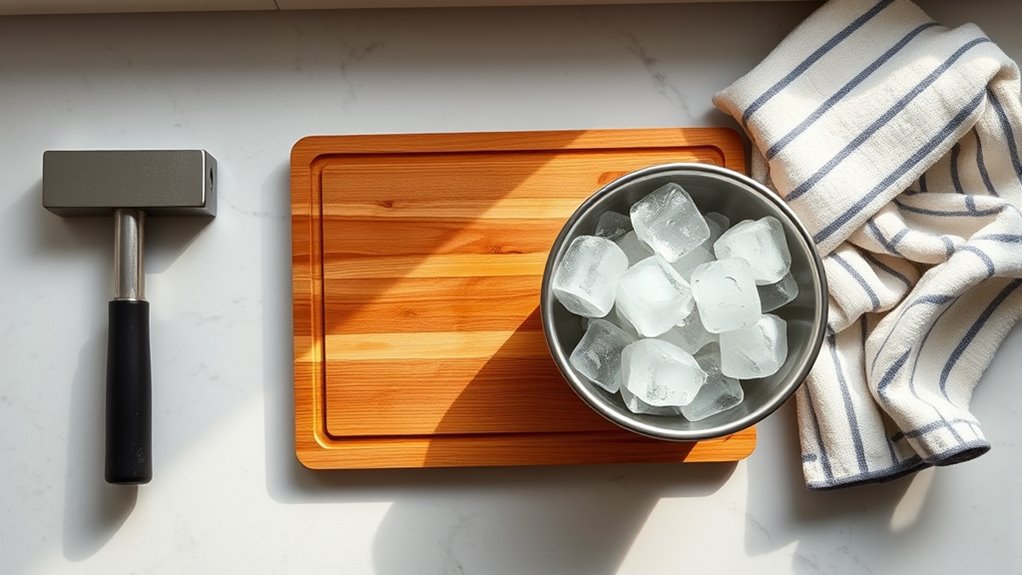
Before you start crushing ice, make sure your workspace is clean and sturdy to prevent accidents. Clear a flat surface like a kitchen counter or table that won’t slip or wobble. Gather the tools you’ll need: a heavy-duty plastic bag or reusable silicone bag to hold the ice, a clean kitchen towel, and a sturdy utensil such as a rolling pin, meat mallet, or a small hammer.
Avoid using glass or fragile items that might break. Also, have a bowl or container nearby to collect the crushed ice. Wearing protective gloves can help keep your hands safe and dry during the process.
Setting up properly guarantees you work efficiently and minimize mess or injury while crushing ice without a blender.
Wrap Ice in a Towel to Keep It Safe
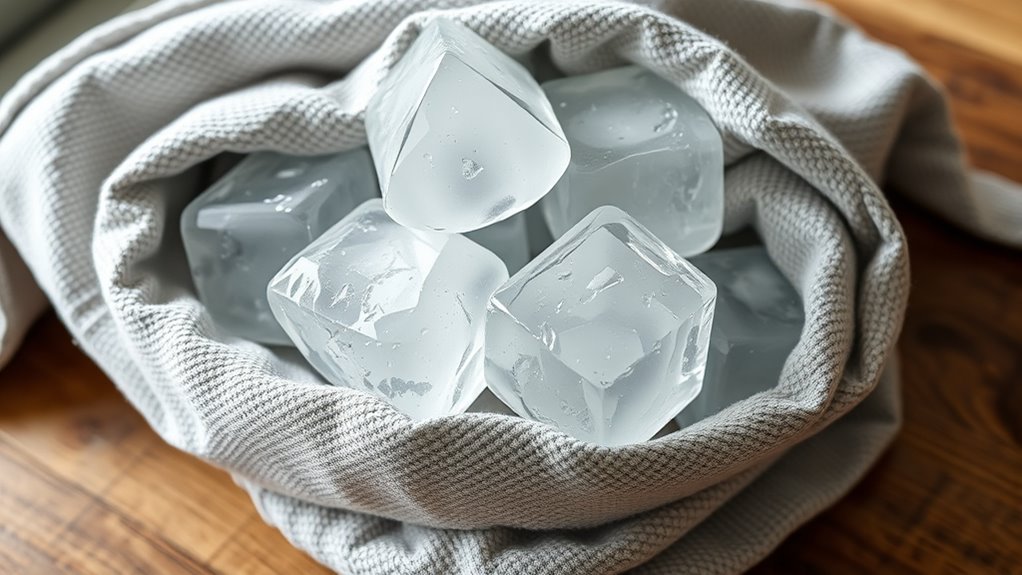
Wrap the ice in a towel before crushing it to keep the shards contained and prevent messes. This also protects your hands from sharp edges and cushions your surfaces from damage.
You’ll find this simple step makes the process safer and cleaner.
Preventing Ice Shards
Since crushing ice can send sharp shards flying, you’ll want to protect yourself by placing the ice inside a sturdy towel before you start. Wrapping the ice tightly keeps the pieces contained, preventing them from scattering and causing potential injury. It also helps the ice break more evenly, making your crushing process safer and more efficient.
Make sure the towel is thick enough to absorb the impact and trap any flying fragments. Avoid using thin or loosely woven fabrics, as they may tear or let shards escape. By containing the ice this way, you minimize the risk of sharp bits flying around and keep your workspace cleaner.
This simple step makes manual ice crushing safer and much easier to manage.
Protecting Surfaces and Hands
How can you protect both your hands and surfaces while crushing ice? Wrapping the ice in a towel is your best bet. It cushions the impact, preventing damage to your countertops and keeping the ice shards contained.
Plus, it shields your hands from the cold and sharp edges.
Here’s why you should always wrap ice in a towel before crushing:
- Keeps your hands safe from frostbite and cuts
- Prevents scratches or dents on your surfaces
- Controls flying ice shards, avoiding messes
- Makes cleanup quick and easy
- Adds a layer of grip, so the ice doesn’t slip
Crush Ice Using a Heavy Kitchen Tool
When you don’t have a blender, you can still crush ice effectively using a heavy kitchen tool like a meat mallet or rolling pin. First, place your ice cubes in a sturdy plastic bag, then lay it on a hard surface. Use the heavy tool to strike the ice firmly, breaking it into smaller pieces.
| Tool Type | Best Use |
|---|---|
| Meat Mallet | Quick, strong impact |
| Rolling Pin | Even pressure, controlled hits |
| Hammer | Heavy blows for large chunks |
| Wooden Spoon | Lighter hits for delicate crushing |
Make sure to protect your hands and surfaces. This method gives you crushed ice without any special equipment, perfect for cocktails or cold drinks.
Gently Tap the Ice to Break It Down Further
You’ll want a sturdy utensil like a wooden spoon or a small hammer to gently tap the ice. Use controlled, light taps to avoid shattering the ice into uneven chunks.
This technique helps you break the ice down gradually without making a mess.
Proper Tools for Tapping
Although crushing ice without a blender might seem tricky, having the right tools for tapping makes the process much easier. You want tools that give you control and prevent the ice from scattering everywhere. Here’s what you should consider:
- A sturdy wooden spoon for gentle, precise taps
- A meat mallet with a flat side to evenly distribute force
- A rolling pin for broader, controlled pressure
- A small hammer wrapped in a cloth to avoid cracks on the surface
- A clean, thick towel to wrap the ice and keep shards contained
Using the right tool helps you break down ice efficiently and safely. Make sure you pick one that feels comfortable in your hand and fits the size of your ice chunks.
Techniques for Controlled Breakage
To break ice down effectively, start by tapping it gently with your chosen tool, applying just enough force to crack it without shattering. This controlled breakage prevents the ice from flying everywhere and creates manageable pieces. Position the ice on a sturdy surface and tap repeatedly at the edges to encourage cracking.
Adjust your force based on the ice size—too hard and you risk large chunks; too soft and it won’t break.
| Tap Intensity | Resulting Ice Size | Best Use |
|---|---|---|
| Light | Small shards | Cocktails & quick chilling |
| Moderate | Medium chunks | Smoothies & mixed drinks |
| Firm | Large pieces | Slow melting & decorative ice |
Check Ice Size and Repeat Crushing as Needed
Once you’ve crushed the ice, take a moment to check its size to guarantee it meets your needs. You want the pieces just right—too big, and they won’t chill your drink quickly; too small, and they melt too fast. If the ice chunks aren’t perfect, don’t hesitate to crush them again.
After crushing, check your ice size—too big chills slow, too small melts fast; adjust as needed.
Here’s what to look for when checking your ice:
- Pieces should be uniform, so each sip is equally invigorating
- No large chunks that could be uncomfortable to chew
- Small enough to fit easily in your glass or shaker
- Texture should be slightly rough, not powdery
- Enough crushed ice to fill your container without overflowing
Repeat crushing until you achieve the ideal size for your drink and enjoy every chilled sip!
Store Crushed Ice Properly for Best Results
How do you keep crushed ice fresh and ready to use without it clumping or melting too quickly? Start by spreading the crushed ice in a single layer on a baking sheet or tray. Freeze it uncovered for about 30 minutes to firm up the pieces.
Once they’re solid, transfer the ice to an airtight container or resealable freezer bag. Squeeze out as much air as possible before sealing to reduce freezer burn and prevent clumping. Store the container in the coldest part of your freezer to keep the ice from melting.
When you need crushed ice, take out only the amount you’ll use immediately to avoid repeated thawing and refreezing. Following these steps guarantees your crushed ice stays fresh, easy to handle, and perfect for any drink or recipe.
Frequently Asked Questions
Can Crushed Ice Be Used in Cocktails Without Diluting the Flavor?
Yes, crushed ice can be used in cocktails without diluting the flavor too quickly. Just make sure to use high-quality, fresh ice and serve your drink immediately so it chills without watering down your cocktail.
How Long Does Crushed Ice Last Before Melting at Room Temperature?
Crushed ice usually lasts about 10-15 minutes at room temperature before it starts melting considerably. You’ll want to use it quickly or keep it in a cooler to maintain its texture and chill your drinks effectively.
Are There Any Safety Tips for Crushing Ice Without Injuries?
You should wear protective gloves, use a sturdy towel to cover the ice, and crush slowly with a hammer or mallet.
Keep your fingers clear, work on a stable surface, and avoid excessive force to prevent injuries.
Can You Crush Flavored or Colored Ice Using These Methods?
Crushing flavored or colored ice works just like smashing a painted rock—you’ll see streaks and splashes everywhere.
Just guard your surfaces and tools, and you’ll enjoy vibrant, tasty crushed ice without losing any color or flavor.
What Are Alternative Uses for Crushed Ice Besides Drinks?
You can use crushed ice to soothe injuries, keep food fresh during picnics, chill seafood displays, or create invigorating facial masks.
It’s also great for making cold compresses or cooling down quickly on hot days.
Conclusion
Crushing ice without a blender might seem old-fashioned in a high-tech world, but it’s surprisingly simple and satisfying. While machines promise speed and ease, your hands-on method brings a tactile connection you won’t get otherwise.
By choosing the right ice, using everyday tools, and following these steps, you’ll effortlessly create perfect crushed ice. So, embrace this low-tech approach—it’s a small reminder that sometimes, the simplest ways yield the coolest results.
Using these easy techniques to crush ice without a blender not only saves time but also adds a fun, hands-on element to your kitchen routine. Whether for cocktails, smoothies, or cooling drinks, mastering how to crush ice without a blender is a valuable skill that anyone can enjoy.