7 Easy Steps to Make Carrot Juice With a Blender
Choose firm, vibrant carrots to make fresh carrot juice with a blender. Rinse them under cold water, peeling thinly if you prefer. Cutting carrots into 1-2 inch uniform chunks helps ensure easy blending.
Add cold, filtered water gradually and blend on high for 1-2 minutes until smooth. Strain the mixture through a fine sieve to get clear juice.
Boost the flavor with ginger or lemon for a refreshing twist.
Store the juice in airtight containers in the fridge to keep it fresh. Keep going to find tips on perfecting your carrot juice every time.
Enjoy a healthy and delicious homemade carrot juice!
Key Takeaways
- Select firm, medium-sized carrots with vibrant color and rinse them thoroughly, peeling thinly to remove the outer skin.
- Cut carrots into uniform 1-2 inch chunks to ensure smooth, consistent blending and prevent blender jams.
- Blend carrots with cold, filtered water gradually, using high speed for 1-2 minutes until creamy and smooth.
- Strain the blended mixture through a fine mesh sieve or cheesecloth to remove pulp and achieve clear juice.
- Add flavorings like ginger or lemon, store juice in airtight glass containers, and consume within 24-48 hours.
Choose Fresh Carrots for Juicing
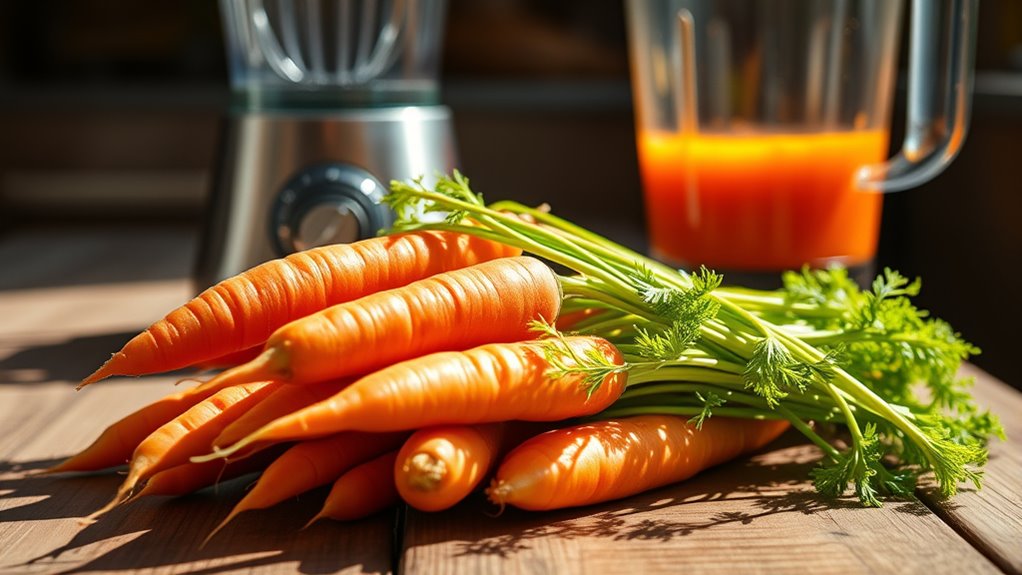
To make the best carrot juice, start by choosing fresh carrots. Look for carrots that are firm and vibrant orange, as these indicate they’re packed with flavor and nutrients. Avoid any with cracks, soft spots, or signs of wilting.
Fresh carrots will give your juice a naturally sweet and rich taste. If possible, select carrots with their green tops still attached—they stay fresher longer and show they haven’t been sitting around too long. Smaller or medium-sized carrots usually have a sweeter flavor compared to large, older ones.
When buying, pick carrots that feel heavy for their size, which means they’re juicy and crisp. By selecting fresh, high-quality carrots, you set a solid foundation for delicious, nutritious carrot juice every time.
Wash and Peel Carrots for Juicing

Once you’ve picked fresh, flavorful carrots, the next step is to wash and peel them thoroughly. Start by rinsing the carrots under cold running water to remove dirt and debris. Use a vegetable brush if needed to scrub the surface gently.
Begin by rinsing fresh carrots under cold water, scrubbing gently to remove all dirt and debris.
After washing, grab a vegetable peeler to strip off the outer skin. Peeling guarantees your juice is smooth and free from any bitter taste.
Keep these tips in mind:
- Rinse carrots until water runs clear
- Use a firm grip to prevent slipping
- Peel thinly to preserve nutrients
- Discard any bruised or damaged spots
- Save peels for composting if you like
Cut Carrots Into Blender-Friendly Pieces

Now that your carrots are clean and peeled, it’s time to cut them into pieces your blender can handle easily. Aim for chunks about 1 to 2 inches long to guarantee smooth blending without overworking your appliance.
Properly sized pieces help your blender work efficiently and give you the best juice texture.
Optimal Carrot Sizes
Cutting carrots into 1 to 2-inch pieces works best for blending. This size helps your blender handle the carrots easily, preventing jams and ensuring smooth juice. If the pieces are too large, your blender may struggle, leading to uneven blending.
Too small, and you might lose some juice yield.
Keep these tips in mind for ideal carrot sizes:
- Thick, sturdy chunks about the length of your finger
- Pieces small enough to fit comfortably in your blender jar
- Uniform size for consistent blending
- Avoid tiny shreds that turn mushy quickly
- Moderate thickness, not too thin or thick for easy blade contact
Preparing Carrots Properly
Before blending, you’ll want to prepare your carrots by slicing them into pieces that your blender can easily handle. Cut the carrots into 1- to 2-inch chunks to guarantee smooth blending without overworking your appliance. If your carrots are thicker, peel them first to remove any tough skin.
Smaller pieces reduce strain on the blades and help create a consistent texture. Avoid cutting them too small, as this can make the blending process messy. Also, trim off the ends and any bruised spots to keep the juice fresh and clean-tasting.
Properly prepped carrots not only blend better but also help your blender last longer. Taking a little extra time here sets you up for a smooth, delicious carrot juice every time.
Blend Carrots With Water Until Smooth
Now that your carrots are ready, add the right amount of water to help your blender work smoothly. Use cold, filtered water for the best taste and texture.
Blend everything until the mixture is perfectly smooth and easy to drink.
Choosing The Right Water
Selecting the right water is essential for achieving the perfect texture and flavor when blending carrots. You want water that complements the natural sweetness without overpowering it. Start with fresh, clean water—it’s the base that carries all the carrot’s goodness.
Consider the following:
- Crisp, cold spring water for an invigorating taste
- Filtered tap water to avoid any unwanted flavors
- Room temperature water to blend more evenly
- Mineral water for a subtle, enhanced flavor
- Avoid distilled water, as it can make the juice taste flat
Achieving Smooth Texture
Although carrots are naturally fibrous, you can achieve a silky, smooth juice by blending them thoroughly with water. Start by adding your chopped carrots and the chosen amount of water into the blender. Blend on high speed for at least one to two minutes, pausing to scrape down the sides if needed.
This guarantees all carrot pieces break down completely. If the texture still feels gritty, add a bit more water and blend again until smooth. Avoid overloading the blender, as it can hinder proper blending.
Once you see a uniform, creamy consistency without visible carrot chunks, you’ve nailed the perfect texture. This smooth blend not only tastes better but also makes the juice easier to drink and digest.
Strain the Juice for a Clear Finish
Once you’ve blended the carrots into a smooth mixture, you’ll want to strain the juice to achieve a clear, invigorating finish. Straining removes pulp and any fibrous bits, leaving a silky liquid that’s pleasing to drink. Here’s how to do it effectively:
Strain blended carrots to remove pulp, creating a smooth, refreshing juice that’s delightful with every sip.
- Place a fine mesh sieve or cheesecloth over a large bowl
- Pour the blended mixture slowly into the strainer
- Use a spoon or spatula to press the pulp, extracting extra juice
- Let gravity do its work, allowing juice to drip through naturally
- Gather the leftover pulp for composting or recipes
This step ensures your carrot juice is crisp and clean, making every sip revitalizing and easy on your palate.
Give Your Juice a Flavor Kick
How can you make your carrot juice even more exciting? Adding a flavor kick is simple and transforms your juice into a delightful drink. Try mixing in fresh ginger for a zesty punch or a squeeze of lemon to brighten it up.
A touch of cinnamon adds warmth, while a few mint leaves refresh your palate. You can customize your juice to match your mood or the season.
Here’s a quick guide to flavor boosts:
| Flavor | Taste Profile | Benefit |
|---|---|---|
| Ginger | Spicy, zesty | Aids digestion |
| Lemon | Tangy, bright | High in vitamin C |
| Cinnamon | Warm, sweet | Anti-inflammatory |
| Mint | Cool, fresh | Soothes digestion |
| Honey | Sweet, smooth | Natural energy source |
Store Fresh Carrot Juice Safely
Where should you keep your fresh carrot juice to maintain its vibrant flavor and nutrients? The best place is in the refrigerator, stored properly to slow down oxidation and bacterial growth. Use an airtight glass container to preserve freshness longer.
Here’s how you can store your juice safely:
- Pour the juice into a clean, airtight glass jar or bottle
- Fill it to the brim to minimize air exposure
- Seal the container tightly to lock in nutrients
- Store it on a refrigerator shelf, not the door, for consistent cooling
- Consume within 24 to 48 hours for the best taste and quality
Frequently Asked Questions
Can I Use Frozen Carrots for Juicing?
Yes, you can use frozen carrots for juicing. Just thaw them slightly or blend them directly with some water. This helps your blender process them smoothly and keeps the juice fresh and tasty.
How Long Does Carrot Juice Last in the Fridge?
Think of carrot juice like a fresh bouquet—it stays vibrant for about 48 hours in the fridge. After that, its flavor fades and nutrients drop, so you’ll want to drink it up quickly for the best taste and benefits.
Is Carrot Juice Safe for Babies?
You shouldn’t give carrot juice to babies under six months. After six months, offer small amounts diluted with water, as too much can cause digestive issues.
Always check with your pediatrician before introducing new juices.
Can I Add Other Vegetables to Carrot Juice?
Yes, you can add other vegetables like celery, cucumber, or spinach to carrot juice. Just blend them together for a nutritious mix, but make sure the veggies suit your taste and dietary needs before combining.
What Are the Health Benefits of Carrot Juice?
You’ll boost your immune system, improve eyesight, and promote healthy skin with carrot juice. It’s packed with antioxidants and vitamins like A and C, which help reduce inflammation and support overall wellness every day.
Conclusion
Now that you’ve mastered these 7 easy steps, making carrot juice at home is as simple as a breeze! You’ll never need to buy store-bought juice again because your fresh, vibrant carrot juice will taste like a sip of sunshine.
Just remember to store it properly to keep that amazing flavor locked in. So grab your blender, and get ready to enjoy the healthiest, most invigorating carrot juice you’ve ever tasted!
By following these easy steps, you can create delicious carrot juice with a blender that’s packed with nutrients and flavor. Fresh carrot juice is not only refreshing but also a great way to boost your daily vitamin intake. Enjoy the benefits of homemade carrot juice made easy!