How Do You Grease a Cake Pan in 10 Easy Steps
To grease a cake pan in 10 easy steps, start by cleaning and drying it thoroughly to ensure the best results.
Choosing the right fat is important—opt for butter if you want added flavor, or use shortening for more reliable non-stick coverage.
Properly greasing your cake pan prevents sticking and helps your cake come out perfectly every time.
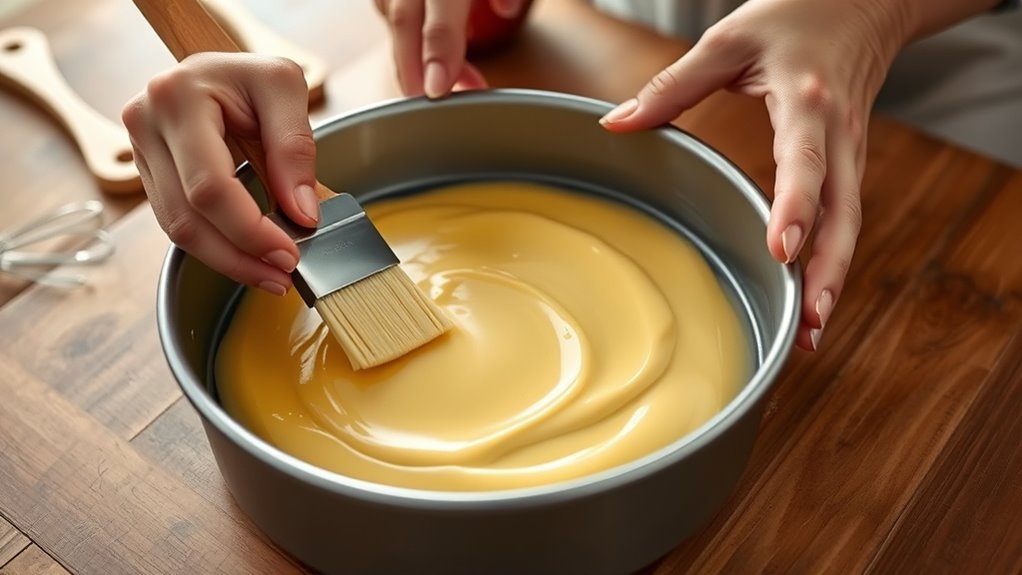
Next, spread a thin, even layer of your chosen fat all over the bottom and sides using a brush, paper towel, or your fingers.
Dust the pan with flour or line it with parchment paper to boost non-stick performance.
Make sure to check for any missed spots and adjust as needed.
Want to master greasing specialty pans and tricky shapes? Keep reading for more helpful tips to make your baking experience smooth and successful!
Key Takeaways
- Clean and dry the cake pan thoroughly to remove any residue and moisture before greasing.
- Apply a thin, even layer of butter, shortening, or cooking spray over the entire pan surface.
- Use a pastry brush, paper towel, or parchment paper to spread the grease evenly into corners and edges.
- Dust the greased pan lightly with flour, cocoa powder, or line with parchment paper for extra non-stick protection.
- Inspect the pan for missed spots and ensure full coverage to guarantee easy cake release and prevent sticking.
Tools and Ingredients to Grease a Cake Pan
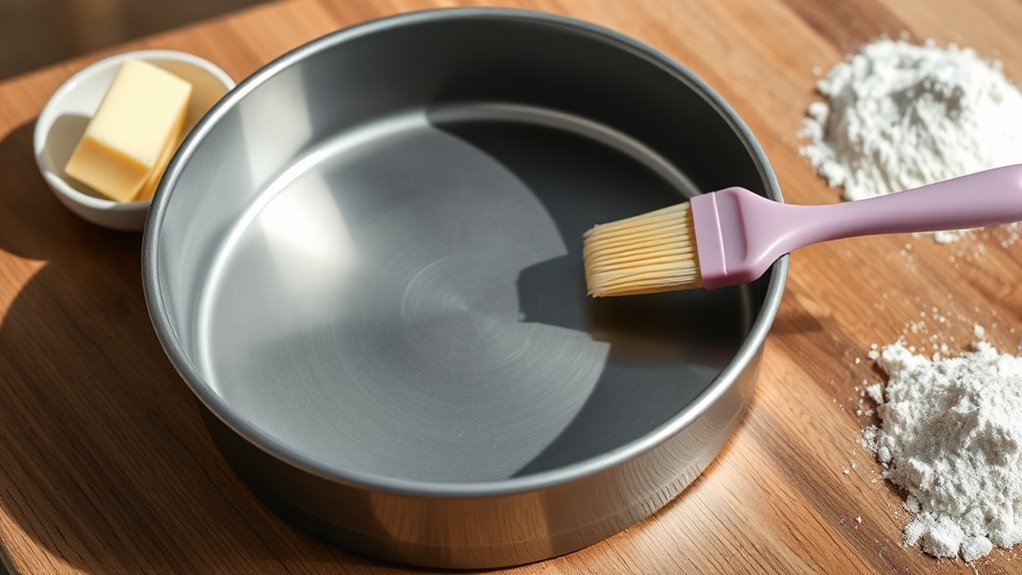
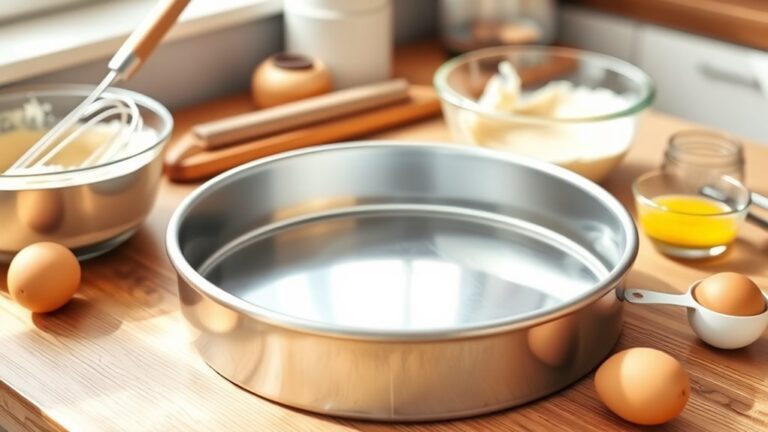
Before you begin greasing your cake pan, gather the right tools and ingredients to make the process quick and effective. You’ll need a clean, dry cake pan, some butter or shortening, and either a pastry brush or a piece of parchment paper. If you prefer, you can use cooking spray as a convenient alternative.
Butter gives a rich flavor, while shortening prevents sticking without adding taste. If you don’t have a brush, a folded paper towel works well to spread the fat evenly. For extra insurance against sticking, you might also want to have some flour on hand to dust the pan after buttering.
Having these tools and ingredients ready ensures you won’t waste time searching mid-process and helps your cake come out perfectly every time.
Prepare Your Cake Pan: Clean and Dry It
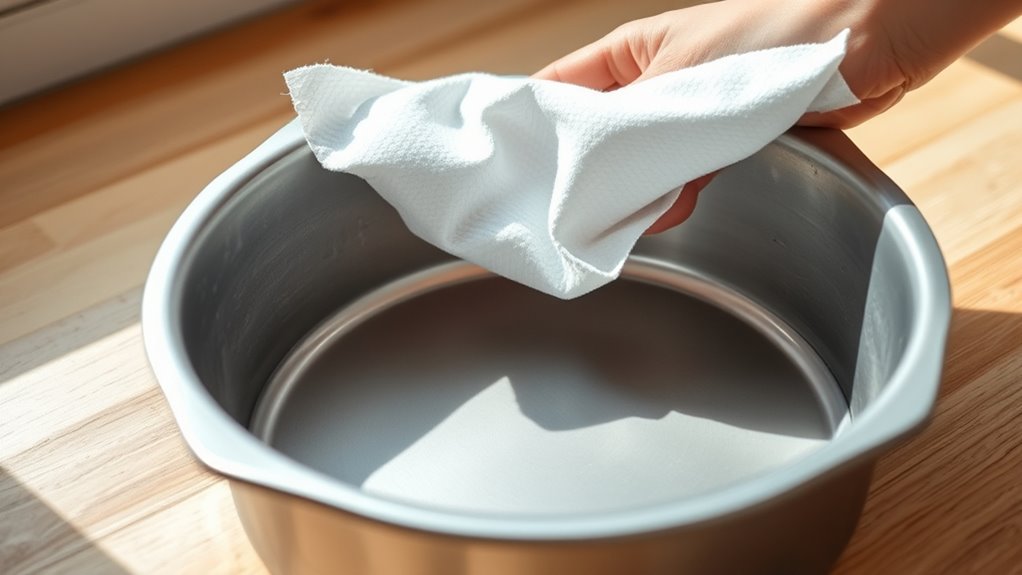
Although it might seem simple, cleaning and drying your cake pan thoroughly is essential to prevent any residue from interfering with the greasing process. Start by washing your pan with warm, soapy water to remove any dust, oils, or leftover crumbs. Use a soft sponge or cloth to avoid scratching the surface, especially if it’s non-stick.
After rinsing, dry the pan completely with a clean towel or let it air dry. Any moisture left behind can cause the grease to clump or cake batter to stick unevenly. Make sure to check corners and edges where water might linger.
Once your pan is spotless and dry, it’s ready for the next step—greasing. Taking this prep step seriously guarantees your cake releases cleanly and bakes evenly.
Choose the Best Grease for Your Cake Pan
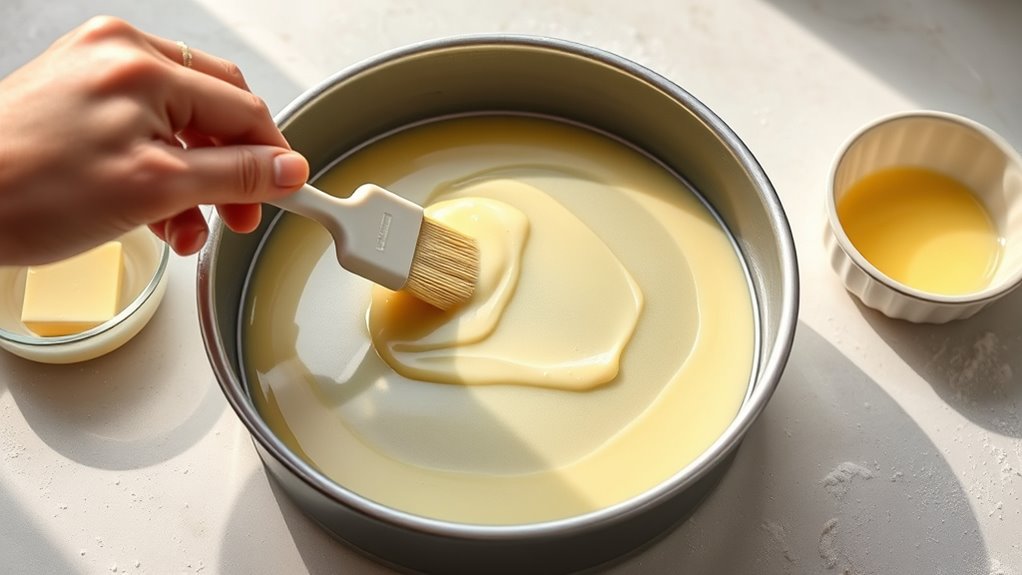
Which grease works best for your cake pan depends on the type of cake and pan material you’re using. For metal pans, stick to solid fats like butter or shortening because they create a reliable barrier that prevents sticking. Non-stick pans usually need just a light coating of oil or non-stick spray to avoid buildup.
If you’re baking delicate cakes like angel food or chiffon, a thin layer of oil works well to keep the crumb tender without leaving greasy spots. For heavier cakes, butter or shortening adds flavor and helps the crust brown nicely. Avoid using too much grease, as it can cause uneven baking or soggy edges.
Choosing the right grease guarantees your cake releases easily and bakes evenly every time.
Spread Butter or Shortening Evenly
You’ll want to pick the right fat—butter adds flavor, while shortening prevents sticking better. Use a paper towel or pastry brush to spread it evenly, making sure every corner is covered.
This simple step helps your cake release cleanly from the pan.
Choosing The Right Fat
When preparing your cake pan, choosing the right fat is essential for preventing sticking and ensuring an even bake. Butter and shortening are the two most common options, each with its benefits. Butter adds a rich flavor and helps create a golden crust, but it can burn if your oven runs hot.
Shortening, on the other hand, has a higher melting point, providing a reliable nonstick surface without flavor interference. If you want a neutral taste, shortening is your best bet, especially for delicate cakes. For recipes calling for oil or margarine, you can often substitute with butter or shortening to grease your pan effectively.
Ultimately, pick the fat that complements your cake’s flavor and baking needs to achieve the best results every time.
Techniques For Even Coverage
Although greasing a cake pan might seem simple, spreading butter or shortening evenly requires some care to guarantee your cake releases smoothly. First, use a small piece of parchment paper, a silicone spatula, or even a pastry brush to apply the fat. This helps distribute it thinly and uniformly without clumps.
Start by placing a small dab in the center, then gently spread it outward toward the edges and up the sides. Make sure every inch is covered, especially the corners and crevices. Avoid piling on too much fat, as it can cause uneven baking.
If you spot any thick areas, smooth them out with a clean finger or brush. Taking these steps ensures your cake won’t stick and will come out cleanly after baking.
Use Parchment Paper and Flour for Extra Non-Stick Help
To make sure your cake releases easily, try lining the pan with parchment paper after greasing it. Cut the paper to fit the bottom perfectly, so it covers every inch without overlapping.
Then, dust the pan with a light layer of flour to add an extra non-stick barrier.
Benefits of Parchment Paper
Why struggle with sticking cake batter when you can easily prevent it by using parchment paper? Parchment paper creates a smooth, non-stick surface that guarantees your cake releases effortlessly from the pan. It also helps protect your pan from grease buildup, making cleanup quicker.
Plus, it distributes heat evenly, promoting an even bake.
Here’s a quick look at parchment paper’s benefits:
| Benefit | Description | Why It Matters |
|---|---|---|
| Non-stick surface | Prevents sticking without excess grease | Keeps cake intact |
| Easy cleanup | Reduces residue left on pan | Saves time and effort |
| Heat distribution | Promotes even baking | Avoids undercooked spots |
| Versatility | Works for various pan shapes | Flexible use |
| Food-safe | Heat-resistant and safe material | Safe for all baking needs |
How to Cut Parchment
Wondering how to get the perfect parchment paper fit for your cake pan? Start by placing the pan upside down on the parchment. Trace around the base with a pencil, then cut out the circle.
For the sides, cut a strip of parchment about two inches wide and long enough to wrap around the pan’s interior. Press this strip against the sides, trimming excess if needed. This method guarantees a snug fit, preventing batter from seeping under.
Using parchment paper along with a light greasing helps your cake release effortlessly. Plus, when combined with a dusting of flour, it creates an extra barrier that keeps your cake from sticking. Properly cut parchment sets the stage for a flawless bake every time.
Flour Application Tips
Although parchment paper provides a great base, adding a light dusting of flour guarantees your cake releases even more easily. After greasing the pan and lining it with parchment, sprinkle a small amount of flour over the surface. Tilt and tap the pan gently to spread the flour evenly, making sure every greased corner is coated.
Then, invert the pan and tap out any excess flour. This extra step creates a thin barrier between the cake batter and the pan, preventing sticking without affecting texture or taste. Using both parchment and flour is especially helpful for delicate cakes or those with high sugar content.
Use Cooking Spray to Grease Pans
When you need a quick and effective way to prepare your cake pans, using cooking spray is one of the easiest methods. Just a few sprays coat your pan evenly, making sure your cake won’t stick. You’ll love how fast and mess-free it is compared to butter or oil.
Plus, cooking spray saves you from extra cleanup.
Here’s why you’ll appreciate using cooking spray:
- It’s fast and effortless, perfect for busy bakers
- Provides an even, thin layer that prevents sticking
- Reduces added calories from butter or oil
- Minimizes cleanup, so you spend more time baking
- Works well on all pan types, including silicone and metal
Spray your pan from about 6 inches away for the best results.
Check for Missed Spots When Greasing Your Pan
After spraying your pan, take a moment to inspect its surface carefully. Look closely for any areas that appear dry or unevenly coated. These missed spots can cause your cake to stick, making it difficult to remove later.
Use a clean paper towel or pastry brush to spread the grease evenly, paying special attention to corners and edges where buildup tends to be thinner. If you used cooking spray, a quick, gentle wipe can help distribute it more uniformly. Don’t forget the bottom and sides; both need full coverage.
Taking this extra step guarantees your cake releases smoothly and maintains its shape. Being thorough now saves you from frustrating cleanup and damaged cakes after baking.
Grease Specialty Pans Like Bundt and Springform
Specialty pans like Bundt and springform require extra care to guarantee your cake releases perfectly. These pans have intricate shapes or removable sides that need thorough greasing. You don’t want your beautiful cake to stick or break apart.
To grease them right, try this:
- Use a pastry brush or paper towel to coat every nook and cranny.
- Apply a thin, even layer of softened butter or oil.
- Dust with flour or cocoa powder to create a non-stick barrier.
- For springform pans, grease the base and sides separately.
- Consider non-stick sprays designed for elaborate pans.
Taking these steps helps your cake come out clean, impressing your guests and making your baking experience joyful and stress-free.
Tips for Handling Tricky Pan Shapes
When you’re working with curved edges or deep, narrow pans, greasing can get tricky. Use a small brush or your fingers to reach every nook and cranny.
Taking your time guarantees your cake won’t stick in those hard-to-reach spots.
Navigating Curved Pan Edges
Curved pan edges can make greasing a cake pan a bit tricky, but with the right approach, you’ll guarantee every nook is properly coated. Start by softening your butter or shortening to spread easily around those bends. Use a pastry brush or a folded paper towel to reach tight corners without leaving gaps.
Remember, even coating means your cake won’t stick or tear.
Here’s how to master those curves:
- Warm your greasing agent slightly for smooth application
- Apply in thin layers, building coverage gradually
- Use small, circular motions to cover all surfaces
- Don’t rush—patience guarantees no spots are missed
- Test by running your finger along edges to confirm coverage
Follow these tips, and your curved pan will be perfectly prepped every time!
Greasing Deep or Narrow Pans
Mastering the curves of a cake pan sets you up well for tackling other tricky shapes, like deep or narrow pans. When greasing these, reach into corners with a small brush or a folded paper towel to guarantee every inch is covered. Don’t just coat the surface; focus on the sides and bottom equally to prevent sticking.
If you’re using butter or shortening, soften it slightly for easier spreading. For narrow pans, use a pastry brush or silicone brush to glide the grease smoothly without excess pooling. You can also dust a light layer of flour after greasing to add extra non-stick protection.
Taking these extra steps helps your baked goods release cleanly, preserving their shape and texture every time.
Clean and Store Your Cake Pans After Greasing
Although greasing your cake pans prepares them for baking, proper cleaning and storage afterward are just as important. After your delicious creation is out, don’t wait to clean the pans. Leftover grease can build up, causing sticky residues or unpleasant odors later.
When cleaning, use warm soapy water and a soft sponge to gently remove grease without scratching the surface. Dry them thoroughly to prevent rust or damage.
Store your pans in a cool, dry place to keep them in top shape. Here’s why this matters:
- Keeps pans ready for your next baking adventure
- Prevents buildup that spoils cake textures
- Extends the life of your valuable pans
- Saves you time on future cleanups
- Helps maintain a happy, efficient kitchen environment
Treat your pans well, and they’ll reward you every bake!
Frequently Asked Questions
Can I Reuse Leftover Grease From a Cake Pan?
You shouldn’t reuse leftover grease from a cake pan because it can contain burnt bits or bacteria.
It’s safer and better for your baking to start fresh each time with clean grease or nonstick spray.
How Long Should I Wait After Greasing Before Pouring Batter?
You don’t need to wait long after greasing; just pour the batter right away. The grease stays on the pan, preventing sticking, so getting your batter in quickly keeps the coating effective and your cake baking evenly.
Is Greasing Necessary for Silicone Cake Pans?
You don’t always need to grease silicone cake pans since they’re naturally non-stick. However, lightly greasing or dusting with flour can help guarantee your cake releases easily, especially with sticky or delicate batters.
Can Greasing Affect the Cake’s Flavor or Texture?
You might think greasing changes flavor, but it doesn’t. Greasing just prevents sticking, helping your cake bake evenly and keep its texture perfect.
You’ll enjoy a moist, tender cake without any greasy taste.
What if My Pan Is Non-Stick—Should I Still Grease It?
If your pan is non-stick, you usually don’t have to grease it. However, lightly greasing or using a parchment paper layer can help guarantee your cake releases perfectly, especially with sticky or delicate batters.
Conclusion
Now that you’ve mastered greasing your cake pan like a pro, your cakes will slip out as easily as a rocket blasting into space! With these simple steps, you’re armed to handle any pan, from round to tricky shapes, ensuring every bake is a flawless success.
Keep your pans clean and well-greased, and you’ll never face a stubborn cake again. Greasing is the secret weapon every baker needs—easy, essential, and totally worth it! Properly greasing your cake pan guarantees a perfect release and beautifully baked cakes every time.