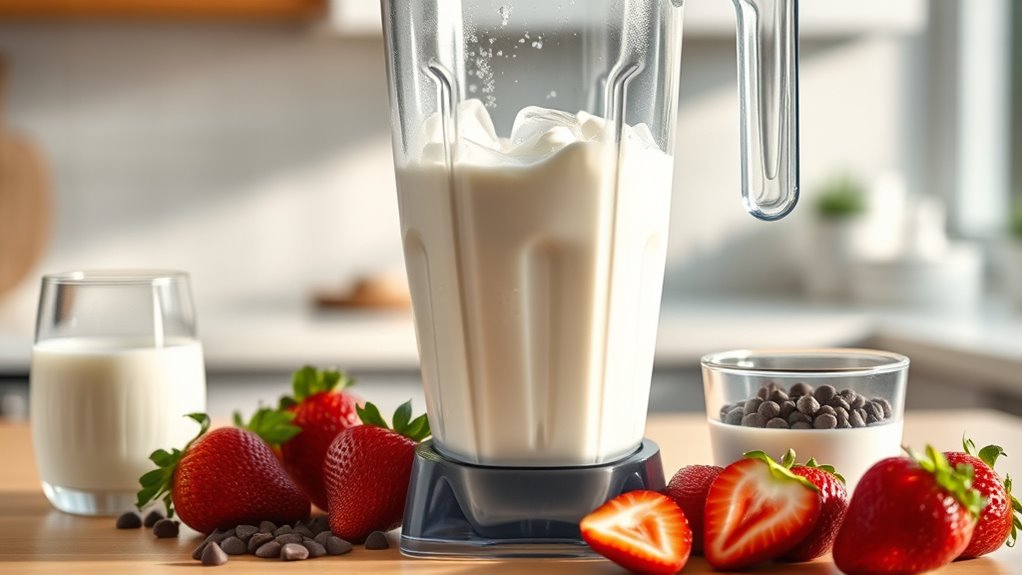
10 Steps to Make a Blizzard at Home Using a Blender
To make a Blizzard at home using a blender, start by gathering quality ice cream, milk, mix-ins, and your tools. Using a blender to create a Blizzard is a quick and convenient way to enjoy this creamy treat anytime.
Choose rich ice cream for the best flavor and texture, then add about ½ cup cold milk and sweeteners to balance the taste.
Chop your mix-ins evenly to ensure every bite is flavorful.
Layer milk, ice cream, and mix-ins in the blender carefully.
Blend on low in short bursts to keep the desired texture without overmixing.
Adjust thickness by adding more ice cream or milk as needed.
Serve immediately for the freshest taste or store properly for later.
Keep going to discover flavor twists and serving tips.
Key Takeaways
- Use high-quality, firm but not rock-hard ice cream with at least 14% butterfat for the best texture and flavor.
- Add about ½ cup of cold milk and 1 tbsp sweetener, stirring evenly for a smooth base before blending.
- Layer milk first, then ice cream, followed by evenly chopped mix-ins to ensure efficient and consistent blending.
- Blend on low speed in short bursts, checking thickness and adjusting by adding ice cream or milk gradually.
- Serve immediately in chilled bowls or glasses, garnished with toppings; store leftovers airtight in the freezer up to 24 hours.
Gather Your Ingredients and Tools
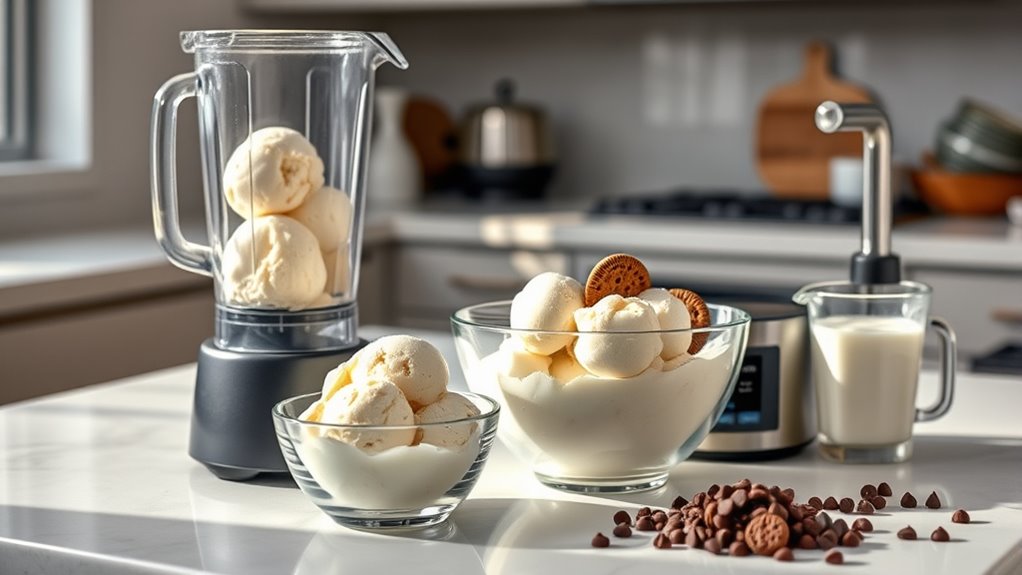
Before you begin, make sure you have all the ingredients and tools ready. You’ll need your favorite ice cream, milk, and any mix-ins like cookies or candy. Grab a sturdy blender that can handle thick mixtures without overheating.
A spatula will help you scrape the sides, and a sturdy cup or bowl is essential for serving. Measuring cups or spoons come in handy to get the right milk amount. Don’t forget a spoon to enjoy your Blizzard once it’s done!
Having everything within reach saves time and keeps the process smooth. When your ingredients and tools are set, you’re ready to blend up a delicious homemade Blizzard. This preparation step makes the entire process quicker and more enjoyable.
Pick the Right Ice Cream for Your Blizzard
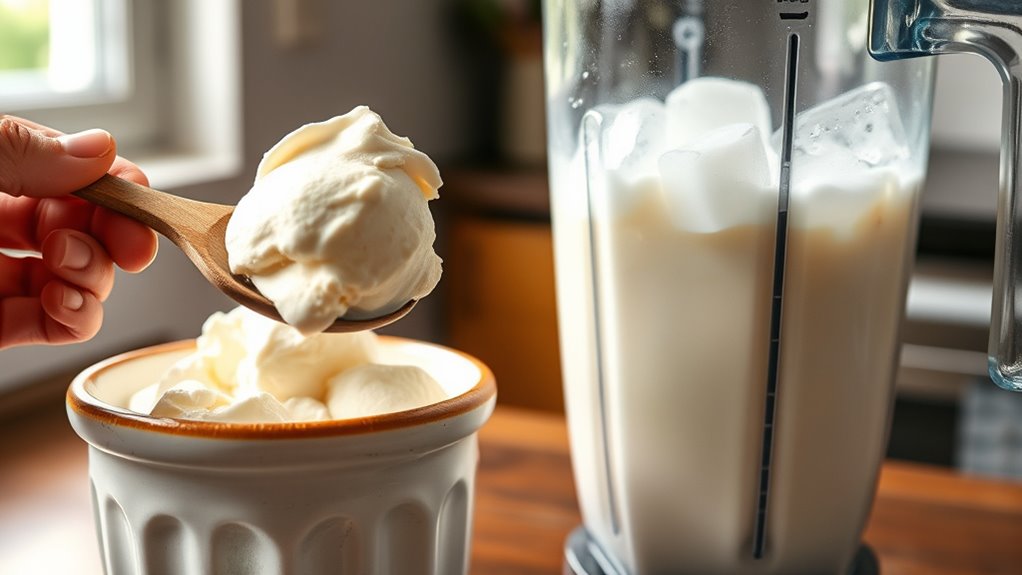
You’ll want to choose an ice cream that’s creamy and thick to get the perfect Blizzard texture. Consider classic flavors like vanilla or chocolate as a base, then mix in your favorite add-ins.
The right ice cream sets the stage for a delicious and smooth treat every time.
Best Ice Cream Types
How do you choose the best ice cream to create the perfect blizzard? Start with a creamy, high-quality vanilla base since its smooth flavor complements mix-ins without overpowering them. Opt for ice creams with at least 14% butterfat for that rich, velvety texture.
Avoid low-fat or sorbet options; they won’t blend as smoothly or hold mix-ins well. If you want a twist, try chocolate or cookies-and-cream, but keep the base flavor simple so your add-ins shine. Also, consider ice creams that are firm but not rock-hard—this makes blending easier and results in the ideal consistency.
Picking the right type sets the foundation for your blizzard, ensuring every bite is delicious and perfectly balanced.
Texture and Flavor Choices
When crafting your blizzard, choosing the right texture and flavor of ice cream plays a crucial role in achieving the perfect blend. Opt for ice cream that’s creamy and firm but not rock-hard, so it blends smoothly without turning too runny. Classic vanilla works great because its neutral flavor highlights your mix-ins, but don’t hesitate to experiment with chocolate, caramel, or mint for a unique twist.
Avoid overly icy or low-fat varieties, as they can affect the texture and richness. Also, consider how your chosen flavor complements the toppings and mix-ins you plan to add. Picking the ideal ice cream sets the foundation for a delicious, well-balanced blizzard every time, so choose wisely to match your taste and texture preferences.
Add Milk and Sweeteners for Flavor and Texture
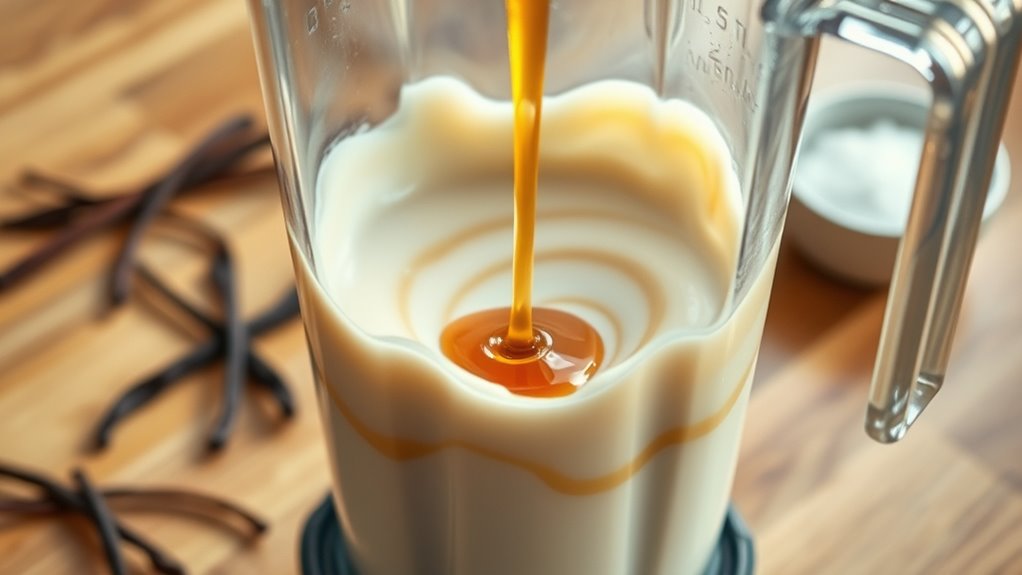
Although the blender does most of the work, adding the right amount of milk and sweeteners is key to achieving that creamy, delicious texture and flavor in your homemade blizzard. Start with about ½ cup of cold milk—whole milk gives richness, but you can use any type you prefer. Pour it in gradually to control consistency; too much makes it runny, too little makes it thick and hard to blend.
Next, add sweeteners like sugar, honey, or flavored syrups. Start with a tablespoon, then taste and adjust. Sweeteners enhance flavor and help balance the cold creaminess with just the right sweetness.
Stirring these in before blending ensures even distribution. Getting this step right sets a smooth foundation for your blizzard’s perfect flavor and texture.
Choose Your Favorite Mix-Ins
What’s a blizzard without your favorite mix-ins? These little additions turn a simple treat into a personalized delight. You get to control the texture, flavor, and fun.
Here’s a quick list of popular options to inspire you:
- Crushed Oreo cookies for a classic crunch.
- Chopped Reese’s Peanut Butter Cups to add a sweet, nutty twist.
- Fresh strawberries for a burst of fruity freshness.
- Mini chocolate chips to sprinkle in rich, melty pockets.
Pick mix-ins that excite your taste buds and match your mood. Remember, the size and quantity matter—too much can overwhelm your blender, too little may not show up in every bite. Choose wisely, and you’re well on your way to a perfect homemade blizzard.
Prepare Mix-Ins for Even Blending
Now that you’ve picked your mix-ins, it’s time to prepare them for blending. Make sure to chop everything into similar-sized pieces so they blend evenly.
This helps balance the texture and flavor in every bite.
Choose Mix-In Ingredients
Selecting the right mix-in ingredients is key to recreating that classic Blizzard texture at home. You want ingredients that blend well without turning mushy or too gritty. Choose options that offer a balance of crunch, flavor, and sweetness.
Here’s a quick guide to help you pick:
- Cookie pieces – Oreos or chocolate chip cookies add crunch and chocolatey flavor.
- Candy bits – M&Ms, Reese’s Pieces, or chopped toffee give bursts of sweetness.
- Fruit chunks – Fresh strawberries or banana slices add fresh, natural sweetness.
- Nuts – Chopped almonds or pecans provide crunch and a nutty contrast.
These choices will bring the perfect mix of texture and taste to your homemade Blizzard. Keep them ready before blending for best results.
Chop Mix-Ins Uniformly
Although choosing the right mix-ins is important, chopping them uniformly guarantees your Blizzard blends smoothly without uneven chunks. When you cut ingredients into similar sizes, the blender handles each piece consistently, resulting in an even texture.
Make sure to avoid oversized chunks that can jam the blender or tiny bits that disappear into the ice cream base.
Here’s a quick guide to chopping common mix-ins:
| Mix-In | Ideal Chop Size |
|---|---|
| Chocolate Chips | 1/4 inch pieces |
| Nuts | 1/4 inch pieces |
| Cookies | 1/2 inch chunks |
| Fruit | 1/2 inch slices |
Balance Texture And Flavor
Chopping your mix-ins uniformly sets the stage for a smooth blend, but balancing texture and flavor guarantees every bite of your Blizzard tastes just right. You want to prepare your mix-ins so they complement rather than overpower each other. Here’s how to do it:
- Choose a variety of textures—think crunchy nuts, chewy candies, soft cookies, and smooth chocolate chips.
- Keep flavors balanced by pairing sweet, salty, and rich ingredients evenly.
- Measure portions to avoid clumps or gaps in flavor throughout the Blizzard.
- Add delicate mix-ins last or fold them in after blending to maintain their texture.
How to Layer Ingredients for the Perfect Blend
When you layer your ingredients in the right order, your blender works more efficiently and creates a smoother Blizzard. Start by adding your liquid base, like milk or cream, to the blender first. This helps the blades move freely and prevents ingredients from sticking.
Next, add your ice cream or frozen yogurt; it forms the thick, creamy core of your Blizzard. Then, sprinkle in any mix-ins such as crushed cookies, candy pieces, or syrups on top. Avoid overloading one side to keep the blend even.
Blend on Low Speed Without Melting
Once you’ve layered your ingredients properly, it’s time to blend them carefully to maintain the Blizzard’s creamy texture. You want to avoid melting the ice cream, so keep your blender on low speed.
- Start the blender on the lowest setting to gently mix without generating heat.
- Blend in short bursts, pausing briefly between each to prevent overheating.
- Watch the texture closely; stop blending as soon as the mixture is smooth and evenly combined.
- If you hear the blender straining, slow down or pause to protect the ice cream from melting.
Check and Adjust Blizzard Thickness
Once your Blizzard reaches a creamy, thick texture, it’s time to check if it’s just right. If it’s too runny, you can add more ice cream or frozen ingredients to thicken it up.
Keep adjusting until you get that perfect consistency you love.
Ideal Blizzard Consistency
Although blending your ingredients creates a tasty base, achieving the ideal Blizzard consistency takes a quick check and adjustment. You want your Blizzard thick enough to hold mix-ins without sinking but smooth enough to scoop easily.
Here’s how to picture the perfect texture:
- Thick like soft-serve ice cream, not runny like a milkshake.
- Dense enough so toppings don’t settle at the bottom.
- Slightly creamy with no large ice chunks or graininess.
- Stiff enough to hold its shape on a spoon but still melt pleasantly in your mouth.
Adjusting Thickness Techniques
Achieving the perfect Blizzard texture means knowing when and how to adjust its thickness. After blending, check the consistency by scooping a small amount with a spoon. If it’s too runny, add more ice cream or frozen ingredients and blend briefly to thicken it.
If it’s too thick and hard to blend, pour in a splash of milk or cream gradually, blending in short bursts until you reach your desired smoothness. Remember, thicker Blizzards hold mix-ins better, while thinner ones are easier to drink through a straw. Adjust slowly to avoid over-thinning or over-thickening.
With practice, you’ll develop a keen sense of how small tweaks affect texture, helping you craft the perfect homemade Blizzard every time.
Serve or Store Your Blender Blizzard
After blending your Blizzard to the perfect consistency, you’ll want to serve it immediately for the best creamy texture and flavor. Here’s how to enjoy or store your homemade treat:
Serve your Blizzard right away for optimal creaminess and flavor, or store it properly to enjoy later.
- Pour the Blizzard into chilled glasses or bowls to keep it cold longer.
- Garnish with toppings like crushed cookies or chocolate chips for extra fun.
- If you’re not eating right away, transfer it to an airtight container and freeze for up to 24 hours.
- When ready to enjoy later, let it soften slightly at room temperature for a few minutes, then stir before serving.
Serving immediately guarantees the smooth, creamy texture you crave, but storing properly lets you savor your Blizzard anytime without losing quality.
Try Blender Blizzard Flavor Variations
You can easily customize your Blender Blizzard by experimenting with different flavor combinations to suit your taste buds. Start with a classic base of vanilla ice cream and milk, then add your favorite mix-ins. Crush up Oreos for a cookies-and-cream twist or blend in peanut butter and chocolate chips for a rich, indulgent treat.
Try fresh fruits like strawberries or bananas to add natural sweetness and a revitalizing flavor. You can even mix candies such as M&Ms or caramel bits for extra texture. Don’t be afraid to combine flavors—mint and chocolate or coffee and toffee work wonderfully.
Adjust the amount of mix-ins to get the perfect balance, ensuring your Blizzard is creamy but packed with flavor. Have fun creating your signature Blizzard!
Frequently Asked Questions
Can I Use Frozen Yogurt Instead of Ice Cream?
Yes, you can use frozen yogurt instead of ice cream. It’ll give your Blizzard a tangier flavor and a slightly lighter texture.
Just blend it well with your mix-ins for that creamy, delicious treat you want.
How Long Can I Store a Homemade Blizzard in the Freezer?
Like a fleeting dream, your homemade Blizzard stays best in the freezer for up to one week.
Beyond that, texture and flavor fade, so enjoy your icy treat before it loses its magic.
What Blender Settings Are Best for a Smooth Blizzard Texture?
You’ll want to use the “pulse” setting first to break down ingredients, then switch to a medium speed for about 30 seconds.
This keeps the texture smooth without overheating or over-blending your Blizzard.
Are There Dairy-Free Milk Options That Work Well in Blizzards?
Yes, you can use dairy-free milk like almond, oat, or coconut milk for blizzards. They blend smoothly and add unique flavors, so don’t hesitate to experiment with different options to find your favorite dairy-free version.
Can I Add Alcohol to Make an Adult Blizzard Version?
Of course, you can add alcohol—because nothing says “blizzard” like a frozen cocktail party! Just don’t blame me when your blender starts judging your life choices or your dessert turns into a boozy mess.
Cheers!
Conclusion
Now that you’ve mastered these steps, making a Blizzard at home is like painting with flavors on a creamy canvas. Each blend brings your favorite treats to life, letting you enjoy a personalized dessert anytime.
So grab your blender, get creative with mix-ins, and whip up your own delicious masterpiece. Homemade Blizzards are not just a treat—they’re your ticket to a sweet adventure in every spoonful!
With just a blender and a few simple ingredients, you can create the perfect Blizzard at home. Enjoy endless flavor combinations and the satisfaction of making your own frozen dessert. Start blending and savor the fun of homemade Blizzards today!