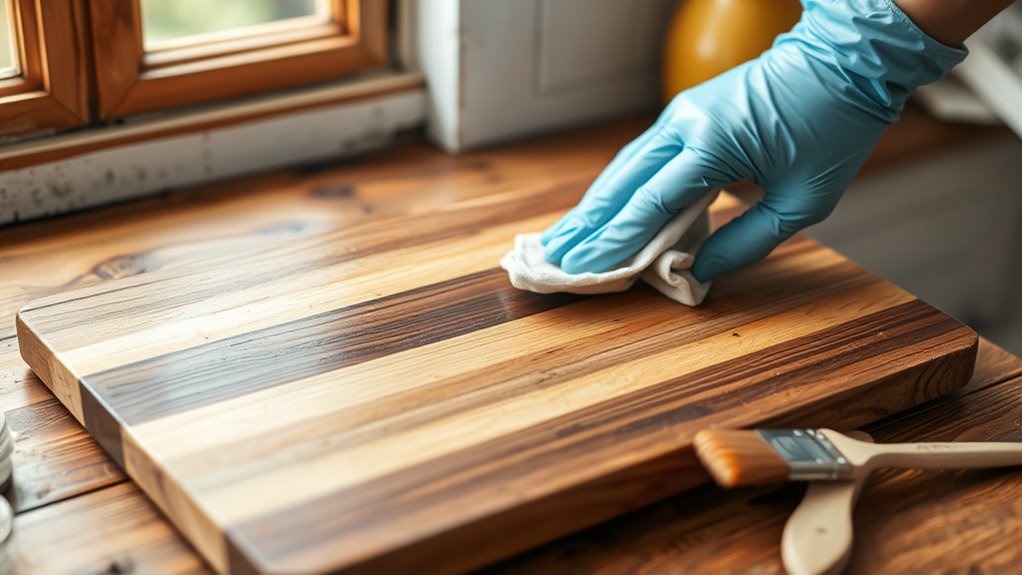
How You Can Stain Cutting Boards Safely and Effectively
You can stain cutting boards safely and effectively by choosing food-safe, non-toxic stains such as mineral oil or beeswax blends. These options help protect the wood without introducing harmful chemicals. Proper staining not only enhances the board’s appearance but also extends its lifespan.
Start by sanding your board smooth and thoroughly cleaning off any dust. Apply the stain evenly with a cloth, allowing it to soak briefly. Then, wipe off any excess to avoid sticky residue.
Let the cutting board dry completely before using it. To maintain durability and appearance, re-stain every 6 to 12 months.
Following careful preparation and regular upkeep will keep your board looking great and lasting longer. You’ll find helpful tips to protect it even more.
Key Takeaways
- Select food-safe, non-toxic, oil-based stains like walnut, beeswax, or mineral oil blends for safe cutting board treatment.
- Thoroughly sand the board with 120 and 220 grit sandpaper, then clean and dry before applying stain for even absorption.
- Apply stain evenly along the wood grain, let sit 5-10 minutes, then wipe off excess to avoid blotches and achieve desired color.
- Allow the board to dry completely before use and re-stain every 6-12 months or when wood appears dry or worn.
- Maintain by regularly oiling with food-safe mineral oil, cleaning gently with mild soap, and storing upright in a dry, ventilated area.
Reasons to Stain Your Cutting Board
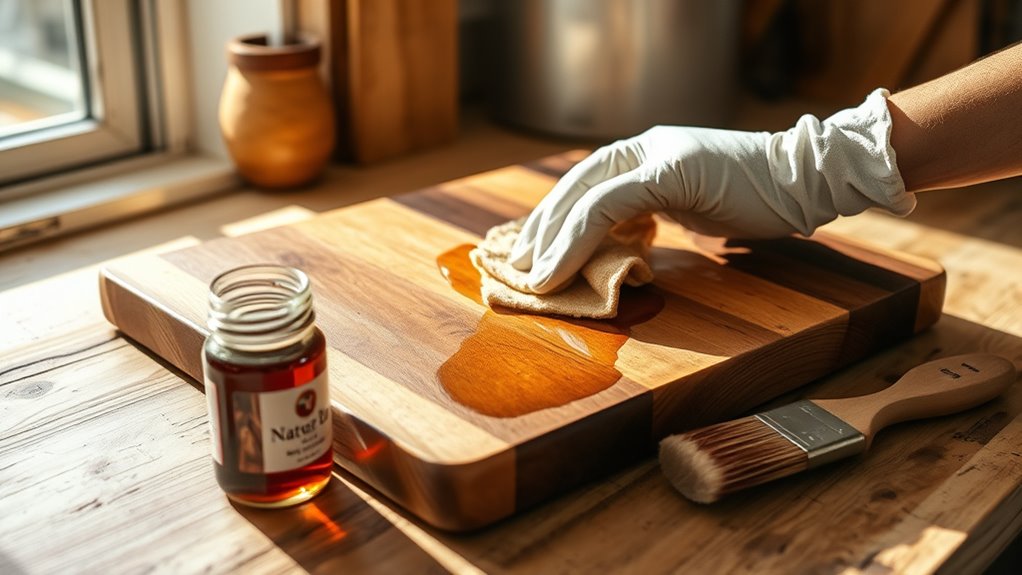
Although you might think staining is just for appearance, it actually provides several practical benefits for your cutting board. When you stain your board, you enhance its durability by protecting the wood from moisture and preventing it from cracking or warping over time. Staining also helps reduce the absorption of food juices, which can cause bacteria buildup and unpleasant odors.
Additionally, a stained surface is easier to clean and maintain, extending the life of your cutting board. Beyond protection, staining highlights the natural grain and texture of the wood, giving your board a richer, more polished look. By staining, you’re not just improving aesthetics—you’re preserving the board’s functionality and ensuring it stays in great shape for every meal prep session.
How to Choose Safe, Non-Toxic Wood Stains
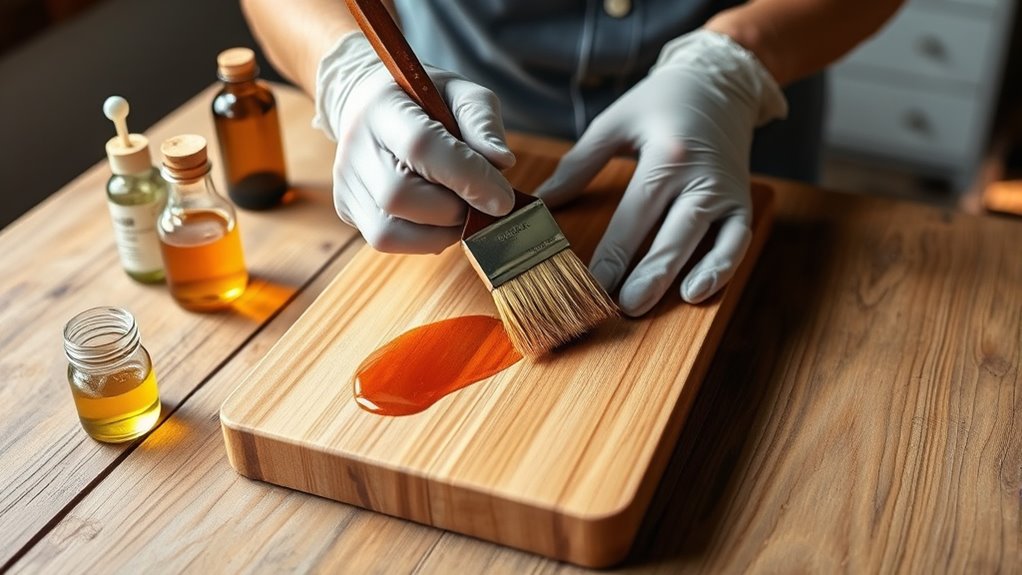
Protecting your cutting board with a stain is a smart move, but choosing the right product is just as important. You want a wood stain that’s food-safe, non-toxic, and free from harmful chemicals like formaldehyde, heavy metals, or volatile organic compounds (VOCs).
Look for products specifically labeled as food-safe or FDA-approved, which are designed for surfaces that come into contact with food. Natural oil-based stains, such as those made from walnut, beeswax, or mineral oil blends, often offer safe alternatives. Avoid alcohol- or solvent-based stains, as they can leave toxic residues.
Always check ingredient lists and manufacturer guidelines before buying. By selecting a safe, non-toxic stain, you’ll protect both your cutting board and your health without compromising on appearance or durability.
Preparing Your Cutting Board for Staining

How do you get your cutting board ready to absorb stain evenly and safely? First, thoroughly sand the surface using medium-grit sandpaper (around 120 grit) to remove any rough spots or previous finishes. Follow this with fine-grit sandpaper (220 grit) for a smooth, even texture.
Make sure you sand all sides, including edges, to guarantee uniform absorption. After sanding, wipe the board clean with a damp cloth to remove dust and debris, then let it dry completely. Avoid skipping this step, as dust can prevent the stain from adhering properly.
Finally, test the stain on a small, inconspicuous area to check how the wood reacts. Taking these prep steps ensures your cutting board will take the stain evenly and remain safe for food use.
Step-by-Step Guide to Staining and Wiping Your Cutting Board
Now that your cutting board is prepped, you’re ready to apply the stain carefully. Make sure to spread it evenly and wipe off any excess to prevent blotches.
Following these steps will help you achieve a smooth, safe finish.
Preparing The Cutting Board
Before you apply any stain, make sure your cutting board is thoroughly cleaned and dried. Start by washing it with warm, soapy water to remove any dirt or oils. Rinse well and let it air dry completely—moisture can prevent the stain from absorbing evenly.
Next, lightly sand the surface using fine-grit sandpaper to smooth out any rough spots and open the wood grain. Wipe away the dust with a tack cloth or a damp rag, then let it dry again. If your board has deep grooves or scratches, consider filling them with wood filler and sanding once dry for an even finish.
Proper preparation guarantees the stain adheres well and the final look is smooth and vibrant.
Applying And Removing Stain
Once your cutting board is prepped and dry, you can apply the stain evenly using a clean cloth or brush, working with the wood grain to guarantee full coverage. Let the stain sit for 5 to 10 minutes to deepen the color, then gently wipe away excess with a clean cloth. Avoid over-saturating to prevent blotches.
If you want a lighter shade, remove more stain; for darker, let it sit longer before wiping.
| Step | Action | Tip |
|---|---|---|
| 1 | Apply stain evenly | Follow the wood grain |
| 2 | Let sit 5-10 minutes | Adjust time for shade depth |
| 3 | Wipe off excess stain | Use a clean, soft cloth |
Repeat if needed, then let your board dry completely before use.
Avoiding Common Staining Mistakes That Damage Your Board
When staining your cutting board, make sure you choose safe materials that won’t harm your wood or your health. Avoid harsh chemicals that can damage the surface and affect food safety.
Taking these precautions will help keep your board looking great and lasting longer.
Choosing Safe Staining Materials
How do you pick a stain that enhances your cutting board without causing damage? Start by choosing food-safe stains specifically designed for wooden kitchen items. Avoid oil-based or chemical-heavy stains—these can seep into the wood and pose health risks.
Water-based stains are a safer bet; they penetrate well without harmful residues. Also, consider natural options like mineral-based or plant-derived dyes that won’t compromise your board’s integrity. Always check the label for non-toxic certification or FDA approval.
Avoid stains with harsh solvents or ammonia, as they can weaken the wood fibers. In conclusion, test your stain on a small, hidden section first to ensure it reacts well and doesn’t discolor or roughen the surface. This careful selection keeps your cutting board both beautiful and safe.
Preventing Surface Damage
Although staining can enhance your cutting board’s appearance, you need to avoid common mistakes that cause surface damage. First, never apply stain on a wet or oily surface, as moisture prevents proper adhesion and can lead to uneven coloring. Always sand your board with fine-grit sandpaper to create a smooth, receptive surface before staining.
Avoid using harsh chemicals or abrasive tools that can scratch or weaken the wood fibers. Don’t rush the drying process—allow ample time for each coat to fully cure to prevent peeling or blotchy spots. In conclusion, apply stain evenly with a soft cloth or brush, avoiding excessive layers that may build up and crack.
How to Seal and Protect Your Stained Cutting Board
Since staining your cutting board enhances its appearance, you’ll want to seal and protect it to preserve both the color and the wood. Start by letting the stain dry completely, usually 24 hours.
Then, apply a food-safe finish like mineral oil, beeswax, or a specialized cutting board conditioner. Use a clean cloth to rub the finish evenly, working it into the wood grain. Let it soak in for a few hours or overnight, then wipe off any excess.
This sealing step creates a barrier against moisture and prevents the stain from fading or washing away. Repeat the application a couple of times initially for better protection. Avoid using varnishes or polyurethane, as they aren’t food-safe and can crack with knife impacts.
Caring for Your Stained Cutting Board Over Time
To keep your stained cutting board looking great and lasting longer, you’ll need to maintain it regularly. After each use, wash it by hand with warm, soapy water—avoid soaking or using a dishwasher, as excess moisture can damage both the stain and wood. Dry it immediately with a clean towel.
Periodically, apply food-safe mineral oil or a conditioner designed for cutting boards to nourish the wood and help preserve the stain. Avoid harsh chemicals or abrasive scrubbers that can wear down the finish. Store your board in a dry, well-ventilated area, standing it upright if possible to prevent moisture buildup.
When to Reapply Stain to Keep Your Board Looking Great
If you want your stained cutting board to keep its vibrant appearance, you’ll need to reapply the stain periodically. Look for signs like fading color, dull patches, or rough texture—these indicate it’s time for a refresh. Typically, reapplication is necessary every 6 to 12 months, depending on how often you use and wash the board.
Before re-staining, clean and dry the board thoroughly, then lightly sand the surface to help the new stain adhere evenly. Avoid waiting until the wood looks dry or worn out, as this can lead to damage. By staying attentive and reapplying the stain when needed, you’ll maintain your cutting board’s beauty and extend its life without compromising its safety or function.
Tips for Maintaining a Beautiful, Long-Lasting Cutting Board
Although staining plays a key role in your cutting board’s upkeep, regularly oiling it helps preserve its moisture and prevents cracking. Apply food-safe mineral oil every few weeks or when the wood looks dry. Avoid vegetable oils, as they can turn rancid.
Clean your board with mild soap and warm water after each use, then dry it thoroughly to prevent warping. Use a scraper or sandpaper to remove deep cuts or stains before reapplying oil or stain. Store your cutting board upright in a dry area with good airflow to avoid moisture buildup.
Frequently Asked Questions
Can Staining a Cutting Board Affect Food Safety?
Yes, staining a cutting board can affect food safety if you use toxic or non-food-safe stains. You should always choose food-safe, non-toxic stains and properly seal the board to prevent bacteria and contamination.
What Types of Wood Are Best for Staining?
You’ll want to choose hardwoods like maple, walnut, or cherry for staining. They absorb stain evenly, resist damage, and look great.
Avoid softwoods since they soak up stain unevenly and can be less durable.
How Long Does the Stain Need to Dry Before Use?
You should let the stain dry for at least 24 hours before using your cutting board. This guarantees the finish sets properly, preventing any harmful chemicals from transferring to your food or affecting the board’s durability.
Can Stained Cutting Boards Be Used With Hot Knives?
Think of a stained cutting board like a painted wooden deck; exposing it to hot knives can cause the finish to blister or peel.
Is It Possible to Remove Stain From a Cutting Board?
Yes, you can remove stain from a cutting board by sanding it down with fine-grit sandpaper.
Clean the surface afterward and re-oil it to restore its natural look and protect the wood effectively.
Conclusion
Staining your cutting board isn’t just about looks—it’s about bringing out its best while keeping it safe. With the right stain and care, your board can stay beautiful and functional for years.
Remember, a well-loved cutting board tells a story, and you’re the author. So, treat it right, seal it well, and don’t let common mistakes sneak in.
Your kitchen’s trusty sidekick deserves nothing less than your best care! Safe and effective staining ensures your cutting board remains both attractive and durable.