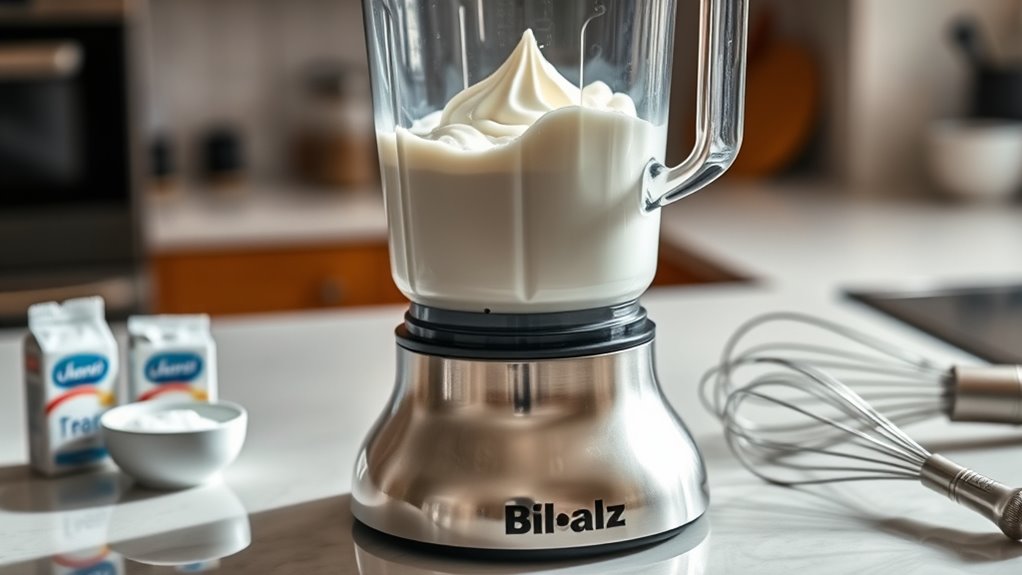
Can You Make Whipped Cream in a Blender in 10 Easy Steps?
Yes, you can make whipped cream in a blender in 10 easy steps. Using a blender to make whipped cream is a quick and convenient method that yields fluffy, delicious results.
Start by choosing heavy cream with at least 36% fat and chilling both the cream and blender parts for best texture.
Add the cream and sweetener, then blend on low speed. Gradually increase the speed until soft peaks form.
Be careful to stop when you reach stiff peaks to avoid overwhipping.
Adjust the flavor as you like with vanilla or other extracts. Store the whipped cream chilled until ready to use.
Follow these simple steps, and you’ll quickly master making perfect whipped cream at home. Keep going to uncover helpful tips and tricks.
Key Takeaways
- Use cold heavy cream (≥36% fat), chilled for at least 30 minutes, to ensure proper whipping and stable peaks.
- Chill the blender jar and blades beforehand to improve aeration and volume during whipping.
- Start blending on low speed, gradually increase to medium/high, and pause regularly to check for soft or stiff peaks.
- Add sweeteners and flavor extracts gradually while blending, tasting to avoid overpowering the whipped cream.
- Store whipped cream in an airtight container refrigerated for up to 24 hours; re-whip briefly if separation occurs.
Choose the Best Cream for Blender Whipped Cream
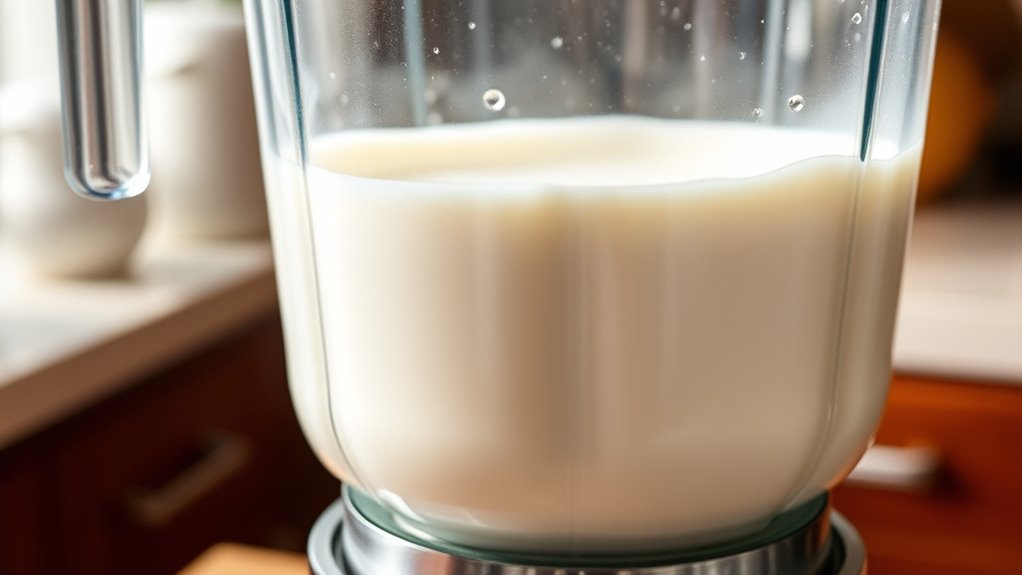
Before you start blending, you’ll want to pick the right cream to guarantee your whipped cream turns out light and fluffy. Always choose heavy cream or heavy whipping cream with at least 36% fat content. This fat percentage is essential because it helps trap air as you blend, creating that perfect airy texture.
Avoid using half-and-half or light cream, as they don’t have enough fat and won’t whip properly. Also, make sure your cream is fresh and cold; chilled cream whips faster and holds its shape better. If you want a richer flavor, you can opt for organic or grass-fed heavy cream.
Gather Ingredients for Blender Whipped Cream
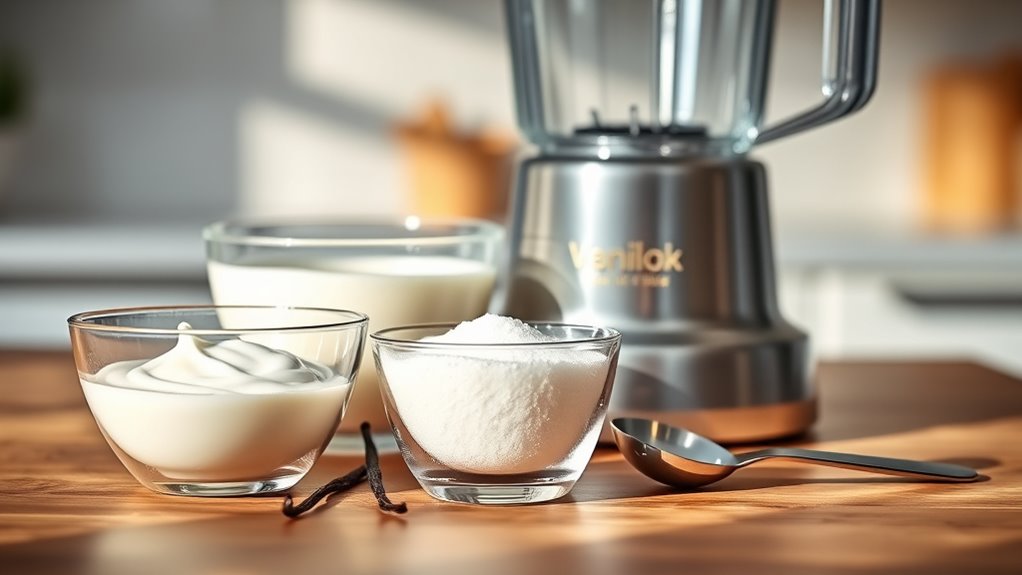
Once you’ve selected the right cream, gather all the ingredients needed to make your blender whipped cream. Start with heavy cream or whipping cream, verifying it’s cold for the best results. You’ll also want some granulated sugar to add sweetness—about one to two tablespoons per cup of cream works well.
For extra flavor, consider adding a splash of vanilla extract or another extract like almond or peppermint. If you want a richer texture, a pinch of cream of tartar helps stabilize the whipped cream, but it’s optional. Make sure you have your measuring spoons and cups handy for accuracy.
Having all these ingredients ready before you start will streamline the process and ensure your whipped cream turns out smooth and delicious.
Prepare Your Blender for Blender Whipped Cream
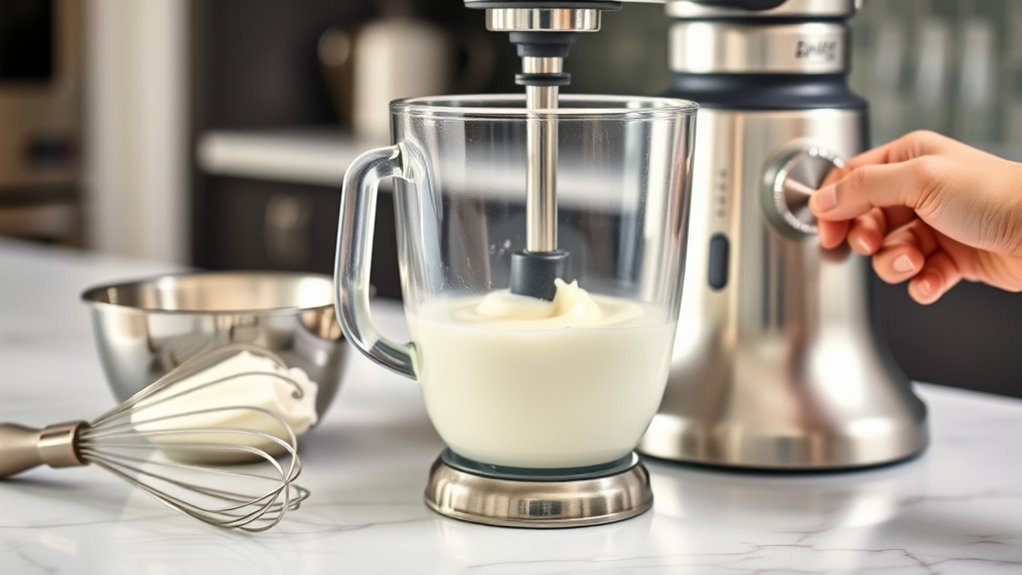
Before you start, make sure you choose a blender that can handle whipping cream without overheating. Chill the blender jar and blades to help the cream whip faster and stay stable.
Also, measure your ingredients carefully to get the perfect texture every time.
Choose The Right Blender
Although many blenders can whip cream, choosing the right one makes the process faster and easier. You want a blender with variable speed settings so you can start slow and gradually increase speed without overwhipping. A powerful motor—around 500 watts or more—helps create that perfect fluffy texture quickly.
Opt for a blender with a tall, narrow jar; it keeps the cream swirling efficiently. Avoid blenders with wide or shallow containers, as they don’t create enough vortex to whip cream properly. Also, make sure the blades are sharp and positioned well to incorporate air effectively.
If your blender meets these criteria, you’ll have a much smoother whipping experience and better results in less time.
Chill Blender Components
To achieve the lightest, fluffiest whipped cream, you’ll want to chill your blender components thoroughly. Start by placing the blender jar, lid, and blades in the refrigerator or freezer for at least 15-20 minutes before whipping. Cold equipment helps maintain the low temperature of the cream, which is essential for proper aeration and volume.
If your blender parts don’t fit in the fridge, fill the jar with ice water and let it sit while you prepare other ingredients. Just make sure to dry everything completely before adding cream, as any water can interfere with whipping. Taking this simple step sets you up for success and guarantees your whipped cream turns out smooth, stable, and perfectly airy.
Measure Ingredients Accurately
How precise are you when measuring ingredients for whipped cream? Accuracy matters because the right balance of cream, sugar, and flavorings determines texture and taste. Use a liquid measuring cup for heavy cream, filling it to the exact amount your recipe calls for—usually cold and fresh.
For sugar, a kitchen scale or measuring spoons help you avoid over- or under-sweetening. If you’re adding vanilla extract or other flavorings, measure carefully to prevent overpowering the cream. Remember, too much liquid can prevent proper whipping, while too little sugar affects sweetness.
Chill Your Cream and Blender Parts
Before you start whipping, make sure you chill both your cream and the blender parts thoroughly. Cold cream whips better and faster, while chilled blender components help maintain the right temperature, preventing the cream from warming up too quickly.
Pop your cream in the fridge for at least 30 minutes. Meanwhile, place the blender jar, lid, and blades in the fridge or freezer for 15-30 minutes before use.
| Item | Recommended Chill Time |
|---|---|
| Heavy Cream | 30 minutes |
| Blender Jar | 15-30 minutes |
| Blender Lid | 15-30 minutes |
| Blender Blades | 15-30 minutes |
Chilling these parts guarantees your whipped cream turns out light and fluffy every time.
Add Cream and Sweeteners for Blender Whipped Cream
You’ll want to use heavy cream or whipping cream for the best texture when making whipped cream in a blender. Adding sweeteners like powdered sugar, honey, or vanilla extract can enhance the flavor to your liking.
Let’s look at how to choose the right cream and sweetener options before blending.
Choosing The Right Cream
Although whipping cream in a blender is quick and easy, choosing the right cream makes all the difference in achieving the perfect texture. You want heavy cream or heavy whipping cream, as it has enough fat (at least 36%) to whip up light and fluffy. Avoid whipping cream with lower fat content; it won’t hold peaks well.
Cold cream also whips better, so chill your cream before blending.
Here’s a quick guide to help you pick:
| Cream Type | Fat Content | Best Use |
|---|---|---|
| Heavy Cream | 36-40% | Whipping, stable peaks |
| Whipping Cream | 30-35% | Softer texture, less stable |
| Light Cream | 18-30% | Not suitable for whipping |
Stick to the first two for the best blender whipped cream results.
Sweetener Options Explained
Once you’ve selected the right cream for whipping, the next step is to add sweeteners that complement the flavor and texture. Choosing the right sweetener can elevate your whipped cream, making it perfect for desserts or drinks.
Here are four common options to weigh:
- Powdered Sugar – Dissolves easily and adds a smooth sweetness without graininess.
- Granulated Sugar – Traditional but may leave a slight texture if not fully dissolved.
- Honey – Adds a natural sweetness with a subtle floral note, though it may thin the cream slightly.
- Maple Syrup – Offers a rich, deep flavor that pairs well with fall or winter treats.
Pick one based on your taste preference and blend it with the cream for best results.
Start Blending on Low Speed
How do you guarantee your whipped cream turns out light and fluffy? Start by blending on low speed. This gentle approach prevents the cream from splattering all over your blender’s lid and counters.
It also allows the cream to begin thickening gradually, which is key to achieving that perfect texture. Pour your chilled heavy cream and any sweeteners into the blender, then set it to a low setting. Keep the lid securely in place and let it run steadily.
This slow blending encourages air to incorporate evenly without overworking the cream. Avoid rushing this step; patience here sets the stage for smooth, stable whipped cream that won’t turn into butter later on. Starting low keeps your process controlled and effective.
Increase Speed and Watch for Soft Peaks
As the cream starts to thicken, increase your blender’s speed to medium or high. This step helps incorporate more air quickly, pushing the cream toward those perfect soft peaks. Keep a close eye on the texture to avoid over-whipping.
Here’s how to watch for soft peaks:
- Pause blending every 15 seconds.
- Lift the blender lid or stop to check the cream’s texture.
- Look for peaks that gently hold their shape but still droop slightly.
- Stop increasing speed once you notice these soft peaks forming.
Stop Blending at Stiff Peaks
When you see soft peaks forming, slow down and watch carefully for stiff peaks—this is the stage where the cream holds its shape firmly and stands straight without collapsing. Stop blending as soon as stiff peaks appear to avoid overwhipping, which can turn your cream grainy and eventually into butter.
To check, lift the blender or whisk attachment and observe the peaks; they should be firm, well-defined, and not droop. If you go too far, the texture becomes dense and less creamy. Once you reach stiff peaks, immediately stop the blender to preserve the light, airy consistency.
This ensures your whipped cream is perfect for topping desserts or drinks, maintaining that fluffy, smooth texture everyone loves.
Adjust Sweetness and Flavor to Taste
Now that you’ve reached stiff peaks, it’s time to adjust the sweetness and flavor to your liking. You can choose from various sweeteners like powdered sugar or honey and add flavor enhancers such as vanilla or almond extract.
Taste as you go to find the perfect balance that suits your palate.
Choosing Sweetener Types
How do you pick the best sweetener for your whipped cream? It depends on the flavor profile and dietary needs you want to meet. You’ve got several options to consider:
- Powdered sugar – dissolves quickly, giving a smooth texture without graininess.
- Granulated sugar – traditional choice, but may take longer to blend fully.
- Honey or maple syrup – adds natural sweetness and subtle flavor nuances, but use sparingly to avoid thinning the cream.
- Artificial sweeteners – great if you want low-calorie whipped cream, but check compatibility as some don’t blend well.
Choose based on your taste preference and texture goals, then adjust the amount as you blend until you hit the perfect balance.
Flavor Enhancer Options
Although sweeteners add the primary sweetness, flavor enhancers let you customize your whipped cream’s taste beyond just sugary notes. You can add vanilla extract for a classic, warm flavor that complements desserts beautifully. A splash of almond extract introduces a subtle nuttiness, while a pinch of cinnamon or nutmeg offers a cozy, spiced twist.
For a fresh zing, try lemon or orange zest, which brighten the cream with citrusy notes. If you want a richer profile, a bit of cocoa powder or espresso powder works wonders. Remember, start with small amounts and taste as you go—these enhancers can quickly overpower if you’re not careful.
Balancing Sweetness Levels
While adding sweeteners gives your whipped cream its basic sweetness, balancing those levels guarantees the final flavor complements your dessert perfectly. You don’t want it too sweet or too bland, so here’s how to adjust sweetness and flavor to your liking:
- Start with a small amount of sugar or sweetener—around 1 tablespoon per cup of cream—and taste as you go.
- Add extracts like vanilla or almond to enhance sweetness without extra sugar.
- If your dessert is very sweet, reduce the sugar in the whipped cream to avoid overpowering it.
- For a tangy twist, try a dash of citrus zest or a pinch of salt to balance the sweetness.
Store and Use Blender Whipped Cream
Once you’ve whipped cream in your blender, you’ll want to store it properly to maintain its texture and flavor. Keep it in an airtight container and refrigerate immediately. Use it within 24 hours for the best taste and consistency.
If it starts to separate, give it a gentle stir or re-whip briefly.
Here’s a quick guide to storing and using your blender whipped cream:
| Storage Method | Duration | Tip |
|---|---|---|
| Airtight container | Up to 24 hours | Keeps cream fresh |
| Refrigerator | 1-2 days | Prevents spoilage |
| Re-whip gently | As needed | Restores texture |
Use your whipped cream on desserts, coffee, or fresh fruit for a delicious touch!
Frequently Asked Questions
Can You Use Non-Dairy Milk to Make Whipped Cream in a Blender?
You can use non-dairy milk to make whipped cream in a blender, but it’s trickier. Choose full-fat coconut milk or cream, chill it well, and blend quickly for better results.
Other non-dairy milks usually won’t whip.
How Long Does Blender Whipped Cream Last in the Fridge?
Blender whipped cream stays fresh for about two to three days in the fridge. You’ll want to watch, whisk, and use it swiftly since it softens and sours soon, so store it sealed and chill it properly.
Is It Possible to Overwhip Cream in a Blender?
Yes, you can overwhip cream in a blender. If you blend too long, it turns grainy and eventually separates into butter and buttermilk.
Can You Add Stabilizers to Blender Whipped Cream?
Yes, you can add stabilizers like gelatin or cream of tartar to blender whipped cream. They help maintain texture and prevent it from deflating, especially if you plan to store or pipe the cream later.
What Blender Settings Are Best for Making Whipped Cream?
You’ll want to start on medium speed to avoid splattering, then increase to high as the cream thickens. Keep a close eye—overwhipping can happen fast, turning your cream into butter before you know it!
Conclusion
Now that you’ve mastered making whipped cream in a blender, you’re ready to take your desserts to the next level. With just a few simple steps, you can whip up fluffy, sweet cream anytime, no sweat.
Remember, practice makes perfect, so don’t be discouraged if it’s not flawless the first time. Keep at it, and you’ll soon have a skill that’s the icing on the cake for all your sweet treats! Making whipped cream in a blender is easy, quick, and a great way to enhance any dessert.